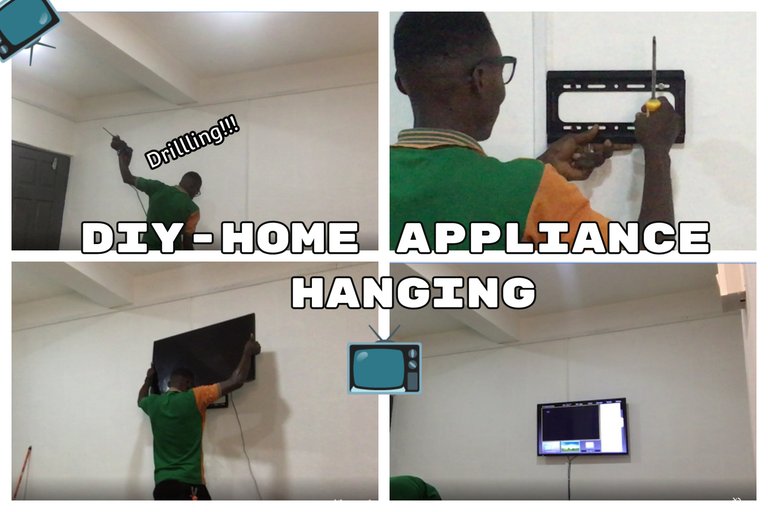
Greeting creative friends and welcome to my blog once again , its Friday an it today's diy episode i am bringing to you another at home diy digital documentation process involving home appliance in my living room, i recently had thought to have a new smart TV in my living area and not only that i also wanted it hoisted on the wall as i had had a **TV **with console style pattern for the longest time, so for a change i looked into purchasing a new TV and having it up against the wall for a change of things, first of all this was to create a different look to my living room for the holiday season in addition with other pattern i plan to change moving forward, which i am also going to be sharing on here, read below for the step by step process.
[Esp]
Hola amigos creativos y bienvenidos a mi blog una vez más, es viernes y el episodio de bricolaje de hoy les traigo otro proceso de documentación digital de bricolaje en casa que involucra electrodomésticos en mi sala de estar, recientemente había pensado en tener un nuevo televisor en mi sala de estar y no sólo eso, también lo quería izado en la pared, ya que había tenido un ** TV ** con el patrón de estilo consola durante mucho tiempo, así que para un cambio me miró en la compra de un nuevo televisor y tenerlo contra la pared para un cambio de las cosas, en primer lugar esto fue para crear un aspecto diferente a mi sala de estar para la temporada de vacaciones, además de otro patrón que planeo cambiar en el futuro, que también voy a estar compartiendo aquí, lea a continuación para el proceso paso a paso.
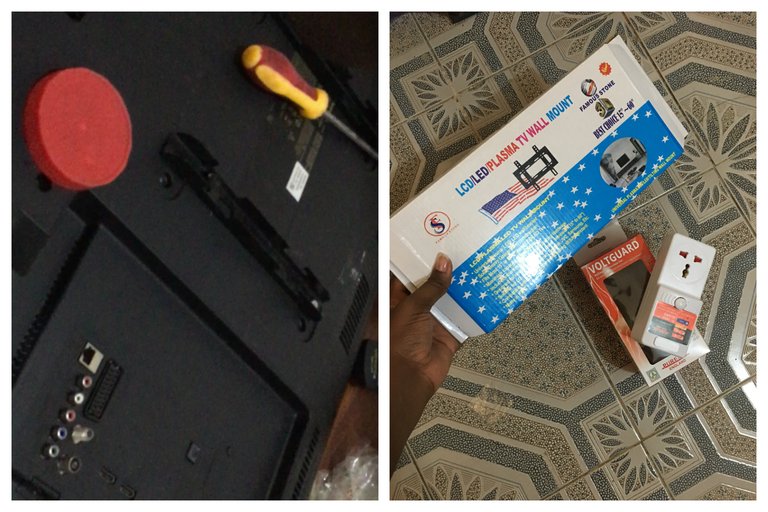
Materials purchased along with tv....
Step By step process
Step 1
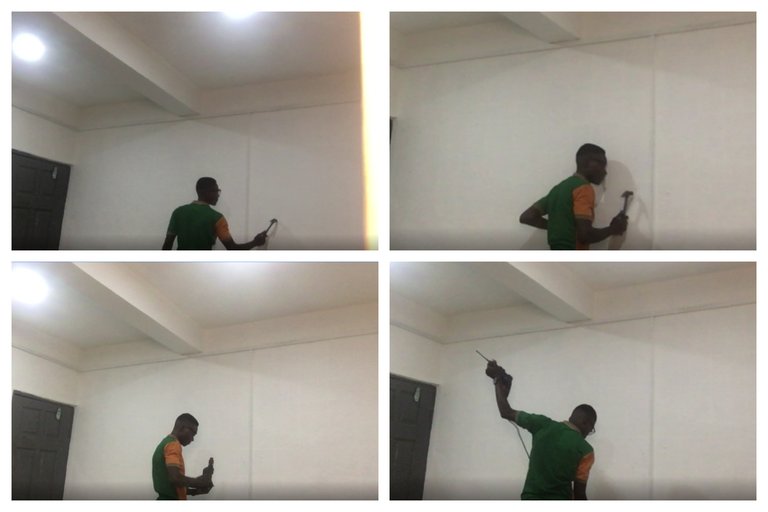
The process started off with the drilling in holes, checking out the position of the hanging using a hammer to ghit for sound check against the wall to determine the strength of the wall to hold up the tv and the the drilling machine was prepared for work after this part.
Step 2
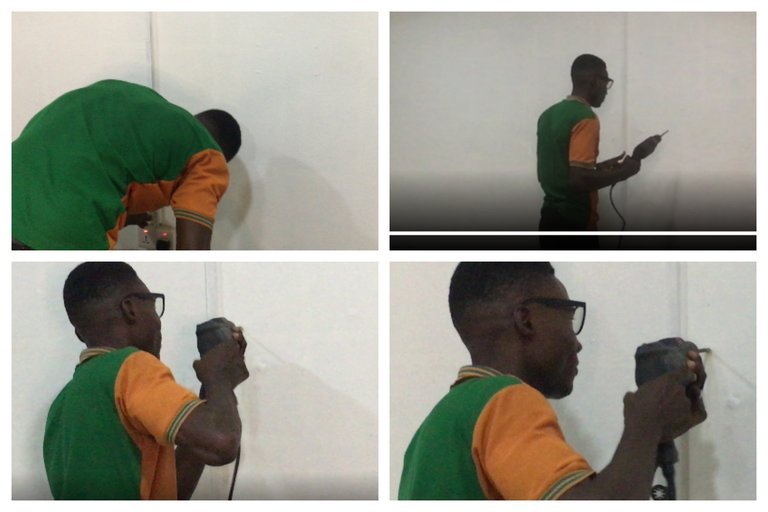
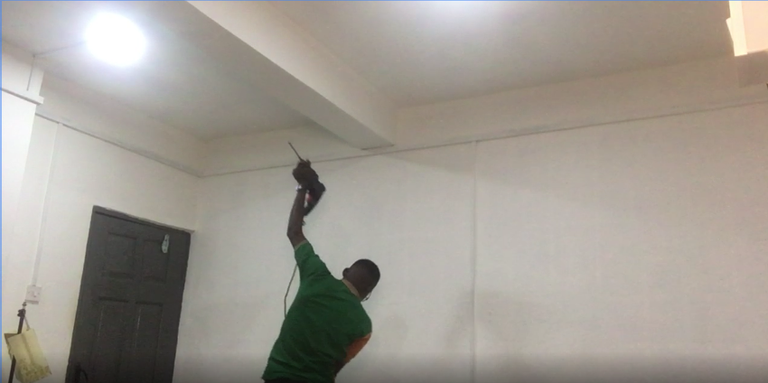
To drill the wall the extension wire was plugged into the socket as it used electricity to work, and then the drilling began , there was four holes to be made .
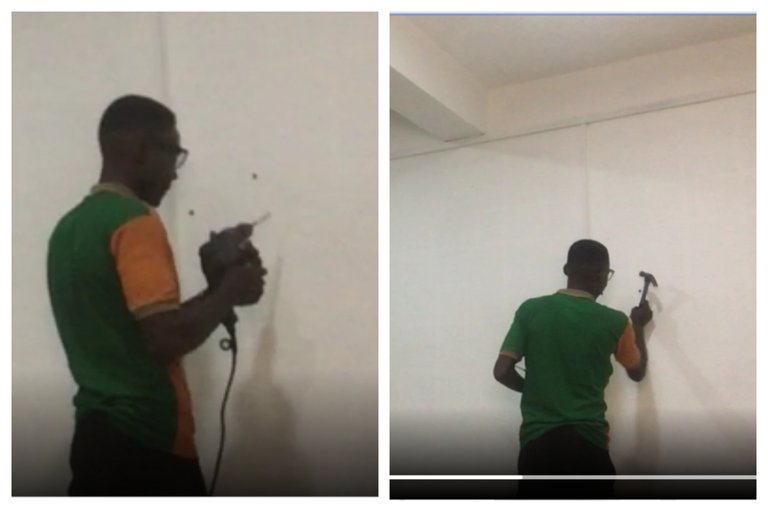
After driling four holes, a hammer was used to widen the holes to fit the nut the hanger came with.
Step 3
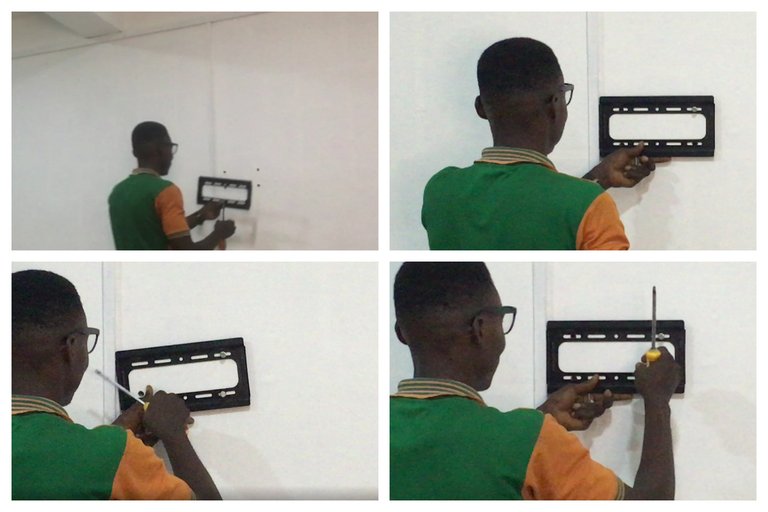
In this step the hanger is to be attached to the wall with nuts, using a screwdriver the nuts are thightend into the holes that had been drilled earlier until the hanger hoister is firm against the wall
Step 4
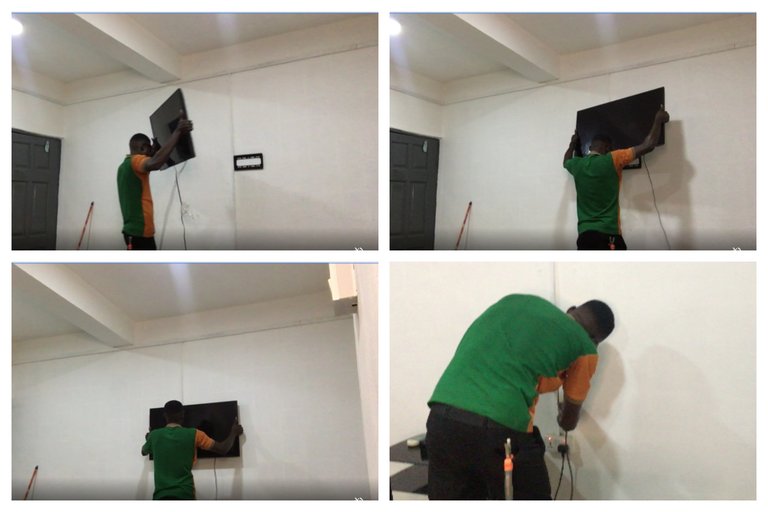
The hoister had been earlier attached to to the TV's back using the nuts that came in the carton... so it was then time to hang the TV unto the hanger that is against the wall.
Step 5
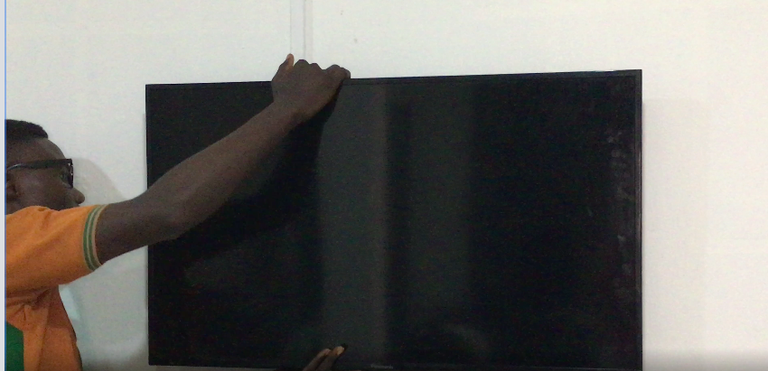
The Tv is been checked of accuracy in asymmetry and balance against the wall, and it was finally turned on after situating the wires with clips and plugging it into the voltgaurd which i showed in the beginning
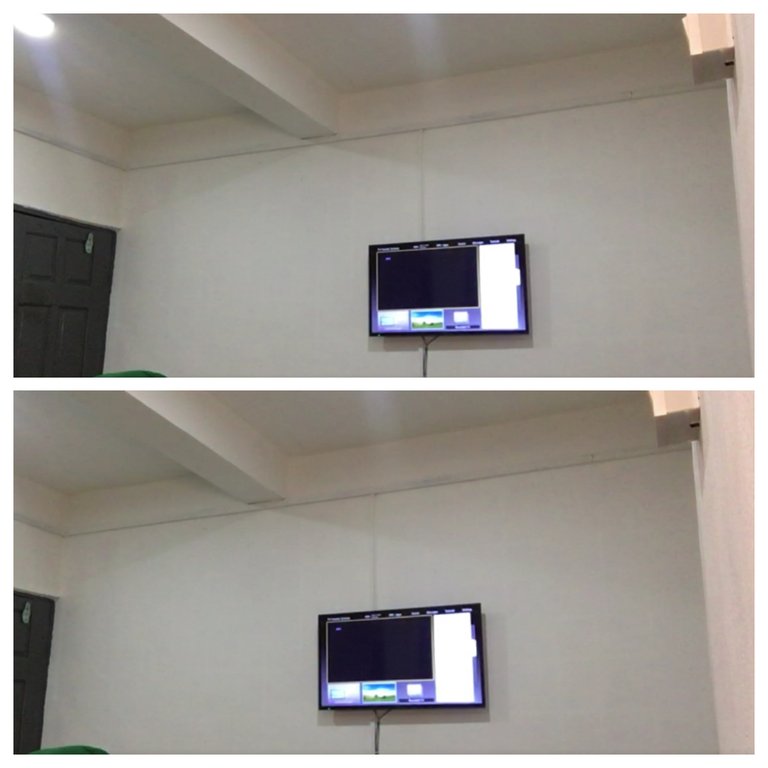
Final Look!!
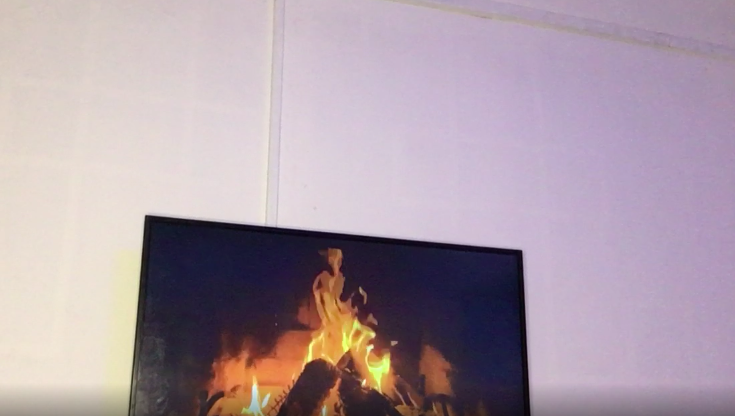
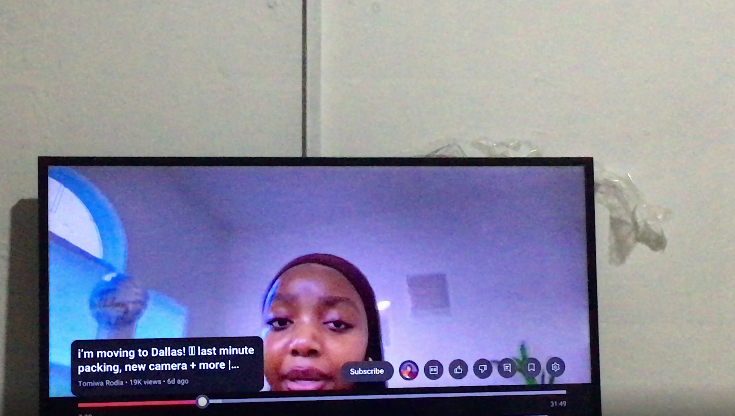
This was the final look when i had took some photos watching youtube videos on my new Smart tv..
Thank you for being here today, let me know what you thing of this Diy process.
All images are mine captured on mobile device
Translation is done with DeepL.com

Posted Using InLeo Alpha