De nuevo por aquí mis amigos creativos de las artes y las manualidades, estoy falla de materiales, debo hacer compras, pero como el buen manualista siempre guarda y que tambien tenemos un valioso recurso como es el reciclar, tambien me gusta hacer muchas cosas con reciclaje.
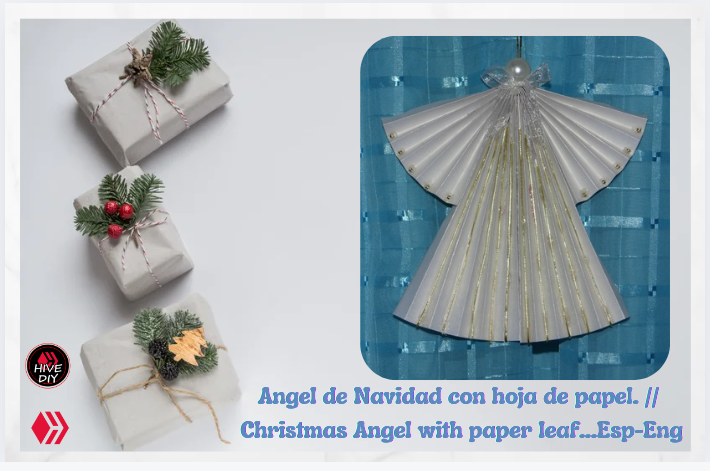
Portada editada en Canva,
Este es un angelito de navidad en papel, 100 % reciclado, porque todo lo tenia en la casa.
Como estamos ya en navidad, la figura de angeles es muy usada para decorar el arbolito, coronas, nacimiento, ya he hecho algunos en foami, pero quise hacerlo diferente, asi que busque digamos como apoyo en la internet, porque muchos no es que imitamos, sino que tomamos la idea y luego modificamos, poniendo algo nuestro como un sello, al menos yo soy asi.
Materiales como herramientas usadas:
-Hoja de papel (use una blanca nacarada es una belleza de papel.), pero pueden usar blanca tamaño carta.
-Tijera, papel, lapiz.
-Pistola y barras de silicon.
-Cintas, perlas, cordon dorado.
-Camara fotografica.
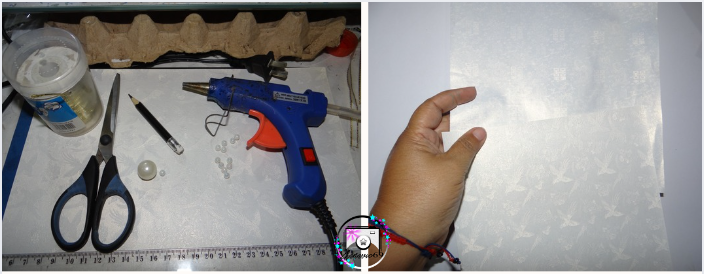
Ahora los angeles.
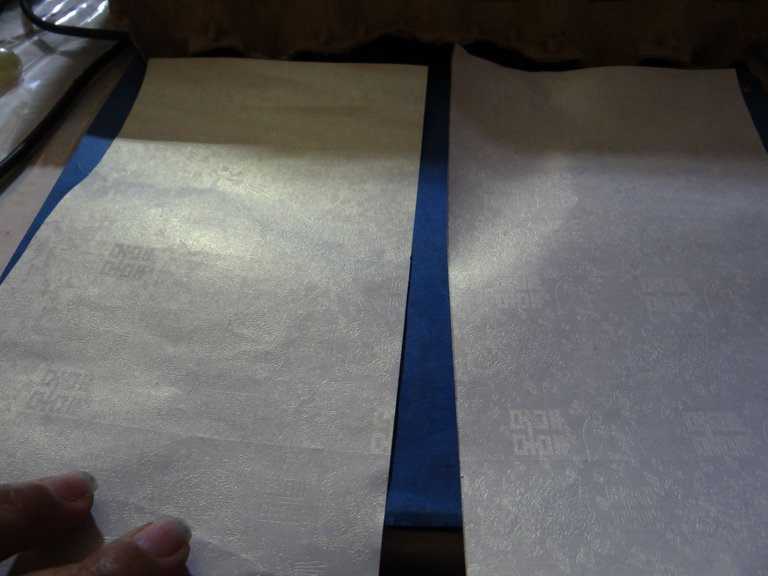
1.-Como la hoja que use era lo que me quedaba de un pliego, medi que me quedara casi como un cuadrado o lo mas parecido a la medida de una hoja tamaño carta, luego la medi a la mitad y recorte asi me quedan dos partes.
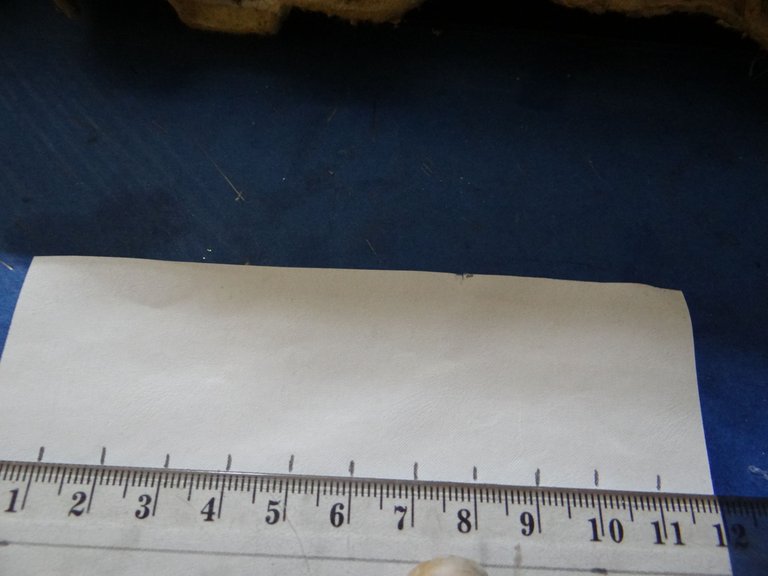
2.-Como es una hoja tambien nacarada por un lado de paso muy bella. Por el reverso o parte de atrás, el ancho de la hoja fue de 12 cms, asi que medi de 1 cms a 1 cms, asi tendria 12 lineas.
3.-Las lineas las marque con lapiz de grafito, luego repase con un repujador de punta roma, asi no rompo la hoja, no usen tijera que si las puede romper.
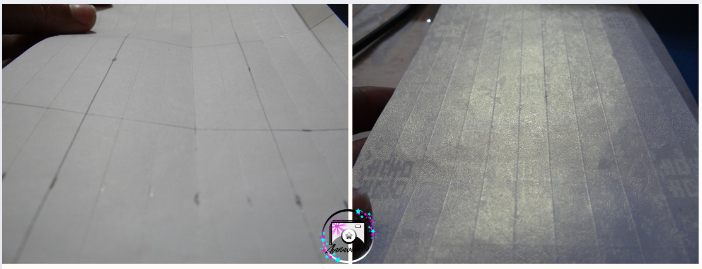
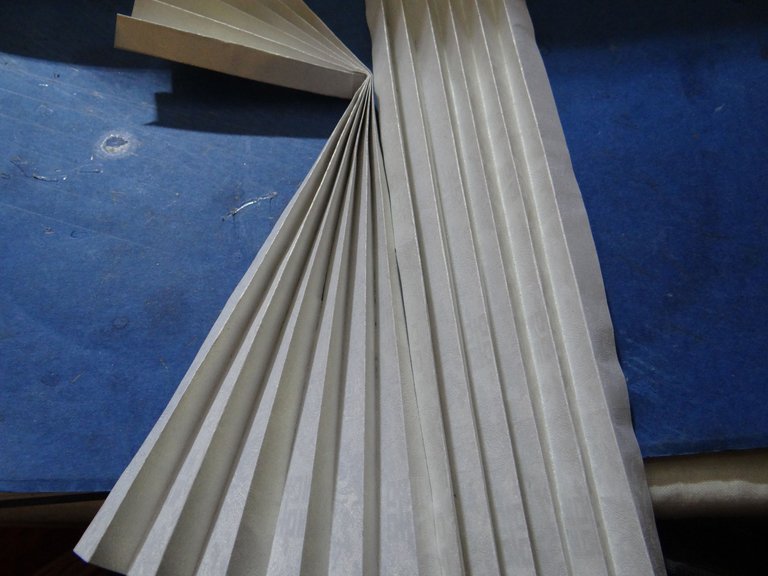
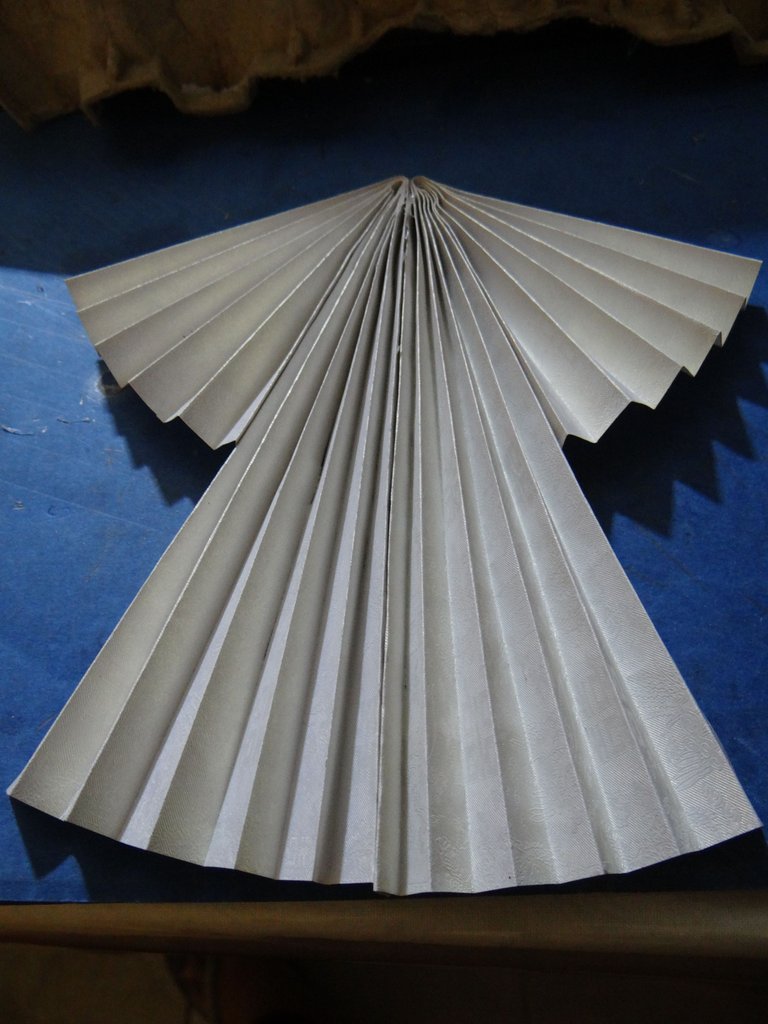
4.-Despues en cada linea hice dobleces para facilitar el plegado, que luego lo deje como si fuera un abanico, asi hice con ambas partes del papel.
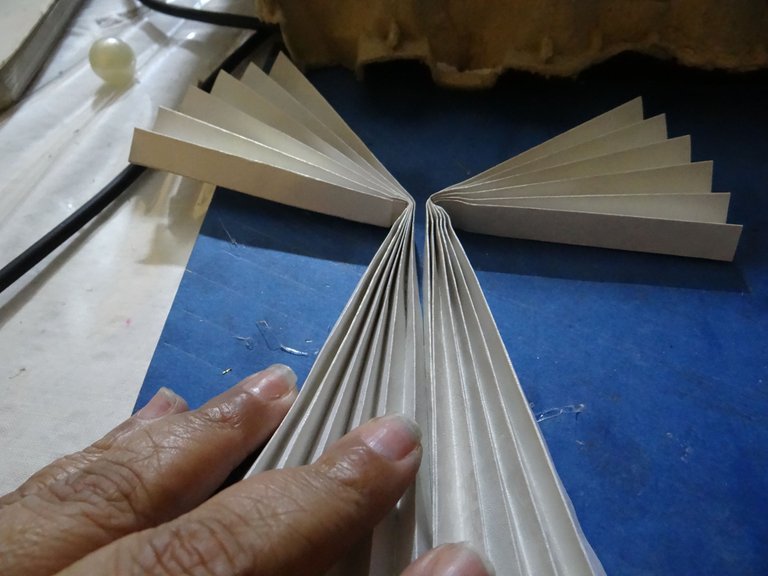
5.-Para lo que son las alas del angel, de cada hoja plegada medi del borde superior, hacia abajo 8 cms y doble como para marcar.
6.-Con la pistola de silicon pegue ambas partes, desde el doblez arriba hasta abajo, siempre apretando para que peguen bien.
7.-Asi hice con los brazos los pegue a lo que seria el cuerpo del angel de cada lado claro esta.
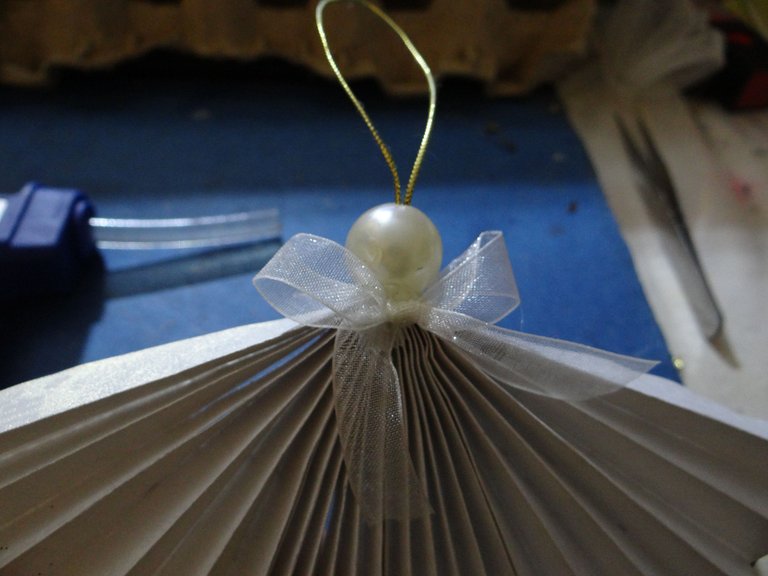
8.-Arriba donde uni el papel, hice un lazo y lo pegue en el centro.
9.-Vamos con la cabeza, para esto es la perla grande, por la cual pase el cordon dorado, en la parte que quedara hacia abajo hice un nudo le puse silicon, luego lo pegue en el angel.
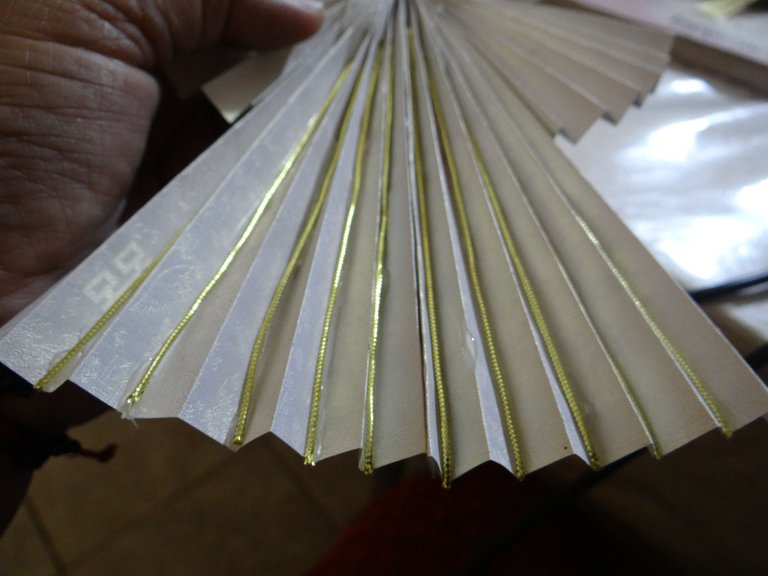
10.-Ahora decorar el traje del angel, en cada dobles interno que quedara hacia adentro, pegue cordon dorado, para que le diera brillo, me encanto ese efecto.
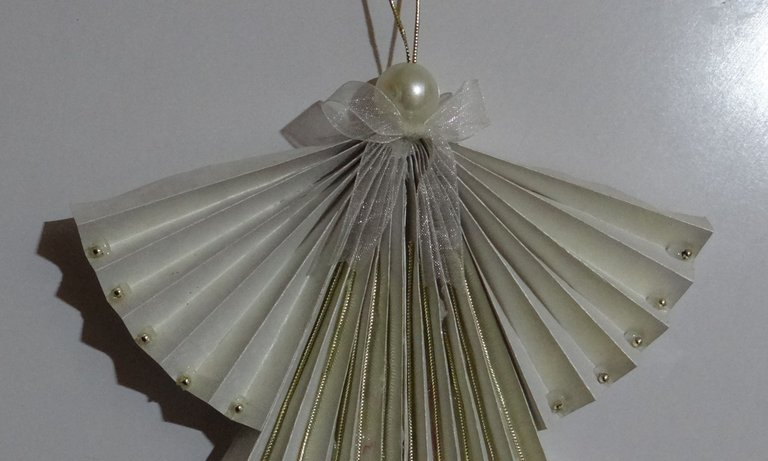
11.-Y en los brazos pegue perlitas doradas.
12.-El trabajo final.
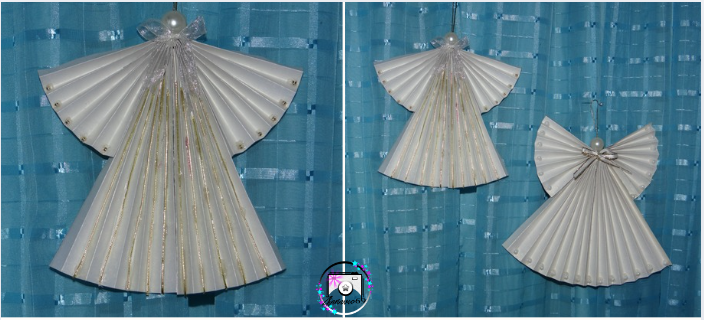
Tenia tiempo sin hacer alguna manualidad a veces es el tiempo o la falta de materiales, pero aquí todo fue reciclado.
Se imaginan estos angeles en hojas de colores, con nuestra imaginacion,manos podemos hacer mucho, pueden ser elaborados para el arbolito, si es para navidad, como tambien para un bautizo, comunion, para decorar los centros de mesas, la idea esta dada, le podemos dar varios usos.
Las fotos con mi camara Sony.
Gracias por acompañarme, desde ya pensando en mi proxima manualidad, hacerlo me distrae, me relaja, me encanta.
Traduccion hecha con la app DeepL.

Again my creative friends of arts and crafts, I'm short of materials, I must make purchases, but as the good craftsman always saves and we also have a valuable resource such as recycling, I also like to do many things with recycling.

This is a christmas angel made of paper, 100% recycled, because I had everything in the house.
As we are already in Christmas, the figure of angels is widely used to decorate the tree, wreaths, nativity, I have already made some in foami, but I wanted to do it differently, so I looked for support on the internet, because many are not that we imitate, but we take the idea and then modify it, putting something of our own as a stamp, at least I am like that.
Materials as tools used:
-Sheet of paper (use a pearly white is a beauty of paper.), but you can use white letter size.
-Scissors, paper, pencil.
-Silicone gun and sticks.
-Ribbons, pearls, gold cord.
-Camera.

Now the angels.
1.-As the sheet I used was what I had left of a sheet, I measured that I was almost like a square or as close to the size of a letter size sheet, then I measured it in half and cut so I have two parts.
2.-As it is also a pearly sheet on one side very beautiful. On the back side, the width of the leaf was 12 cms, so I measured from 1 cms to 1 cms, so I would have 12 lines.
3.-I marked the lines with graphite pencil, then go over them with a blunt tip embosser, so I do not break the sheet, do not use scissors that can break them.

4.-Then in each line I made folds to facilitate the folding, which I then left it as if it were a fan, so I did with both parts of the paper.
5.-For what are the wings of the angel, from each folded sheet measure from the top edge, down 8 cms and fold as if to mark.
6.-With the silicone gun glue both parts, from the top fold to the bottom, always squeezing so that they stick well.
7.-I glued the arms to what would be the body of the angel on each side of course.
8.-Above where I joined the paper, I made a bow and glued it in the center.
9.-We go with the head, for this is the big pearl, through which pass the golden cord, in the part that will be down I made a knot I put silicone, then I glued it on the angel.
10.-Now decorate the angel's suit, in each internal double that will be inside, I glued gold cord, to give it shine, I loved that effect.
11.-And in the arms I glued golden pearls.
12.-The final work.

I had some time without making a craft, sometimes it is the time or the lack of materials, but here everything was recycled.
Can you imagine these angels in colored leaves, with our imagination, hands can do a lot, can be made for the tree, if it is for Christmas, as well as for a baptism, communion, to decorate the centerpieces, the idea is given, we can give several uses.
The photos with my Sony camera.
Thanks for joining me, I'm already thinking about my next craft, it distracts me, it relaxes me, I love it.
Translation made with the app DeepL.

