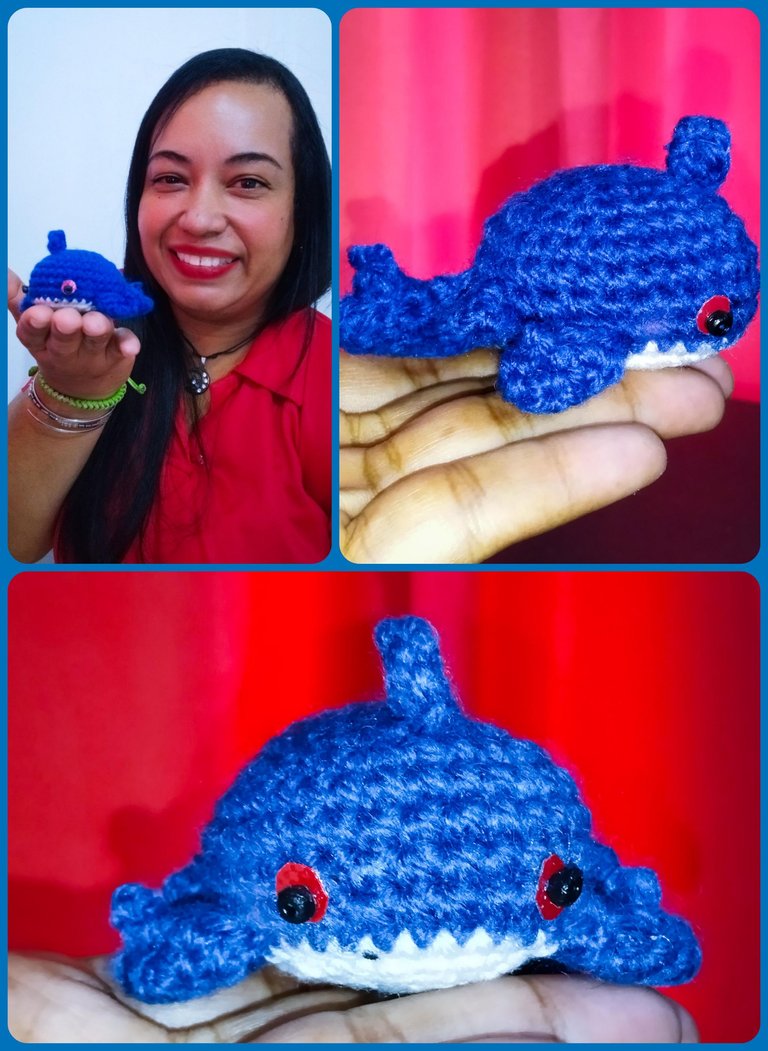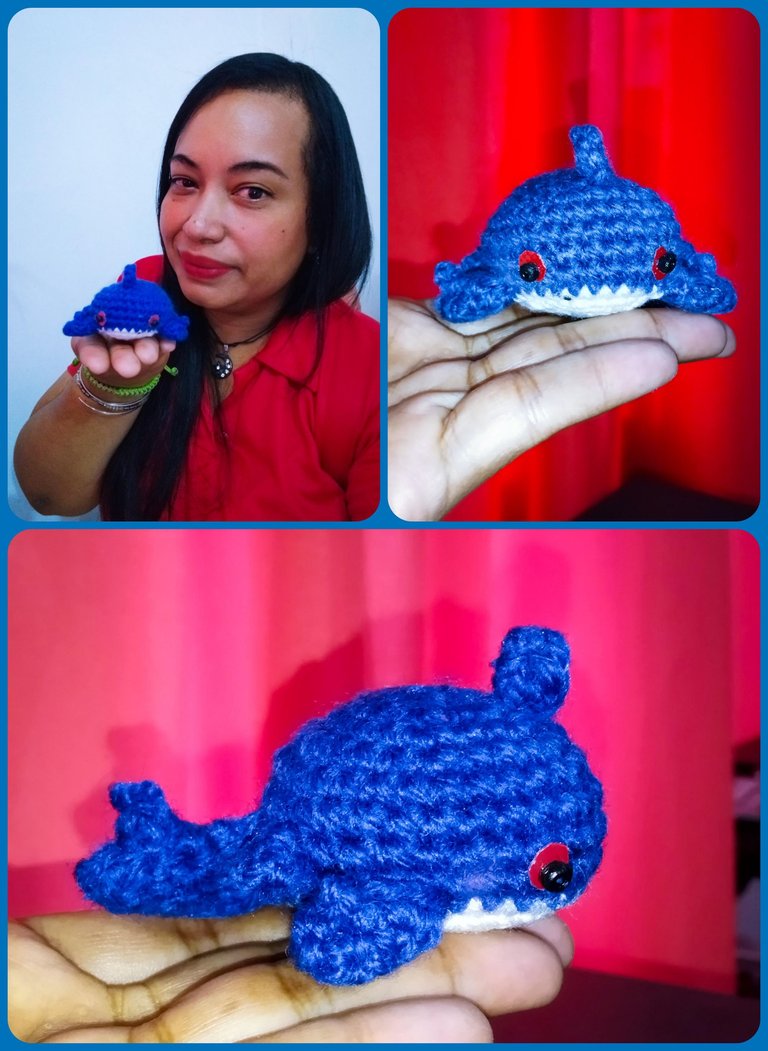
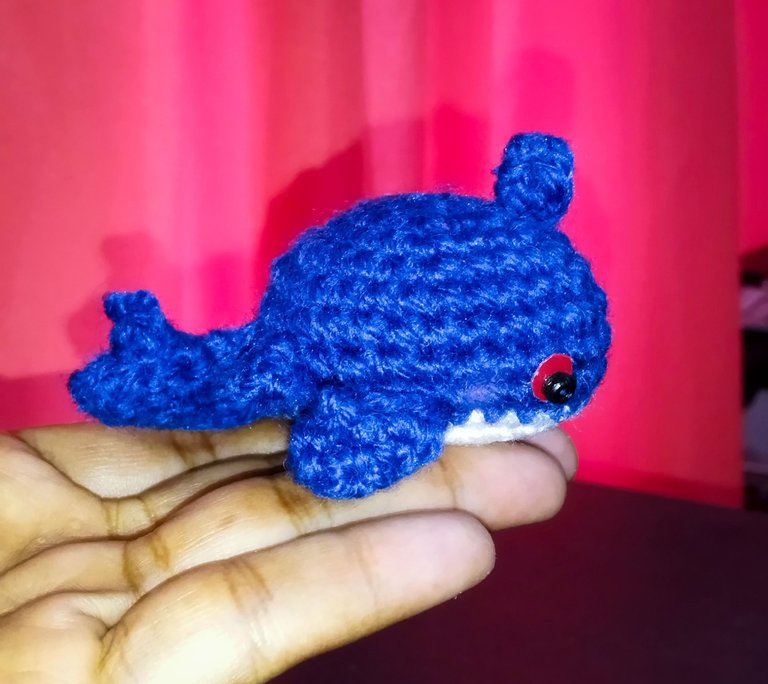
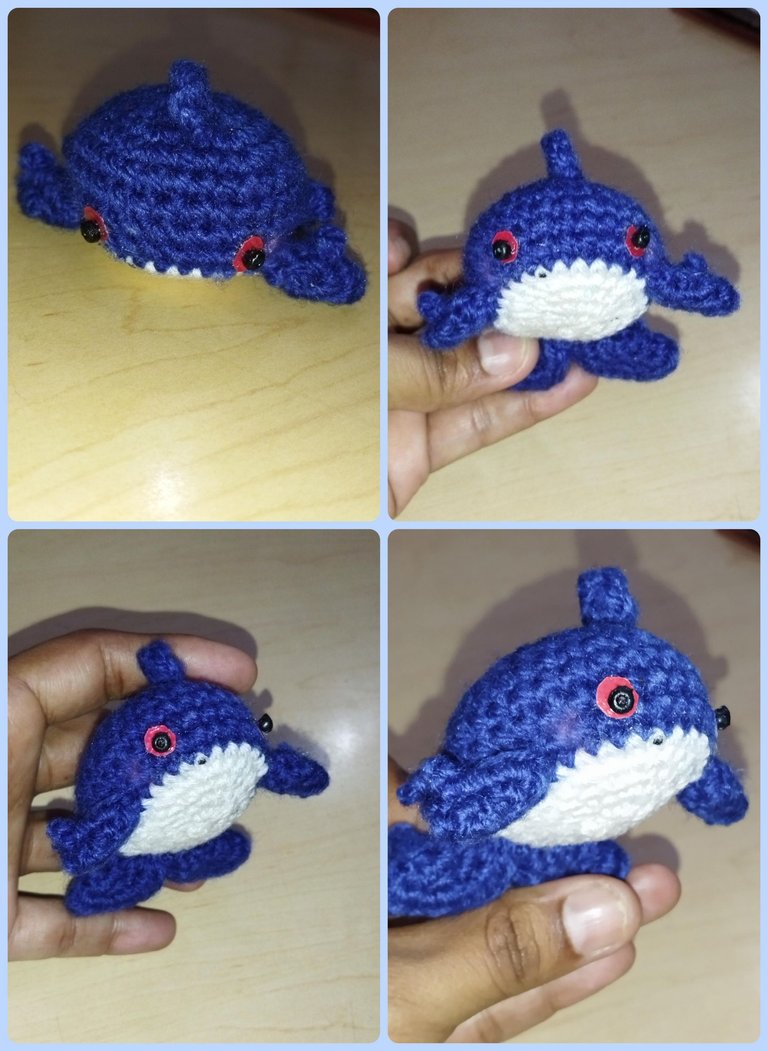
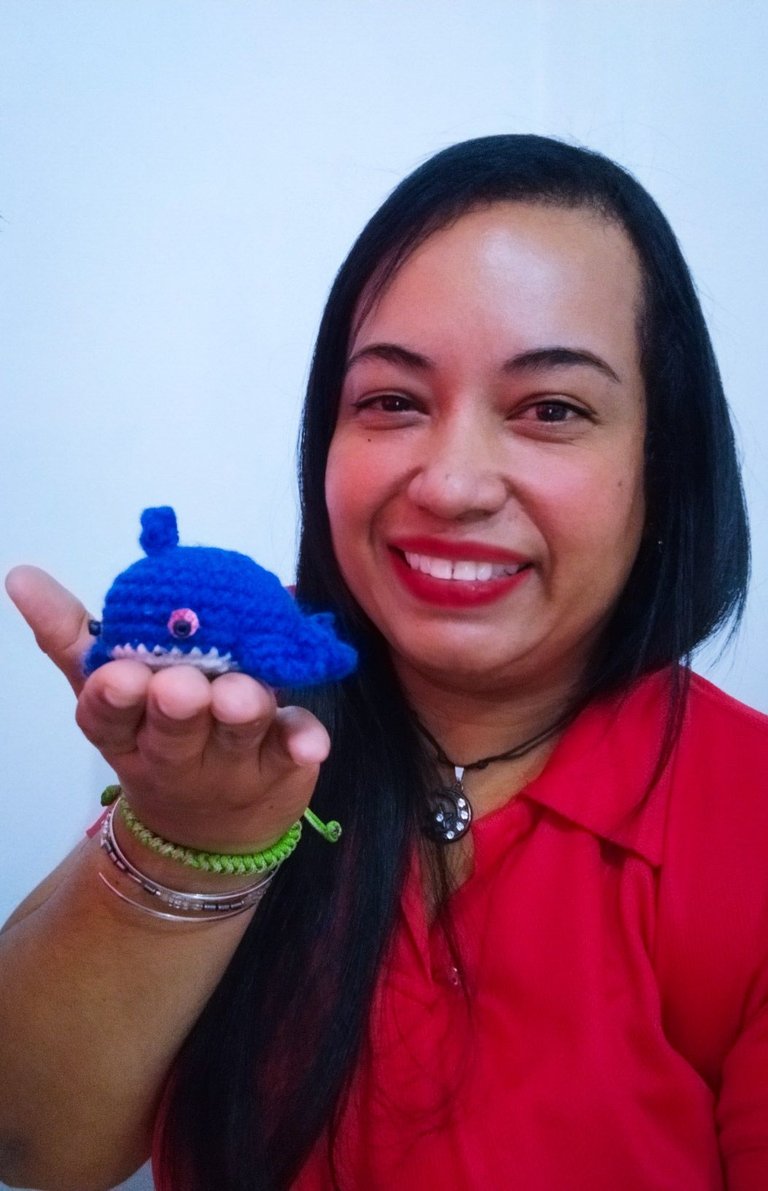
Hola hola!! Saludos amigos, me hace mucha ilusión empezar mi primer blog en esta comunidad, compartiendo un patrón de amigurumi bonito, además de ser facilito y rápido, se trata del personaje pintoresco Water Whale, de Holozing Water. Ésta ballenita mide aproximadamente unos 8 cm de diámetro, y 6cm de alto. El material a utilizar es muy poco, lo que la hace ideal para emplear tiempo de calidad y un proyecto divertido.
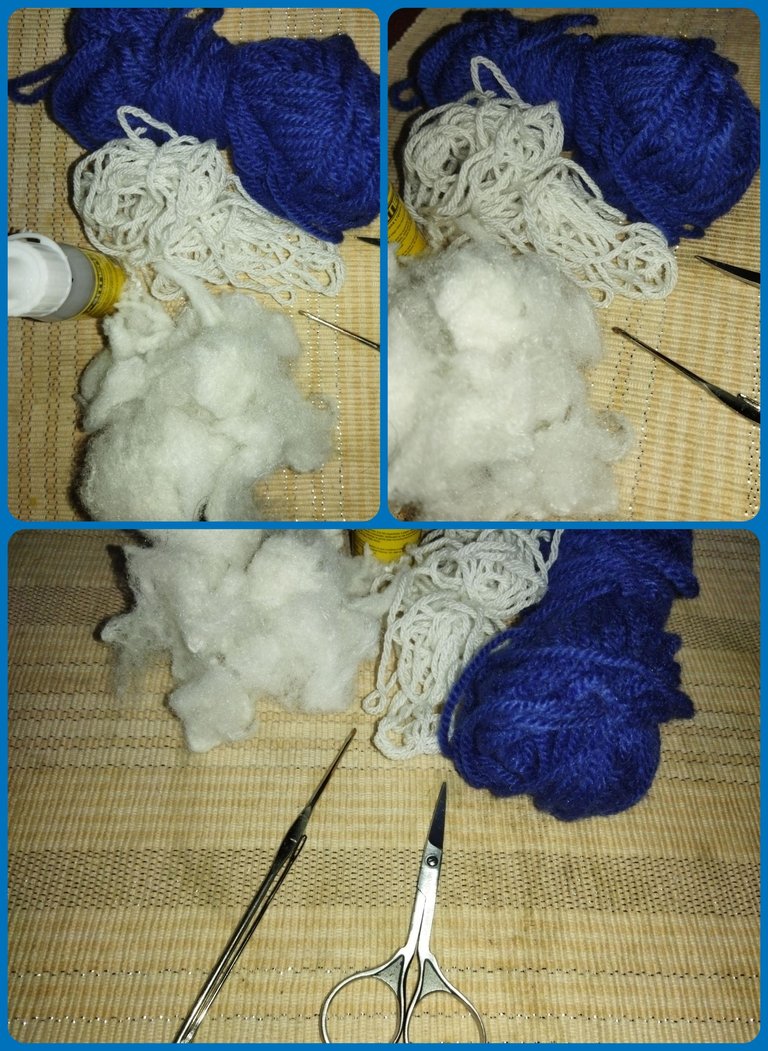
Para poder hacer esta ballenita necesitaremos: 50gr de lana color azul, 25 gr de lana color blanco, Aguja de ganchillo del número 1.5mm,Aguja lanera,2 cuencas negras, Relleno Hipoalergénico,Foami Rojo,Tijera.
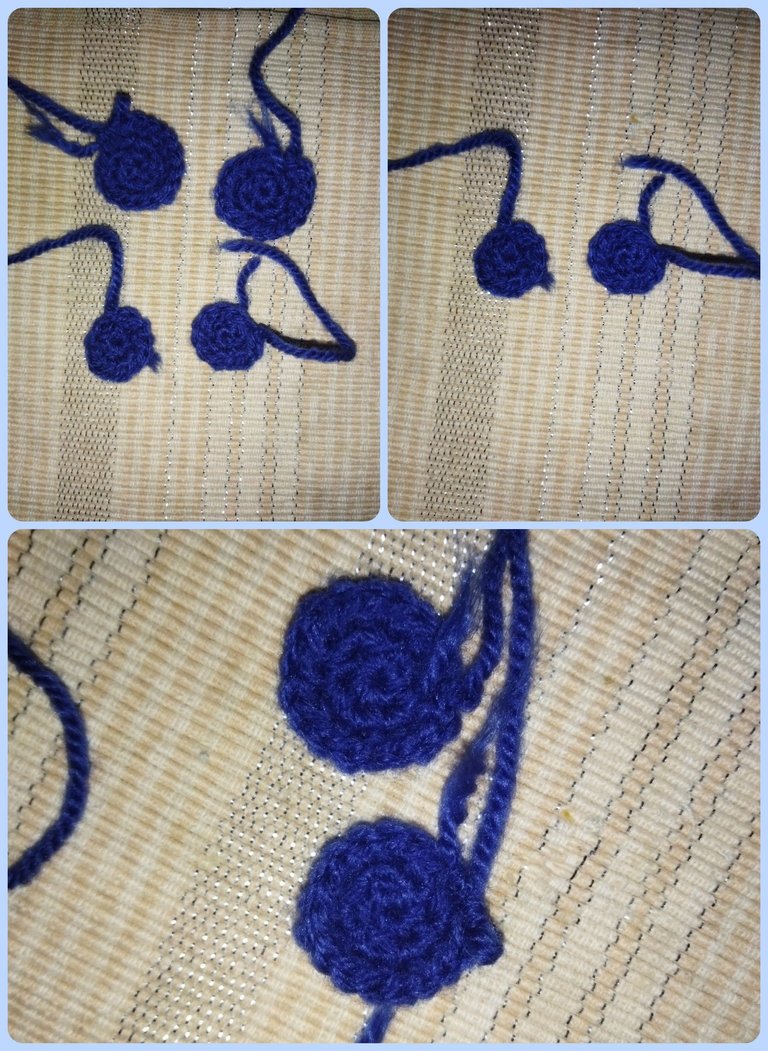
To do this we are going to take the blue yarn and make a magic ring of six single crochet stitches, the second round we make one increase for each stitch for a total of twelve single crochet stitches, we make a slip stitch, cut the yarn and close, fold in half and sew along the edge.
El primer paso en la de este patrón es hacer las dos aletas y la cola de la ballena, ya que más adelante las uniremos al cuerpo cosiendo con la aguja lanera. para ello vamos a tomar el hilo azul y montamos un anillo mágico de seis puntos bajos, la segunda vuelta hacemos un aumentos por cada punto para un total de doce puntos bajos,hacemos punto deslizado cortamos hilo y cerramos, doblamos a la mitad y cosemos por el borde.
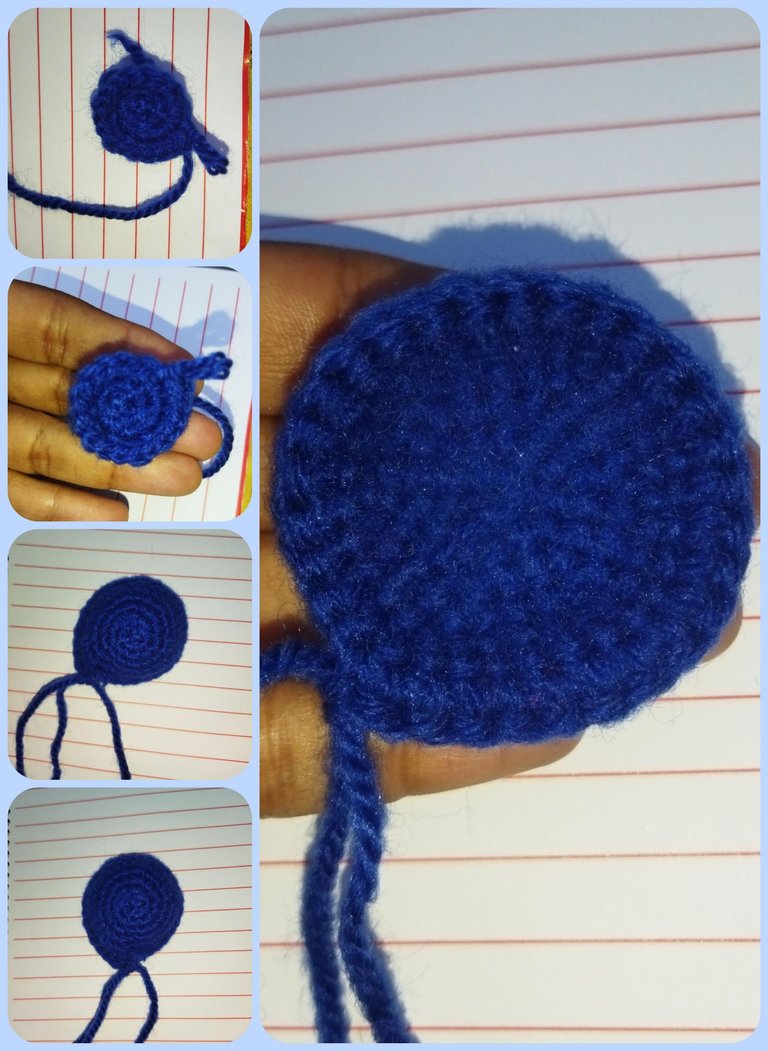
Para las aletas traseras haremos dos piezas iguales, montando un anillo mágico de seis puntos, para la segunda vuelta haremos un aumento por cada punto, para un total de doce puntos, la tercera vuelta haremos la secuencia de un punto bajo un aumento, hacemos punto deslizado y cortamos hebra larga , cosemos con la aguja lanera hasta la mitad y pegamos ambas piezas por el extremo superior.
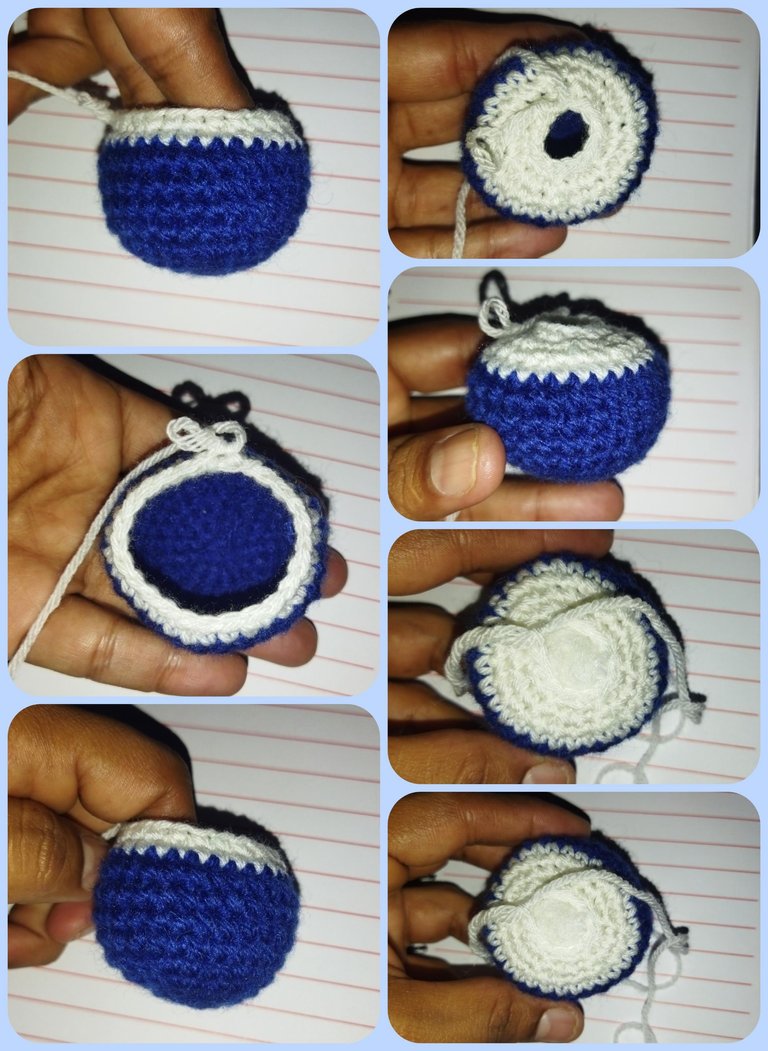
Para el cuerpo de la ballena, tomaremos hilo azul y hacemos un anillo mágico de seis puntos bajos, la segunda vuelta haremos un aumento de puntos bajos en el mismo huequito, la vuelta tres haremos un punto bajo y aumento, la vuelta cuatros dos puntos bajos y un aumento, la vuelta cinco haremos tres puntos bajos y un aumento, de la vuelta seis hasta la nueve haremos un punto sobre cada punto para darle altura al diseño. Una vez finalizadas estas vueltas cambiamos al hilo color blanco y repetimos los mismos puntos bajos, es decir, un punto sobre cada punto. la vuelta numero once haremos tres puntos bajos y una disminucion para un total de veinticuatro puntos bajos, la vuelta doce haremos la secuencia de dos puntos bajos y una disminucion para un total de dieciocho puntos bajos y por ultimo la vuelta numero trece haremos un punto bajo y una disminucion para un total de doce puntos bajos, rellenamos y cerramos con la aguja lanera, y de esta manera tenemos culminado el cuerpo de nuestra ballenita.
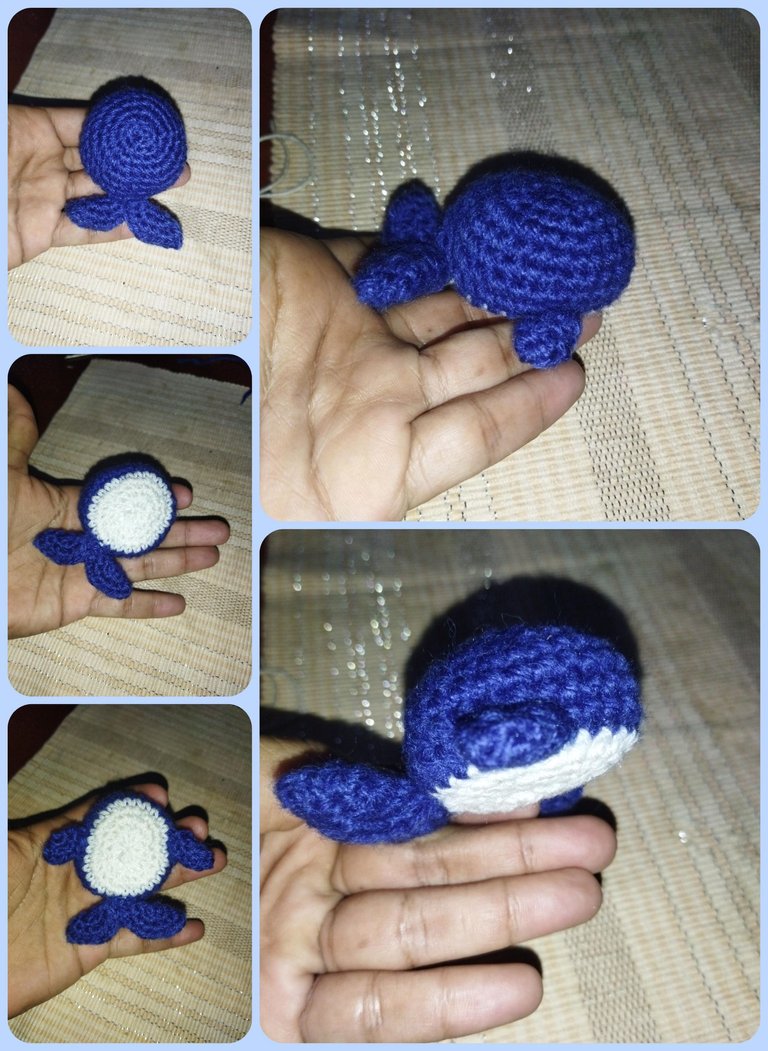
Pegamos las aletas en ambos extremos y en la parte trasera, cuidando la simetría del diseño para que nos quede parejo.
Para los detalles de la cara, vamos a recortar dos círculos en foami rojo y con pegamento textil lo colocamos a la pieza y encima le pegamos las cuencas negras, para conformar la parte del ojo. vamos a tejer con hilo azul todos los detalles de los cachitos que tiene éste personaje para darle mayor realismo, comenzando con la aleta de la cabeza, las cuatro de los laterales, las dos de las aletas y las dos de la cola. Para darle ese toque cute retocamos las mejillas con blush en tono rosa y listo ya tenemos culminado nuestro personaje de Water Whale. El resultado me enamoro y deseo de corazón también haya sido de su agrado.
Me despido hasta una nueva oportunidad, Saludos!!
Todas las imágenes son de mi propiedad, tomadas con Redmi 9T y editadas con la aplicación Photoshop express para Android.
