Hola amigos de
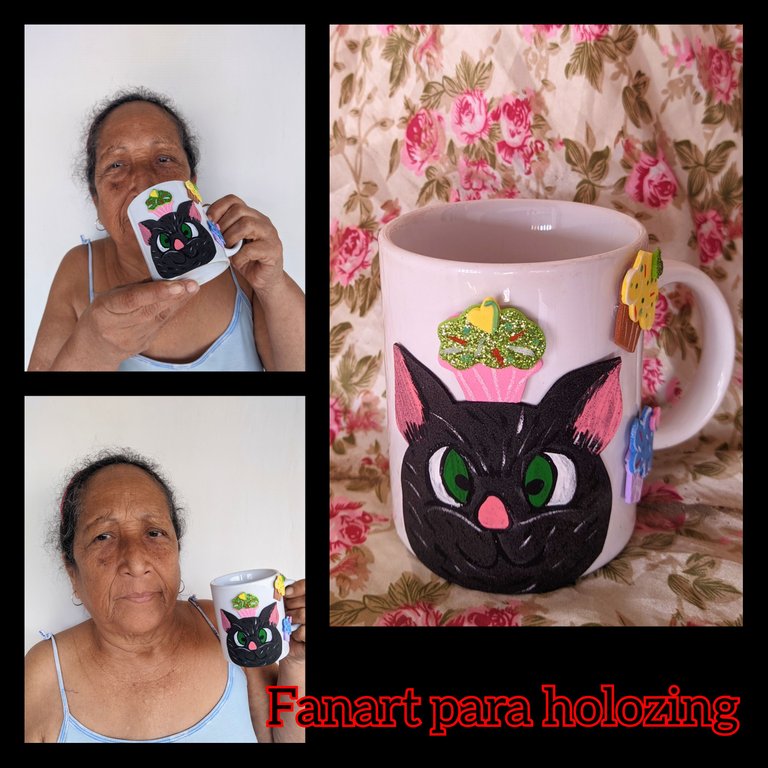
#hive reciban de parte de esta abuelita una lluvia de bendiciones, acompañado de un fuerte abrazo, hoy seguimos haciendo regalitos para esta comunidad, primero quería realizar un dibujo, pero lamentablemente mi cuaderno se terminó y no me había dado cuenta, pero entonces decidí decorar está hermosa taza con este personaje del juego, que siendo sincera, es el personaje más me gusta, ya que me recuerda al gato de la casa, el amargado de Ramón, un gato de tres años que vive de mal humor pero que todos queremos y cuidamos.
🐾Materiales 🐈⬛
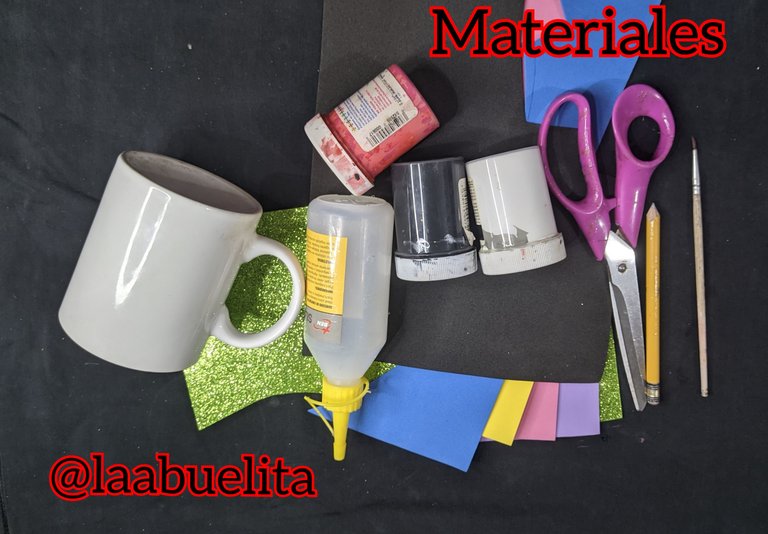
🐾 Foami negro.
🐈⬛ Foami de color verde.
🐾 Foami rosado.
🐈⬛ Foami lila.
🐾 Foami marrón.
🐈⬛ Foami amarillo.
🐾 Foami azul.
🐈⬛ Silicón líquido.
🐾 Taza blanca.
🐈⬛ Pinturas blanca y negra.
🐾 Pinturas roja y verde.
🐈⬛ Tijera.
🐾 Lápiz.
🐾Paso a paso🐈⬛
🐈⬛ Paso 1:
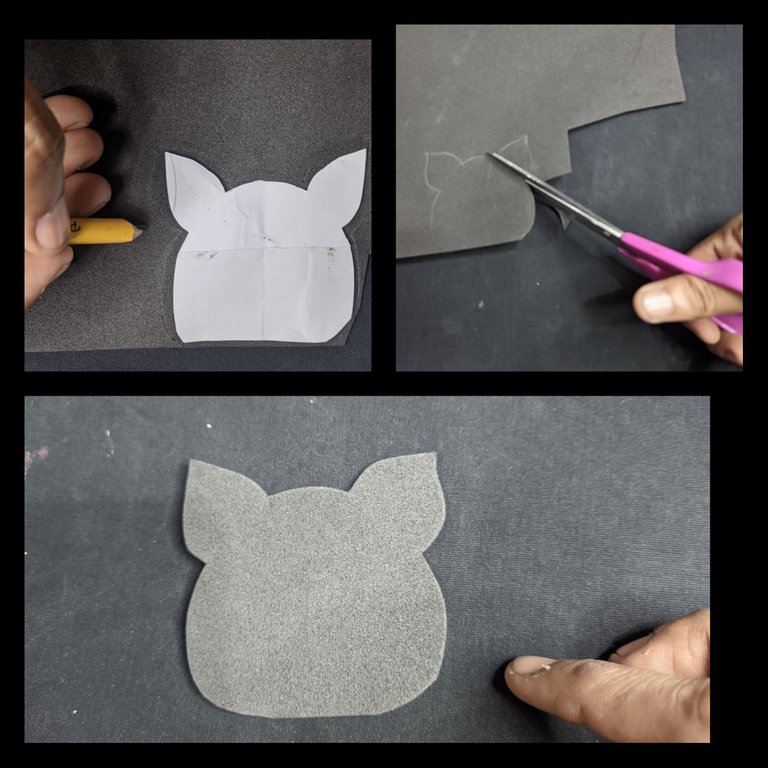
Primero tome el foami de color negro ayudándome con el lápiz dibuje la forma de la cara del gato Miu, y luego de dibujar procedí a recortarlo.
🐾 Paso 2:
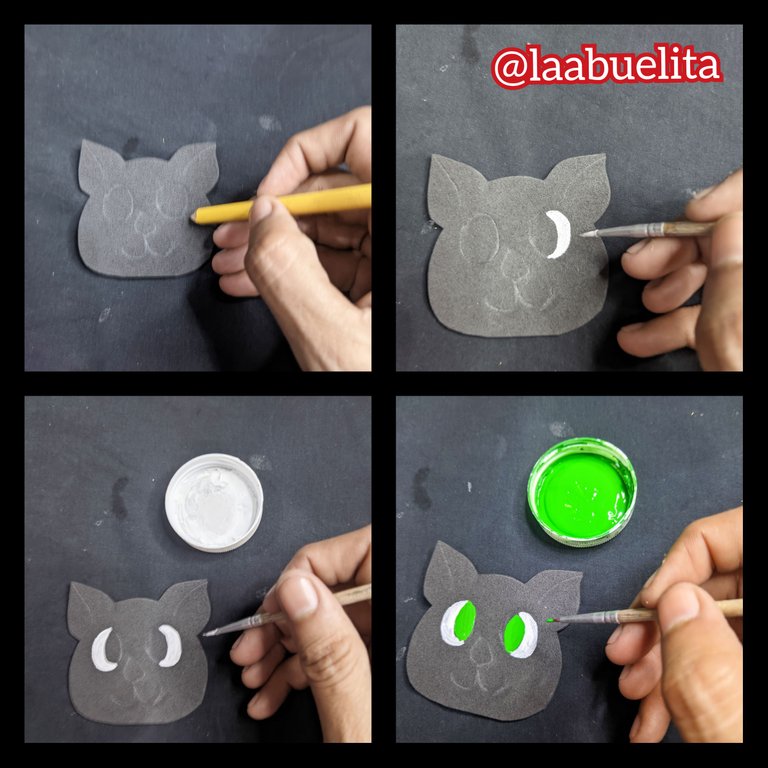
Luego con el lápiz le dibuje los rasgos a este personaje para guiarme a la hora de aplicar las pinturas.
Una vez hecho el dibujo tome las pinturas y procedí a darle color a los ojos de Miu, y para ello utilice el color blanco, negro y verde y dejé secar bien para evitar accidentes con la pintura.
🐈⬛ Paso 3:
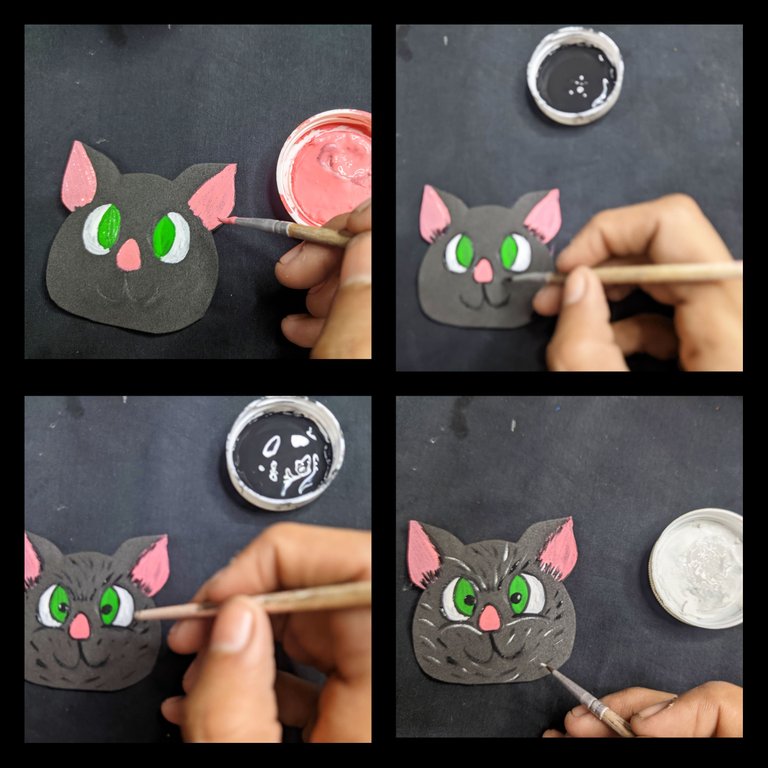
Cuando está seco seguí aplicando las pinturas para ir dándole forma al personaje, por ejemplo, coloreamos la nariz y la parte interna de las orejas de color rosado, luego con el pincel fino delineamos algunos pelitos en color negro y otros en blanco y dejamos secar bien.
🐾 Paso 4:
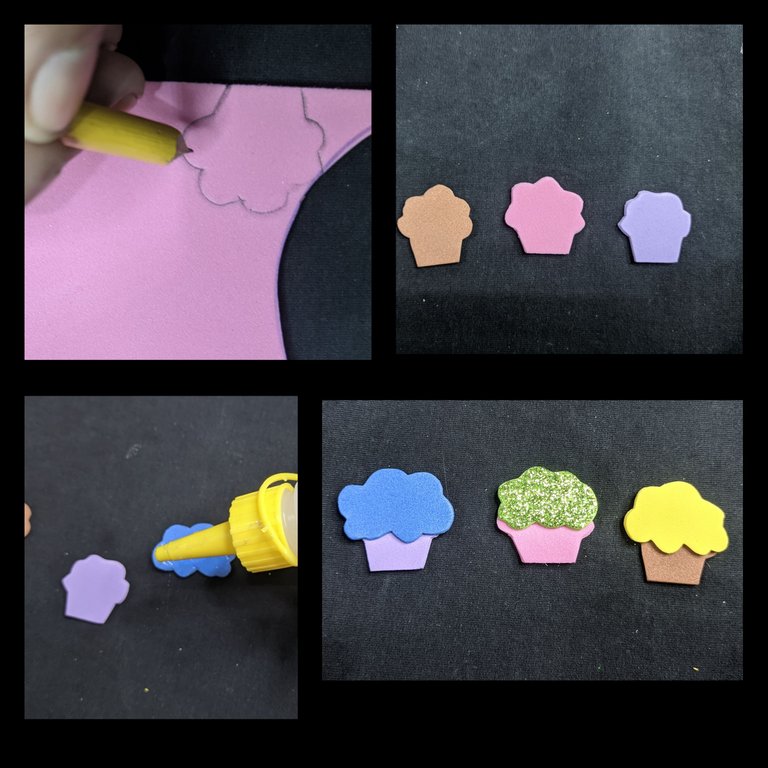
Para acompañar a nuestro personaje quise elaborar unos lindos cupcakes pequeñitos para que se vieran más delicados, entonces tomé los foamis de color rosado, marrón y el lila y en el dibuje la forma del cupcake y lo recortamos en los tres colores, uno de cada uno, luego en el foami verde, azul y amarillo dibuje y posteriormente recorte la parte de arriba de los cupcakes.
Cuando ya están recortados aplicó un poco de silicón líquido y pegamos encima de las bases que recorté primero, las combinaciones de los colores es a gusto de cada quien.
🐈⬛ Paso 5:
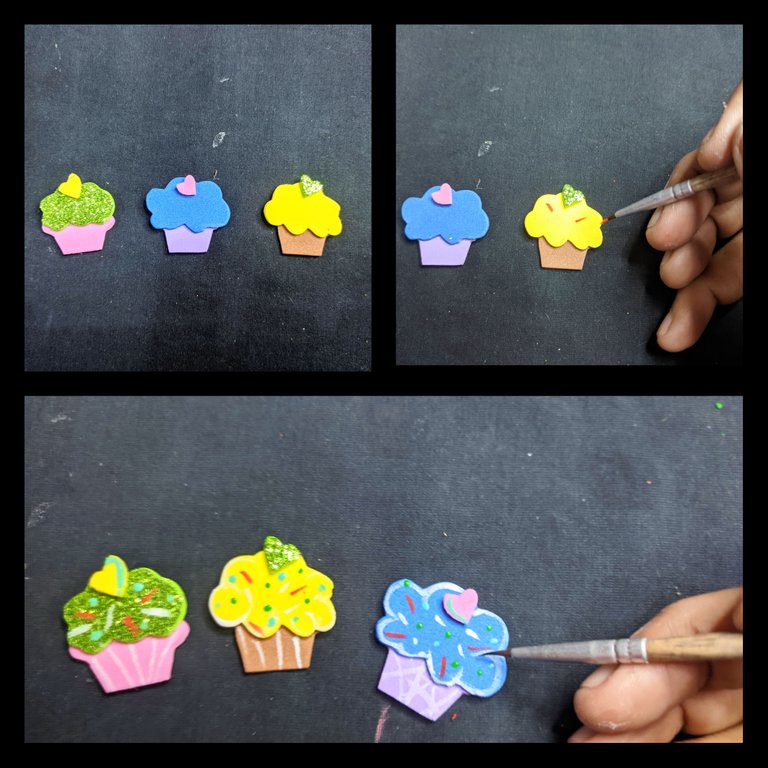
De los retacitos de foami saque tres corazones los cuales pegue encima de los cupcakes, y luego con las pinturas y el pincel fino dibujé primero en la parte de abajo unos trazos característicos del cupcake, y en la parte superior dibujé lluvias de colores para hacerlo más colorido y a su vez más atractivo.
🐾 Paso 6:
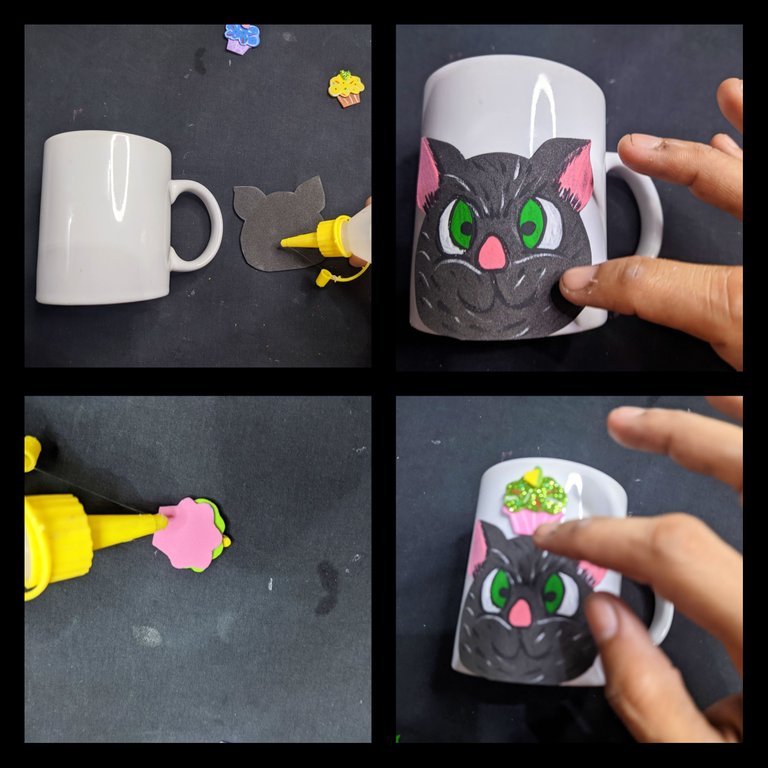
Cuando ya la cara de Miu está seca le aplicó silicón líquido en la parte trasera y pegamos en la taza, pero en el borde inferior, luego pegamos los tres cupcakes que elaboramos, dejamos secar bien y listo hemos terminado.
🐈⬛ Fotos finales 🐾
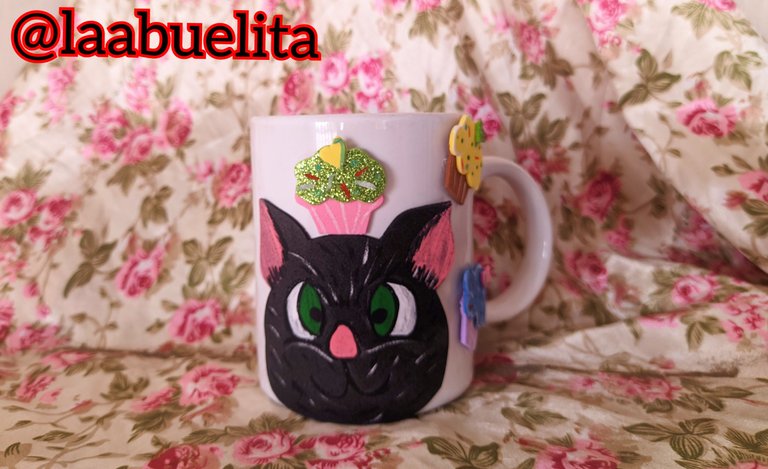
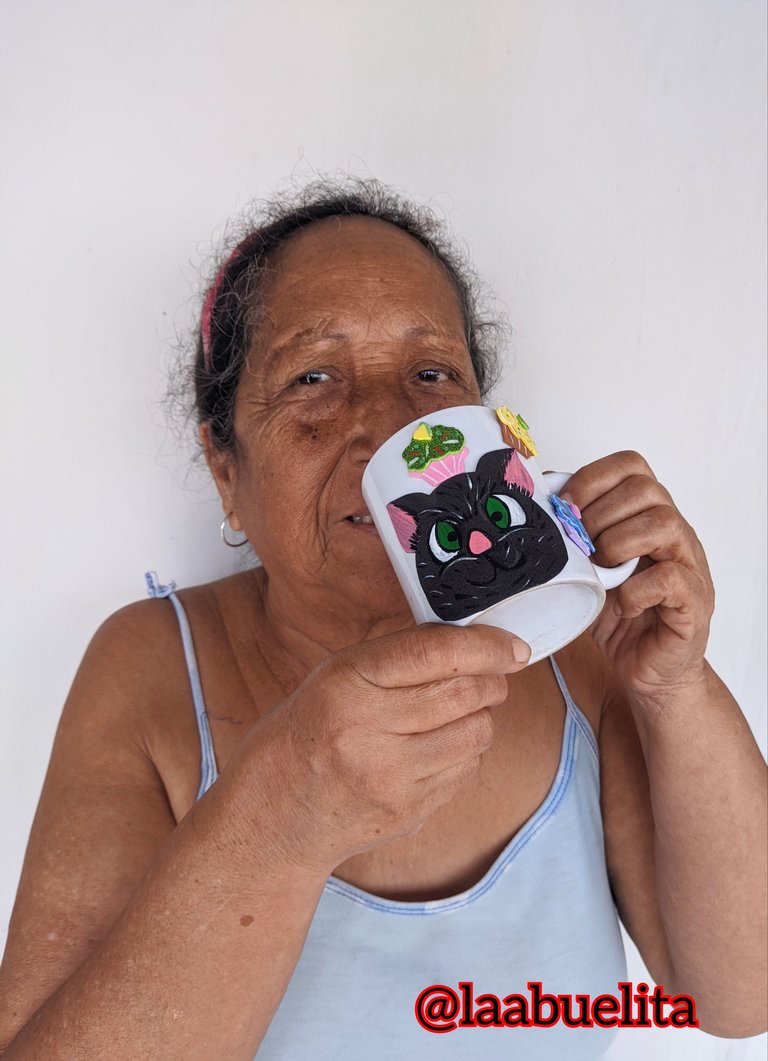
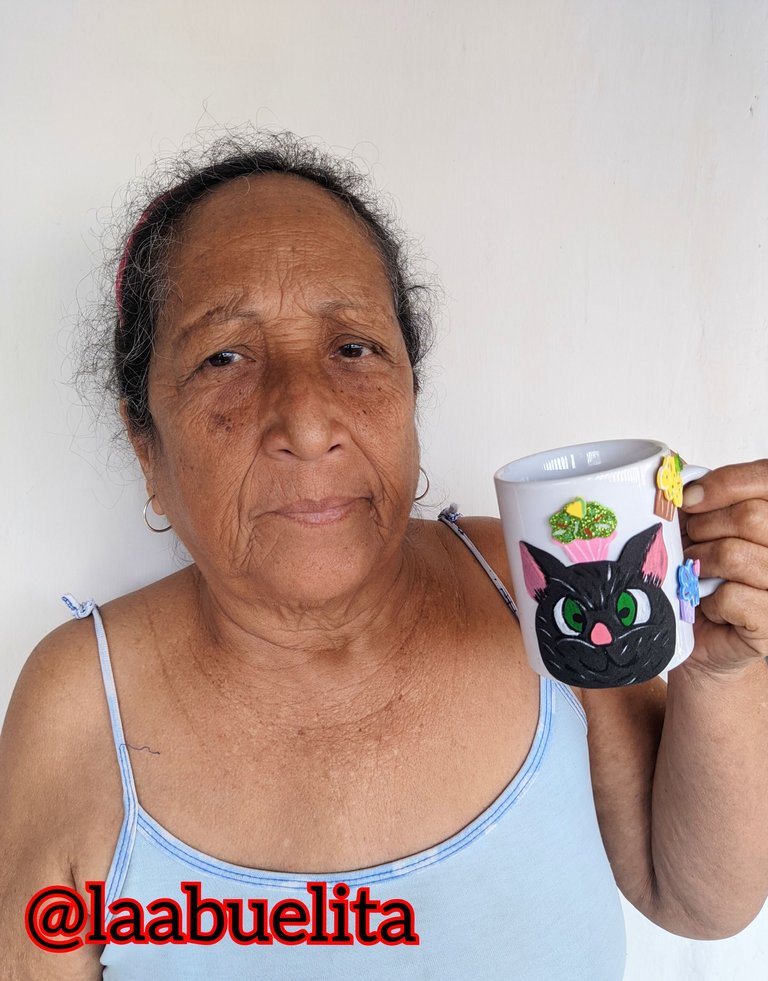
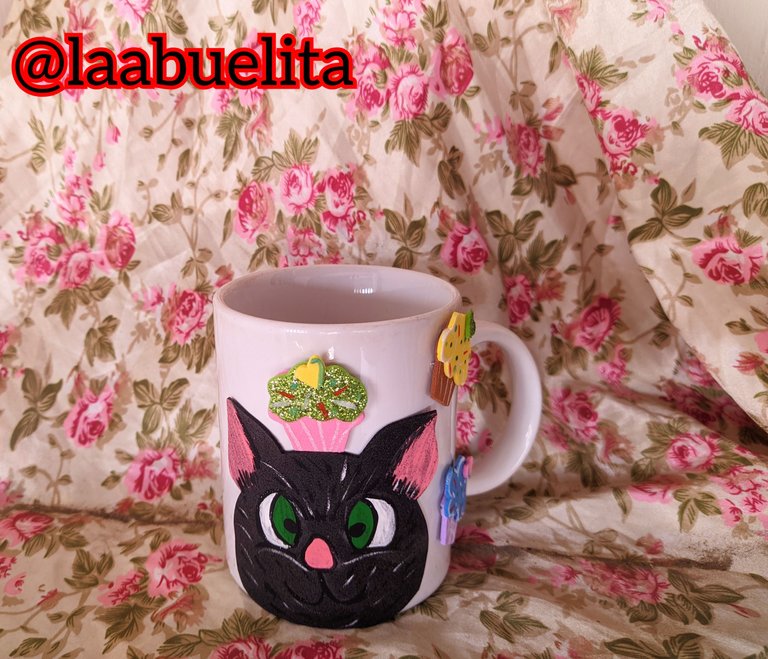
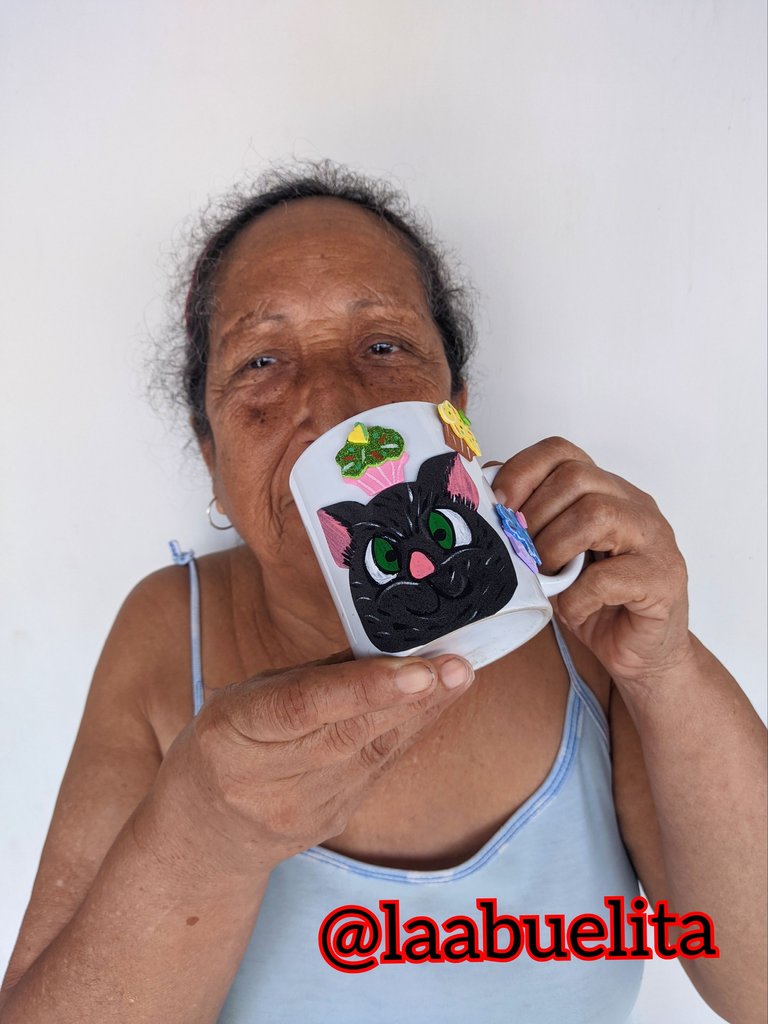
Dígame qué no quedó hermoso, dígame qué no les pareció tierno, a mí me gustó el resultado final, y tenemos una taza decorada hermosamente para tomar nuestro café y recargamos con la energía que nos transmite Miu.
Para elaborar este post utilice el programa polish que trae mi teléfono Xiaomi redmi que fue con el que tomé todas las fotos, las cuales me pertenecen y el traductor deepl versión gratis.

ENGLISH

Hello friends of
#hive receive from this granny a shower of blessings, accompanied by a big hug, today we continue making gifts for this community, first I wanted to make a drawing, but unfortunately my notebook ran out and I had not realized, but then I decided to decorate this beautiful mug with this character of the game, which to be honest, is the character I like the most, because it reminds me of the cat of the house, the bitter Ramon, a three year old cat who lives in a bad mood but we all love and care for.
🐾Materials 🐈⬛

🐾 Black foami.
🐈⬛ Green foami.
🐾 Pink foami.
🐈⬛ Lilac foami.
🐾 Brown foami.
🐈⬛ Yellow foami.
🐾 Blue foami.
🐈⬛ Liquid silicone.
🐾 White cup.
🐈⬛ Black and white paints.
🐾 Red and green paints.
🐈⬛ Scissors.
🐾 Pencil.
🐾Step to paso🐈⬛
🐈⬛ Step 1:

First I took the black foami and with the help of the pencil I drew the shape of Miu the cat's face, and after drawing I proceeded to cut it out.
🐾 Step 2:

Then with the pencil I drew the features of this character to guide me when applying the paints.
Once the drawing was done, I took the paints and proceeded to color Miu's eyes, and for this I used white, black and green and let them dry well to avoid accidents with the paint.
🐈⬛ Step 3:

When it is dry I continued applying the paints to give shape to the character, for example, we colored the nose and the inner part of the ears in pink, then with the fine brush we outlined some hairs in black and others in white and let them dry well.
🐾 Step 4:

To accompany our character I wanted to make some cute little cupcakes to make them look more delicate, so I took the pink, brown and lilac foamis and drew the shape of the cupcake on it and cut it out in the three colors, one of each, then on the green, blue and yellow foami I drew and then cut out the top part of the cupcakes.
When they are already cut out, apply a little liquid silicone and stick them on top of the bases that I cut out first, the color combinations are up to each person's taste.
🐈⬛ Step 5:

From the little pieces of foami I took out three hearts which I glued on top of the cupcakes, and then with the paints and the fine brush I drew first on the bottom part some characteristic strokes of the cupcake, and on the top part I drew colored rains to make it more colorful and at the same time more attractive.
🐾 Step 6:

When Miu's face is dry I applied liquid silicone on the back and glued it on the cup, but on the bottom edge, then we glued the three cupcakes we made, let them dry well and we're done.
🐈⬛ Final photos 🐾


Tell me what was not beautiful, tell me what was not tender, I liked the final result, and we have a beautifully decorated cup to drink our coffee and recharge with the energy that Miu transmits to us.
To elaborate this post I used the polish program that comes with my Xiaomi redmi phone which was the one I used to take all the photos, which belong to me and the free version of deepl translator.


