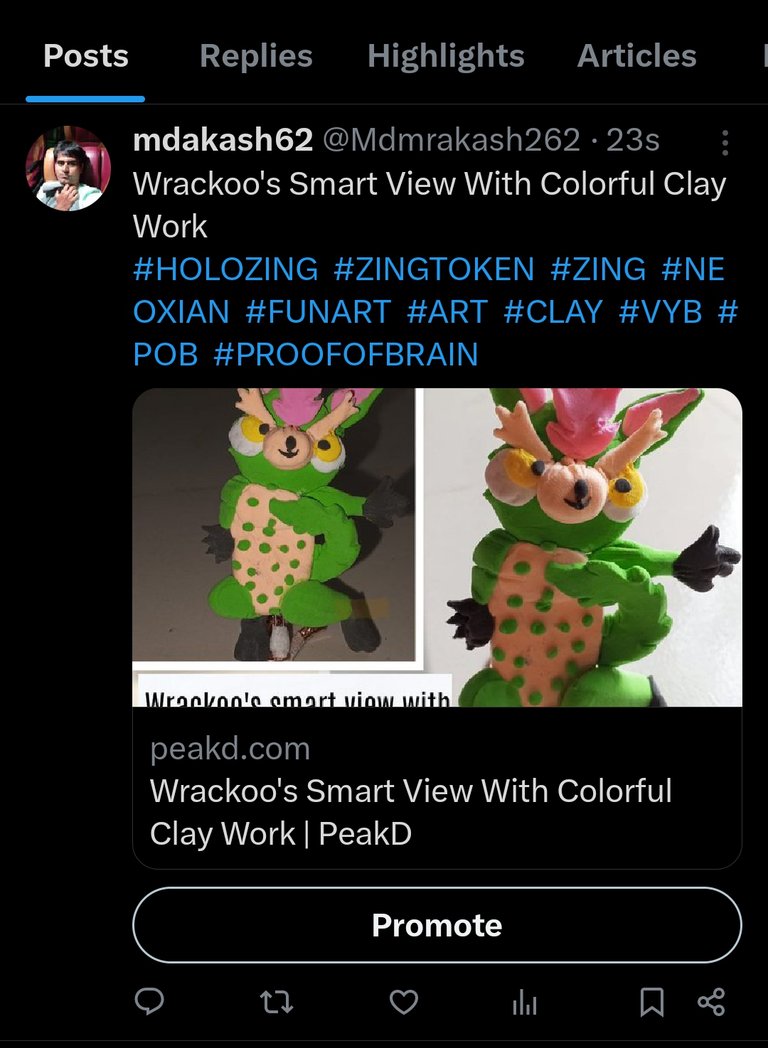
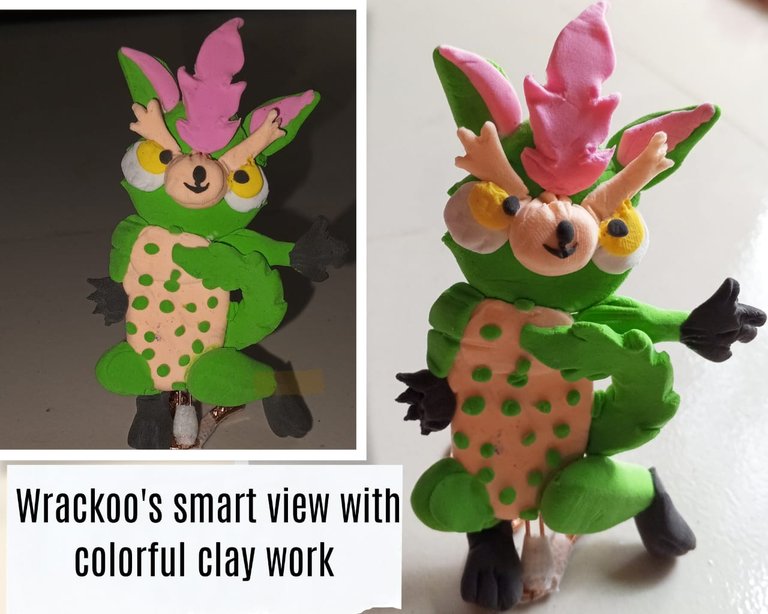
Friends,Grettings everyone

Equipment:-
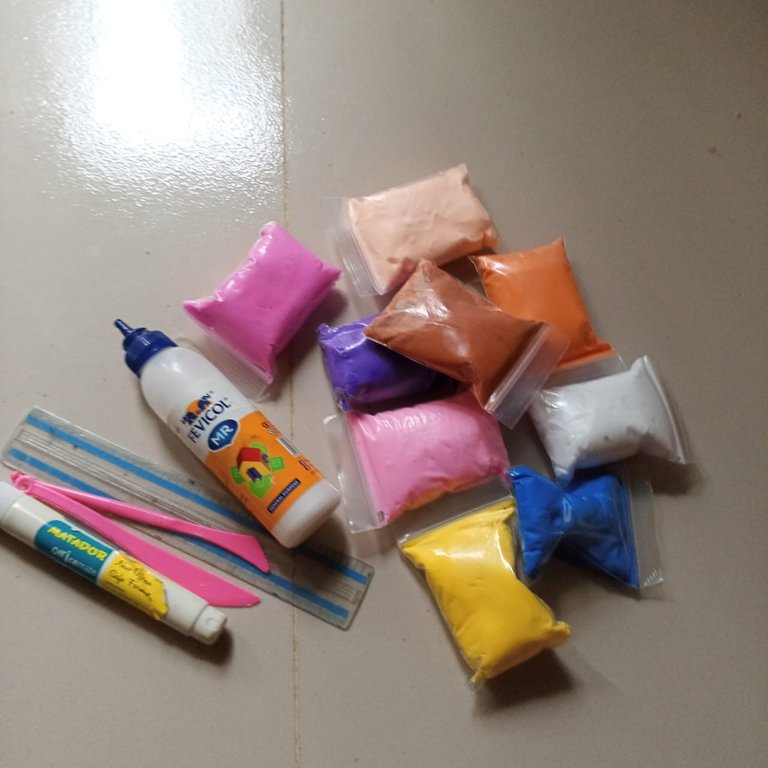
- Clay
- scale
- Scissor
- Fabical glue
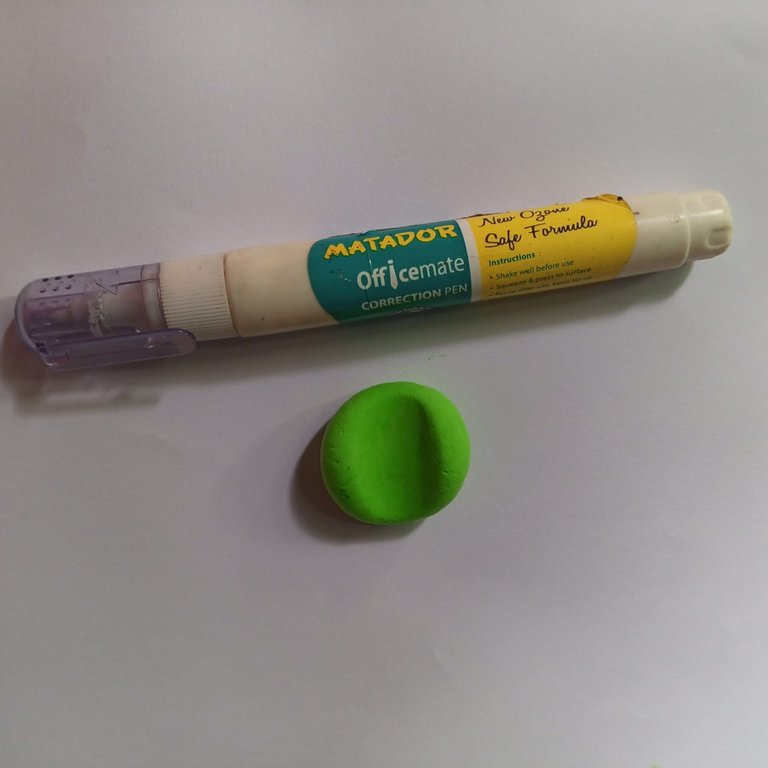
- Correction pen
- Necessary plastic equipment

Step by step making plan
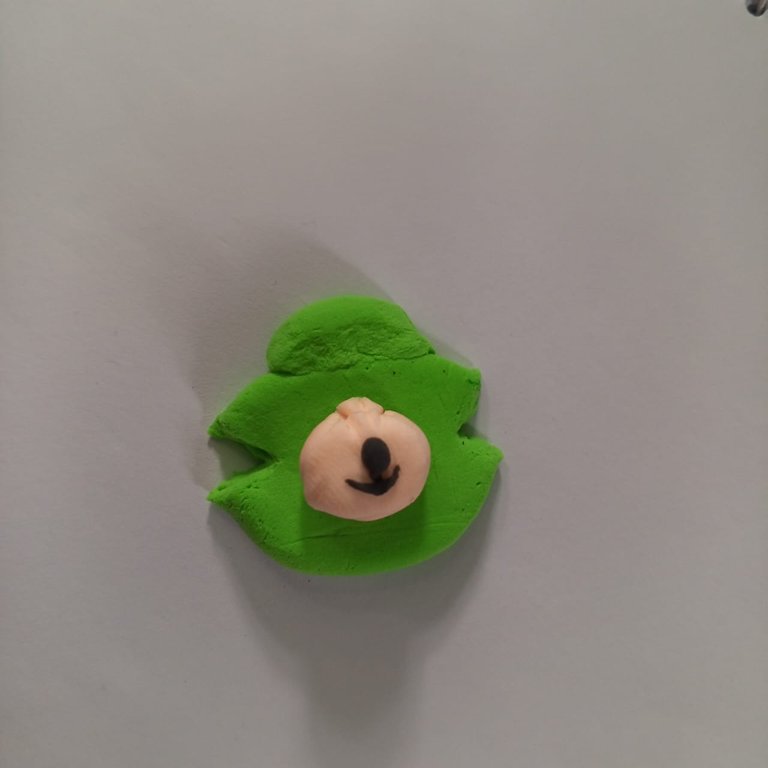
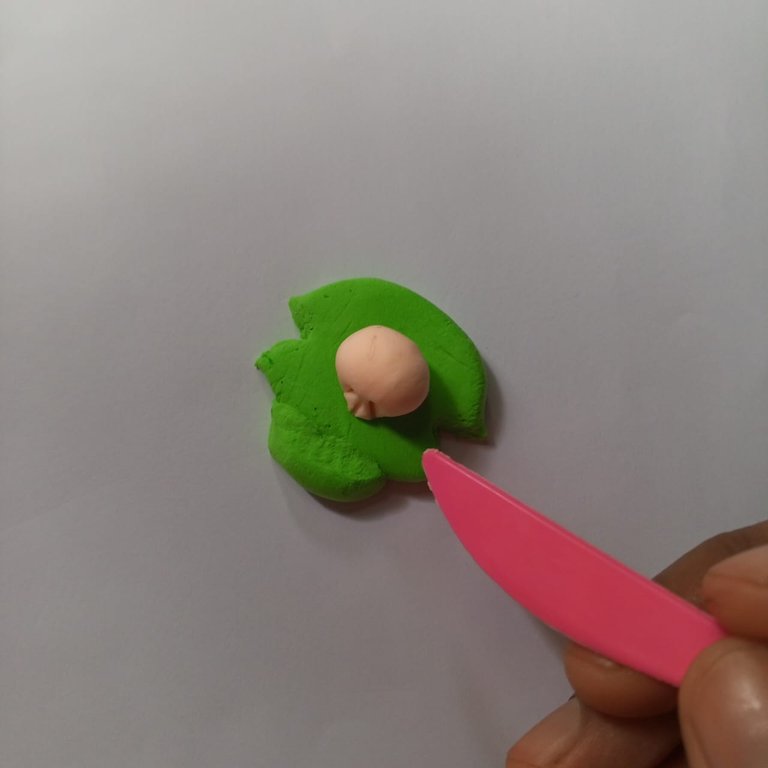
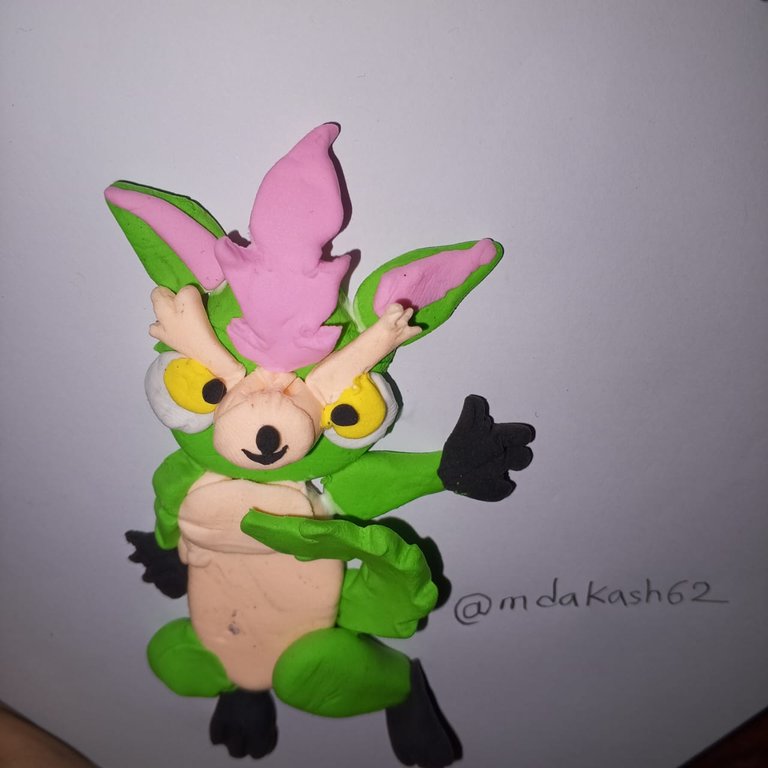
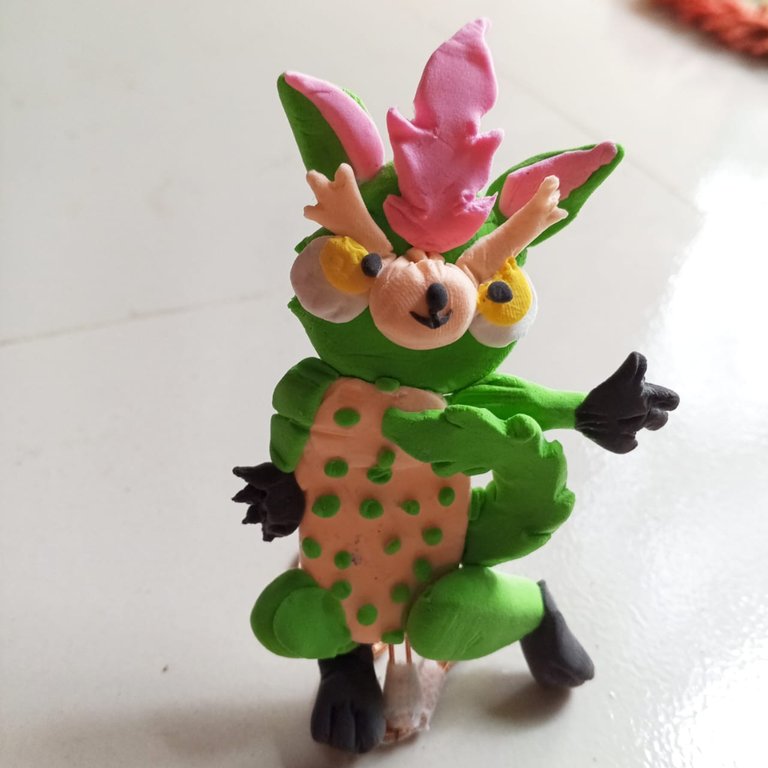
This time, after taking a little skin color clay, I placed it on the shape of the face. I will make a face with it. Then I made the shape of the face and nose with black clay on top of the skin color clay.
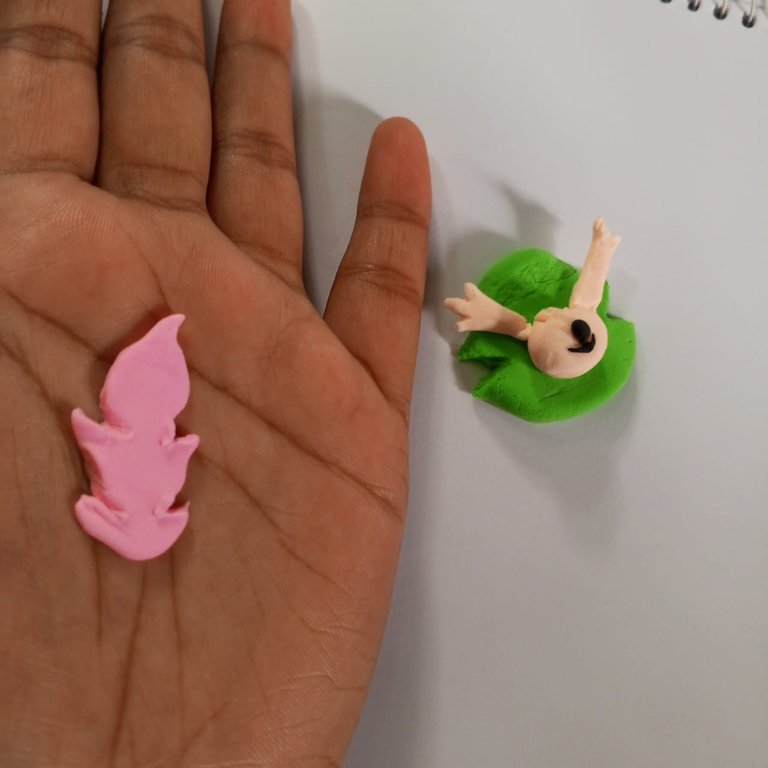
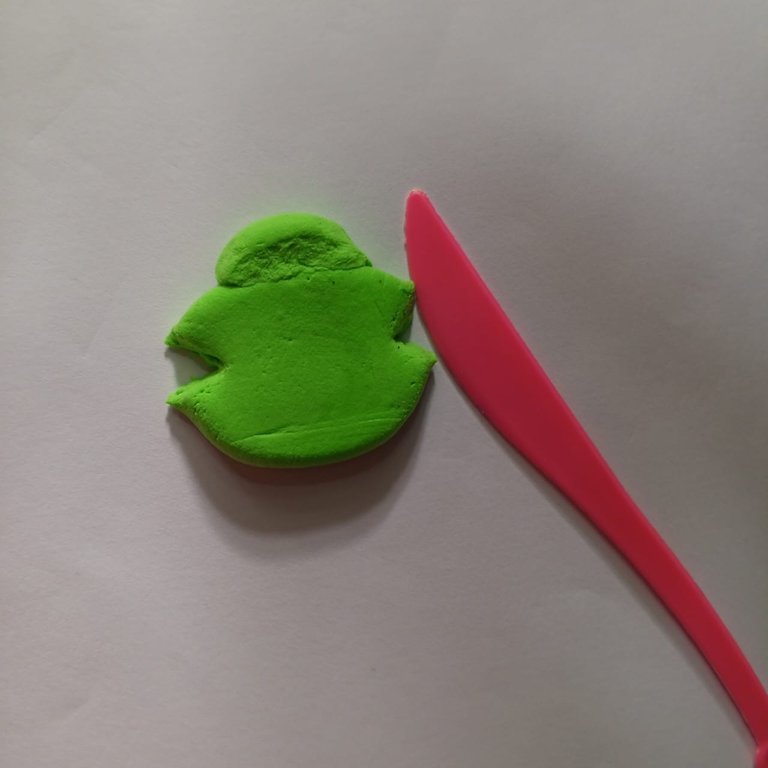
Then after taking a little clay of skin color and taking the shape of two horns, I applied it on the face of the wrackoo's with glue. Then with the help of plastic tool I made the upper leaf shape part.
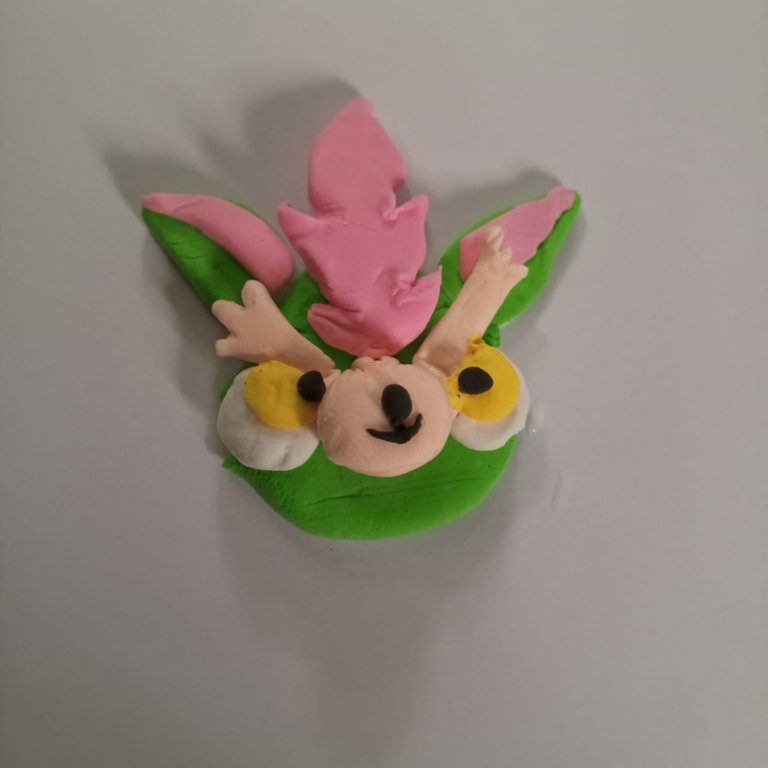
At this point I have created the wrackoo's eyes. First I used white color clay to make the eyes and then yellow color and lastly black color clay to make the eyes. After making the eyes I made two separate ears and attached them with glue. I made two triangle shaped ears and decorated them with light pink color clay.
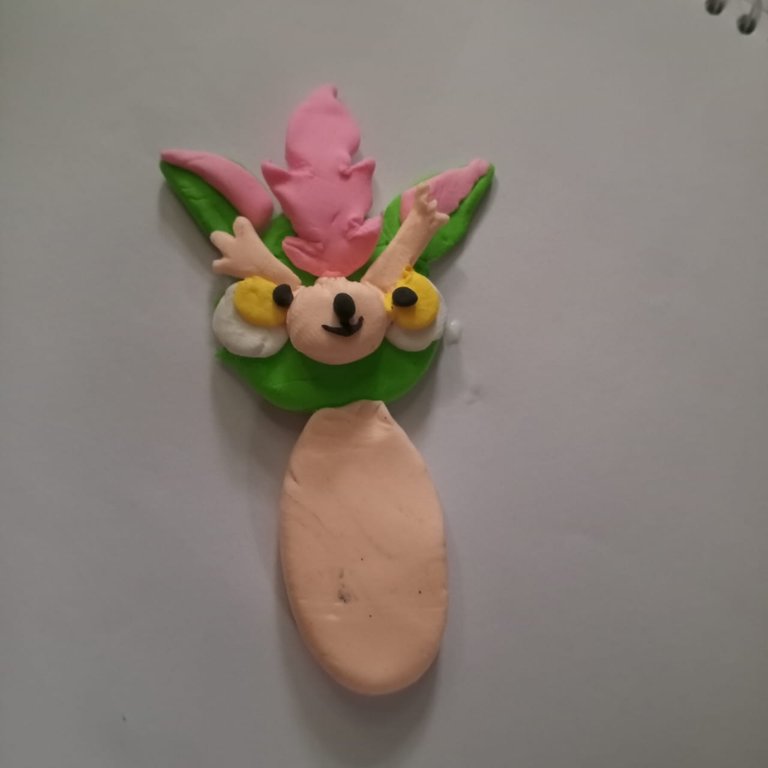
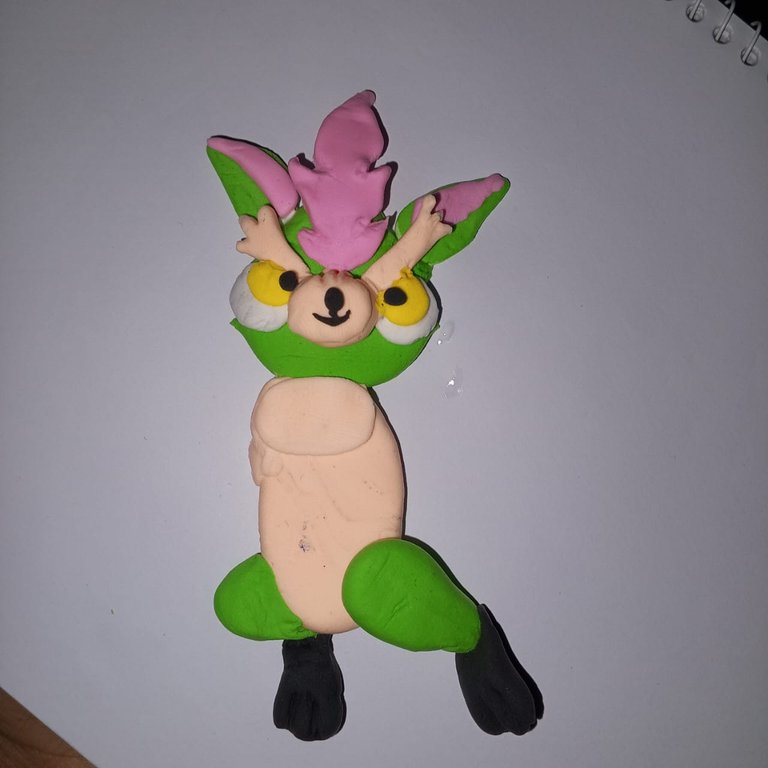
This time, to make the lower part, after making a balloon shape with skin color clay, I took it with a correction pen. Then I put it under the shape of the head with glue. Then I have made two leg, for this I have made green color on the top and black color on the bottom. I took the feet with a plastic device.
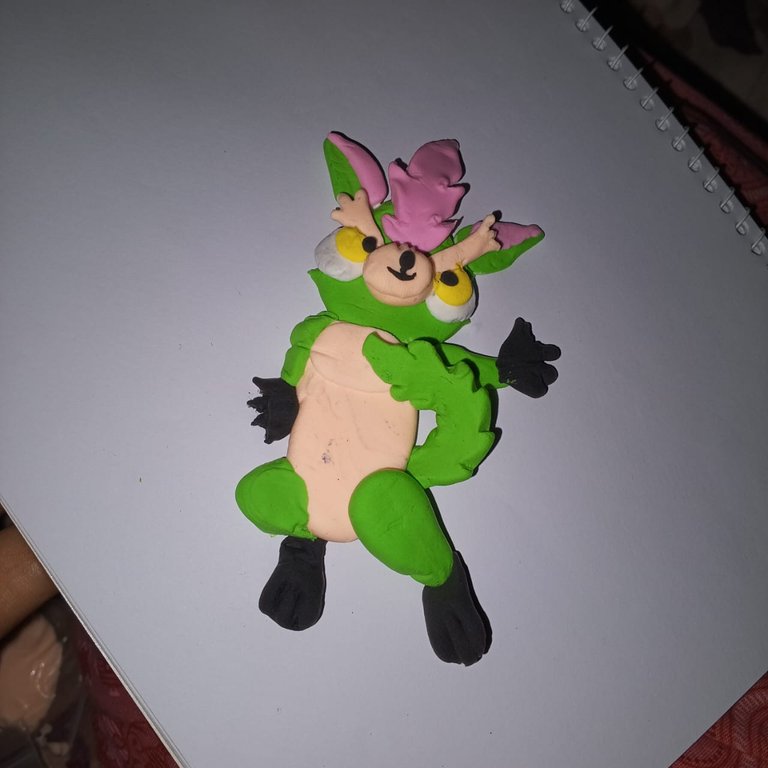
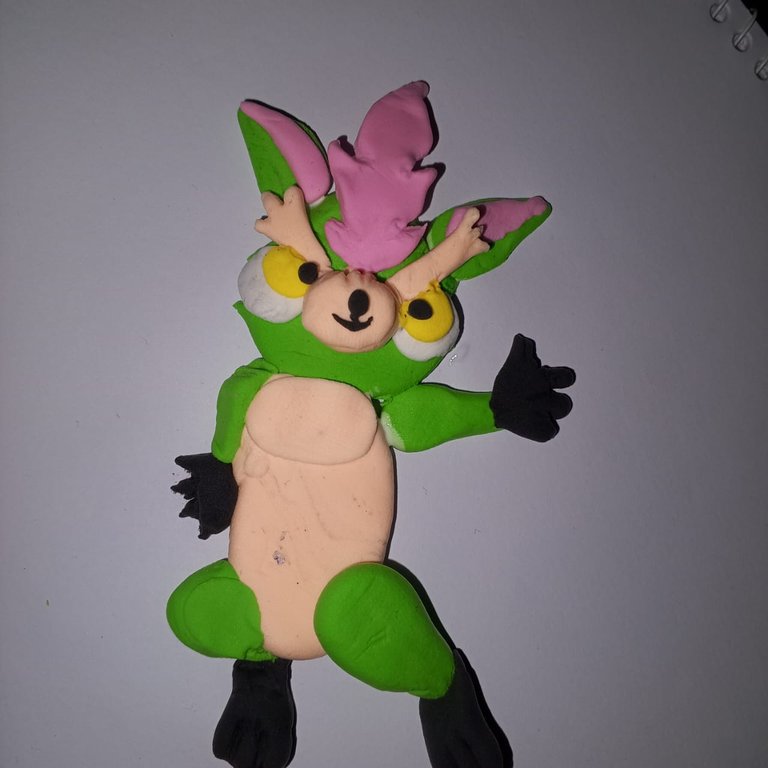
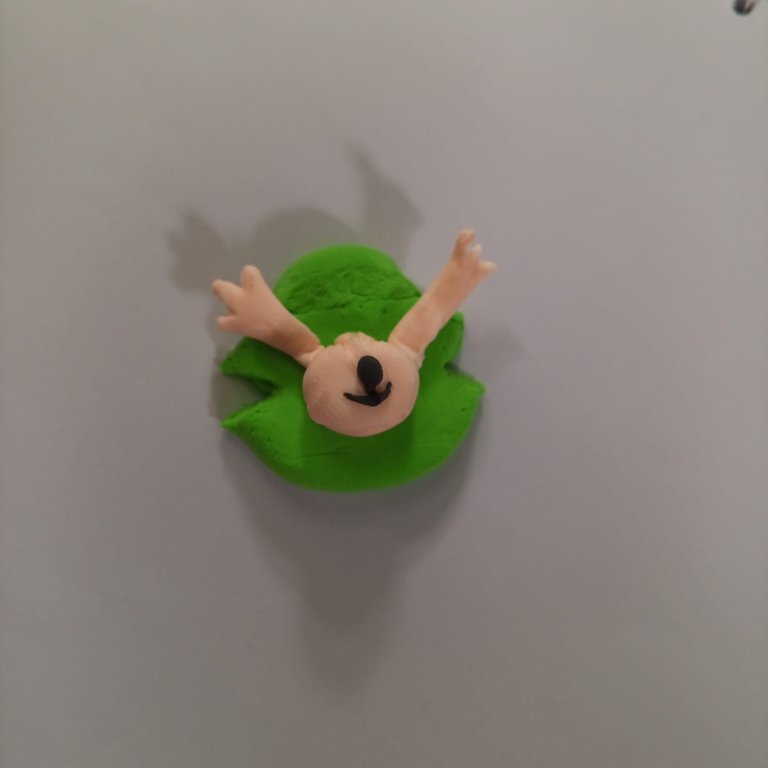
This time I have made two hands. Then I made a nice big tail and attached it with glue. I cut a groove on both sides of the tail with a knife.
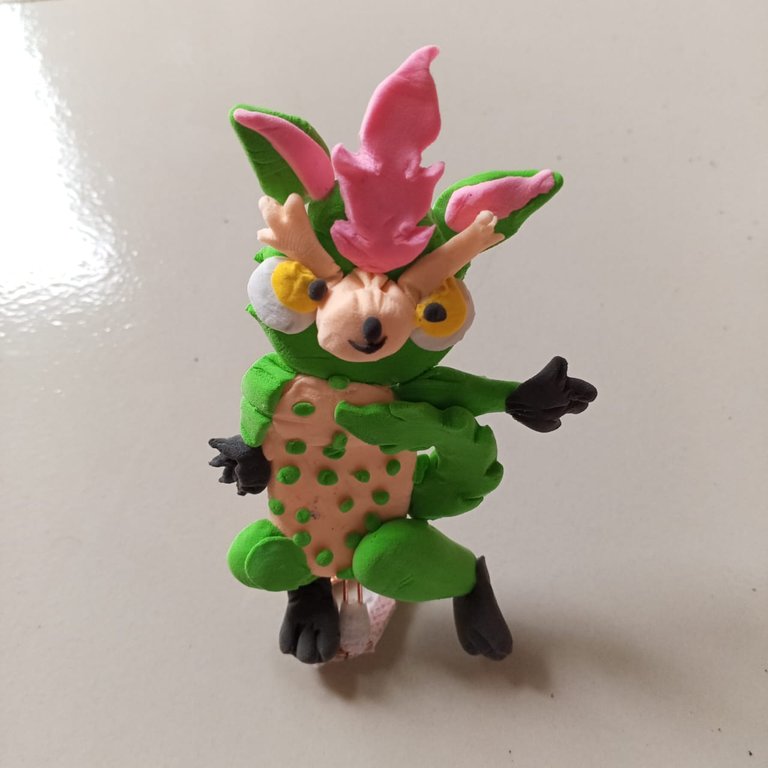
Finally, I made small green balls on the body of the wrackoo and put them in the body. These small balls presented the wrackoo more beautifully.
Thank you for reading my creative article blog .Stay safe,stay happy.i think if you find any mistake in writing or something. Please allow me to correct it.And find me on social media.
My introduced link