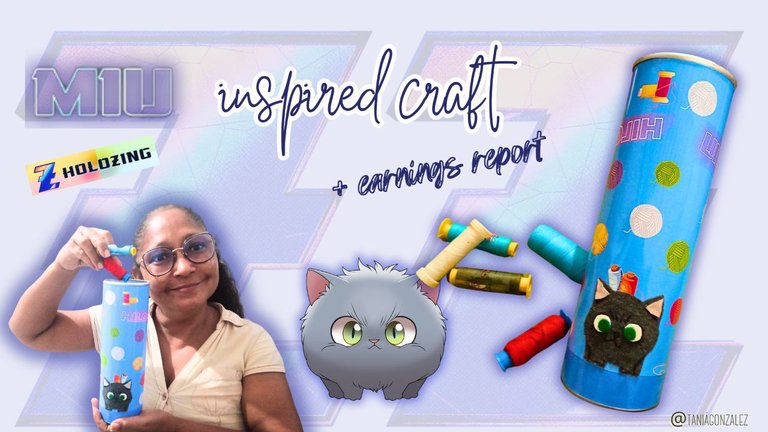
Hello #holozing friends ! I hope your weekend is great
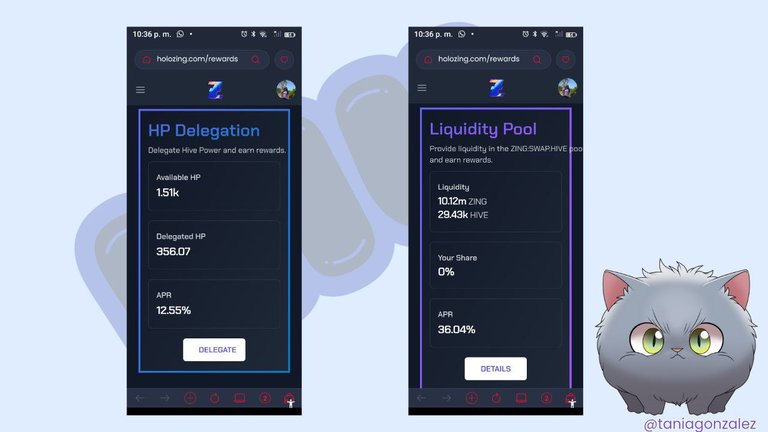
I'm here today once again to share with you the report of my proxy earnings and show you another of my crafts.
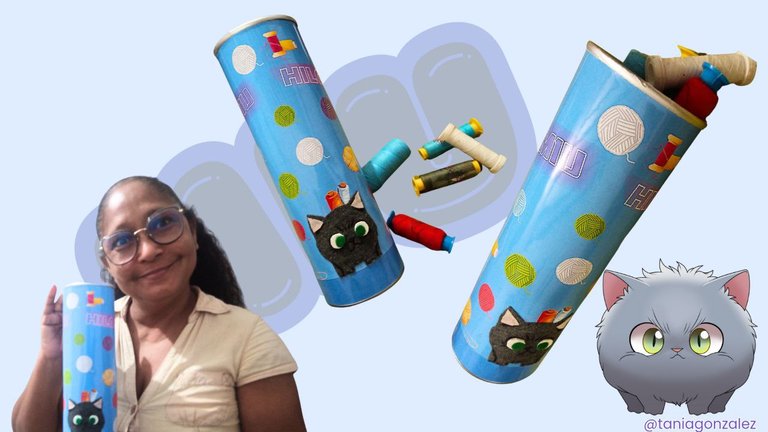
This time, I decorated a case for my sewing threads, using recycled materials among others.
¡Hola amigos de #holozing ! Espero que su fin de semana sea genial
Estoy hoy aquí una vez más para compartir con ustedes el reporte de mis ganancias por la delegación y mostrarles otra de mis manualidades.
En esta ocasión, decoré un estuche para mis hilos de coser, utilizando materiales reciclados entre otros.
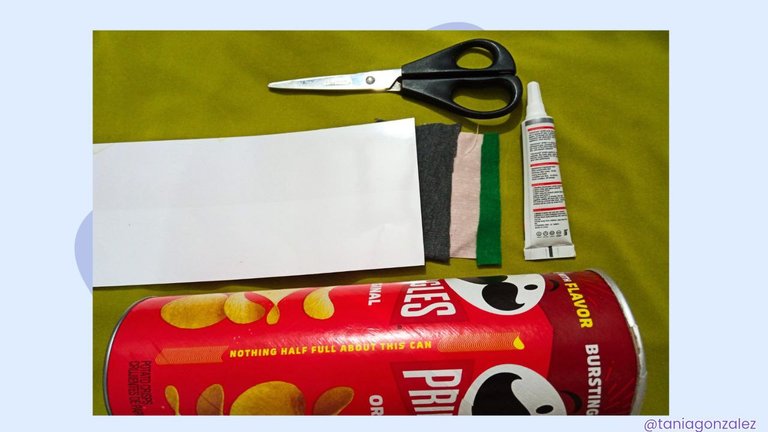
Next, I will show you step by step how I made it and the materials I used.
Materials
- Gray, pink and green fabric
- Sheet of paper
- Scissors
- Pencil
- Black ballpoint pen
- Multipurpose glue
- Potato tube
A continuación, les mostraré paso a paso cómo lo elaboré y los materiales que utilicé.
Materiales
- Tela gris, rosada y verde
- Hoja de papel
- Tijeras
- Lápiz
- bolígrafo negro
- Pegamento multipropósito
- Tubo de papas
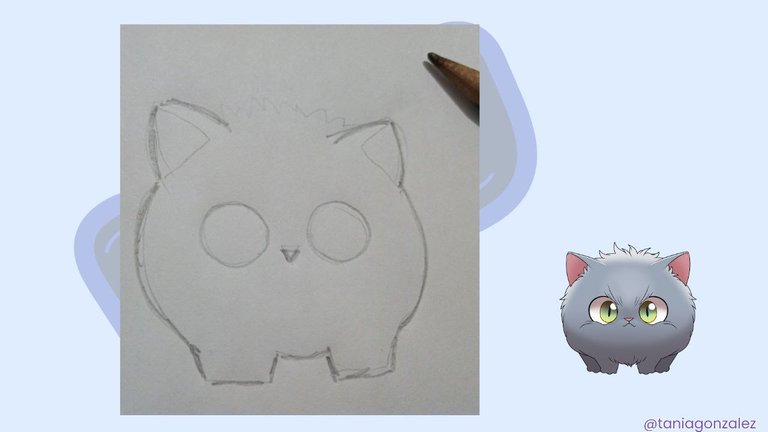
Procedure (Drawing and Cutting)
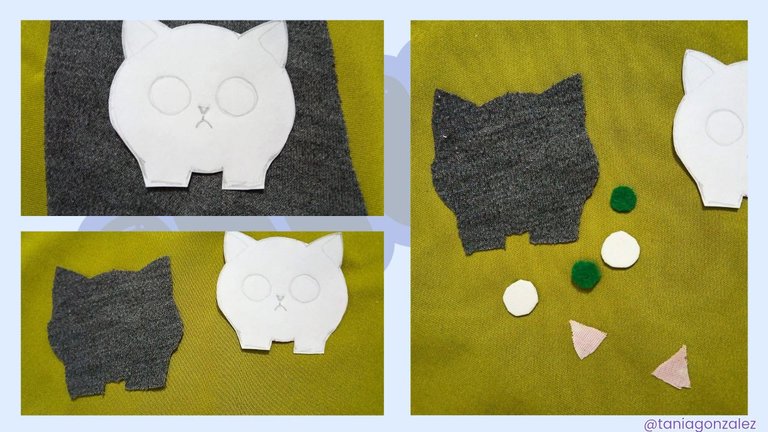
First, I drew on a sheet of paper the image of MIU to get an idea of what it would look like and to get a mold that I will use.
Procedimiento (Dibujo y Recorte)
Primero, dibujé en una hoja de papel la imagen de MIU para tener una idea de cómo quedaría y para sacar un molde que utilizaré.
Once the mold was ready, I transferred it to the fabric. Once the figure was ready, I cut it out very carefully so as not to damage the fabric. I also cut out the four pieces of the eyes and the inner part of the ears.
Al tener el molde listo lo transferí a la tela. Una vez lista la figura, la recorté con mucho cuidado para no dañar la tela. También recorté las cuatro piezas de los ojos y la parte interior de las orejas.
Assembly of MIU
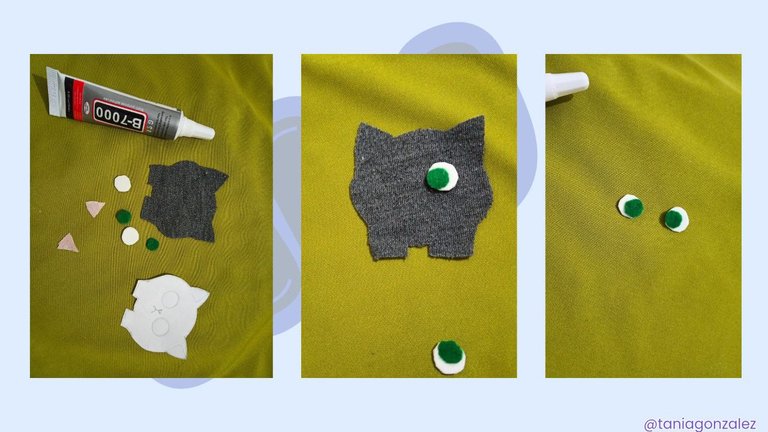
With all the pieces ready, I started assembling MIU. I used the multipurpose glue to glue the two eye pieces together, and then glued them to the body, I also glued the ears.
Montaje de MIU
Con todas las piezas listas, comencé a ensamblar a MIU. Utilicé el pegamento multipropósito para pegar las dos piezas de los ojos, y luego las pegué al cuerpo, también peque las orejas.
Final Details
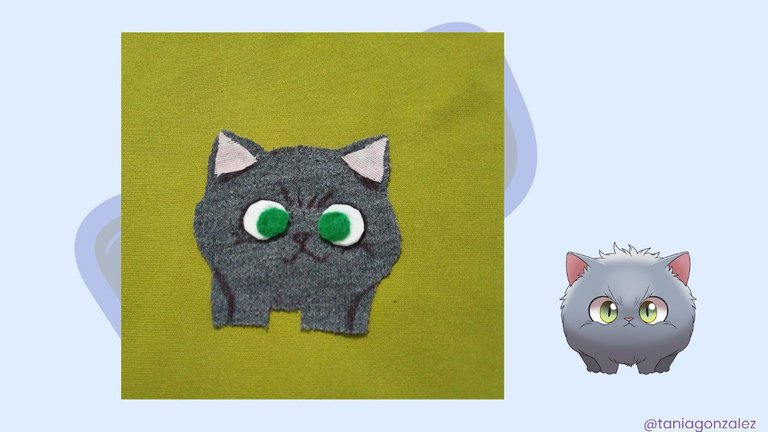
To finish the MIU decoration, I highlighted the details of the eyes, nose and mouth with a black ballpoint pen.
Detalles Finales
Para terminar la decoración de MIU, resalté los detalles de los ojos, nariz y boca con un bolígrafo de color negro.
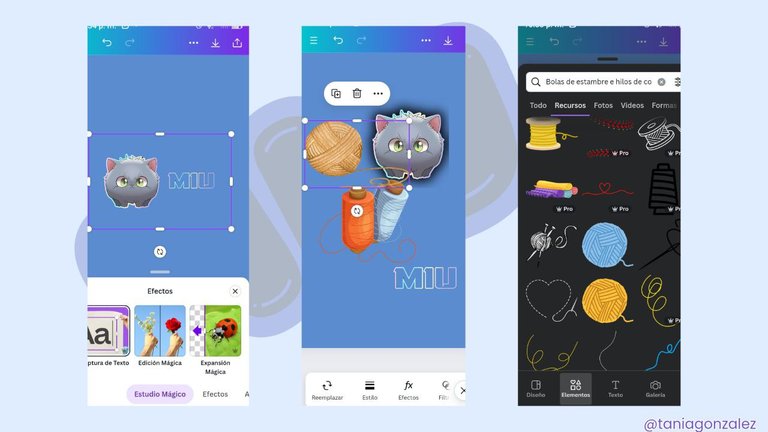
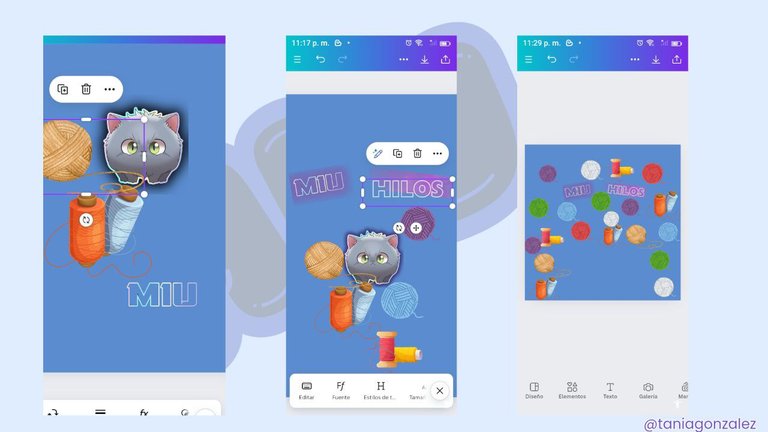
Then, I drew up the design for the bottom of the can using the canvas graphic design program.
Luego, elaboré el diseño del fondo de la lata utilizando el programa de diseño gráfico canvas.
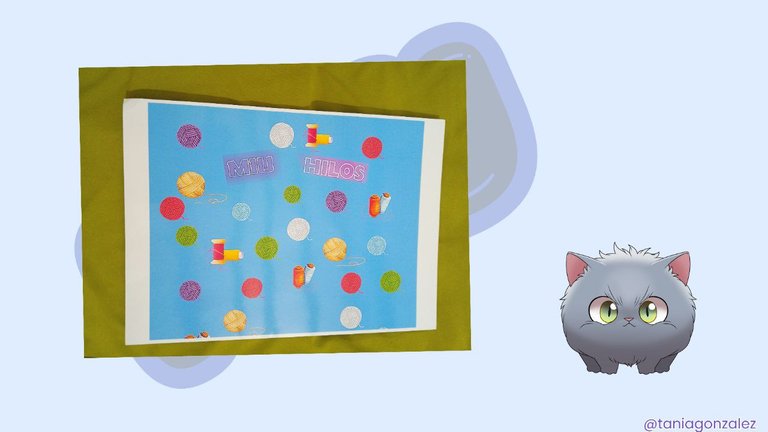
When I finished the design I printed it and then trimmed all the excess edges.
Al terminar el diseño imprimí y posteriormente le recorté bien todos los bordes sobrantes.
Final Assembly
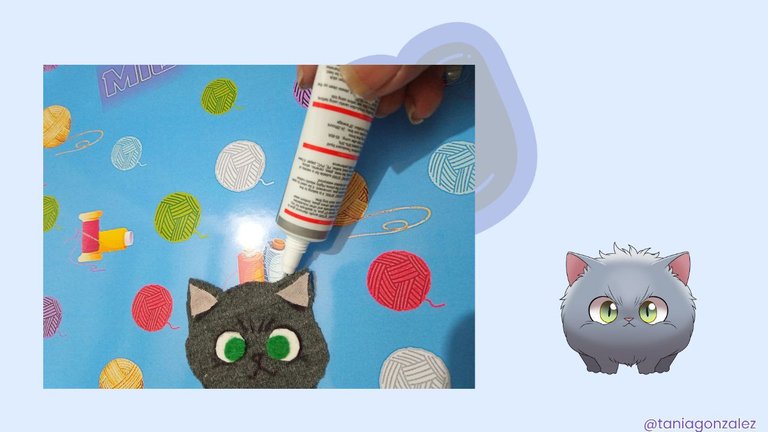
I glued MIU in the center, at the bottom.
Ensamblaje Final
Pegué a MIU en el centro, en la parte inferior.
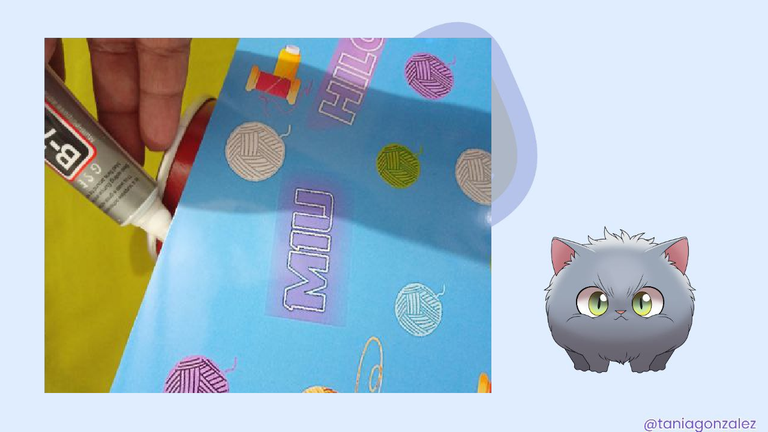
Finally, I glued the bottom to the can with the all-purpose glue, again using the glue generously.
Finalmente, pegué el fondo a la lata con el pegamento multipropósito, utilizando nuevamente el pegamento de manera generosa.
Here you can see how this craft turned out, which I will use to store my spools of thread. I hope you liked this practical and creative craft.
Aquí pueden ver cómo quedó esta manualidad, que utilizaré para guardar mis carreteles de hilo. Espero que les haya gustado esta práctica y creativa manualidad.
I wish you all a great Sunday and a nice start of the week, I'll see you again in another of my posts!
See you soon,
Bye.
Les deseo a todos un domingo genial y un lindo comienzo de semana. ¡Nos volveremos a ver en otra de mis publicaciones!
Hasta pronto,
Chao.

The photos were taken with a Bison X10 Pro
DeepeL was used
Photos was made with Canvas

