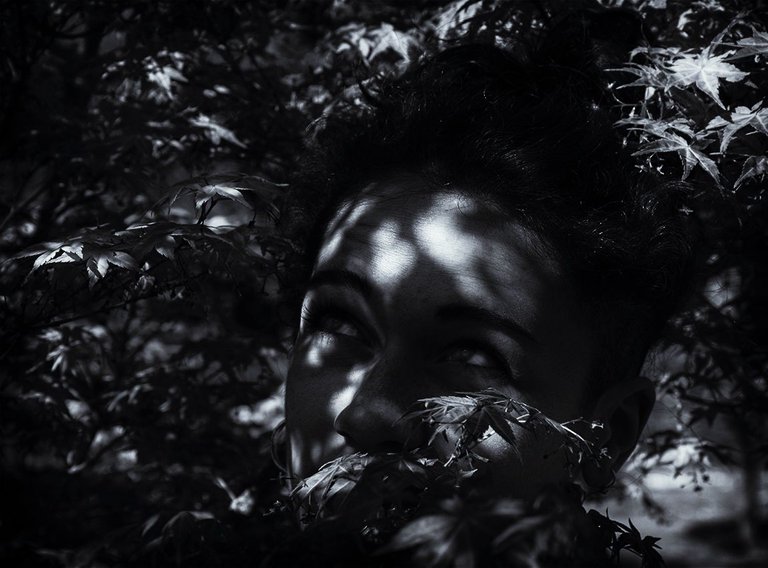
Fotografía por: @wilfredocav
La intención de esta comunidad, es crear un feed, donde todos compartamos nuestros trabajos fotográficos, con la finalidad de crear ese feedback de conocimientos y por supuesto tener los fundamentos necesarios para seguir aprendiendo sobre el grandioso mundo de la fotografía. Y para esta ocasión tenemos el honor de presentar nuestra primer iniciativa en el concurso # 01 de Visual Shots, bajo la temática de retratos Rembrandt, y asimismo estaremos premiando a 3 trabajos fotográficos que más resalten.
Ahora, en primer lugar mencionaremos de que se trata y como podemos lograr este tipo de fotografía y su técnica de iluminación Rembrandt, para aclarar este fundamento para quienes todavía no conocen sobre este esquema de iluminación en la fotografía.

¿Qué es el Retrato Rembrandt?
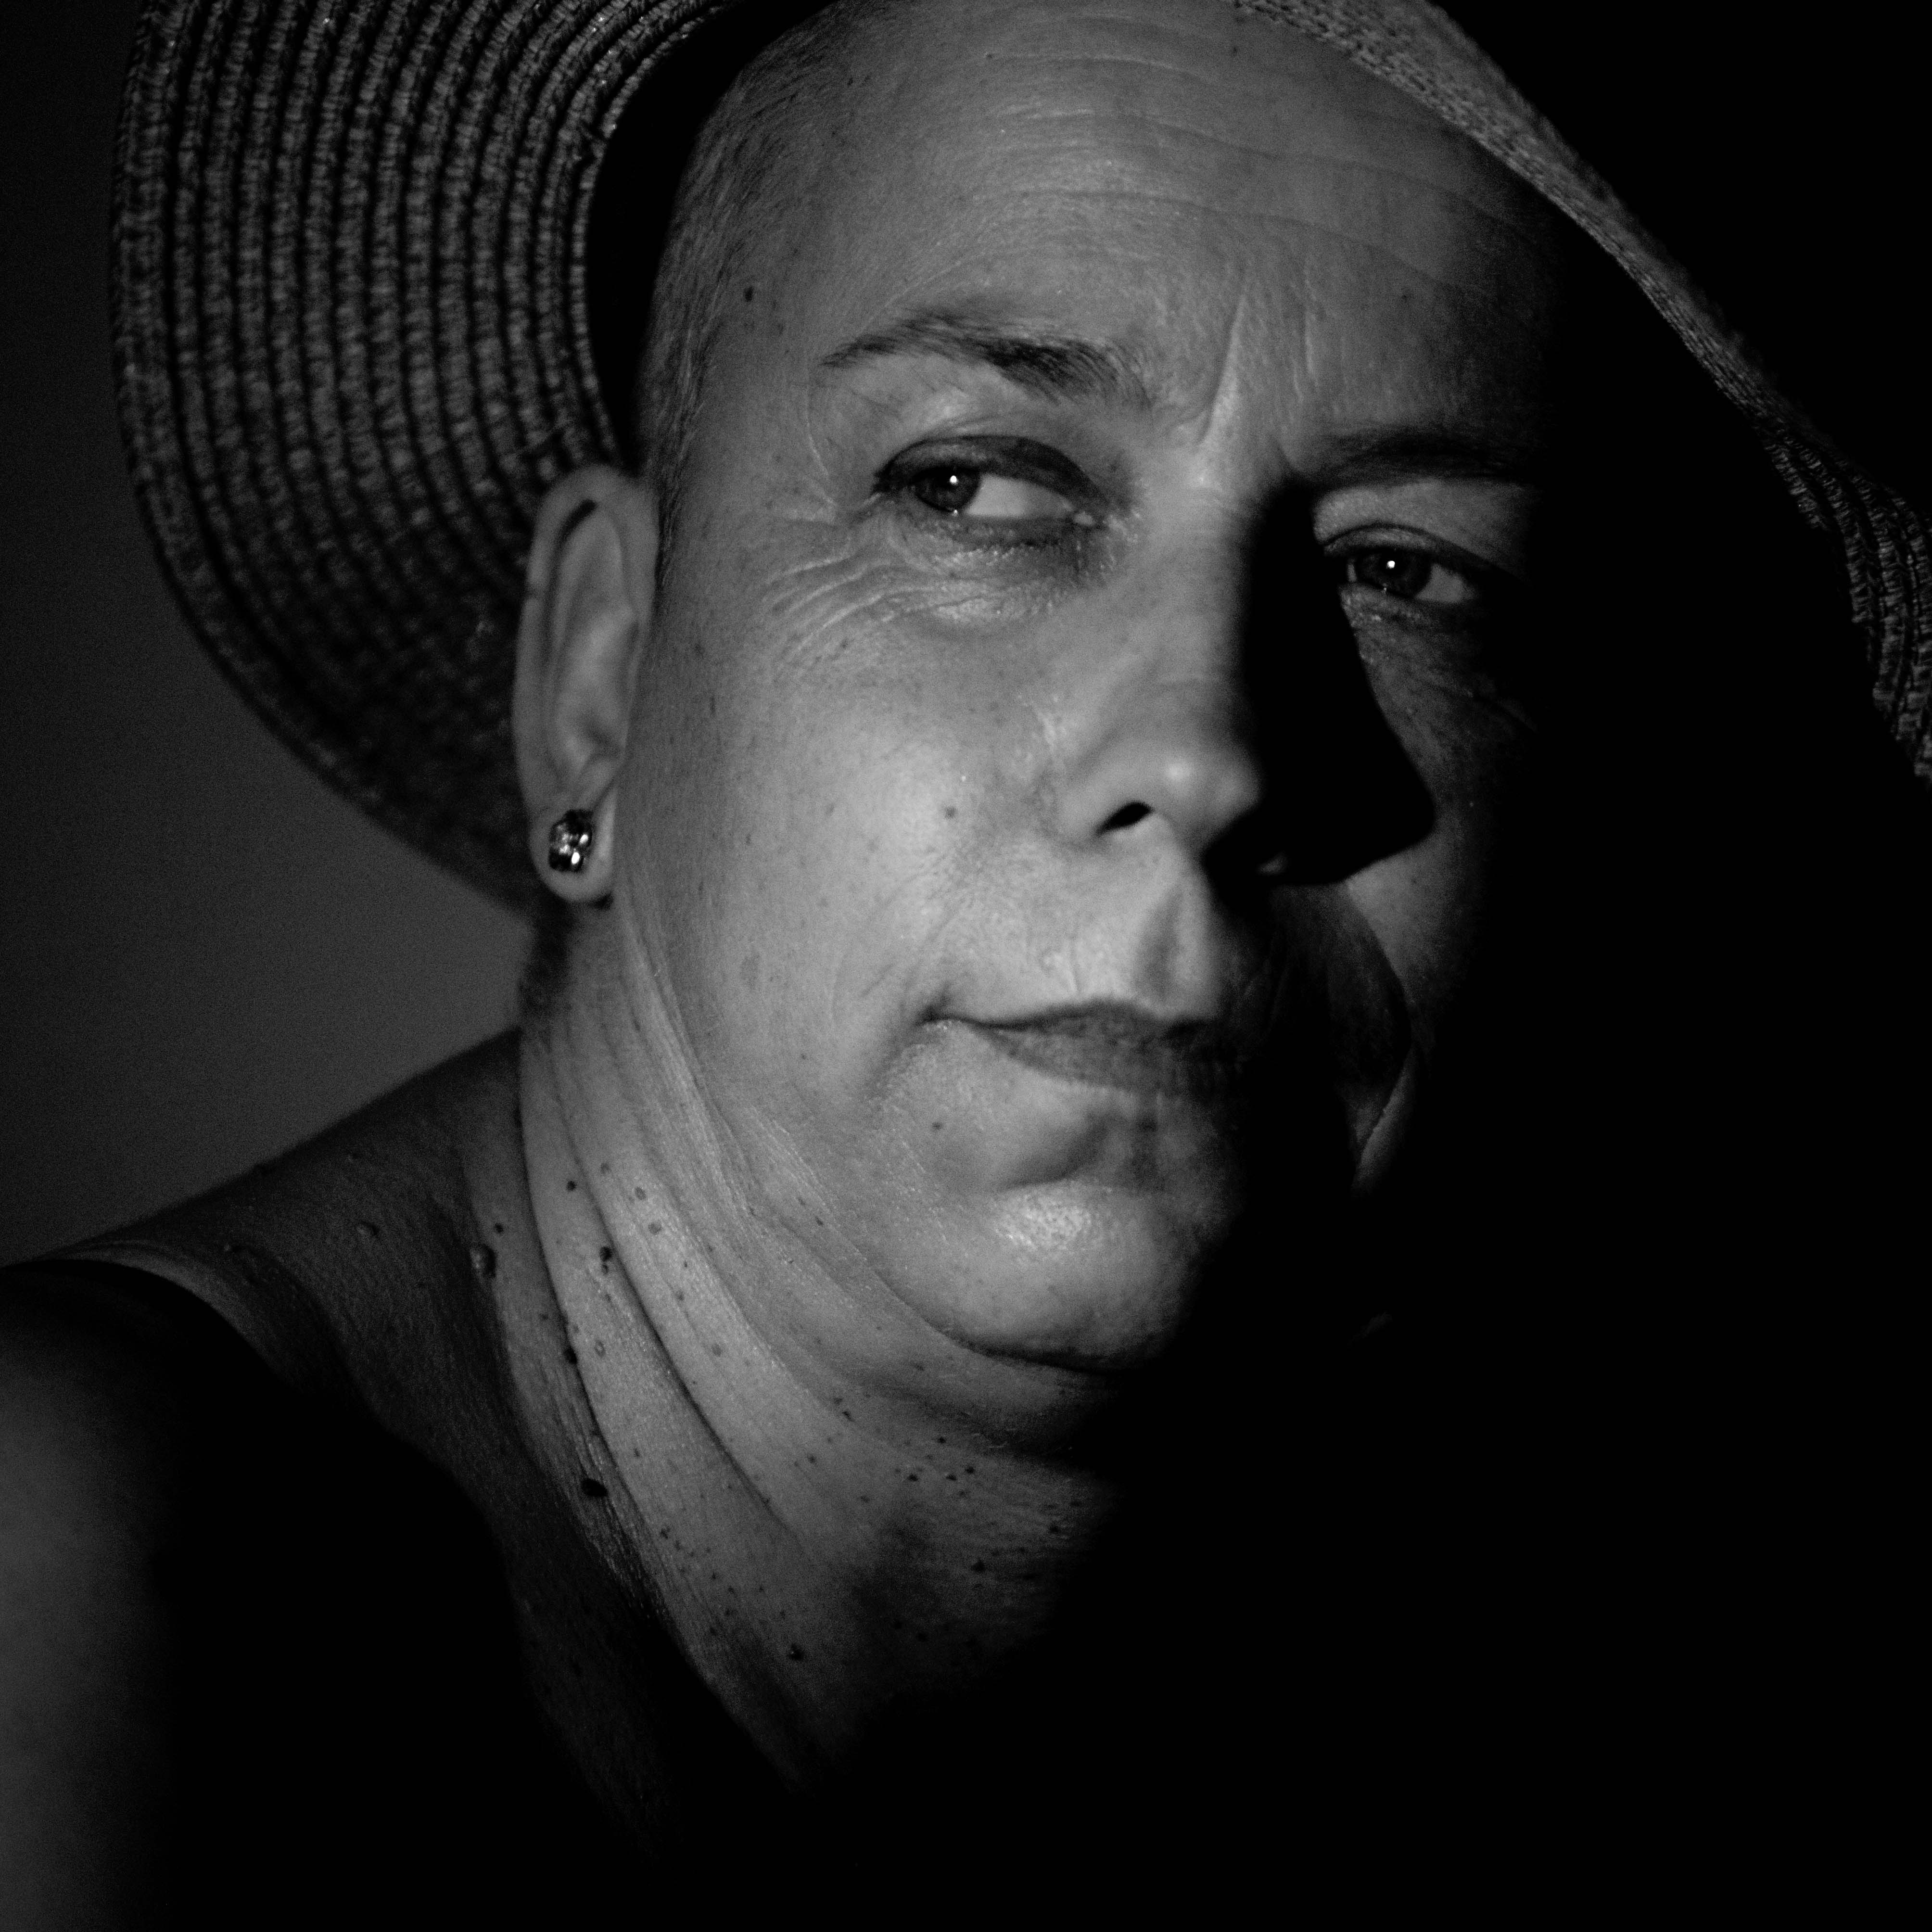
El nombre Rembrandt, se debe al pintor neerlandés del siglo XVII, quien se encargó de producir pinturas del Barroco, destacándose en ese movimiento artístico, como unos de los pintores más importantes de esa época. Y entre sus trabajos de pintura, específicamente en retratos y autorretratos, logró realizar un estudio y aplicación de la técnica de iluminación claroscuro, enfatizando el manejo de las luces y sombras sobre el lienzo, por supuesto mayormente tratándose de modelos humanos en la pintura, para luego convertirse en una técnica aplicada para la fotografía, que consiste en iluminar parcialmente una parte del rostro, mientras que la otra parte del rostro, se encuentra a oscuras, capturando así un mejor carácter de las cualidades del modelo y sus expresiones.
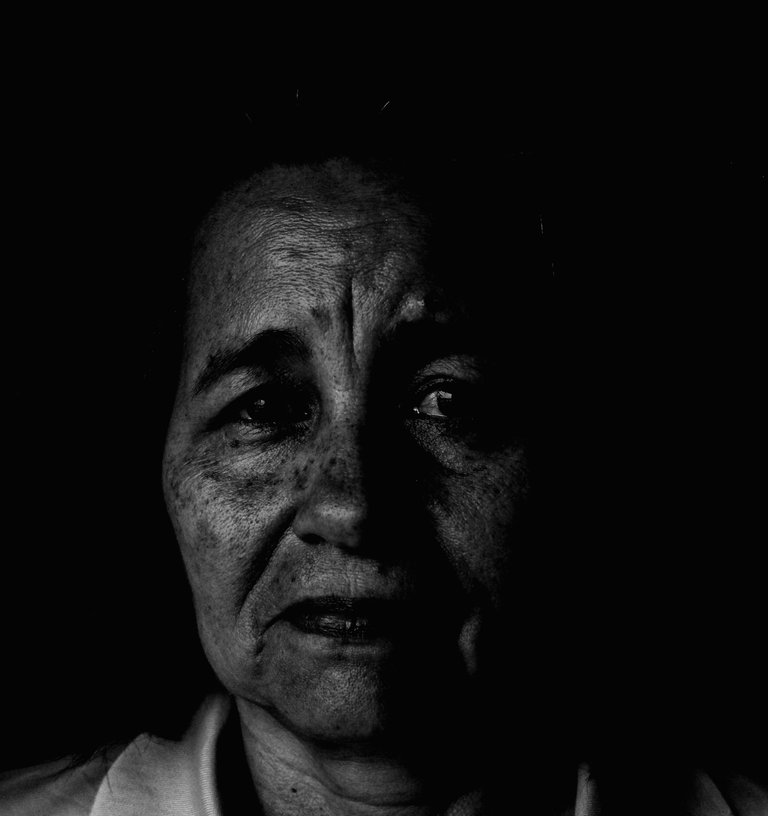
Fotografía por: @wilfredocav

¿Cómo lograr un Retrato Rembrandt?
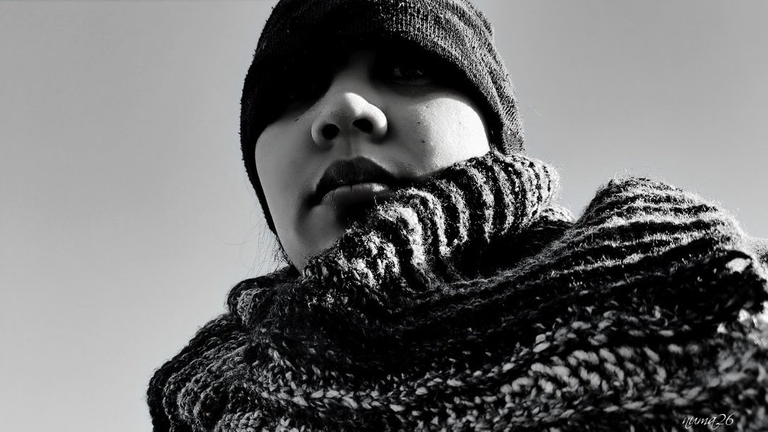
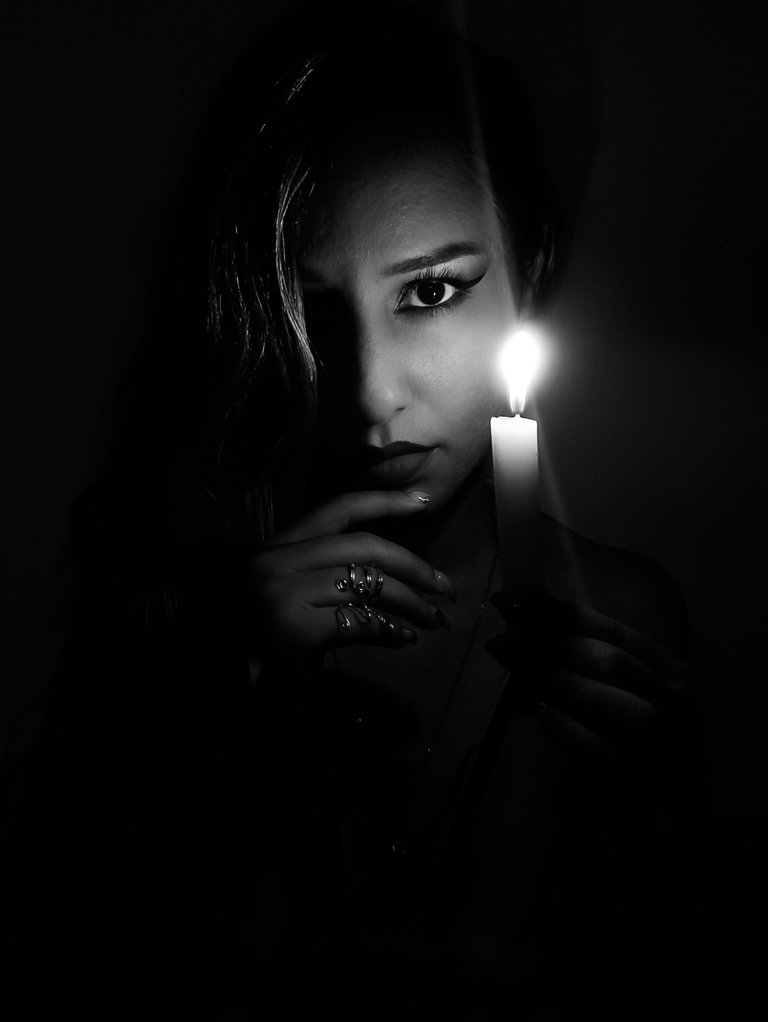
Para lograr esta técnica, principalmente necesitamos de un modelo humano o animal, fuentes de iluminación natural o artificial y una cámara fotográfica, sea una la cámara de un smartphone o en su defecto cámaras DSRL o compactas. Luego debemos estudiar la incidencia de la luz, en el caso de ser natural, donde su fuente proviene principalmente del sol, se tiene que ubicar al modelo paralelamente hacia el sol, iluminando así una parte del rostro, mientras que la otra parte se encuentra parcialmente oscura. De lo contrario, si no se cuenta con iluminación natural, también se puede lograr de manera artificial, pero en este caso necesitamos de fuentes de luz artificial, tales como linterna, lámpara o incluso hasta se puede utilizar la linterna del celular. Por supuesto hay herramientas profesionales para aplicar esta técnica de iluminación pero también se puede lograr con utensilios caseros.
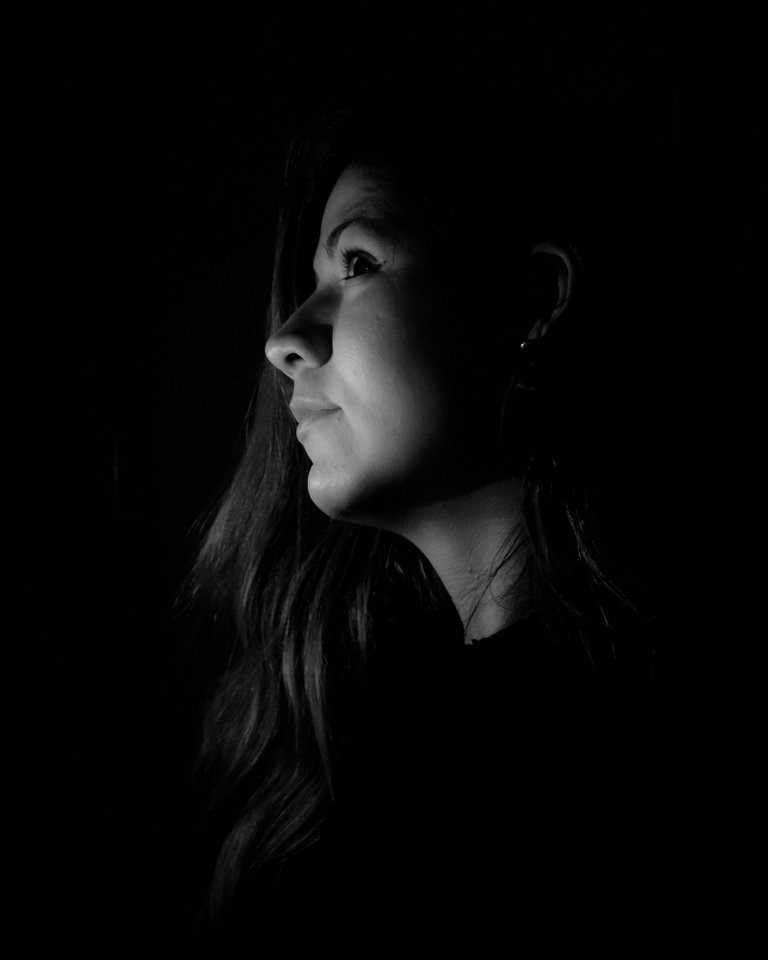
Fotografía por: @dimascastillo90

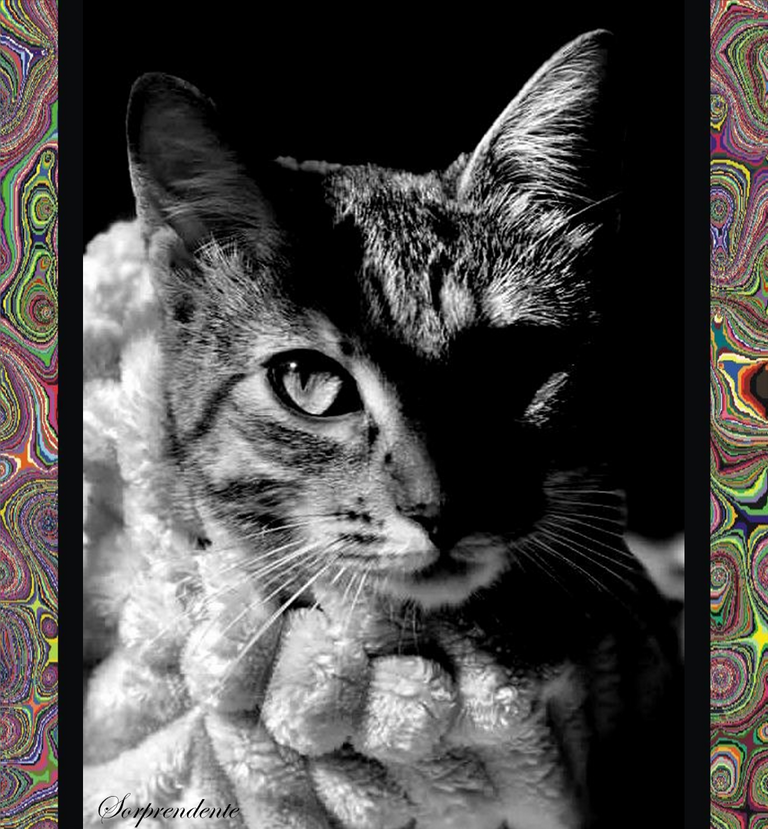
De igual forma, se debe tratar de iluminar una parte del rostro, buscando un mejor perfil del ángulo del modelo, mientras que se tenga en cuenta la otra parte más oscura. Aunque se pueda hacer esta técnica con iluminación artificial, se puede obtener mejores resultados con iluminación natural, y si tenemos entrada luz por medio de ventanas, se puede tener mejores resultados, así como también tener un mejor ángulo del sol, sobre todo en los horarios del alba y ocaso, cuando el sol tiene un mejor ángulo e incidencia de luz.
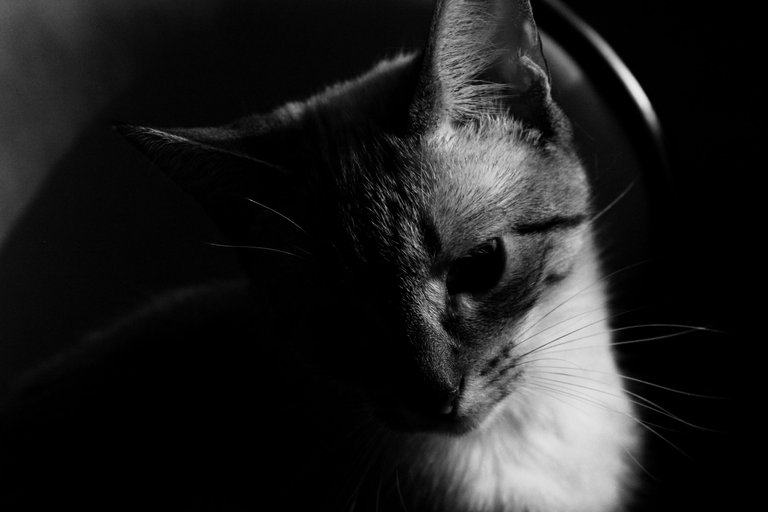
Fotografía por: @wilfredocav

¿Cómo participar en el Concurso?
✓ Suscríbete y publica tu post en nuestra comunidad
Deja el enlace de tu post en los comentarios de ésta publicación.
Haz REBLOG a este post, así nos ayudas a llegar a más personas.
Las fotografías pueden ser en color o en blanco y negro. Las imágenes presentadas en éste post son de referencia.

La duración del concurso será de una semana (7 días), los resultados y premiación se realizarán el siguiente Lunes 18 de Julio.
La premiación se desglosará de la siguiente manera y se tomará en cuenta la calidad de imágen, creatividad y redacción del post.
| 1er Lugar | 2do Lugar | 3er Lugar |
|---|
| 10 HIVE | 6 HIVE | 4 HIVE |

VISUAL SHOTS | Photography Contest #01 [ENG]
The intention of this community is to create a feed, where we all share our photographic works, in order to create that feedback of knowledge and of course have the necessary foundations to continue learning about the great world of photography. And for this occasion we have the honor to present our first initiative in the contest # 01 of Visual Shots, under the theme of Rembrandt portraits, and also we will be awarding 3 photographic works that stand out the most.
Now, first of all we will mention what it is and how we can achieve this type of photography and its lighting technique Rembrandt, to clarify this foundation for those who still do not know about this lighting scheme in photography.

What is the Rembrandt Portrait?
The name Rembrandt, is due to the Dutch painter of the seventeenth century, who was responsible for producing paintings of the Baroque, standing out in that artistic movement, as one of the most important painters of that time. And among his painting works, specifically in portraits and self-portraits, he managed to carry out a study and application of the chiaroscuro lighting technique, emphasizing the handling of light and shadow on the canvas, of course mostly in the case of human models in painting, to later become a technique applied to photography, which consists of partially illuminating a part of the face, while the other part of the face is in darkness, thus capturing a better character of the qualities of the model and his or her expressions.

Photo by: @wilfredocav

How to achieve a Rembrandt Portrait?
To achieve this technique, we mainly need a human or animal model, natural or artificial light sources and a camera, either a smartphone camera or DSRL or compact cameras. Then we must study the incidence of light, in the case of being natural, where its source comes mainly from the sun, we have to place the model parallel to the sun, thus illuminating a part of the face, while the other part is partially dark. Otherwise, if there is no natural lighting, it can also be achieved artificially, but in this case we need artificial light sources, such as a flashlight, lamp or even a cell phone flashlight. Of course there are professional tools to apply this lighting technique but it can also be achieved with homemade tools.

Photo by: @dimascastillo90

In the same way, you should try to illuminate one part of the face, looking for a better profile of the model's angle, while keeping in mind the other darker part. Although this technique can be done with artificial lighting, better results can be obtained with natural lighting, and if we have light entering through windows, we can have better results, as well as having a better angle of the sun, especially at dawn and dusk, when the sun has a better angle and incidence of light.

Photo by: @wilfredocav

How to participate in the contest?
✓ Subscribe and publish your post in our community
- Leave the link to your post in the comments of this publication.
- Make REBLOG to this post, so you help us to reach more people.
- The photographs can be in color or black and white. The images presented in this post are for reference only.

The duration of the contest will be one week (7 days), the results and awards will be made the following Monday, July 18.
The awards will be broken down as follows and will take into account the quality of the image, creativity and writing of the post.
| 1st Place | 2nd Place | 3rd Place |
|---|
| 10 HIVE | 6 HIVE | 4 HIVE |
