SOCIAL MEDIA CHALLENGE
Hey Splinterlands family! Welcome to this week's Social Media Challenge, where the theme is wide open and you can share anything Splinterlands-related — whether it is a crazy battle, a unique strategy, or an epic card reveal!
Today, I have got something special to share with you: a battle that brings together some of my absolute favourite Monsters, all in one stunning lineup. It is not every day you see such a perfect blend of power, speed, and teamwork, so I couldn't resist sharing it with you all! 😁

In this battle, you will witness a thrilling clash that will keep you on the edge of your seat, with Monsters that not only pack a punch but also play off each other’s strengths in a way that truly shows the depth and strategy of Splinterlands 💪
I will break down the key moves, analyze the turning points, and explain why this lineup works so well. Trust me, you won't want to miss this one. So grab your favorite snacks, settle in, and let's get into the action!

The Battle
While fulfilling my responsibilities in the Splinterlands scholarship account I have with Balthazar, bltzr-wizard-729, I was able engage in a battle that showcased the combinations of Monsters that just perfectly play off each other's strengths. To get right into the action, the battle link can be found here. Otherwise, do read on as I go into more detail regarding the lineup and fight.

Let us take a closer look at the rulesets that shape this battle. To start, there is the Even Stevens ruleset, which restricts the available Monsters to those with even Mana costs. Then, we have the Super Sneak ruleset, which means every Melee attack Monster gains the Sneak ability. Finally, there is also the Five Alive ruleset, limiting each player's lineup to a maximum of five Monsters. The battle's mana cap is set at 37, and only the Life, Death, and Dragon Splinters are permitted.
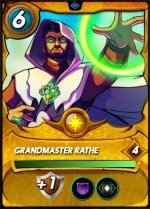
Summoner, Grandmaster Rathe
Aside from the Unprotected ruleset, including Grandmaster Rathe in your team can significantly boost your endurance during battles. With his unique combination of +1 Armor and Void Armor abilities, this Summoner provides crucial defensive support for the lineup. Additionally, his Amplify ability often complements retaliatory skills like Counterspell, Thorns, and Return Fire. These defensive features were the key reasons for selecting him as the Summoner in this specific battle! ✌️

First Position, Pelacor Conjurer
The Pelacor Conjurer stands out as an excellent budget-friendly choice for this battle. Costing just 2 mana, it offers impressive Speed and Health stats. In this instance, it even gains a 3 Magic attack thanks to the Weapons Training effect from Aves Sturgis! With abilities like Magic Reflect, Phase, and Divine Shield, the Pelacor Conjurer becomes a tough opponent against a range of enemy Monsters! 😁
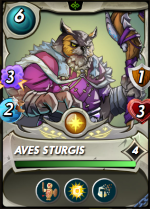
Second Position, Aves Sturgis
Placing Aves Sturgis in the second slot offers strategic advantages thanks to its Weapons Training ability. This allowed me to extend the "training" for Magic attacks from Aves Sturgis to both the Pelacor Conjurer and Clockwork Aide. As a result, both units gained 3 Magic attacks via Weapons Training, greatly boosting my firepower in this battle! Plus, Aves Sturgis's Divine Shield and Rust abilities were incredibly useful during the clash! 😤
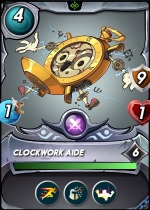
Third Position, Clockwork Aide
Clockwork Aide is an Epic Soulbound Reward Monster Card that hasn't garnered as much attention amid the wave of new Monster cards. Despite worries about its low Health and Speed (both just at 1), the Monster compensates with a whopping 9 Armor! Moreover, its low Health isn’t a significant drawback in this battle, thanks to Grandmaster Rathe's Void Armor ability! At its maximum level, Clockwork Aide has some useful abilities like Swiftness, Rust, and Strengthen! 😅

Fourth Position, Arkemis The Bear
What a beast of a Monster! Arkemis The Bear hails from the Neutral Splinter and boasts a remarkable blend of abilities, making it one of the most potent Common rarity Monsters in the game. Even with a high 12-mana cost, its powerful set of abilities — Protect, Halving, Forcefield, and Enrage — adds tremendous value to any battle. I positioned it in the fourth slot to serve as a secondary backline tank, ready to step up if the Dumacke Orc got taken down by a surprise Poison attack! 💪

Last Position, Dumacke Orc
This Monster is a fantastic choice for a backline tank, especially when the Super Sneak ruleset is active, thanks to its versatile set of abilities designed to fend off Melee attacks. With a trio of potent abilities — Shield, Retaliate, and Thorns — it can stand its ground and dish out damage in return. However, it does have one significant weakness: its low Health stat of just 1, which leaves it vulnerable to Poison attacks! 😖

The Analysis

As the title suggests, today's battle featured some of my favorite units that I frequently use on the battlefield. I prefer my team to exhibit defensive qualities while still delivering enough damage to defeat opponents and secure victory. Using the Pelacor Conjurer as my tank, I could effectively countered Magic attacks thanks to its Magic Reflect ability. Including Aves Sturgis in my lineup with its Weapon Training ability allowed both the Pelacor Conjurer and Clockwork Aide (@bozz - one of your favorite monsters you shared some time ago) to utilize Magic attacks as well! 😉

Additionally, I positioned the Dumacke Orc as my backline tank to guard against Sneaking Melee attackers, particularly in the Super Sneak ruleset. The Dumacke Orc is a robust tank equipped with the Shield ability and the counter-attacking Thorns ability. It also has the Retaliate ability, giving it a chance to strike back at attackers! In the GIF below, the Dumacke Orc effectively neutralized the opponent's Dumacke Exile and Damphir Infiltrator! 😂
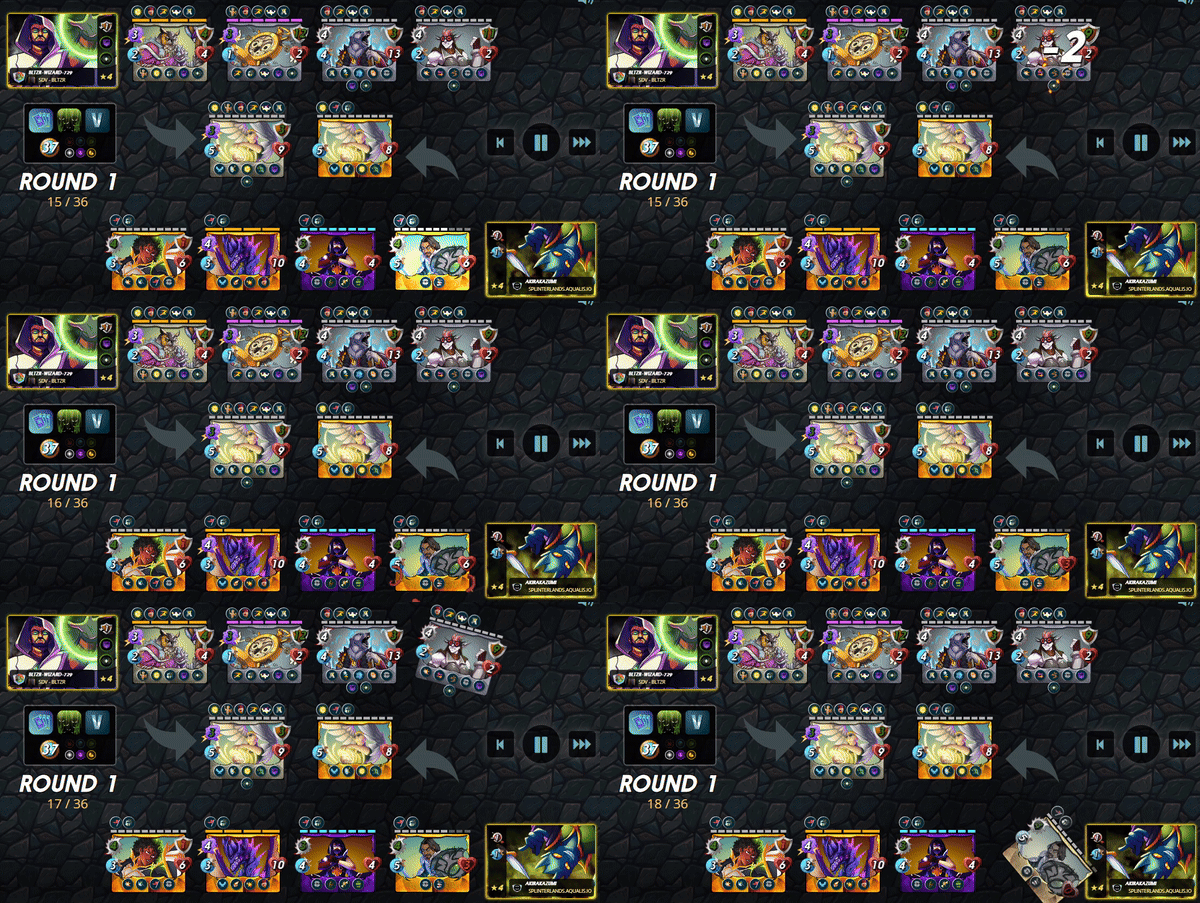
Do you guys have any go-to strategy as well? Do share them with me in the below comments 😎

If you made it this far, I sincerely appreciate your time and value your encouragement. Please feel free to leave any comments or suggestions so that we can discuss about other strategies. Thinking about giving Splinterlands a try but haven't signed up yet? Feel free to use my referral link: https://splinterlands.com?ref=ak08, and be sure to reach out to me if you have any questions!
Are you interested in reading some of my future writings? Don't forget to follow me! In the meantime, here are some of my most recent blogs if you'd like to view them:
All banners, dividers card and battle images used in this article are open source and obtained from the Splinterlands team or made by flauwy. Do check out his link for other amazing designs!

