
Ruleset Focus

For this week's Social Media Challenge, I will be showcasing the FOG OF WAR ruleset. In this ruleset, abilities like Sneak, Snipe, and Opportunity are disabled for all Monster units. However, the Scattershot ability remains active and becomes the main method for damaging the enemy's backline. This ruleset encourages a strategy that avoids including numerous Melee units in the lineup, as they lose their effectiveness in the backline. Consequently, lineups in battles governed by this ruleset typically feature Magic and Ranged Monsters!

FOG OF WAR ruleset.


Sneak - Targets the last Monster on the enemy team instead of the first monster.
Snipe - Targets enemy monsters with Ranged, Magic, or no attack that are not in the first position.
Opportunity - Monsters with the Opportunity ability may attack from any position and will target the enemy Monster with the lowest health.
FOG OF WAR ruleset! 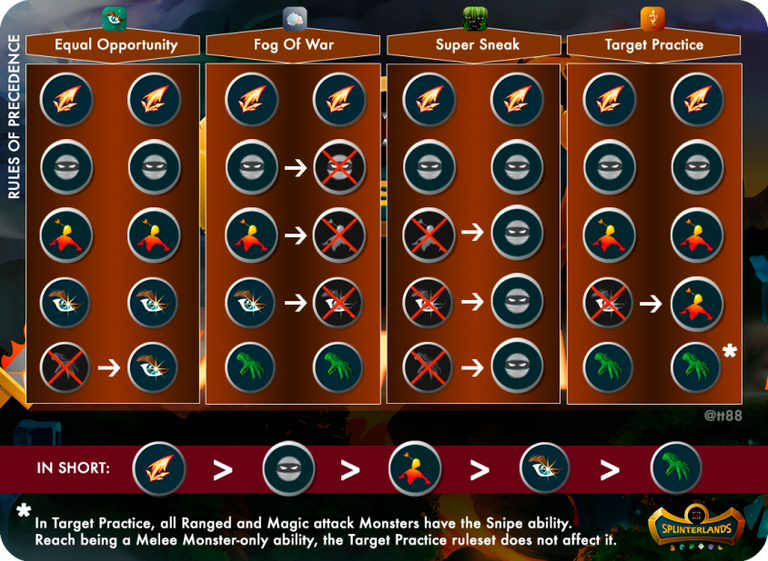

The Battle
While fulfilling my responsibilities in the Splinterlands scholarship account I have with Balthazar, bltzr-wizard-729, I was able to engage in a battle that involves the FOG OF WAR ruleset. To get right into the action, the battle link can be found here. Otherwise, do read on as I go into more detail regarding the lineup and fight.

Let's begin by examining the ruleset in place for this battle. Firstly, there is the Stampede ruleset, where the Trample ability can trigger multiple times per attack if the trampled Monster is defeated. Following that, we have the main highlight of this week's challenge, the FOG OF WAR ruleset, which we have already extensively discussed in the earlier sections. Lastly, we have the Rise Of The Commons ruleset, permitting only Common and Rare Monsters for battle. The battle imposes a mana restriction of 28 and prohibits the utilization of Earth, Death, and Dragon Splinters.

Summoner, Kelya Frendul
Given the restricted options for Splinter selection, the choice boils down to one primary rationale: deploying the Diemonshark from the Water Splinter due to the Stampede ruleset governing the battle. I selected Kelya Frendul as my Summoner because I strongly believe that the Water Splinter offers well-rounded units suitable for this battle, making it an ideal choice. The beneficial buffs it provides, such as +1 Speed and +1 Armor, are generally advantageous in most battle scenarios! 😁

First Position, Diemonshark
Diemonshark stands out as an excellent choice for the tank role within the Water Splinter, especially within the framework of the Stampede ruleset, where it enables the Trample ability to activate multiple times! At a cost of 8 mana, it offers a balanced array of stats, boasting impressive figures in Health, Speed, Armor, and Attack. Its Retaliate ability is highly valued, empowering Diemonshark to counter-attack when faced with a Melee assault, allowing it to strike back at its attacker with vigor! 💪
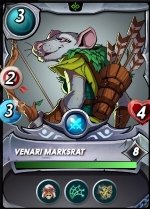
Second Position, Venari Marksrat
With the introduction of the Martyr ability, Venari Marksrat has become a cornerstone of my battle strategy. I have strategically positioned it between the Diemonshark and Merdhampir, foreseeing that if it were to be taken out early in the battle, it would provide a significant boost to the adjacent Monsters. However, for Venari Marksrat to be targeted in this battle, it would need to be through the Blast or Scattershot damages, given the enforcement of the FOG OF WAR ruleset! 😌
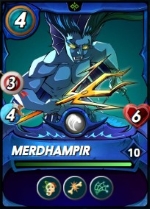
Third Position, Merdhampir
I have a strong preference for the Merdhampir when employing the Water Splinter. With just a 4 mana cost, it boasts respectable statistics, featuring 3 Ranged damages, 4 Speed, and 6 Health. Additionally, Merdhampir's Life Leech ability enables it to regenerate its Health based on the damage it deals to the enemy. My expectation is that by the time the Merdhampir is deployed in the first position, its overall Health will have significantly increased, transforming it into an effective high-health tank! 😎
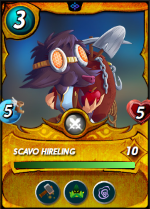
Fourth Position, Scavo Hireling
Usually, when weighing the Merdaali Guardian against the Scavo Hireling, one would lean towards the Merdaali Guardian, especially given their identical mana cost of 3. However, the Scavo Hireling offers ongoing Armor Repair assistance throughout the battle and additionally features the Slow ability, which imposes a -1 Speed debuff on the enemy team! While the Scavo Hireling also has the Camouflage ability, its effectiveness is nullified within the parameters of the FOG OF WAR ruleset! 😉

Fifth Position, Merdaali Guardian
The Merdaali Guardian often goes unnoticed, rarely chosen for any offensive lineups. However, when utilized strategically, this creature can provide indispensable support to the entire team. Its Strengthen ability grants a vital +1 Health boost to the entire team, while Tank Heal assists in revitalizing the Health of the first unit in the lineup. Moreover, the Repair ability that supplement that from the Scavo Hireling comes in handy by efficiently restoring the Armor stat within the team! 👍

Last Position, Angelic Mandarin
The Angelic Mandarin holds a crucial role as the designated Healer in my lineup, providing vital support to injured Monsters in the backline with its Triage ability. As mentioned earlier, given the parameters of the FOG OF WAR ruleset, it seems that there will be more Ranged and Magic Monsters present in this battle. Hence, incorporating the Angelic Mandarin, with its Silence ability, can diminish the Magic attacks of opposing Magic monsters by 1! 😇

The Analysis

In this battle, my opponent chose the Ithain Summoner and arranged their team in a manner that aligns with typical strategic considerations under the battle's rulesets. It's evident that my opponent understands the dynamics of a FOG OF WAR encounter, which tends to feature more Ranged and Magic Monsters. Accordingly, they assembled a team equipped with countermeasures such as the Counterspell ability (utilized by Pelacor Conjurer and Blinding Reflector) and the Returned Fire ability (utilized by Ilthain)! 🙌
However, luck wasn't on my opponent's side this time! My strategy focused on bolstering my Melee attacks, particularly with Diemonshark, while maintaining its longevity through various support abilities like Tank Heal, Armor Repair, and Silenced. These supportive measures ensured Diemonshark's survival throughout the battle, allowing it to continuously unleash devastating attacks! 😅
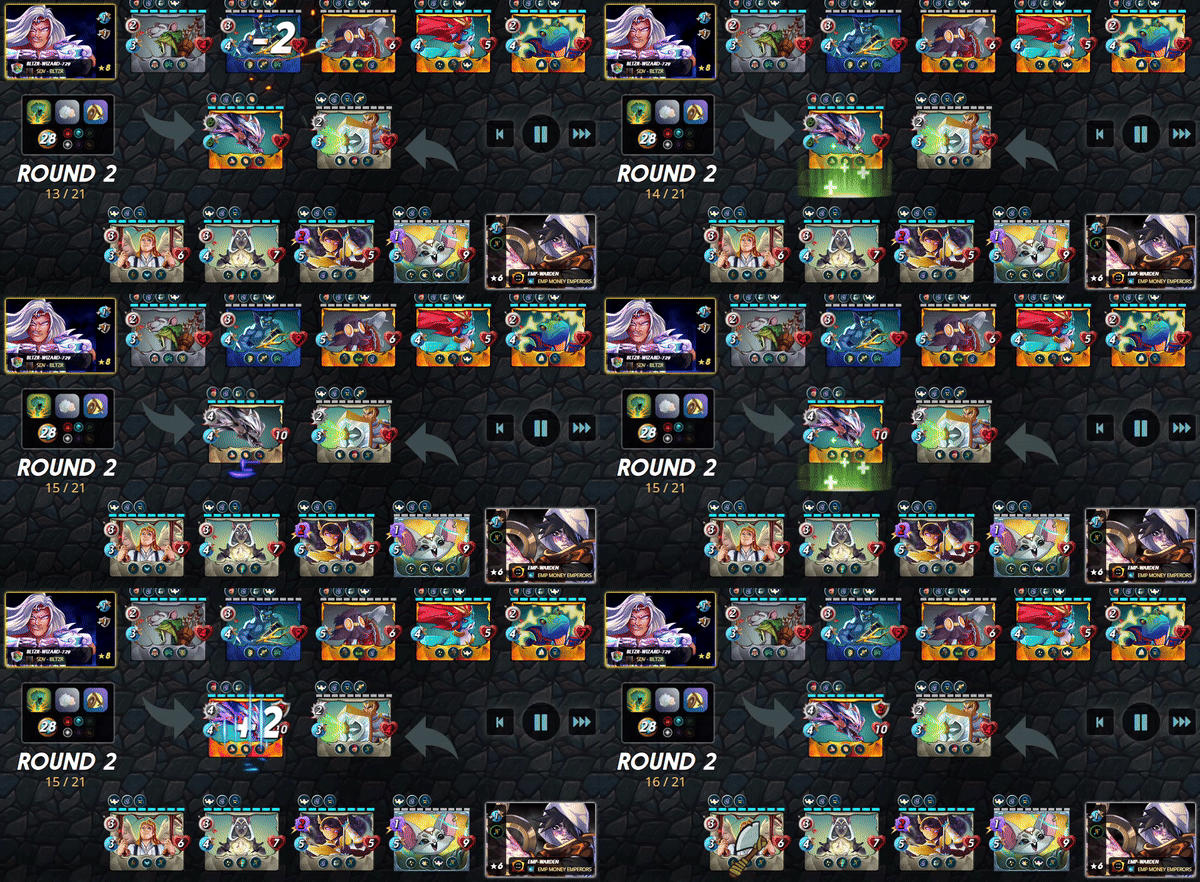
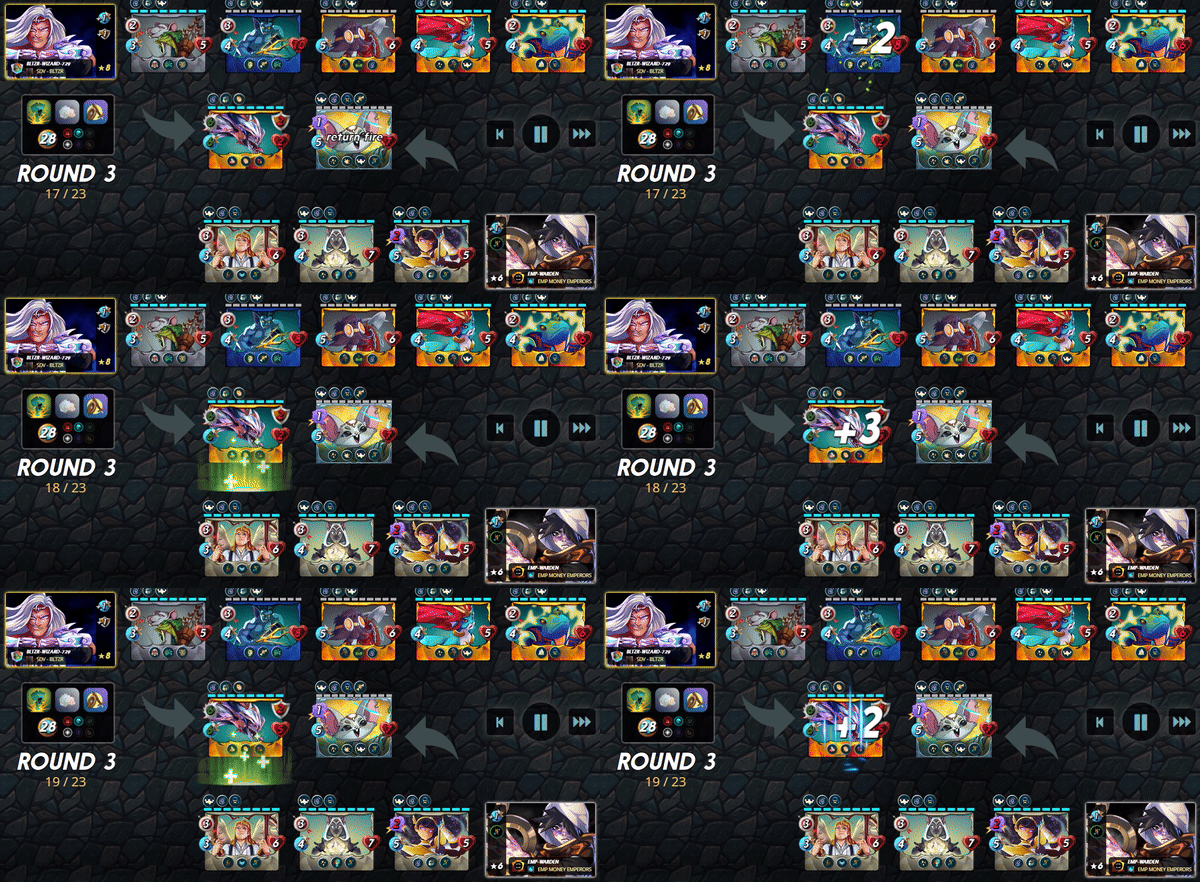
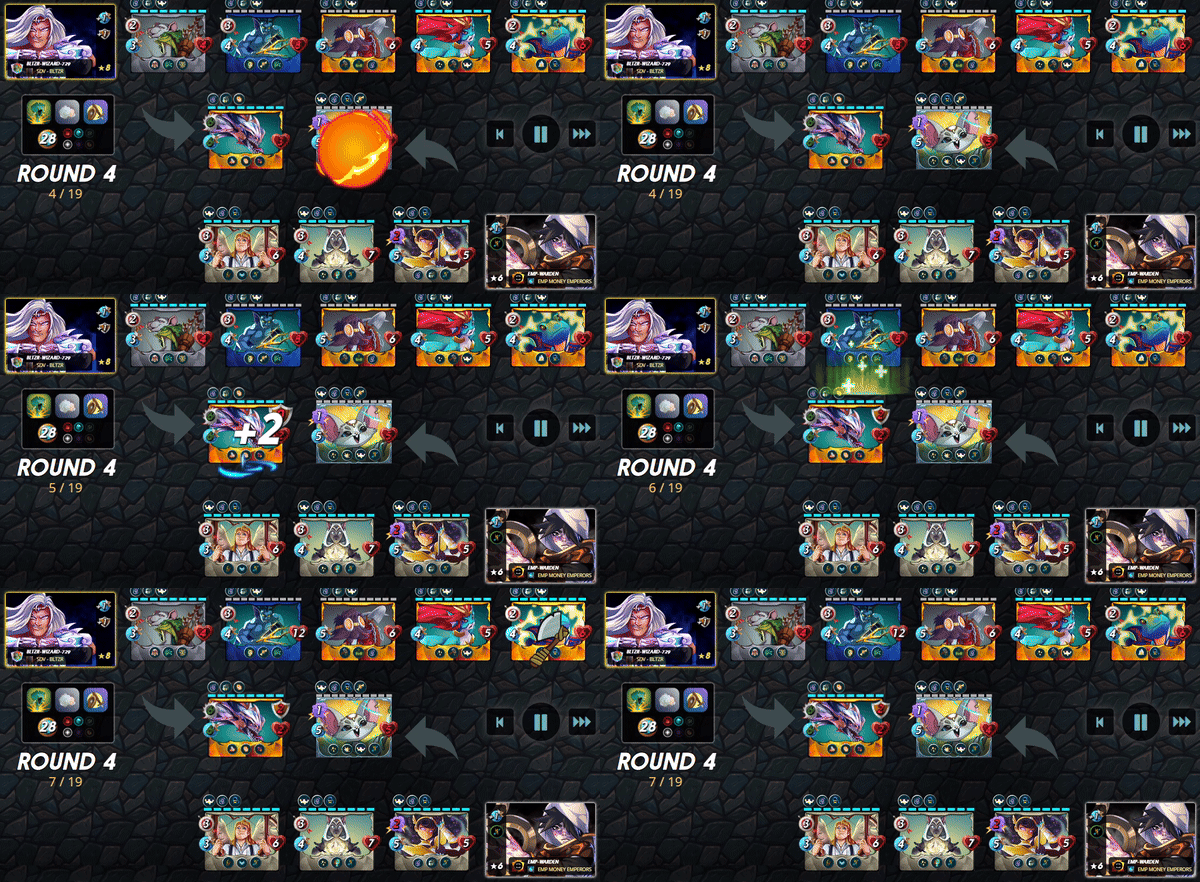

Do you guys have any better recommendations for setting up the team in this particular ruleset? Do share them with me in the below comments 😜

If you made it this far, I sincerely appreciate your time and value your encouragement. Please feel free to leave any comments or suggestions so that we can discuss about other strategies. Thinking about giving Splinterlands a try but haven't signed up yet? Feel free to use my referral link: https://splinterlands.com?ref=ak08, and be sure to reach out to me if you have any questions!
Are you interested in reading some of my future writings? Don't forget to follow me! In the meantime, here are some of my most recent blogs if you'd like to view them:
All banners, dividers card and battle images used in this article are open source and obtained from the Splinterlands team or made by flauwy. Do check out his link for other amazing designs.
