Ruleset Focus

In this week's Battle Mage Secrets, let us take explore the HEALED OUT ruleset, a unique twist where all forms of Healing are strictly prohibited, including those from Summoners! This significant change alters battle strategies, sidelining support units that typically rely on Healing to keep their teams in fighting shape. Without Healing to fall back on, players are encouraged to adopt a more aggressive approach, focusing on high-damage units to finish fights quickly and secure victory 😝

HEALED OUT ruleset.


equal to 1/3 of its maximum Health, rounded down.
equal to 1/3 of its maximum Health, rounded down.

HEALED OUT ruleset 😅


it inflicts on an enemy Monster's Health.

The Battle
In my alt account, jimbei, I was able to engage in a battle that involves the HEALED OUT ruleset. To get right into the action, the battle link can be found here. Otherwise, do read on as I go into more detail regarding the lineup and fight.

Let us kick things off by looking at the different rulesets in play for this battle. The first is the Briar Patch ruleset, where every unit gains the Thorns ability. Then there is the Up Close & Personal ruleset, limiting participation of Monsters with Melee attacks. Lastly, the main highlight of this week's challenge: the HEALED OUT ruleset, which we have already covered in detail above. The battle offers a generous mana limit of 60 and bans the use of the Fire Splinter.
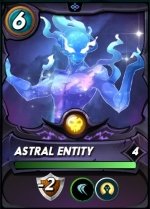
Summoner, Astral Entity
Given the limitations of the Up Close & Personal ruleset, my go-to strategy is to opt for the Death Splinter and, whenever possible, use Astral Entity as my Summoner. This Summoner provides a -2 Armor reduction, and can Resurrect a friendly Monster once during the battle. The Armor reduction can be particularly impactful in the Briar Patch ruleset, where every unit has Thorns. This combination of Armor debuff and Thorns is why the Death Splinter is my preferred choice as it brings a strong strategic edge to the fight! 😏
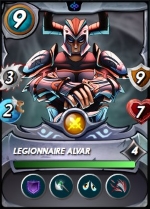
First Position, Legionnaire Alvar
In light of the Briar Patch ruleset for this battle, which means Melee Monsters take damage from the Thorns ability when they attack, I decided to go with slower units to minimize the number of attacking turns. For the role of the tank, I chose Legionnaire Alvar from the Neutral Splinter. This unit boasts strong defensive stats and has the Void Armor ability, enhancing its tanking capabilities. On top of that, it comes with the Demoralize ability, which lowers the Melee attack of enemy units — a great bonus for this battle setup! 😉

Second Position, Arkemis The Bear
Arkemis The Bear is a total powerhouse! This Monster from the Neutral Splinter has an exceptional set of abilities, making it one of the strongest Common rarity Monsters in the game. Even with a 12 mana cost, its contributions to a battle are invaluable. In my current lineup, I've positioned Arkemis The Bear in the second slot to capitalize on its Protect ability, which grants a +2 Armor boost to the whole team! When called upon in the first position, the Monster can more than hold its own weight in battle! 🤓
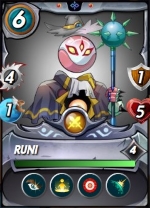
Third Position, Runi
On this alt account, I am fortunate to have Runi in my collection. In a battle with the Briar Patch ruleset, Runi really stood out thanks to its Reflection Shield ability, which makes it immune to Thorns damage when it attacks. This allowed it to fully exploit its Opportunity ability, targeting the weakest link in the enemy's lineup. Plus, with its Rebirth ability, Runi comes back to life once after being taken down, giving it another chance to take on the enemies! ✌️
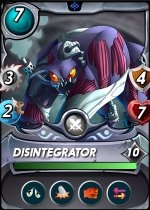
Fourth Position, Disintegrator
Just like with Legionnaire Alvar, I chose Disintegrator for its Demoralize ability. To maximize the impact of this debuff, I positioned the Monster towards the back of my lineup, ensuring that Demoralize would stay active longer during the battle. This debuff played a crucial role, effectively reducing the enemies' Melee attack power while they kept taking damage from Thorns with every hit they landed! 😁
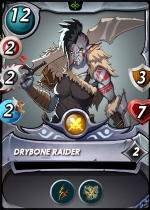
Fifth Position, Drybone Raider
The standout performer in this battle was Drybone Raider, which I strategically placed second to last in my lineup. I was lucky enough to get a few copies from my Reward Chests! This versatile Monster can switch between Melee and Ranged attacks, making it ideal for battles with the Up Close & Personal ruleset. By putting it second to last, I shielded it from Sneak Melee attacks while enabling it to unleash its Ranged attacks, enhanced by its Double Strike ability! 💪
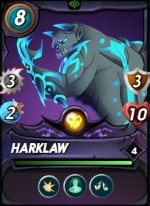
Last Position, Harklaw
Harklaw played a crucial role in my choice to go with the Death Splinter. Its potent mix of Shield and Demoralize abilities proved incredibly effective, especially in the context of the Up Close & Personal ruleset. With the added benefit of Immunity, Harklaw took the last spot in my lineup, offering strong protection for the backline against enemy attacks and immunity to debuffs like Demoralize from the opposing team! 😎

The Analysis
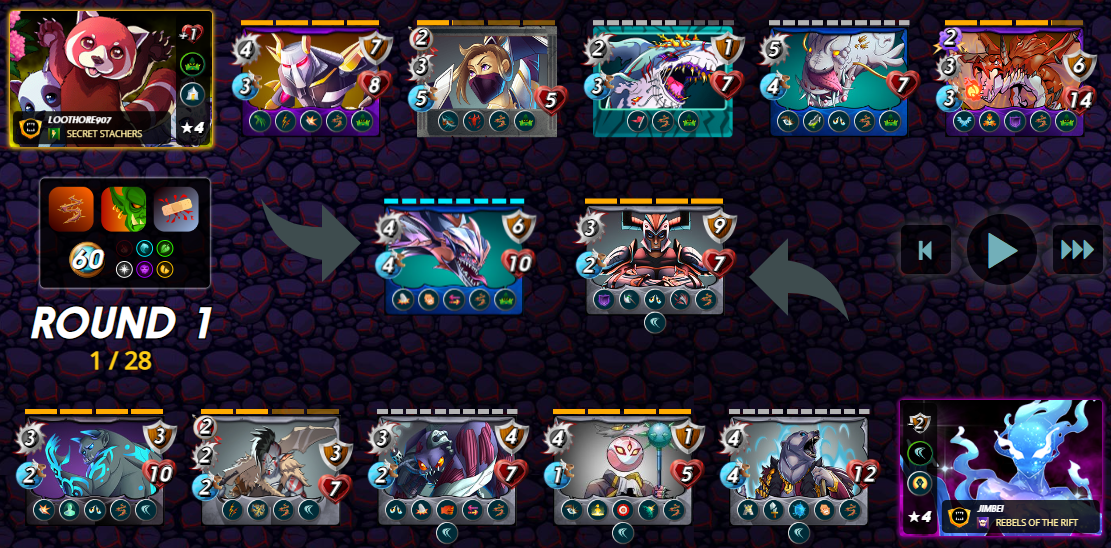
Given the wide selection of Splinters and high mana limit for this battle, I expected my opponent to choose the Dragon Splinter, known for its powerful but high-cost Monsters. However, I was shocked to see that they selected the Lily Shieldpaw Summoner as its Triage ability would not be effective in this battle due to the HEALED OUT ruleset! 😮
I had a hunch that the opponent might play Agor Longtail for its Magic capabilities, and I was just relieved that the HEALED OUT ruleset neutralized its Heal ability. With this in mind, I chose Legionnaire Alvar as my front-line tank because of its Void Armor, which can absorb Magic damage. Also, if Legionnaire Alvar falls, it can be Resurrected by Astral Entity, regaining its full Armor while having just 1 Health!
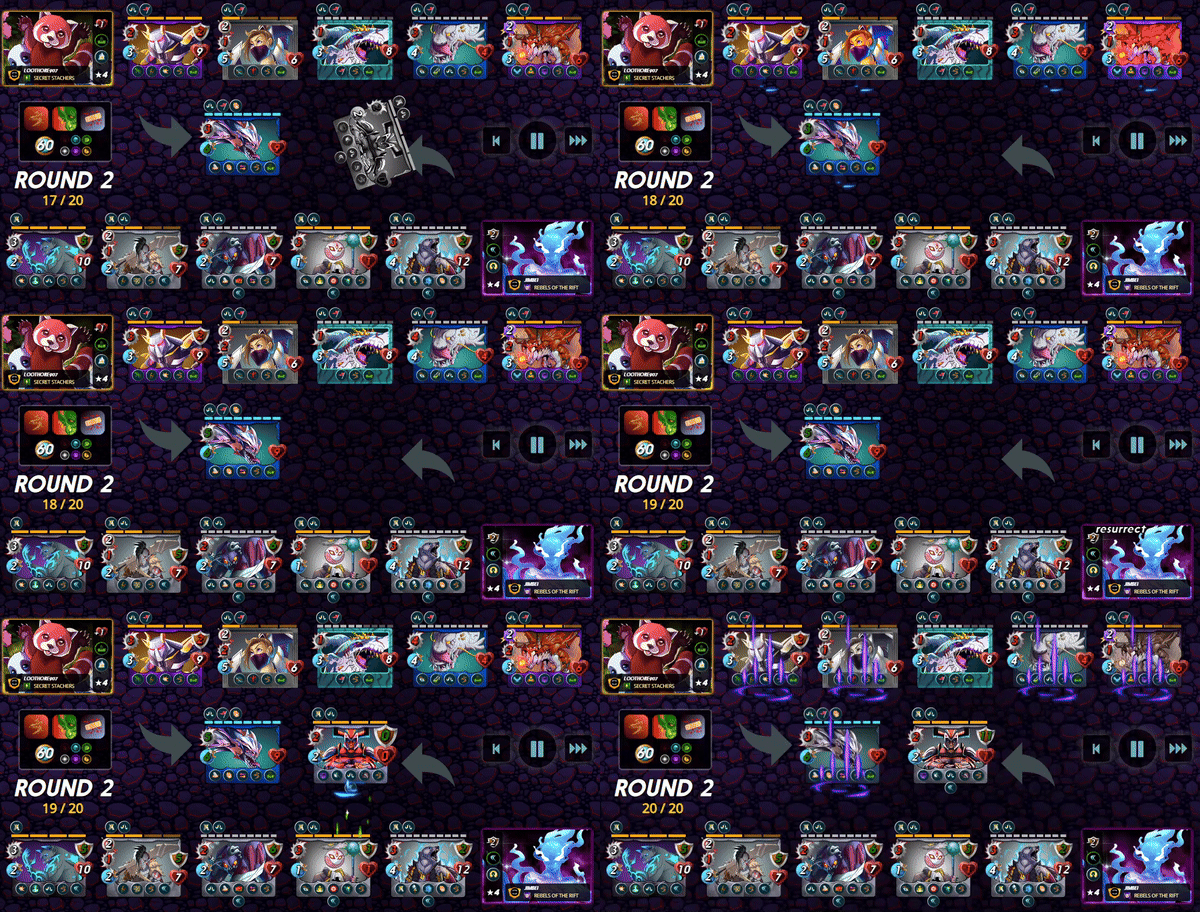
My plan for this battle was to use multiple Melee debuffs through the Demoralize ability and then watch as the enemy weakened themselves through their own attacks while taking Thorns damage. Throughout the battle, I had Drybone Raider in the back, utilizing its Double Strike to fire Ranged attacks and quickly take out targets! 🤙
Do you guys have any better recommendations for setting up the team in this particular ruleset? Do share them with me in the below comments 😜

If you made it this far, I sincerely appreciate your time and value your encouragement. Please feel free to leave any comments or suggestions so that we can discuss about other strategies. Thinking about giving Splinterlands a try but haven't signed up yet? Feel free to use my referral link: https://splinterlands.com?ref=ak08, and be sure to reach out to me if you have any questions!
Are you interested in reading some of my future writings? Don't forget to follow me! In the meantime, here are some of my most recent blogs if you'd like to view them:
All banners, dividers card and battle images used in this article are open source and obtained from the Splinterlands team or made by flauwy. Do check out his link for other amazing designs.
