Hello, folks!!!
I'm back again after struggling for days to produce something to be proud of. See I selected a number of #Splinterlands pieces to do just so I don't get into a slump like I did some three weeks back. And I come back with some different.
If you don't know, I do 3D sculpting sometimes when I'm not or can't paint for some reason.
The Fanart
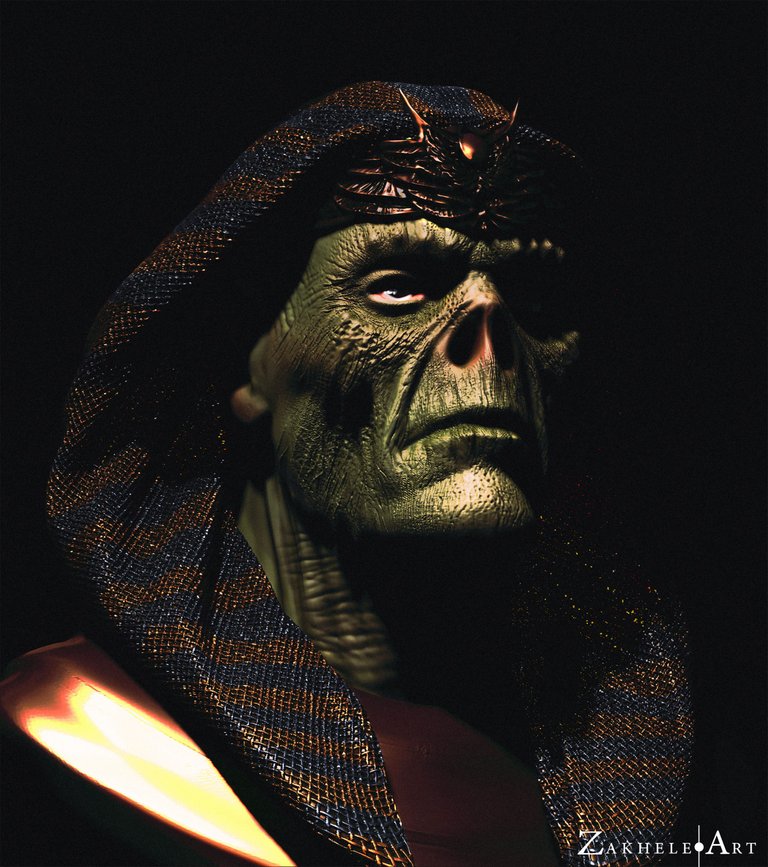
Undead Priest

Process
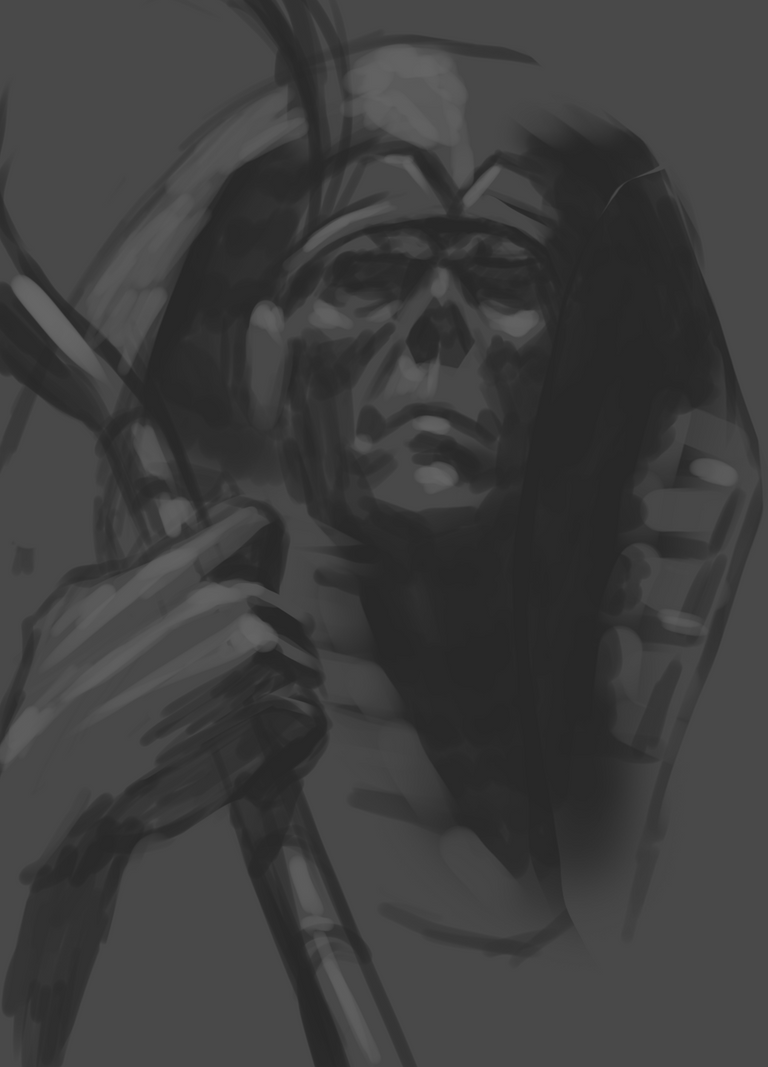
I started trying to draw and paint this but again my finger felt like smashed boulders trying to work out subtleties. For some reason, i just wasn't feeling the direction of the sketch and block-in (something I've been having some trouble with since finishing Temporal Master weeks back).
Now... A sensible illustrator would have gone back to the drawing board and do a couple of thumbnails and see which one is workable, but no!
Being me. I saw it as an opportunity to exercise my 3D sculpting and modelling skills since I haven't done much of that in over a month. And to be honest, I just wasn't feeling like work on Photoshop much since it's been acting up and freezing a lot. Not that I did have to deal with zbrush stalling and crashing. But that was more tolerable than dealing with an Adobe app.
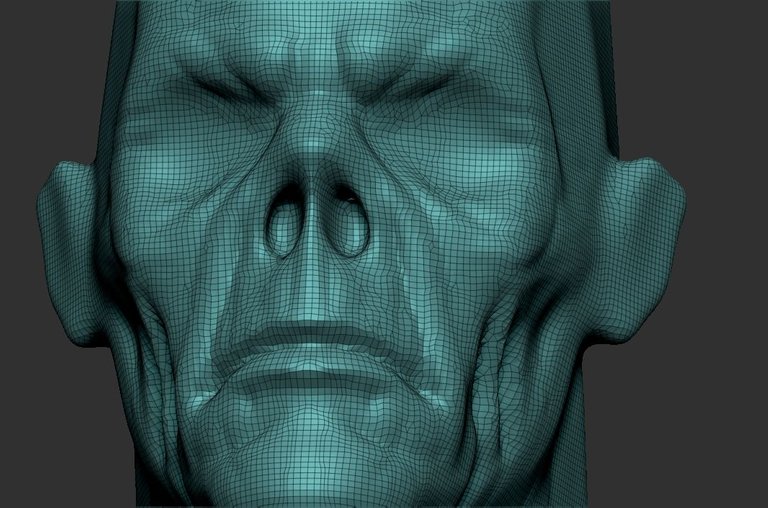
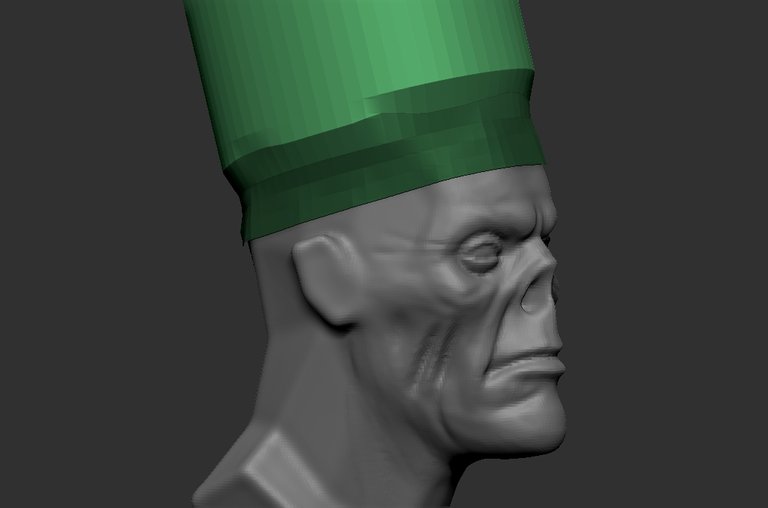
Doing the sculpting for the head wasn't difficult since it's mainly what I've polished in my practice. The real problem (above right) was making the head dress. Since I've mostly focused sculpting, modelling is an area that is lacking. I tried using a primitive cylinder with the geo caps at the bottom and top deleted, positioning and shaping the cylinder around the forehead. I masked the part around the forehead and used dynamic simulation to shrink it to fit the head. Long story short, I couldn't do gravity simulation without the geometry stretching. So I went to plan B.
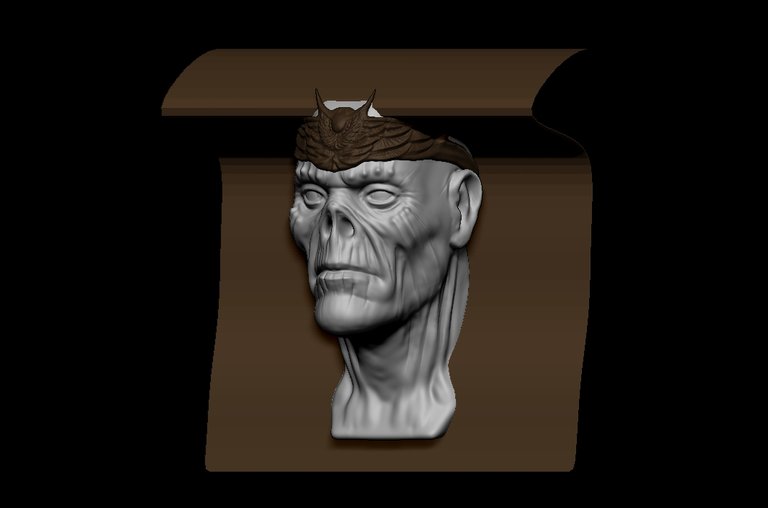
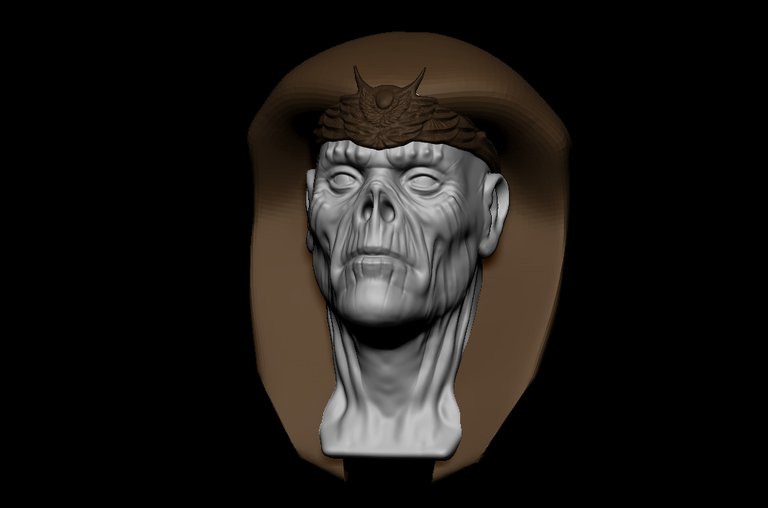
Being me, I decided I would take a plane mesh and apply a Gizmo deformers and scaling, which has saved me time and gave me a level of control that I needed to move the mesh around without getting ugly bumps from using the move brush. I then sliced the mesh to get the curves. After that,I just mirror so to get symmetrical geo, close all open edges, smoothed them and proceeded to do some polypainting.
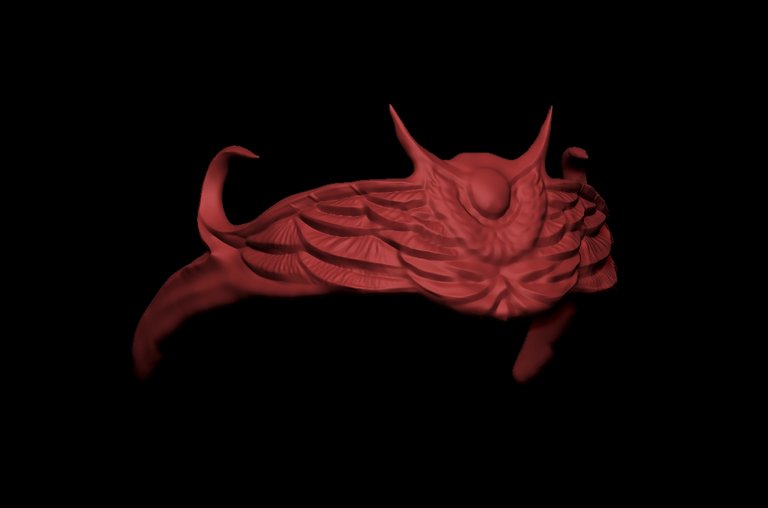

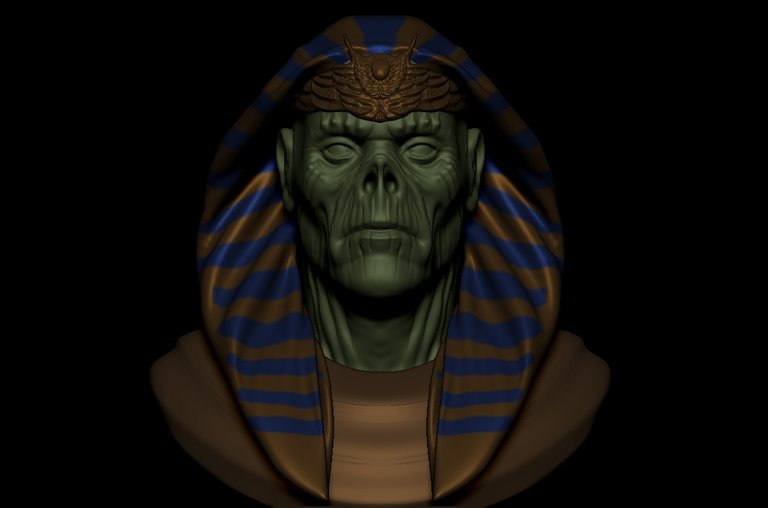
When I was done, it was just a matter of masking off the parts of the mesh that I didn't want to get affected by the dynamic simulation and let it run. I like how it ended up.
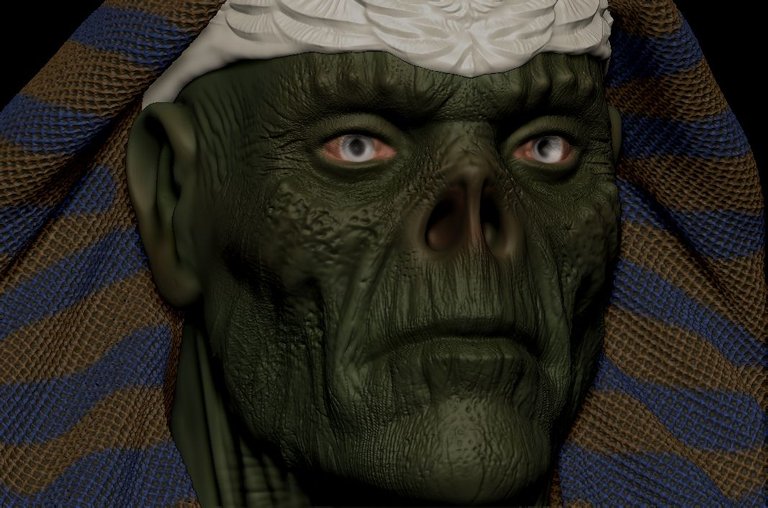
I had to unwrap some UVs for the dress to so I could apply some fabric alpha as surface noise but had to increase my mesh density. I then went on to do some freehand polypainting after putting some skin details like wrinkles, bumps and pores.

Thank you for taking that little time to let me share with you.
If you'd like to see or purchase my work and support me, you can visit my socials and NFT shop linked below. Otherwise, leave a thumbs up or comment.
Bye-bye!!!
| Twitter | Instagram | ArtStation | Ko-Fi | RedBubble Shop |

Tools:
- Huion Pen Tablet (Inspiroy H430P)
- Asus Laptop
- Adobe PhotoShop
- Clip Studio Paint


