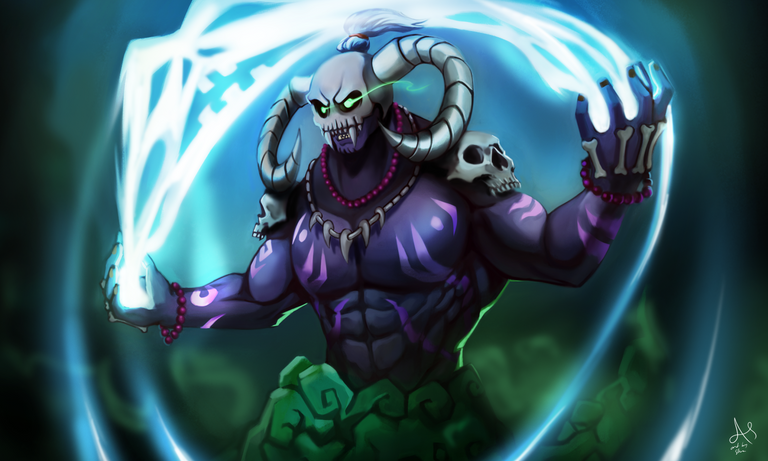
Legendary Death Splinter Djinn Muirat. Fan art submission to Splinterlands Art Contest.

The Creation of Djinn Muirat Artwork
Greetings everyone! It is me again Steven.
I think I'm attached with these death splinter cards. They look so cool with peculiar designs and badass as well. Today, I'd like to share to you my Art entry of the weekly contest in Splinterlands. You could join the Contest by clicking this LINK HERE.
Join me walk through the process of creation and hope you have fun as the art progress from the start to finish.

Materials and Software
Adobe Photoshop
HUION H640P graphic tablet
ASUS X415 Laptop

Card Reference:
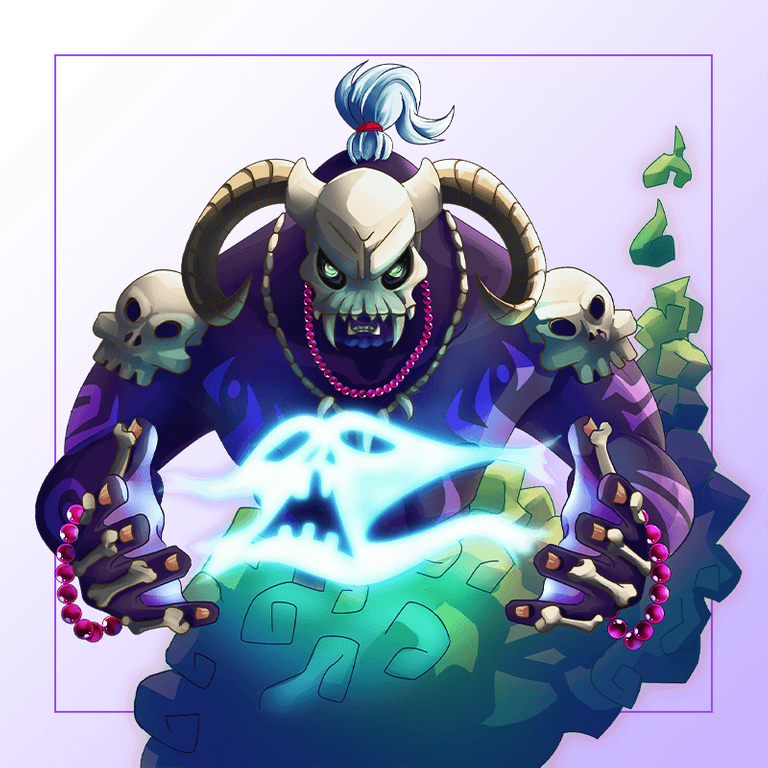

Digital Art Creation Process
STEP 1
Sketching
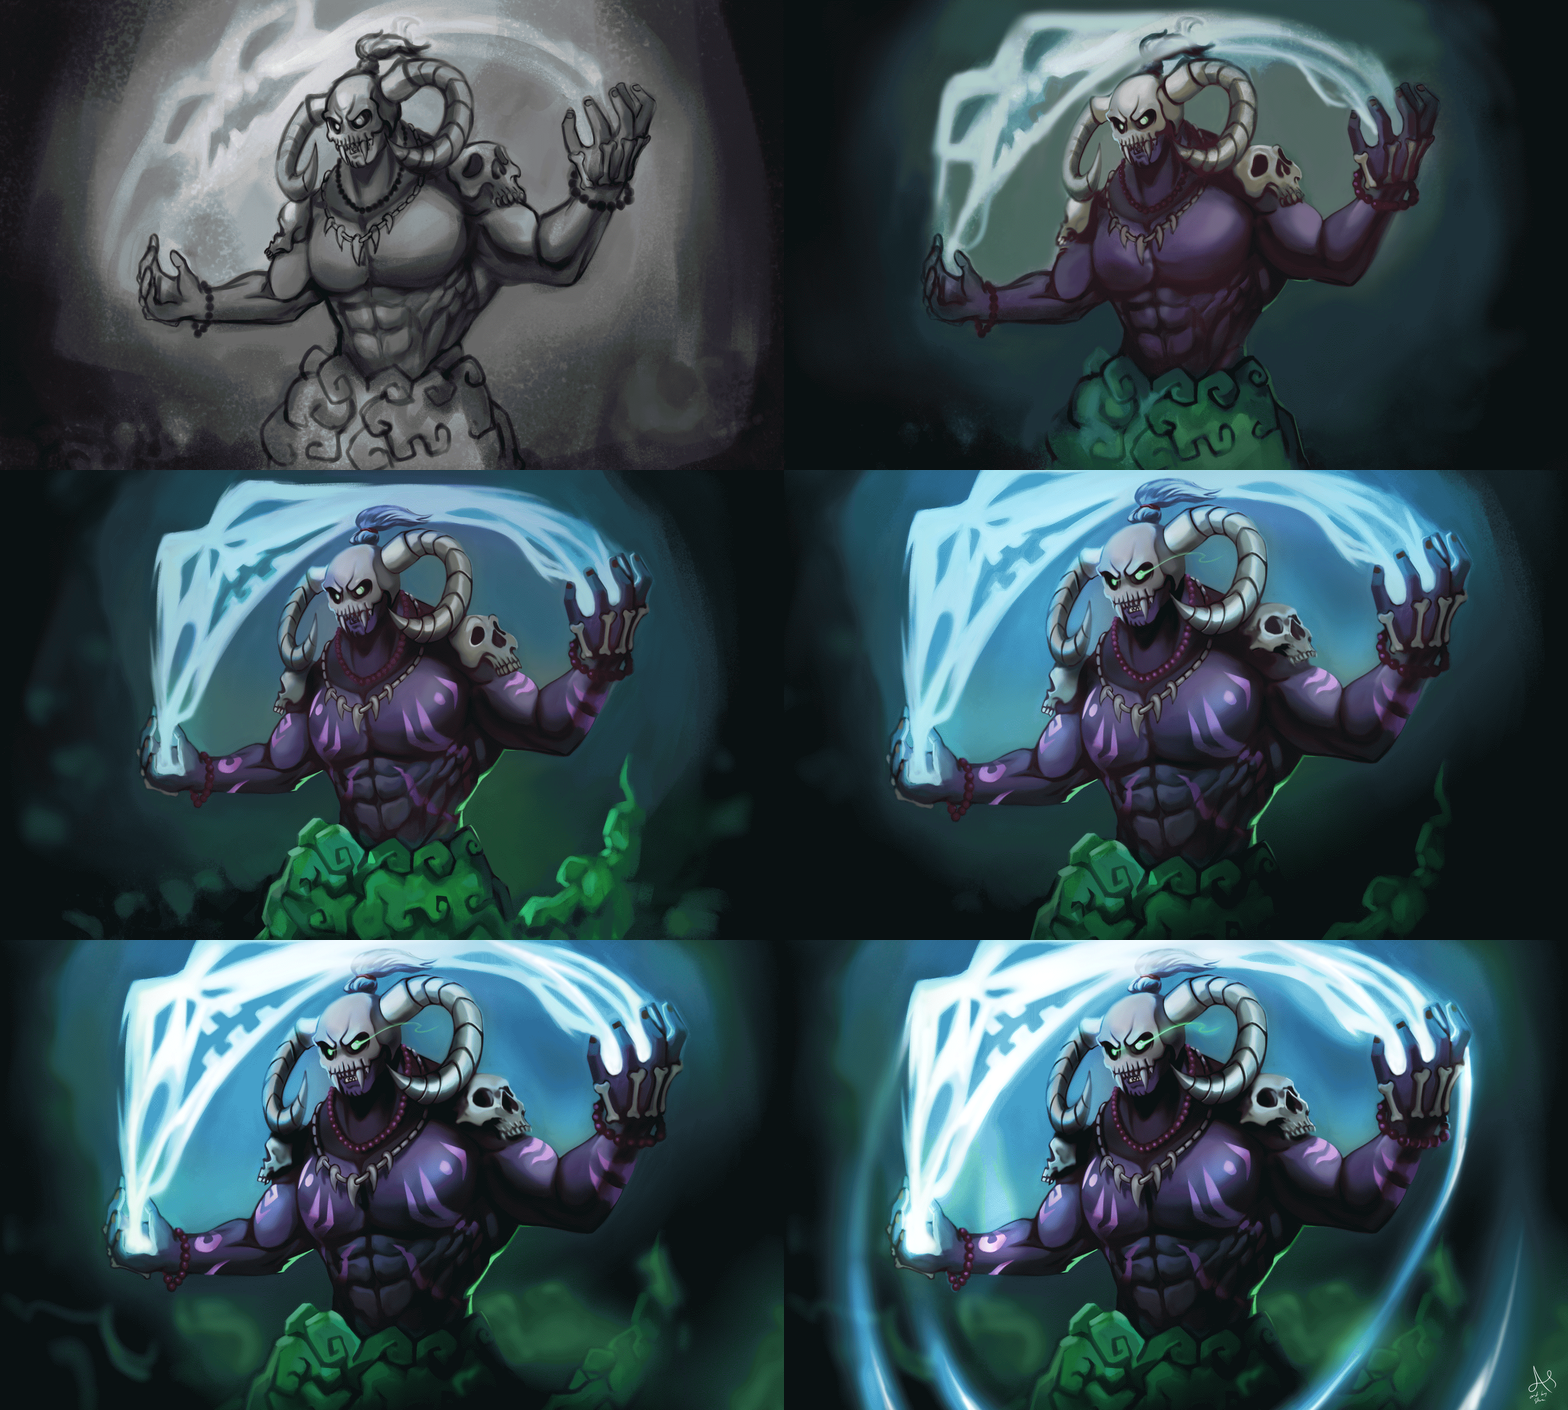
I'm not really fan of having the canvass with white color so I make it gray. Next is I do some little thumbnails with rough sketches of poses I want to draw, to keep my brain busy and not stare on a blank canvas.
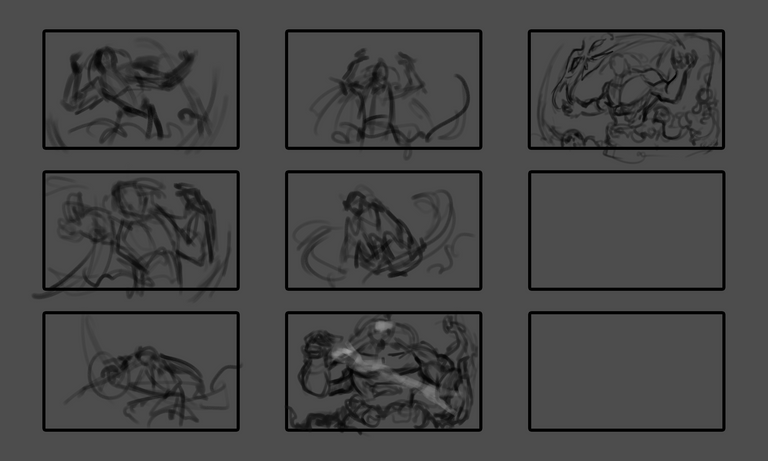
I enlarge the sketch that I find it cool to refine.
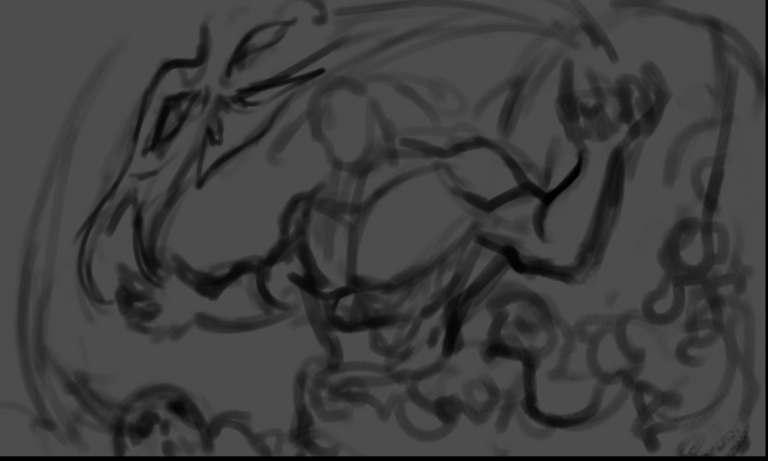
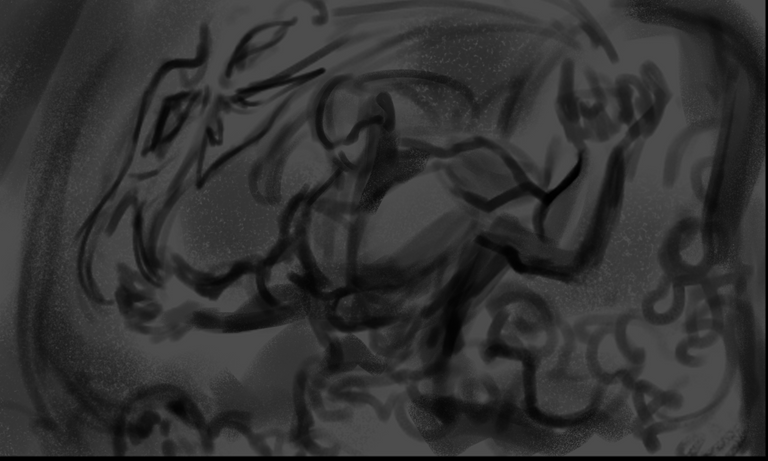
I started to add more blacks to the sketch building up the form and shapes of the design.
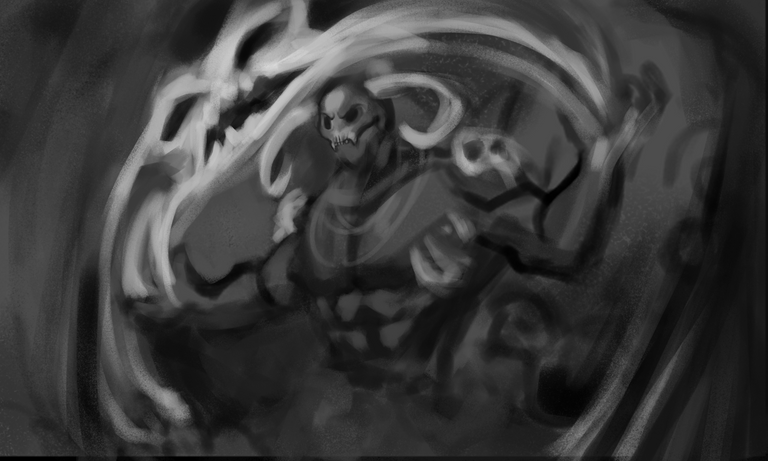
As I go further with the sketch I started adding the whites with the soul he is reaping and horns / skulls and so on.
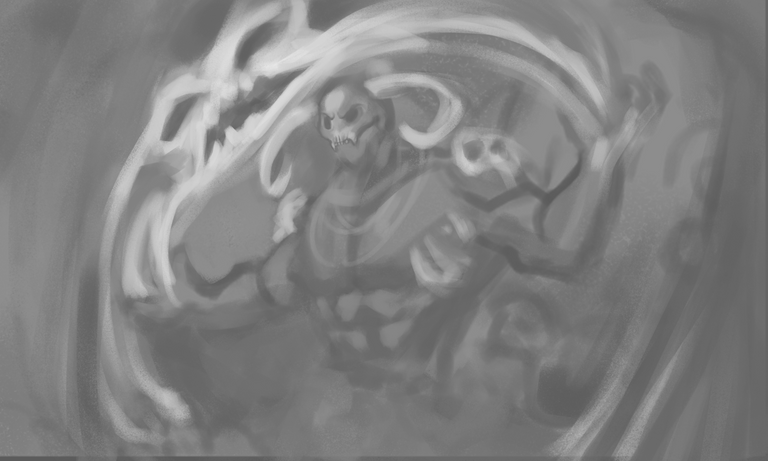
In here I create a new layer and fill it in with white color. Bring down the opacity a bit.
Add another layer and start to refine the shapes of the body and skull.
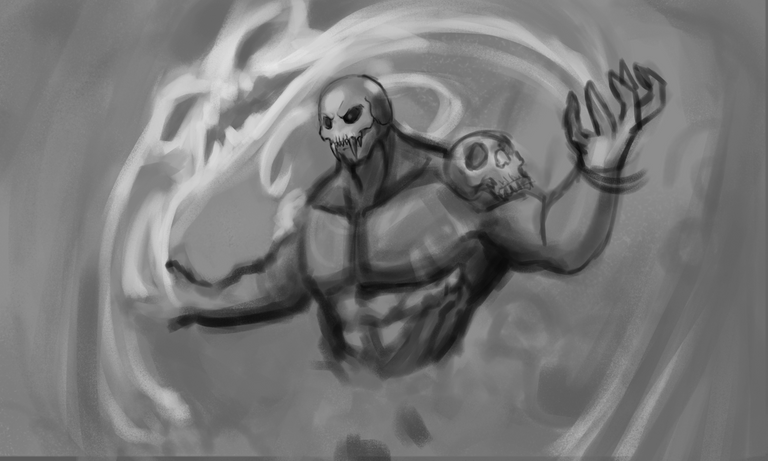
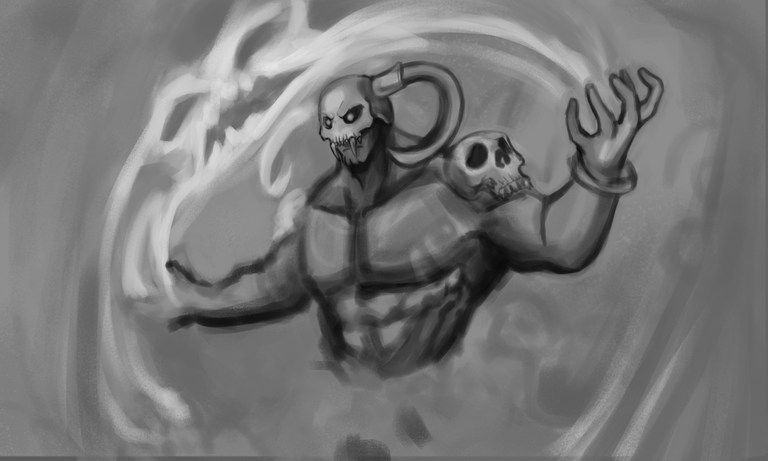
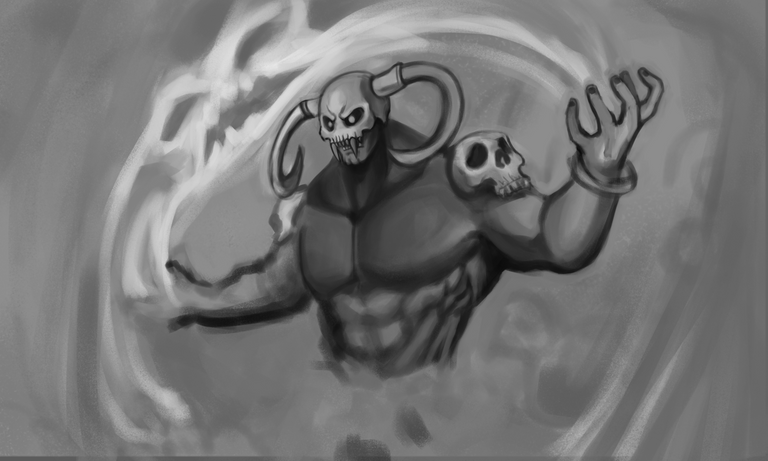
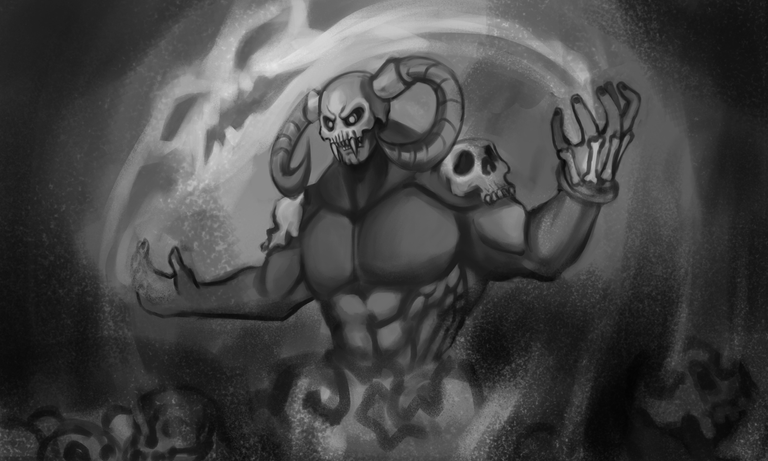
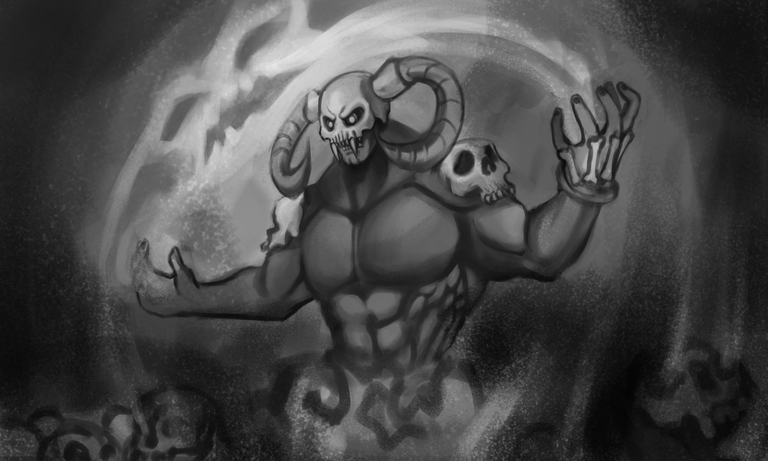
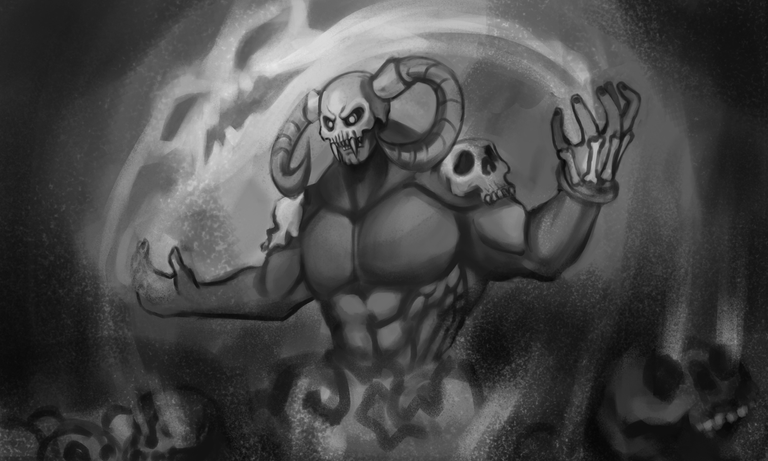
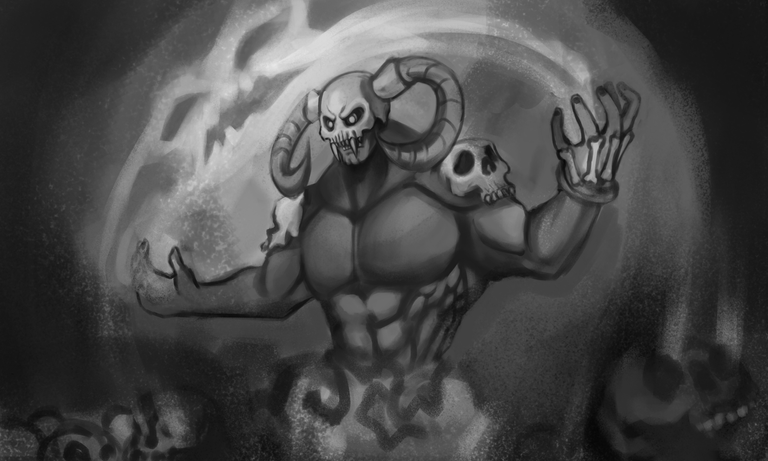
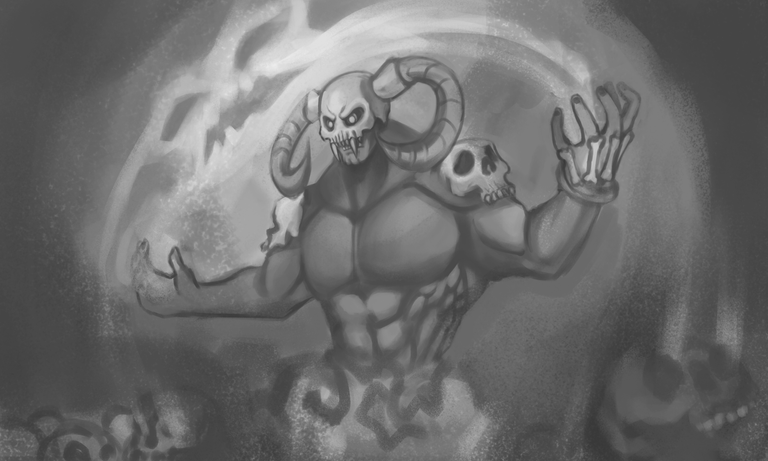
Continue building and refining the shapes with these black and white they call the grayscale part of the process. And since I don't want this post to be scrolled down a lot I decided to make a table for the remaining Sketches.
 |  |  |
|---|---|---|
 |  |  |
|---|---|---|
 |  |  |
|---|---|---|
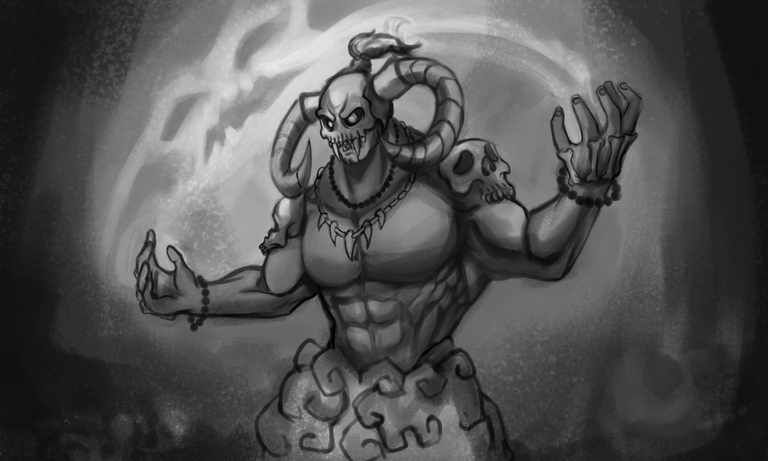
After all that refining process just for the sketch part. I have my final Sketch output now ready to color. I have fun with those little tweaks and adjustments there XD.

STEP 2
Coloring Stage
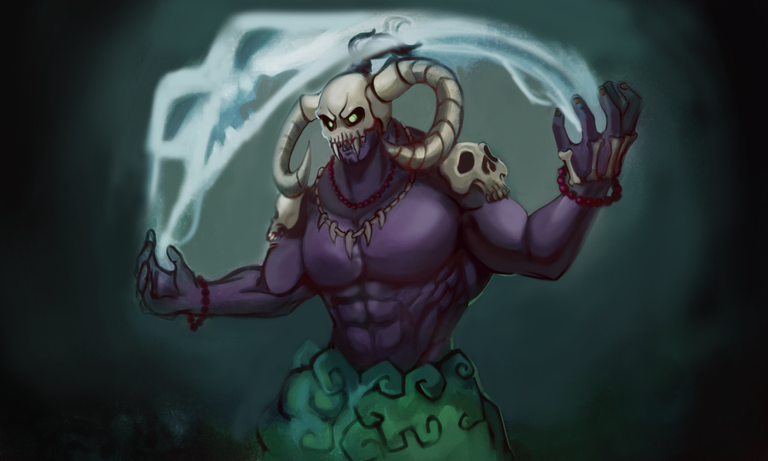
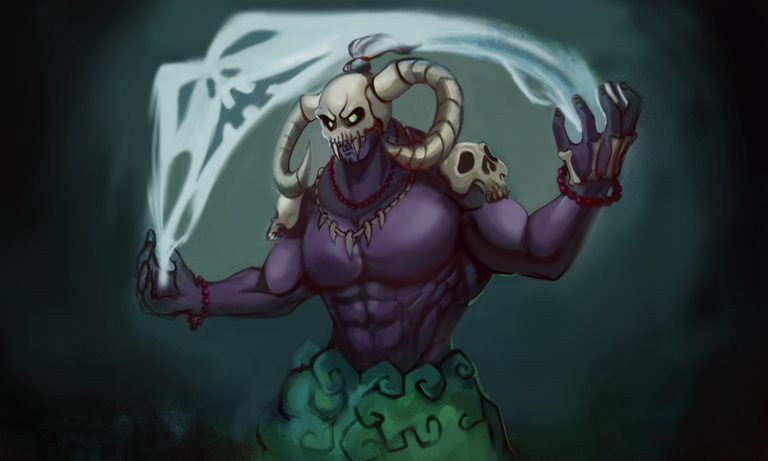
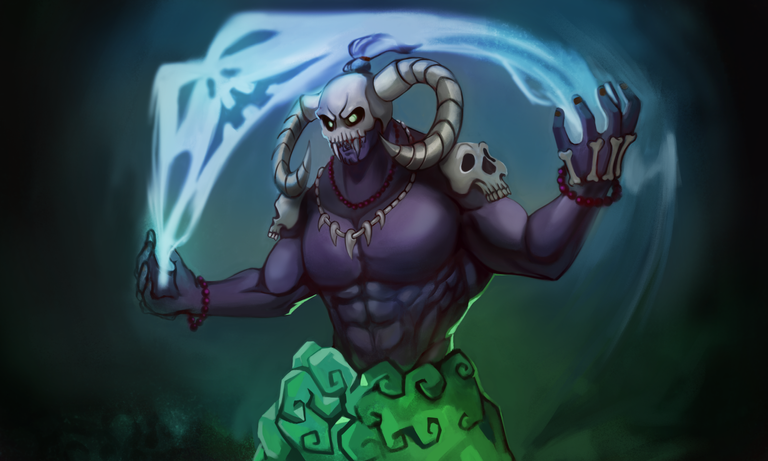
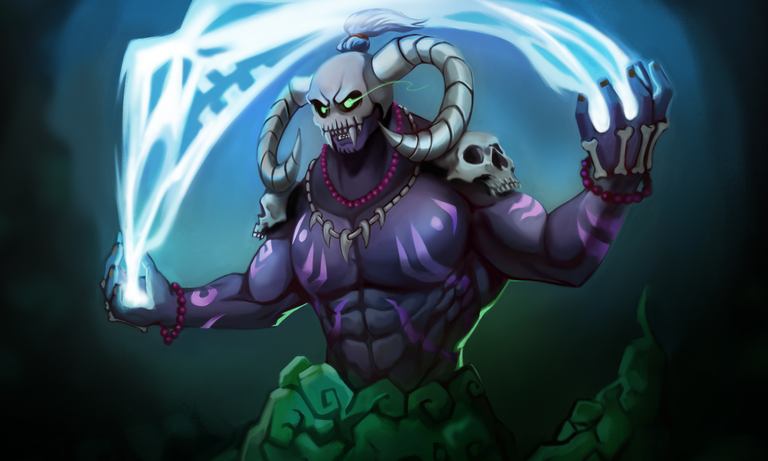
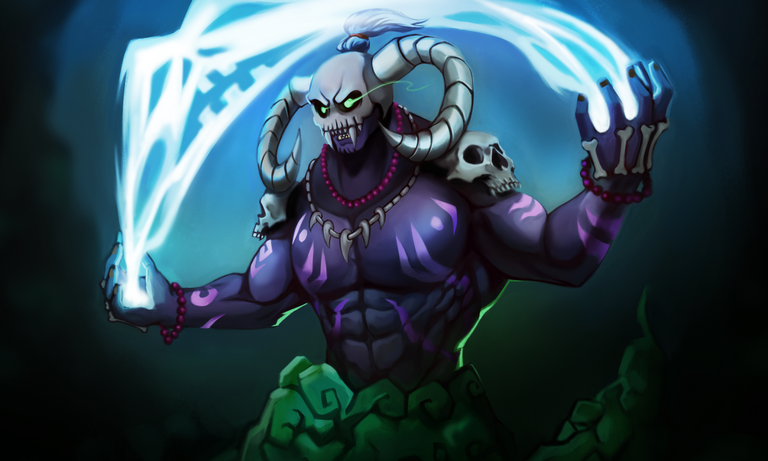
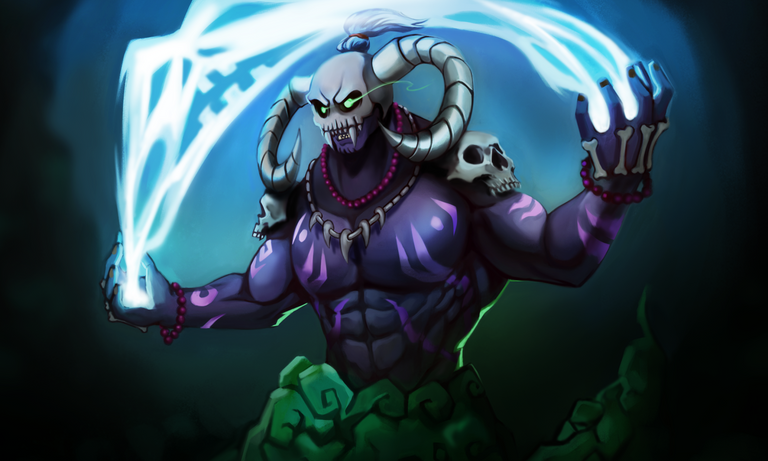
Alright! We have the sketch ready I merge all the layers to have a simple flat sketch, now let's dive in to color. Sharing my process in how I do the coloring stage. It is unlike my other artworks shared here, I don't separate the character to the background and what I do first is add a new layer set that to lighten blending mode. Brush a dark red color just to get rid of the black colors.
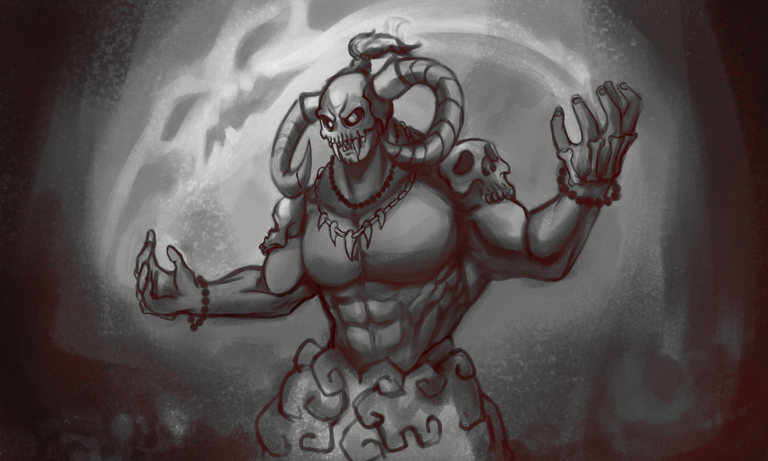
After that I add another layer set that to Overlay Blending mode. Brush the local or base color of the character not too saturated for the least.
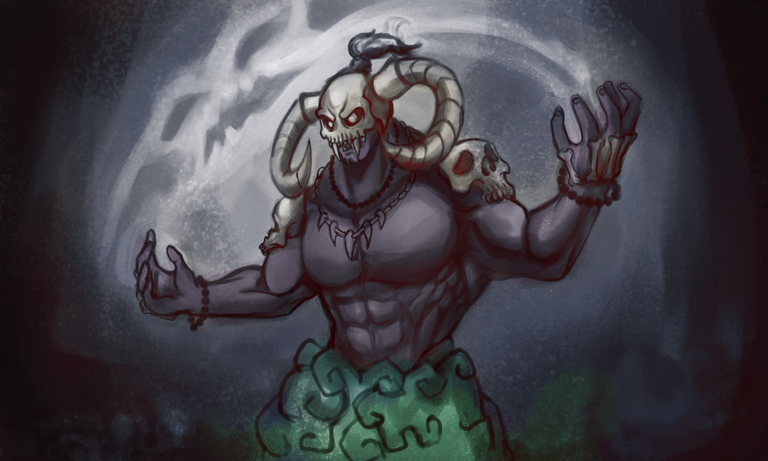
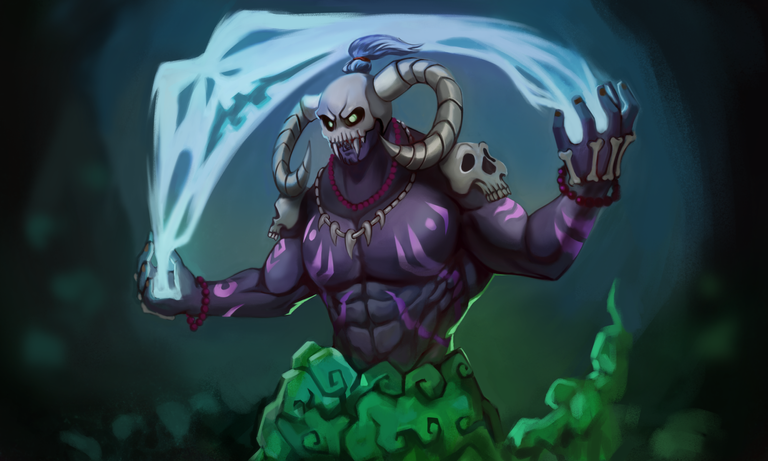
To pop up the colors I add another overlay layer and brush colors to the background and the character itself. I also get rid of the background elements I decided to concentrate on the character.
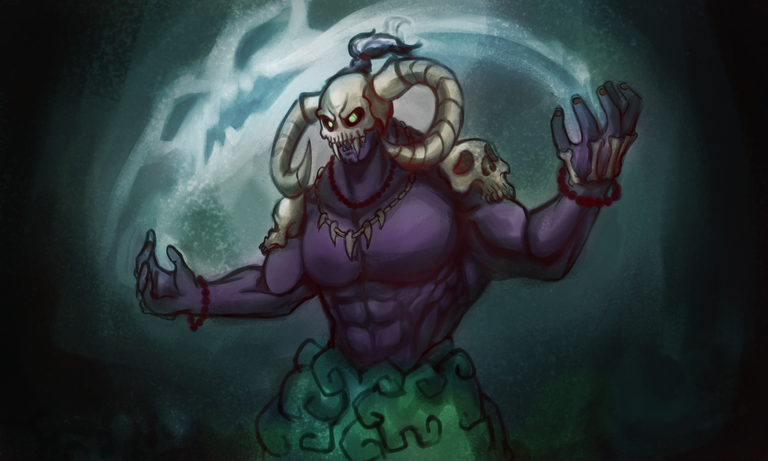
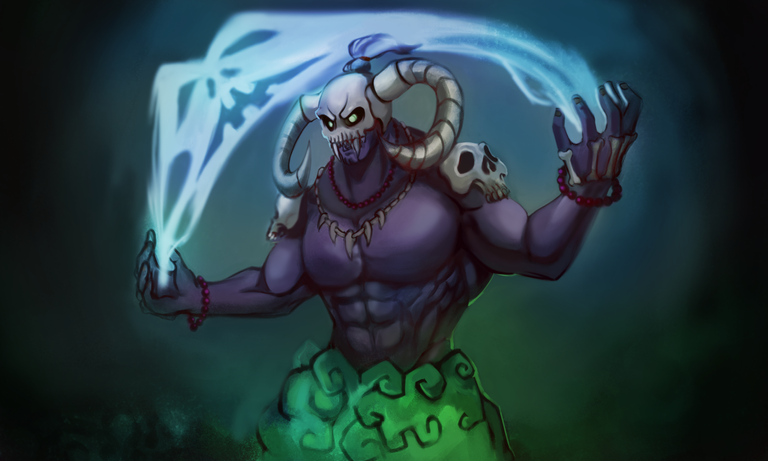
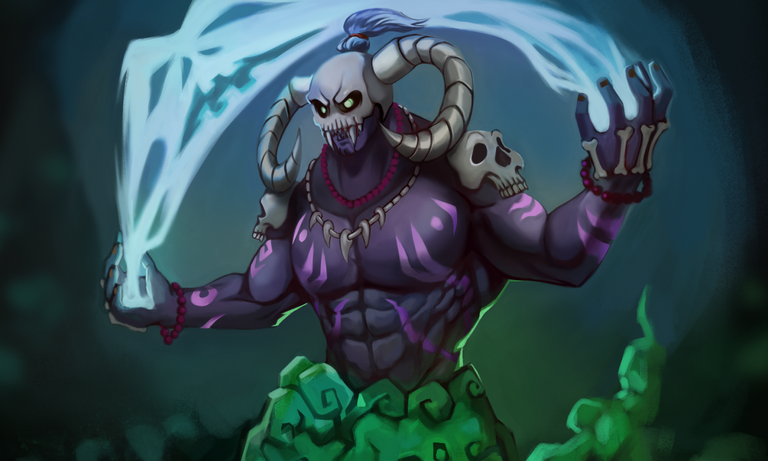
Satisfied with the Overlay colors I then added a new layer set that to Normal mode. And start to refine things around the artwork. I color pick a lot so my fingers are always place in the alt option of the keyboard.
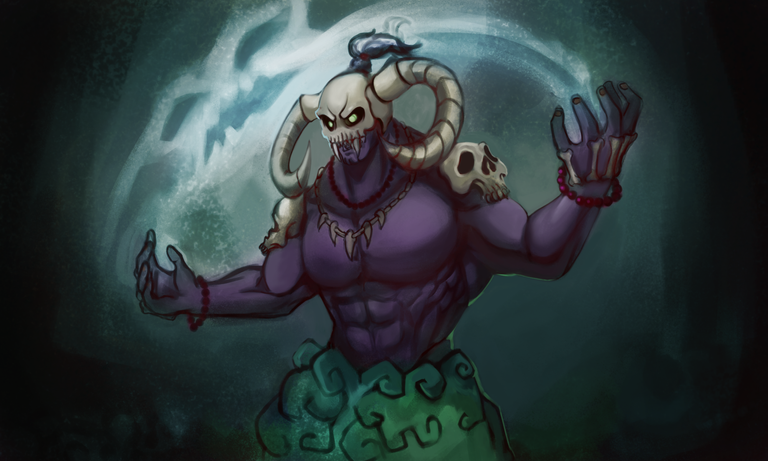
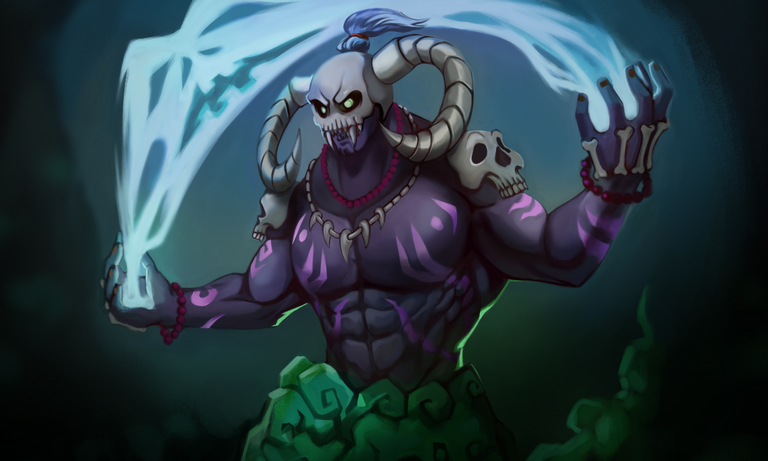
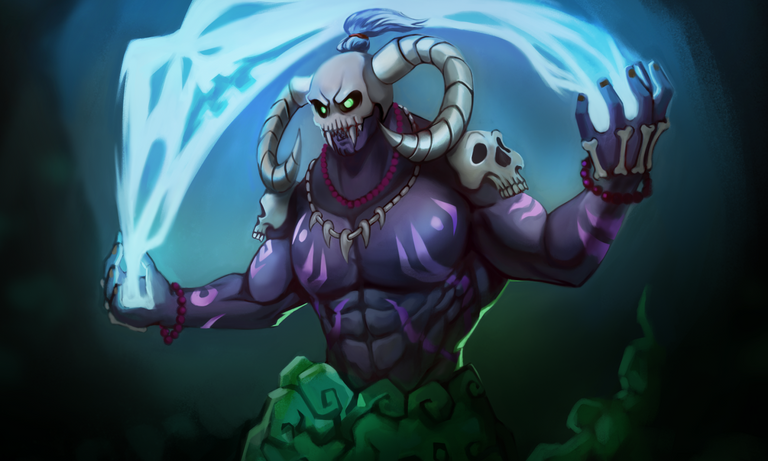
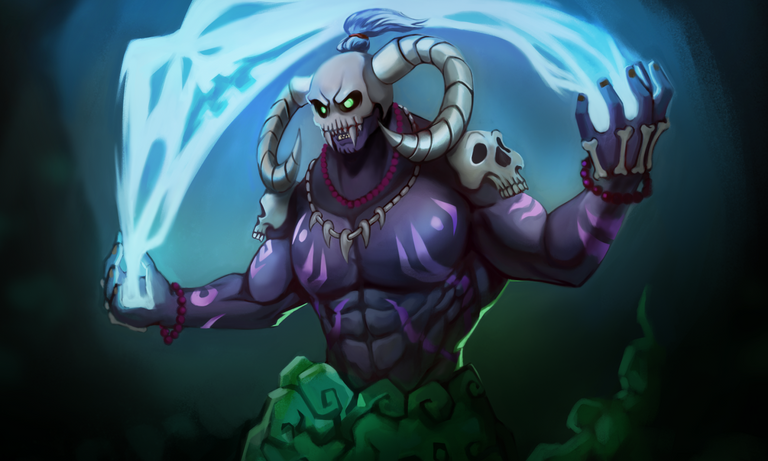
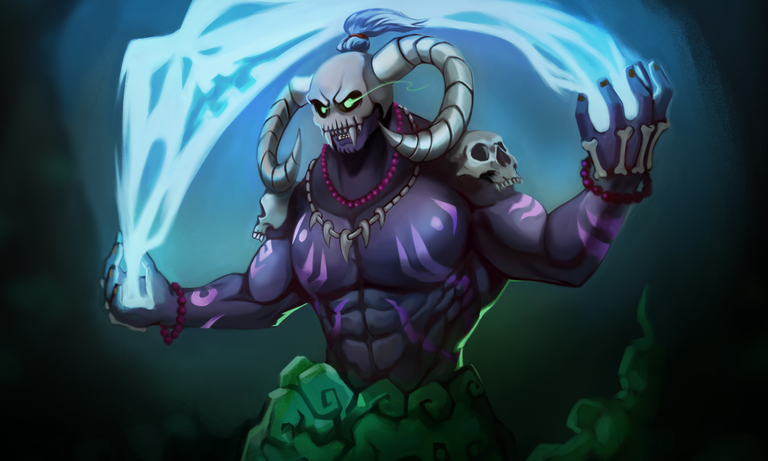
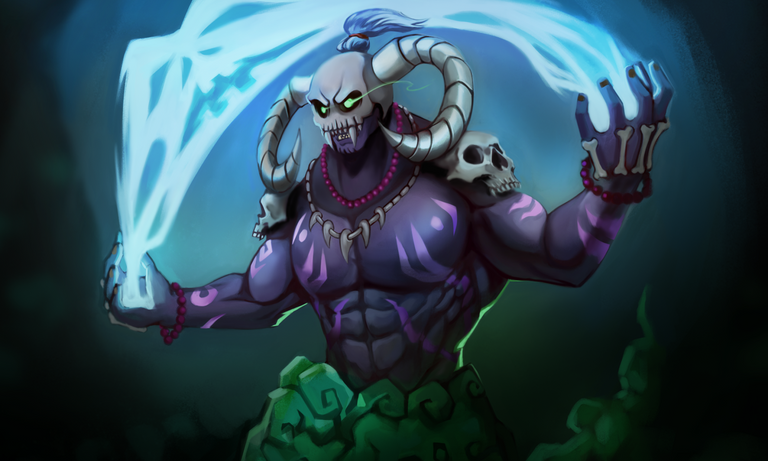
Then again that's the steps going forward to coloring my Artwork. I will then again add another table as this color refining stage might take long.
 |  |  |
|---|---|---|
 |  |  |
|---|---|---|
 |  |  |
|---|---|---|
 |  |  |
|---|---|---|
 |  |  |
|---|---|---|
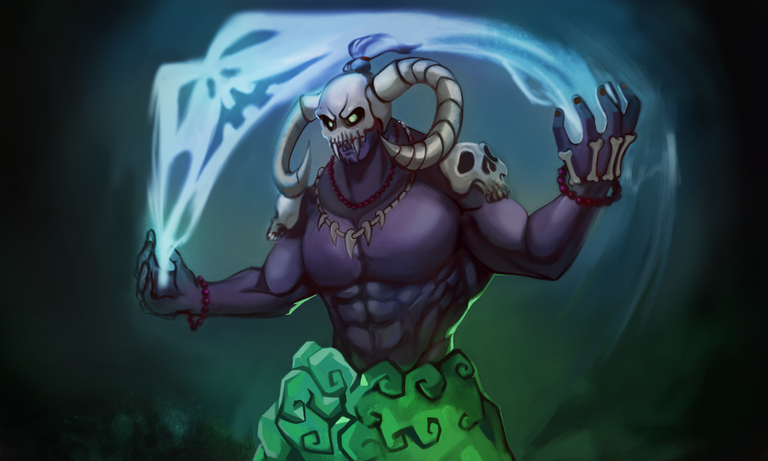
With those much color refining stage I am now closer to finished. I add some green auras on the background.
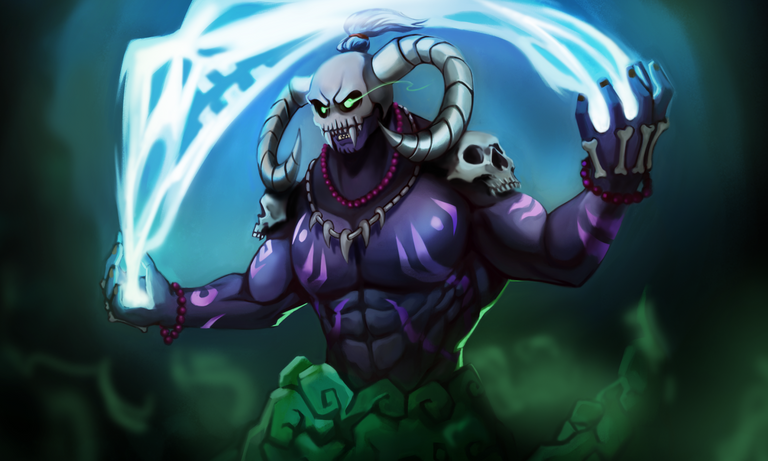
Hope you having fun with the process so far XD

STEP 3
Final Touch and Render
We are now at the end of the Stage/Process. I like to add some Soul Light around the character somehow he gathers it all around to his hands.

That's it we're done! That's gonna be my longest post so far with lots of images.

RENDER GIF PROCESS
Not playing Splinterlands? Come and join us! Referral Link

If you want to know about these cool Text Formatting please visit Cartel Post Framework I know you would love this guide as much as I do.
Hoooo! that was fun. You made it to the end of this post. I really appreciate your time and attention and I hope you learned something today.
'Till the next post see yah!
Thank you very much!
Join the Discord to learned more about Oneup and the Cartel


