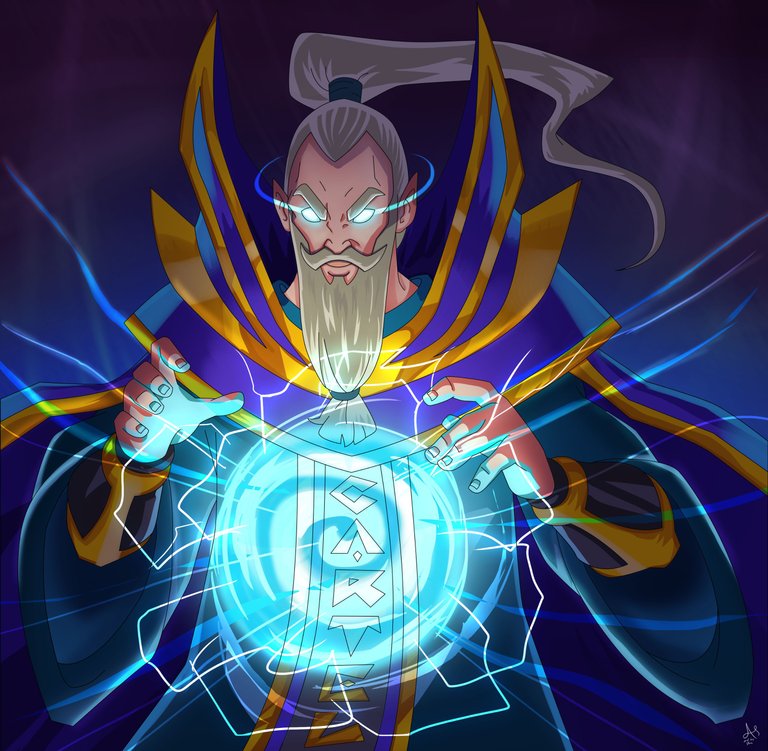
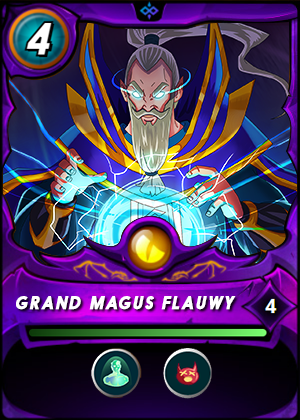
Legendary Dragon Summoner Flauwy. This is an original art character submission to Splinterlands Art Contest.

The Creation of Grand Magus Flauwy Artwork
Greetings everyone! It is me again Steven.
Today, I'd like to share to you my Art entry of the weekly contest in Splinterlands. You could join the Contest by clicking this LINK HERE.
The contest states that you can create arts based on the cards or you can create something entirely new!
This time I am making my own creation just for fun. My art is inspired with some physical features of my friend Flauwy. The Lore is fully not related to him and just a product of wild imagination.
LORE:
This Grand Magus or Grand Magician Flauwy is known to his high intelligence and tons of magic spells. His specialty is lightning magic that can stun various of monsters and any sort of enemy. People admire him for his greatness. But not all of them adore him. Some people are skeptic and afraid of what his abilities are capable of. He became the sword and shield in every war that the kingdom faced.
Because of being a lovable husband, he did all of these not only to protect the kingdom but also for his wife to live safely in the palace. Flauwy already know that with this kind of power, it may also attract the evil eyes who will be feeling jealous and wanting the things that he has. He thought that it would be best for him and his wife if they will be living in the king's palace.
At night while everyone is sleeping including Flauwy. Everything is dark. A creature is lurking in the shadows with a pair of big yellow eyes. It jumped directly to the direction where Flauwy is lying in deep sleep. As the creature approaches to him, Flauwy senses this intimate bloodlust and thinks that a monster manages to enter his room.
Without a second thought, he releases his furious stunning lightning spell towards the evil monster and it ended it's life. Then the moon shines through the window of his room revealing the face of that said monster.
As the light approaches that monster, Flauwy's eyes went teary as he sees his beautiful wife lying on the floor. His mind went blank wondering why. His intelligence got zero for that moment and he quickly run towards his wife. Screaming and crying out loud with the anger towards himself.
The power that has been used to protect his wife, is the one that also killed her. He felt uneasy as he discovered a linear of magic towards his wife. He found out that she has been controlled by a familiar magic that he has seen before.
It is a magic that his fellow magicians and subordinates used to tamed and control monsters.
Flauwy won't care anymore and kill all of the magicians in the palace whether they are guilty or not. He cast the judgement upon his hands. The king heard of that act and ordered his men to capture Flauwy immediately. But no one can withstand the power that Flauwy unleashed and boosted by his anger. Everything is wreck and Flauwy vanished from the scene.
People did not expect that to happen. But no one knows the whereabout of Flauwy. Others say that he is now one of the Chaos Legion but it's just a rumor that no one can proved yet. (end of lore)
Editor's note: Phew! Man sorry for that tragic story don't take it seriously.

I will teach you some basic technique that I learned in my drawing process (for beginners only). So come on and let's dive into the Digital Art Making Process.
Materials and Software
Adobe Photoshop
Adobe Illustrator
HUION H640P graphic tablet
ASUS X415 Laptop

Digital Art Creation Process
STEP 1
Sketching
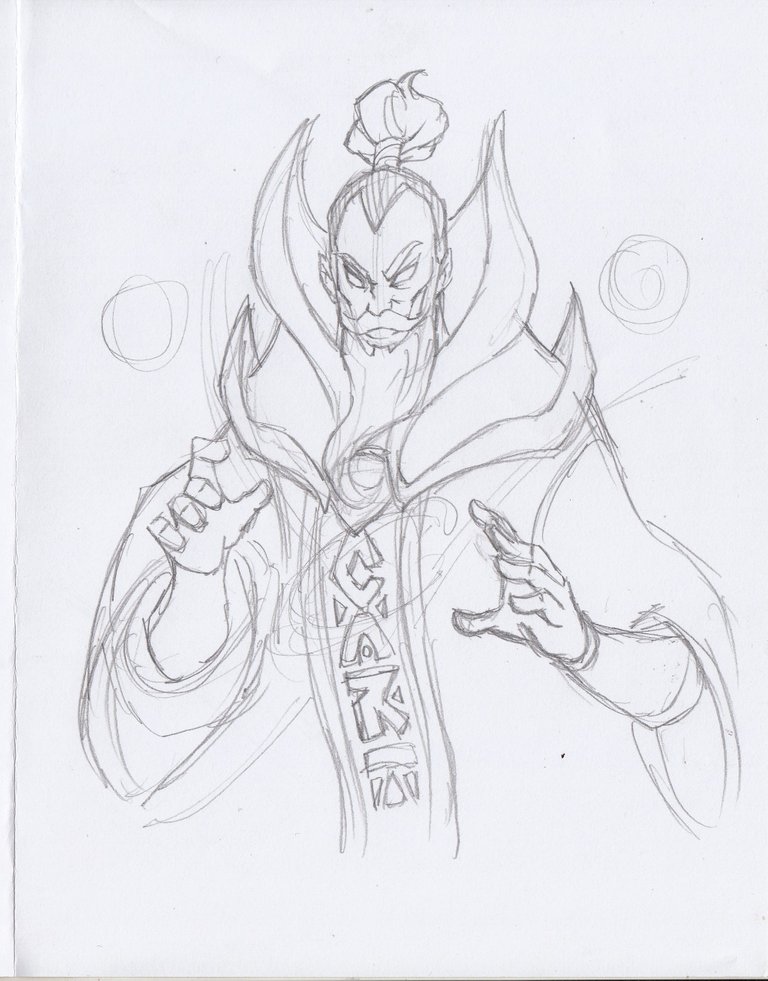
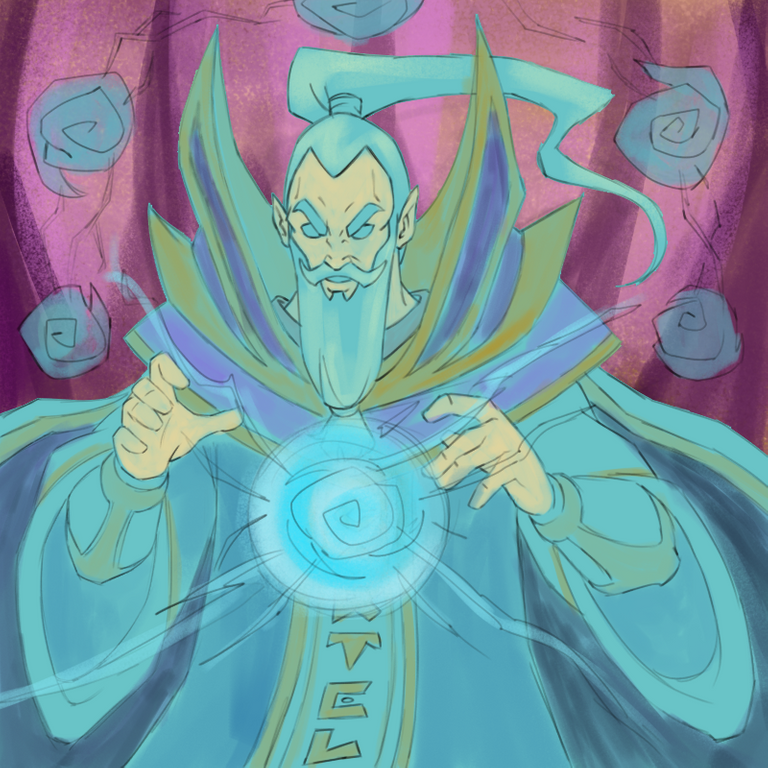
First, I did a sketch with the used of a paper and a pencil just to have a general look of what I will be creating. I also been thinking to vectorized this sketch through Adobe Illustrator but I change my mind and resketch it in Adobe Photoshop. Though, maybe I will do some vector art someday.
Here are the results of the sketches. I also added color to the sketch to have an idea of what the finish product will be.
 |  |  |
|---|---|---|
After I have my sketch, we will be outlining the sketch. Let's proceed to the next step. I Hope you're having fun so far.

STEP 2
Outlines
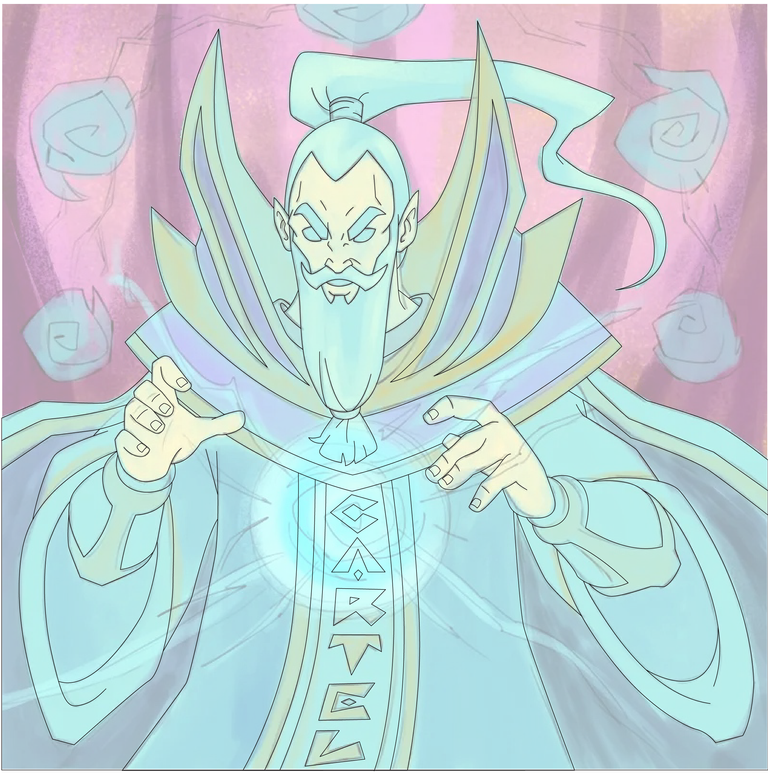
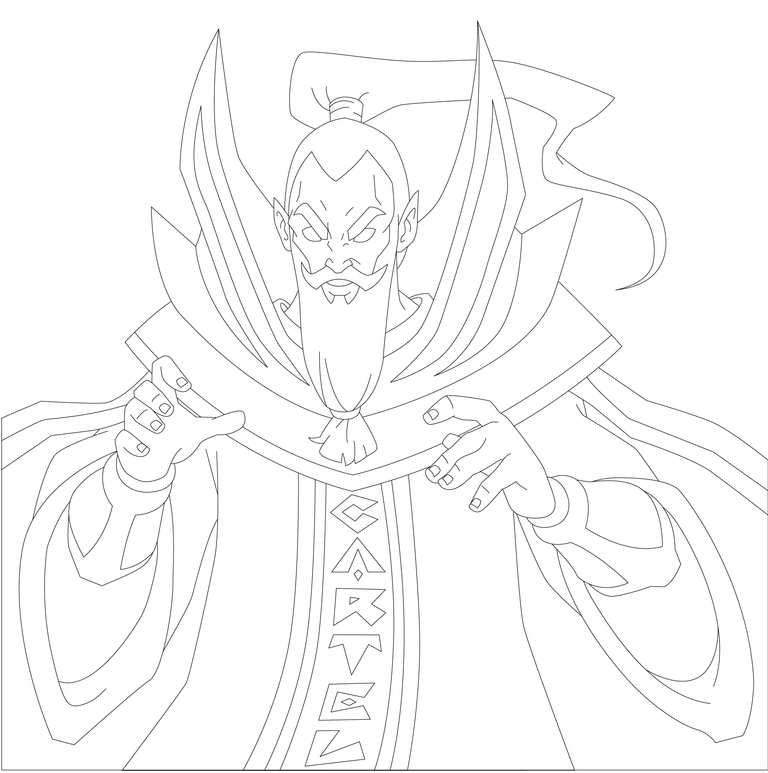
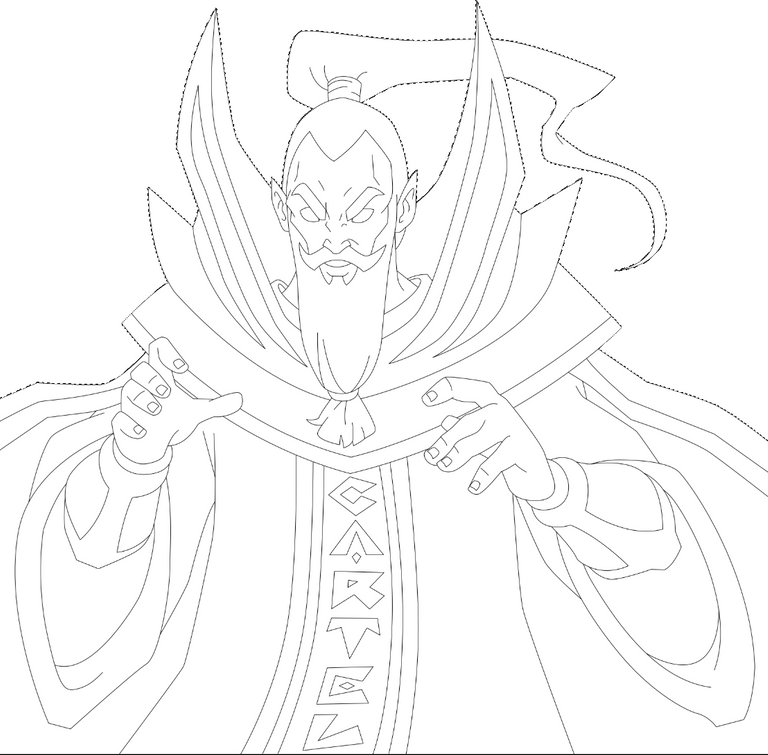
Alright! Here I saved my sketch that is done in Photoshop and open it in Adobe Illustrator. Bring down the opacity then hit new layer for our outline. Even though we are only using our mouse we can create outlines here in Illustrator. Just hit (P) on your keyboard, it's a shortcut to your Pen Tool (+) and (-) for adding and subtracting points in the line strokes. So, all you have to do is point click hover to the next place where you want your next point and click, that's how you form a line. If you want to curved your line just point click hover to the next point click hold then drag until you achieved the curved line you want.
I traced the sketch that I made. Be sure that the lines are closed to make an easy masking. And here is the result.
 |  |
|---|---|
Alright! We're done with the outlines. Now let's proceed to the next step.

STEP 3
Base Colors
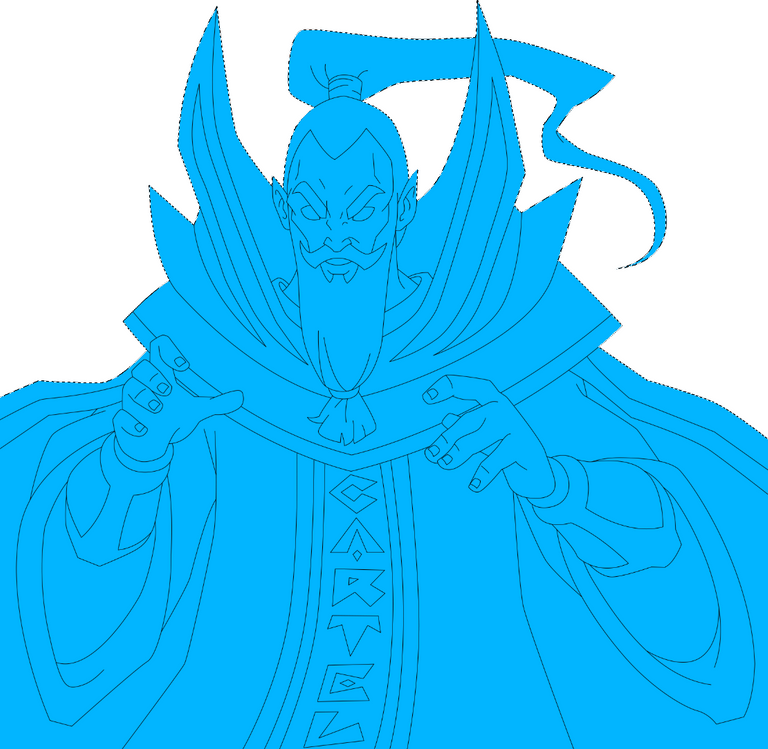
I open the Outlined File in the Photoshop again because this is where I will color the character. In the layer change the name to Sketch so that we can identify it easily. Then simply select the magic wand tool. Click anywhere outside the Sketch. That portion of broken lines are selected by the magic wand. Hit Control + Shift + i on your keyboard to invert the selection. Then Add New Layer and name it Base Colors and simply brush any color for the base or Alt + Backspace/Delete. This is how it looks like.
 |  |
|---|---|
After I set a base layer next thing I did is turn on the Lock Transparent Pixels in the layers panel. Then brush some flat colors adding local colors to each parts of the character. Here is the Final Base Color result.
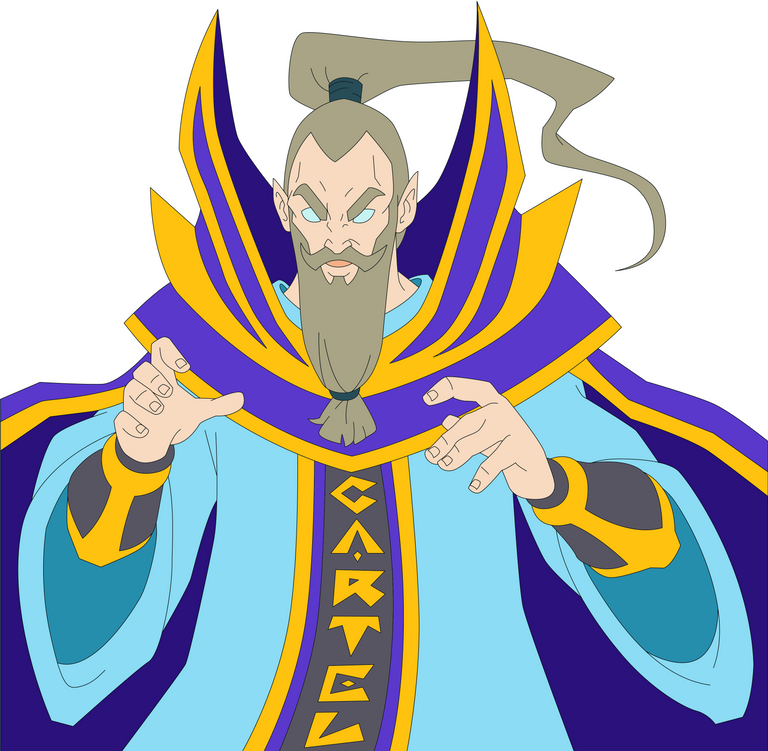
That looks nice already happy with the character build up so far.
We're almost there guys! Keep going! Let's go to the next step.

STEP 4
Shadows and Highlights
This is how I set up my shadows and highlights, I do it layer by layer for each part of the character. The face, hands, hair, mantle, cape and other details. I just turned on the lock transparent pixels in every layer and add some dark colors for shadows and light colors for highlights. You could also used the hue and saturation option to adjust the color.
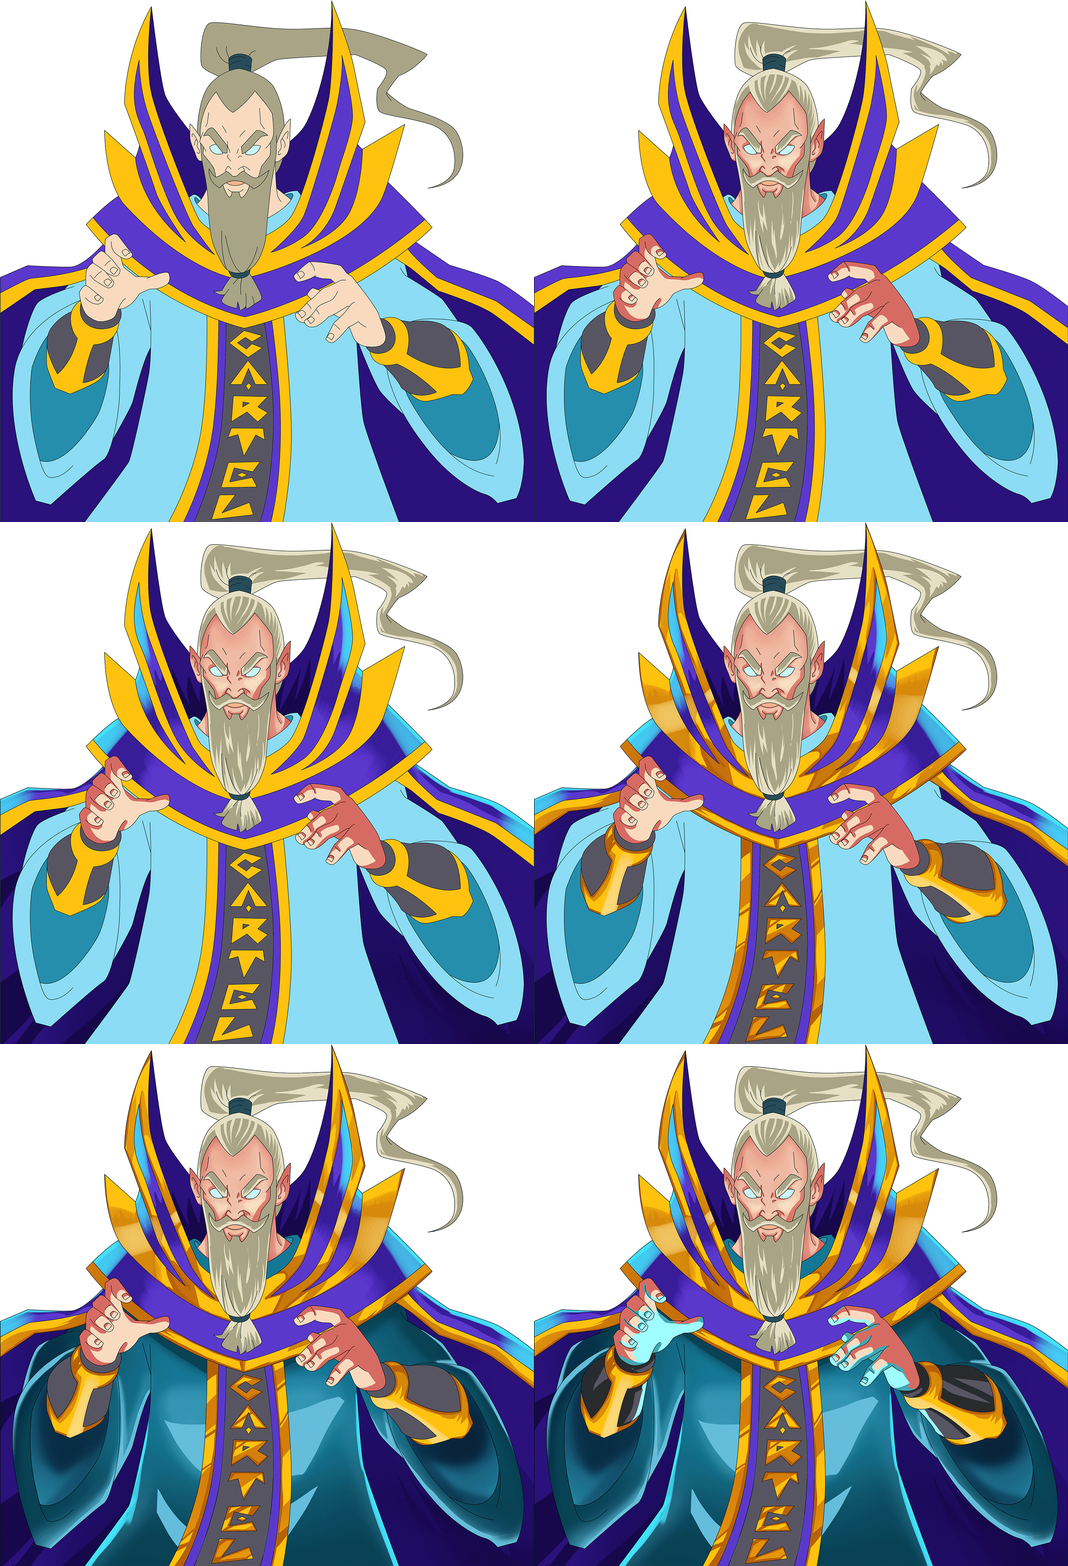
I think that's already good for me I'm happy with the result. Now let's add some depth to the character. Let's go to the next step.

Final Step
Adding Lightning Magic and Background
For the last step, I added this lightning magic that the character is casting and forming it into circular shape. To do that effect just apply Overlay and Color Dodge Blending Mode for the layer. For the background it's just an abstract scribbled with brush and apply Motion Blur to that layer.
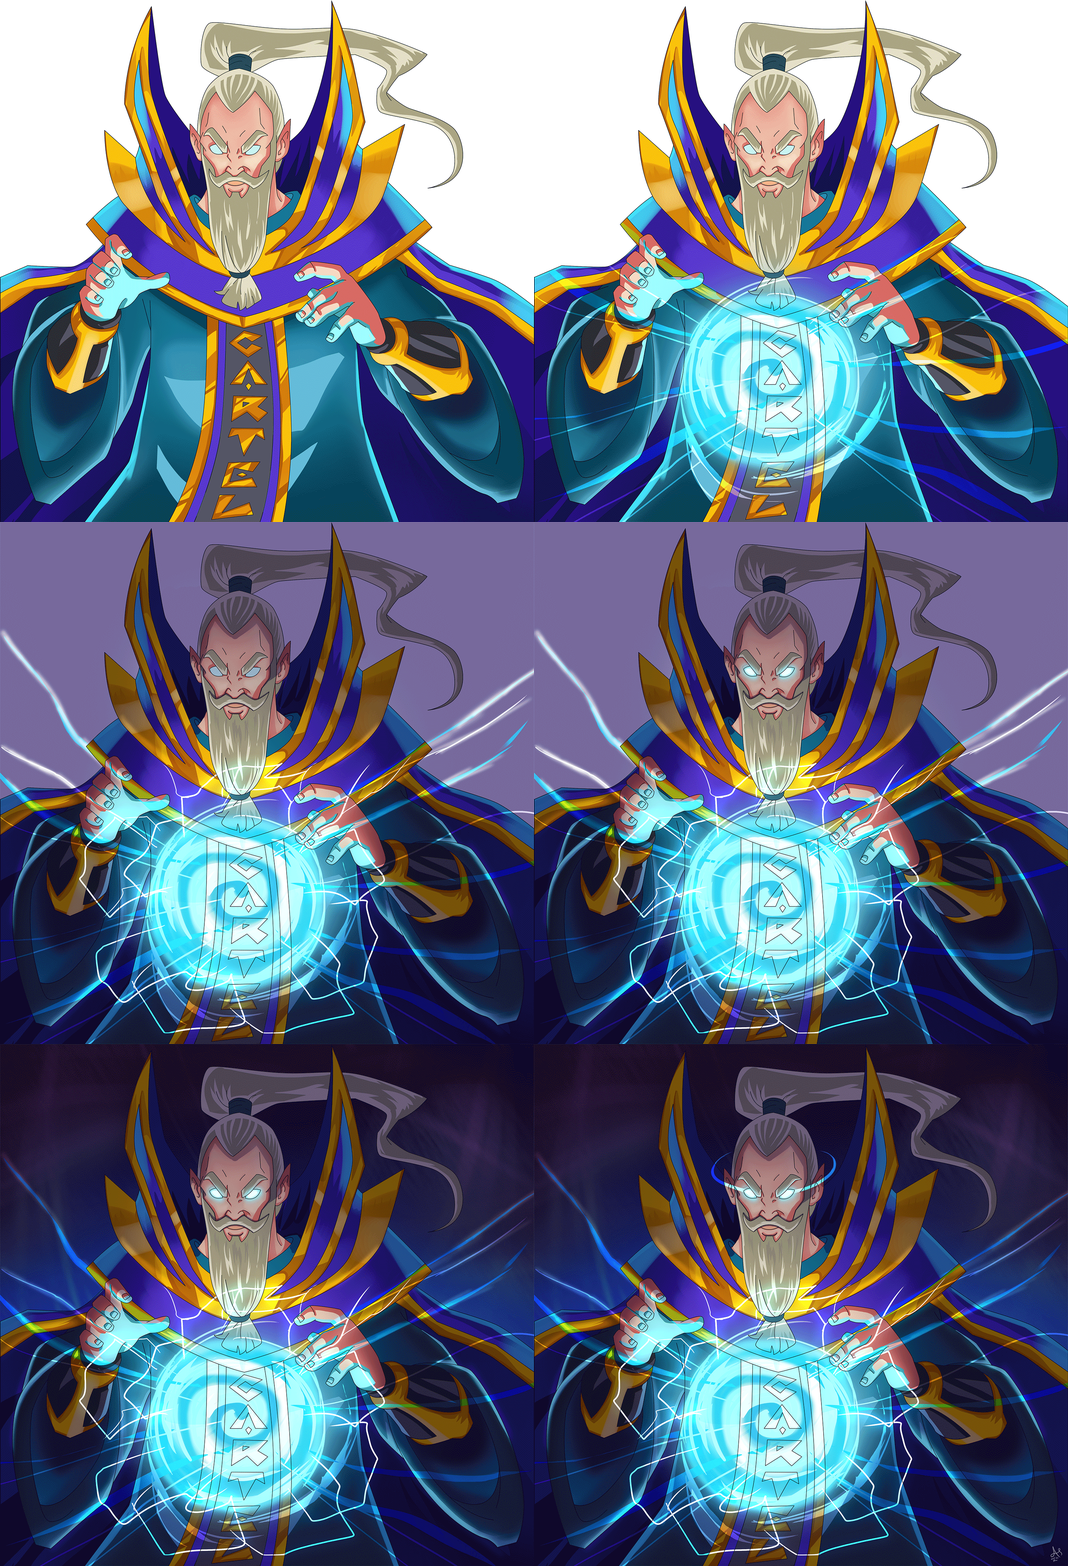
That's it! Wohoooo we're done!

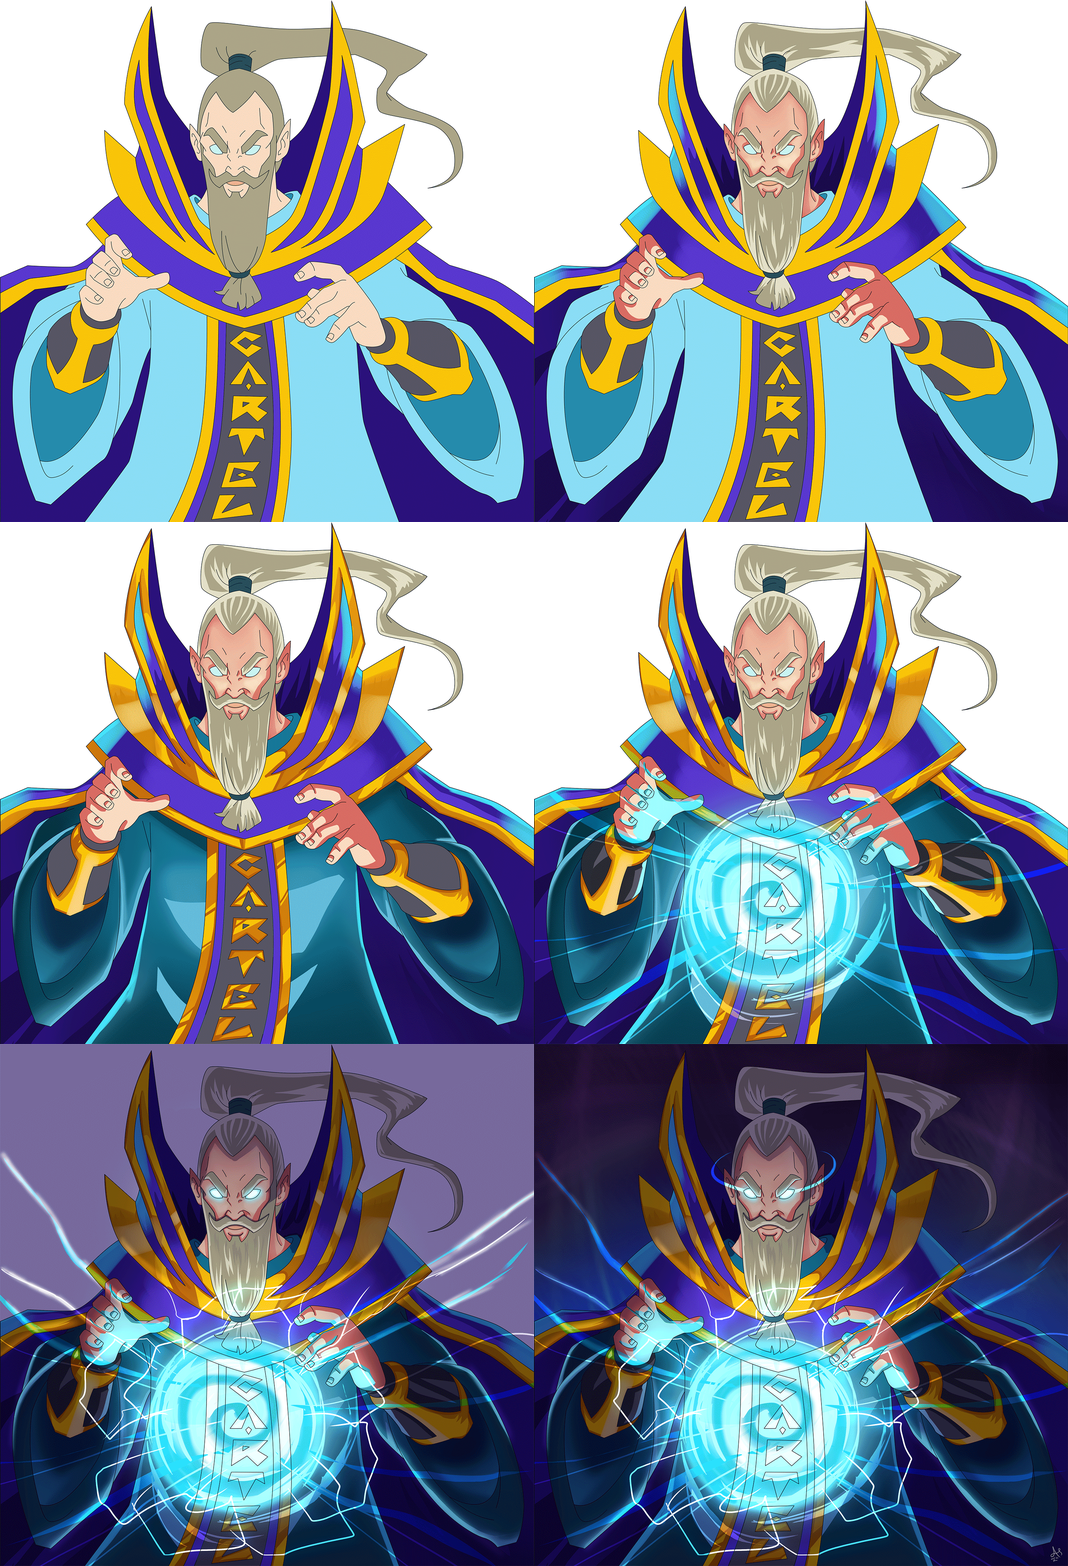
FULL GIF PROCESS
Not playing Splinterlands? Come and join us! Referral Link

If you want to know about these cool Text Formatting please visit Cartel Post Framework I know you would love this guide as much as I do.

Hoooo! that was fun. You made it to the end of this post. I really appreciate your time and attention and I hope you learned something today.
'Till the next post see yah!
Thank you very much!
Join the Discord to learned more about Oneup and the Cartel

