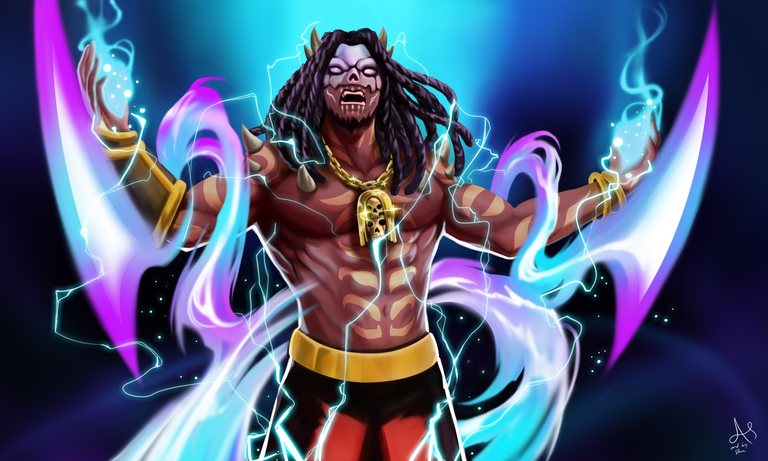
Legendary Death Summoner Waka Spiritblade. Fan art submission to Splinterlands Art Contest.

The Creation of Waka Spiritblade Artwork
Greetings everyone! How you all doing? It is me again Steven.
Today, I'd like to share to you my Art entry of the weekly contest in Splinterlands. You could join the Contest by clicking this LINK HERE.
Join me walk through the process of creation and hope you have fun as the art progress from the start to finish.

Materials and Software
Adobe Photoshop
HUION H640P graphic tablet
ASUS X415 Laptop

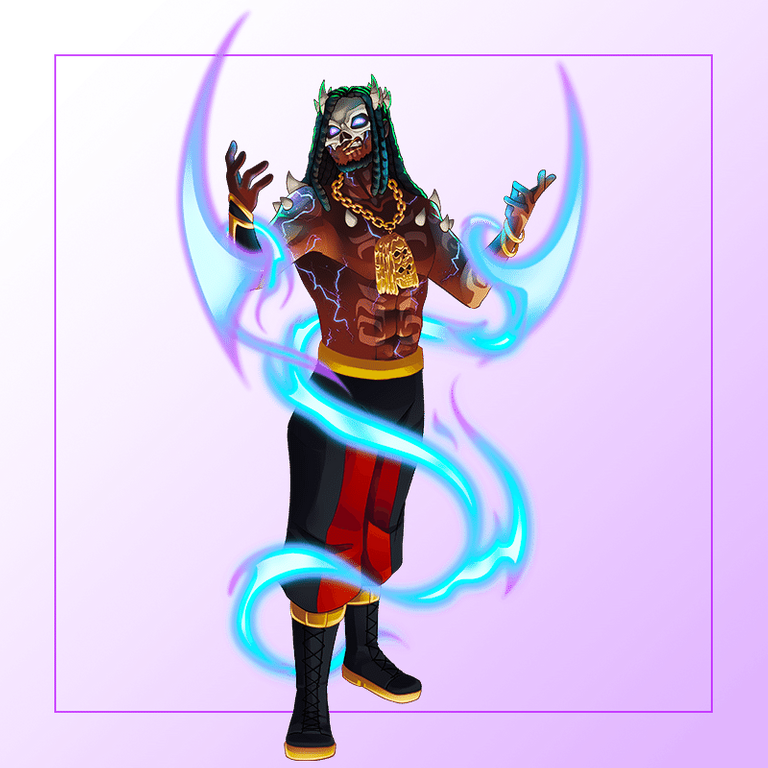
Card Reference:

Digital Art Creation Process
STEP 1
Sketching
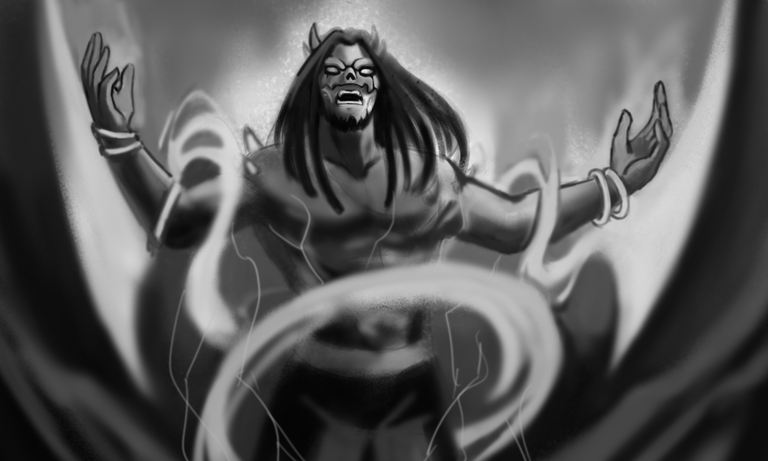
First thing I did was make a rough sketch of the character with the details he has in there like the sharp blades and the skull mask . I just follow the pose of the card reference. Just adding some style and look how cool he raise his head while performing the releasing of his powers.

Still have no idea what would the finished output will be, it's cool just to have fun with the sketch. Build it until you find something that you're happy with. I just stack up some blacks in there until the values are somehow correct.

After I have my sketch, it might be fun to color it now but I like to make it more detailed so here's the final sketch looks like.
Let's proceed to the next step. I Hope you're having fun so far.

STEP 2
Color Overlay
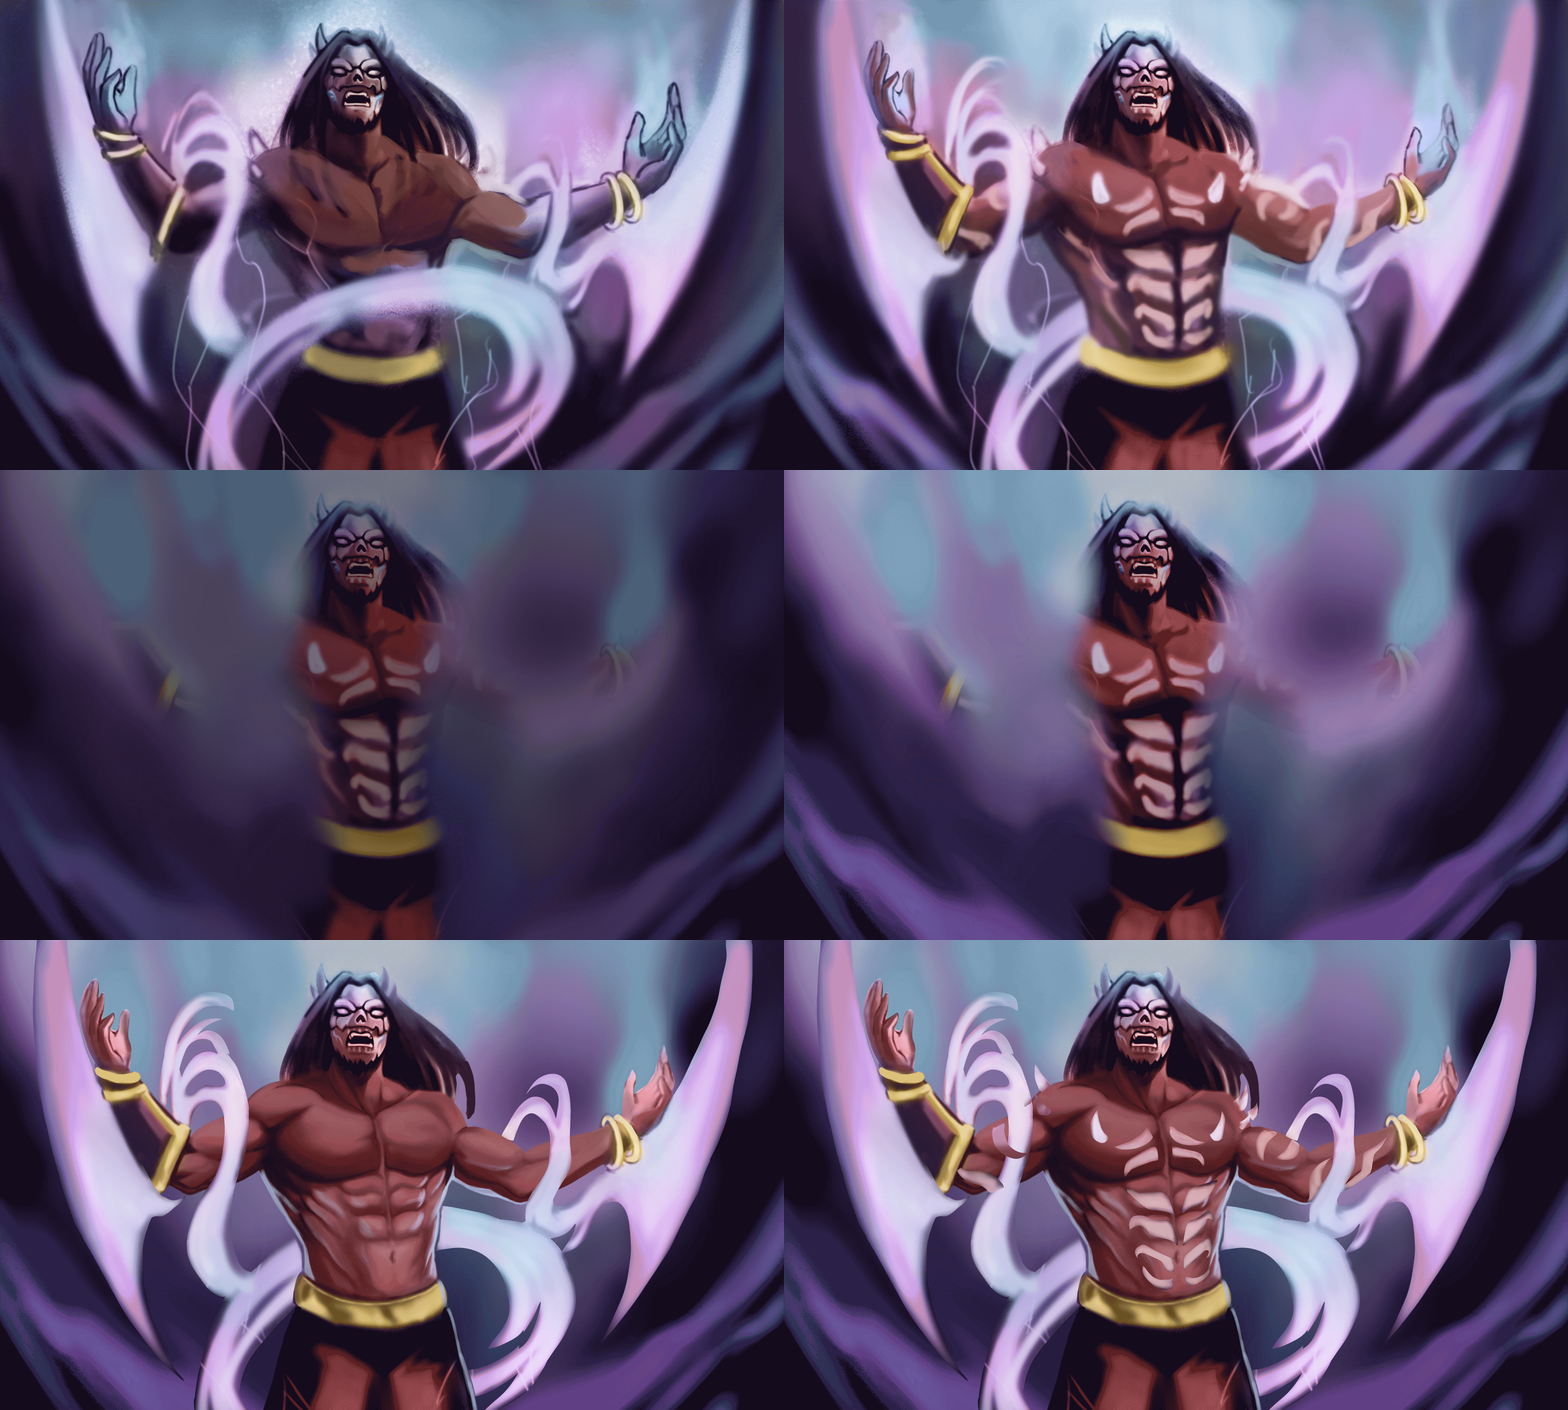
Alright! Here I Add New Layer and set that to Overlay Blending Mode. Pick some color and brush through the areas of the character. I like to used overlay blending to add color if I'm doing a grayscale sketch artwork. Here is the result from grayscale to color.
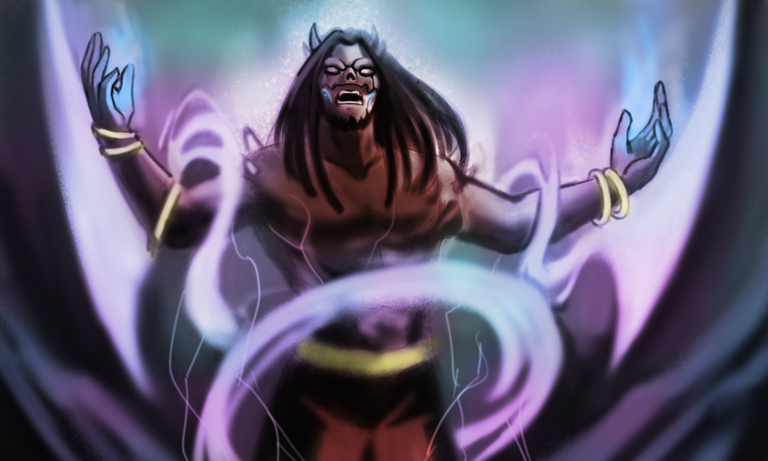
That is sure a muddy output there haha but we can work it out bring it light.
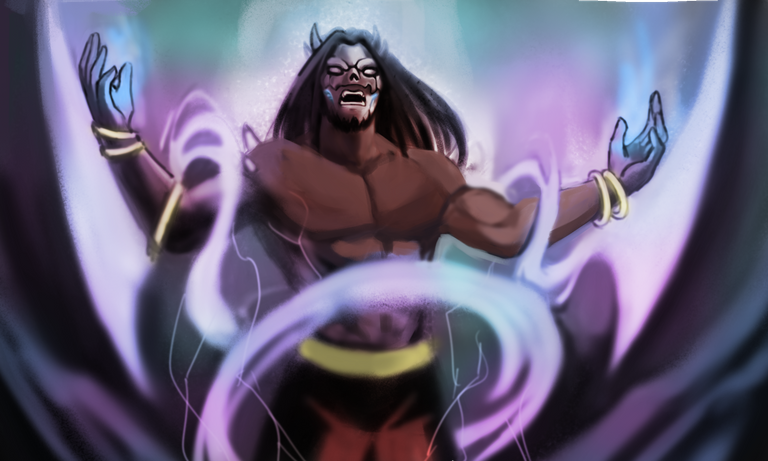
Here I start to refine the details in the chest area first then the arms and so on. Let's start to refine the character in the next step.

STEP 3
Refine Character Details
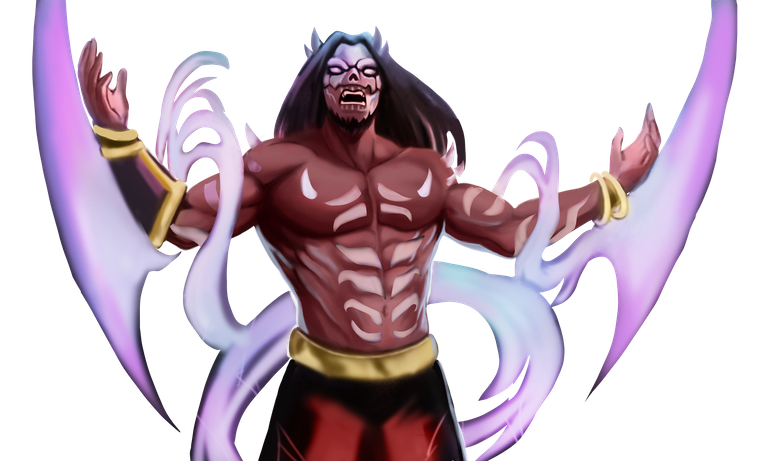
In here I Separate the Character to the background so that we can manage to refine it first. And here it looks like.
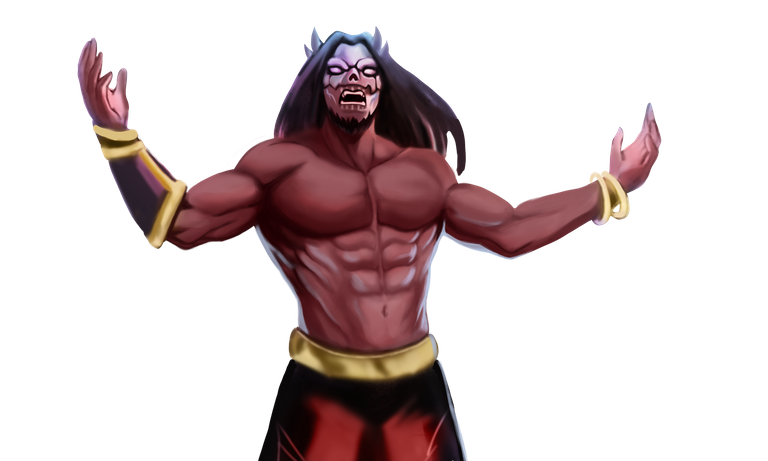
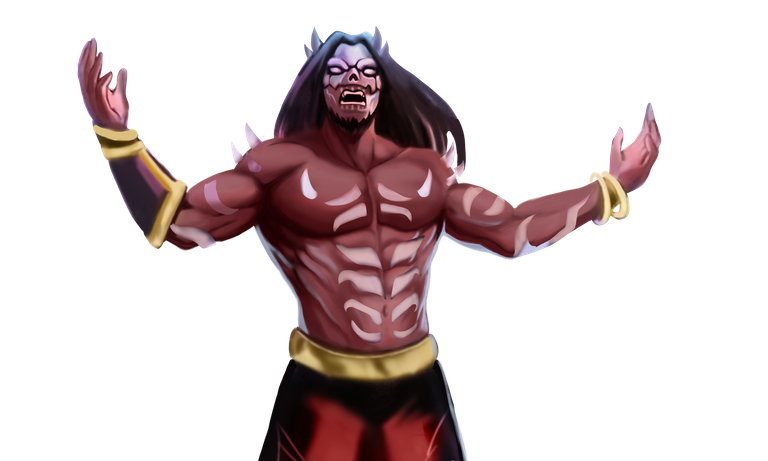
I divide the layers into these sections. The Character, The Tattoos/Bones, The Magical Powers, and The Background.
 |  |
|---|---|
Pretty much we're getting near let's refine further!
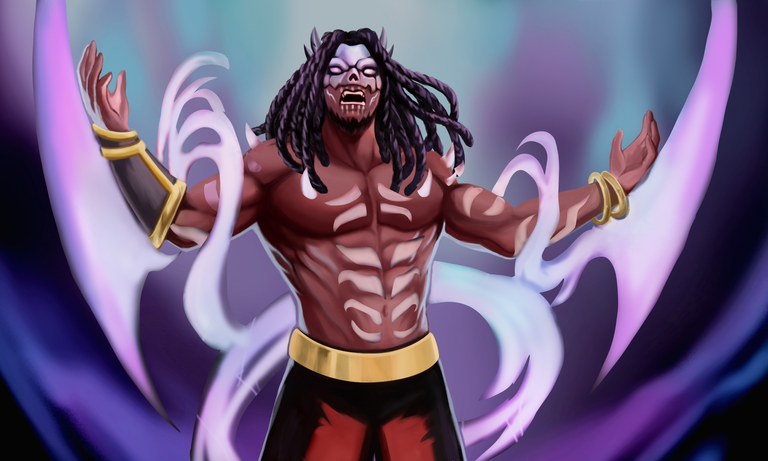
Having fun with the hair. That looks dope already happy with the character build up so far.
We're almost there guys! Keep going! Let's go to the next step.

STEP 4
Final Render Details
Yeaaahh let's go all in here now. Stack up lots of layers refine and add the details missing. The Golden Waka necklace cool! The highlights in body and color correction, so far it looks so cool here.
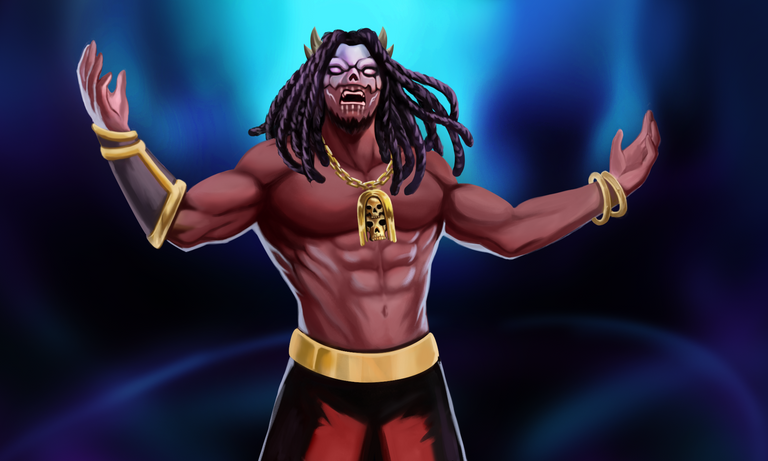
Let's add the Tattoos and Refine the Highlights. Also add some deep Shadows.
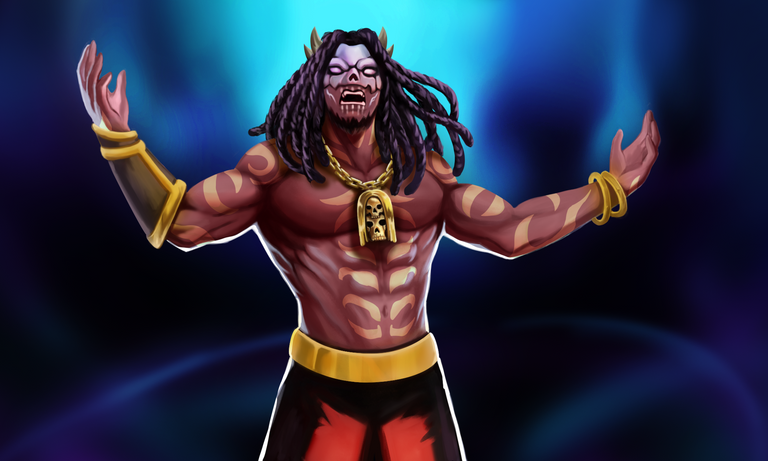
Hohoo! Now to add these bones or horns. Add our magical power also. This is how it looks.
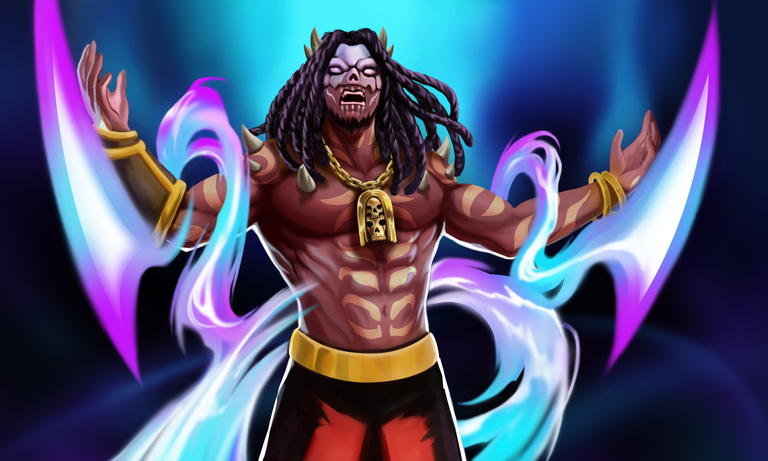
I think that's already good for me I'm happy with the result. Let's go to the final step.

Final Step
Adding Lightning Magic and Glowing Hands
For the last step, I added this lightning magic all over the body. Add some magical glowing hands and the golden sparkle over the necklace. And here it is!
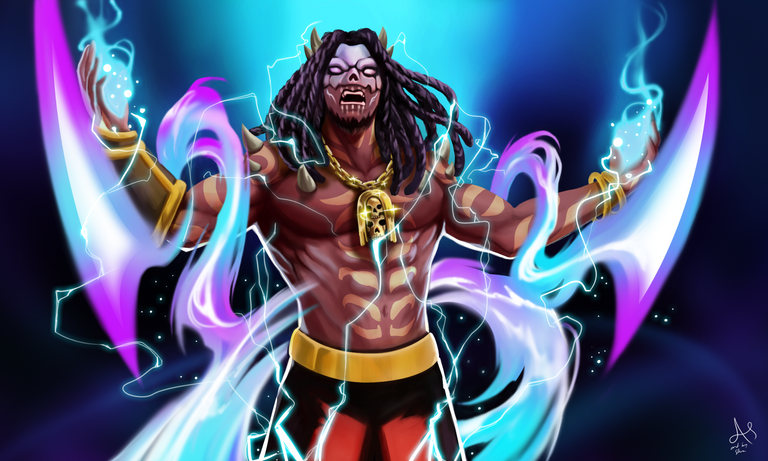
That's it! Wohoooo we're done!

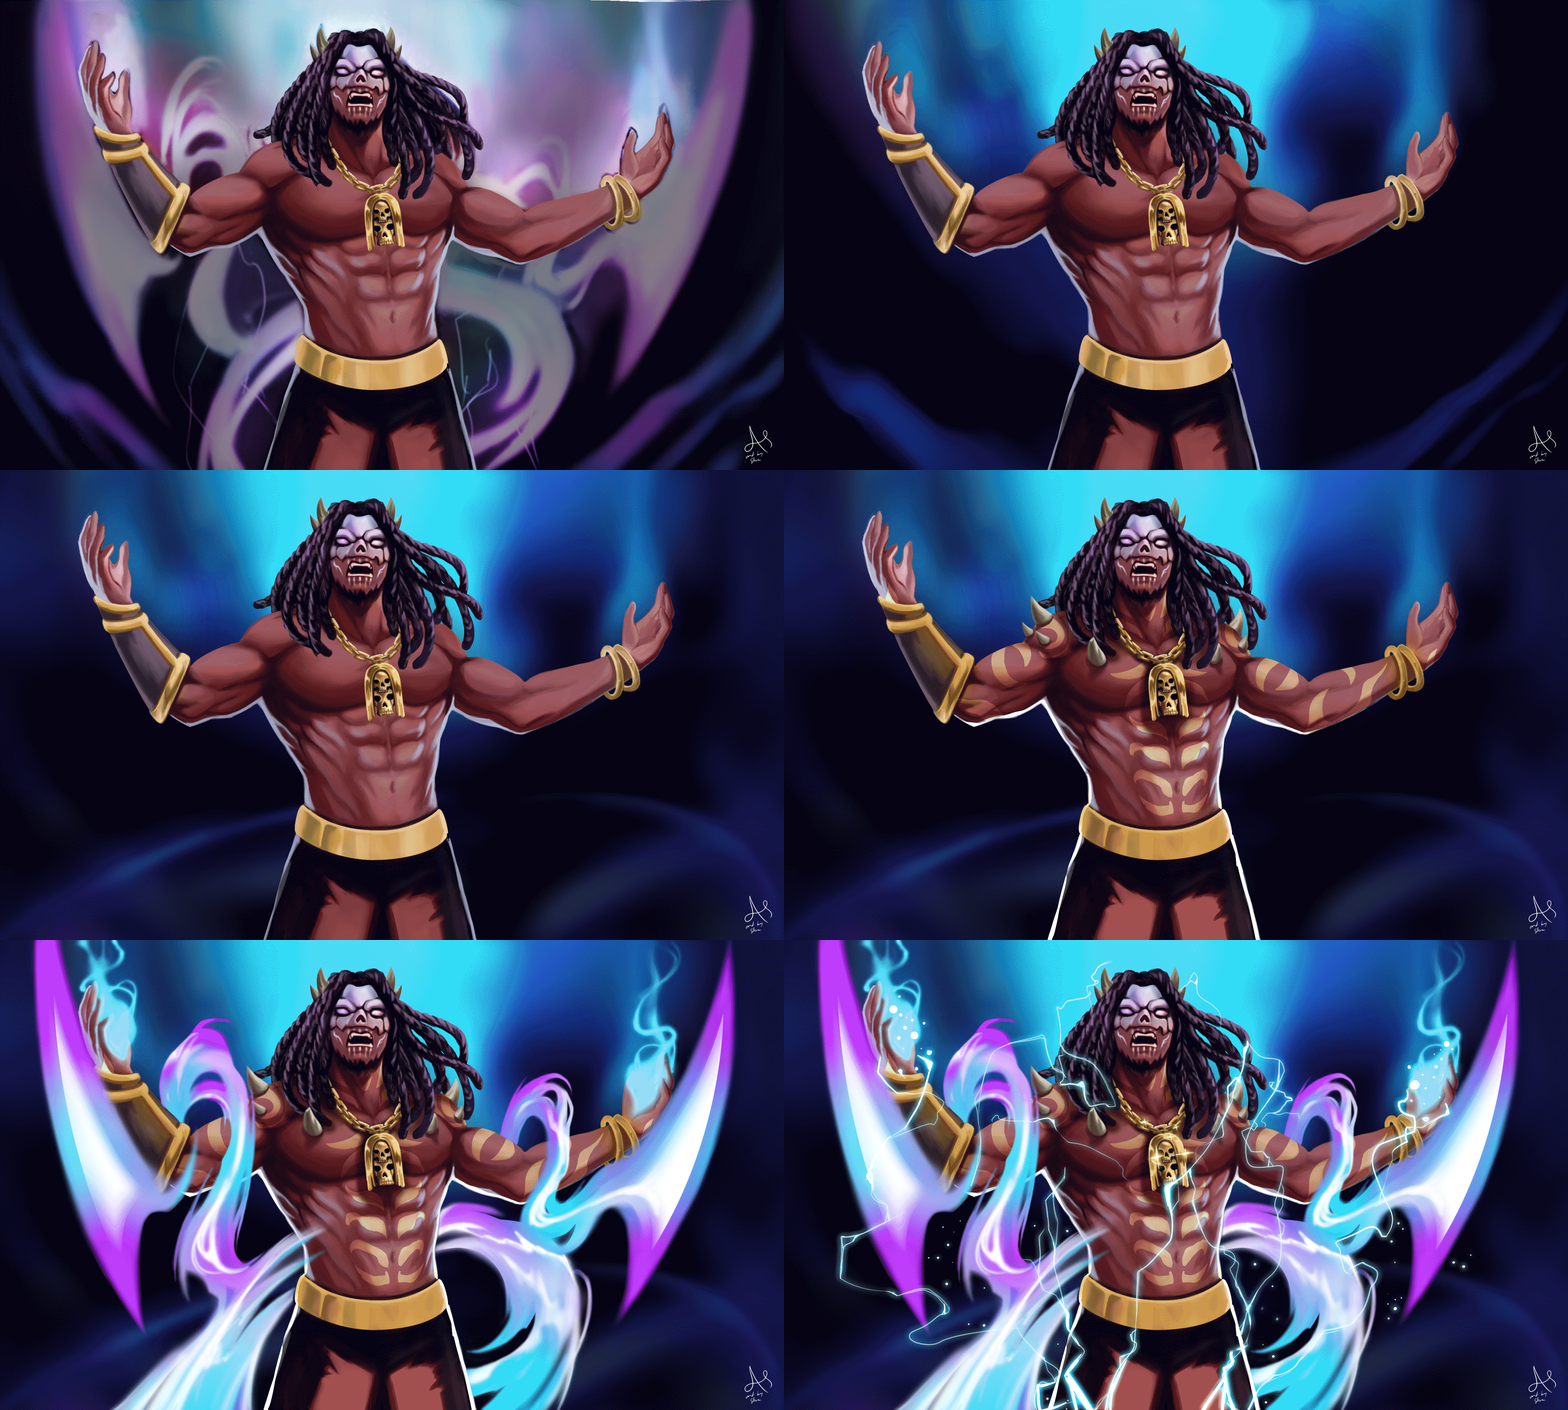
RENDER GIF PROCESS
Not playing Splinterlands? Come and join us! Referral Link

If you want to know about these cool Text Formatting please visit Cartel Post Framework I know you would love this guide as much as I do.

Hoooo! that was fun. You made it to the end of this post. I really appreciate your time and attention and I hope you learned something today.
'Till the next post see yah!
Thank you very much!
Join the Discord to learned more about Oneup and the Cartel


