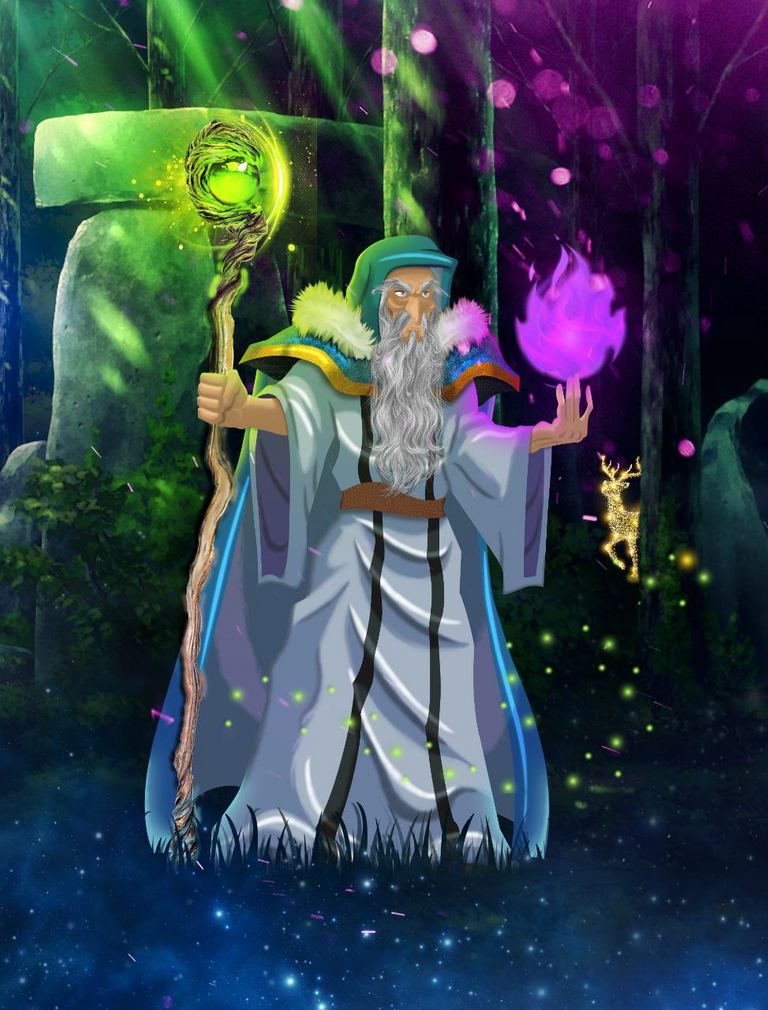

Hello everyone, this week I wanted to participate in my first art contest for Splinterlands, I decided to use my favorite summoner from the previous ghost cards, Alric Stormbringer and give him a little touch of my own in a digital drawing. Here I show you how I did it, I hope you like it!
Step 1.
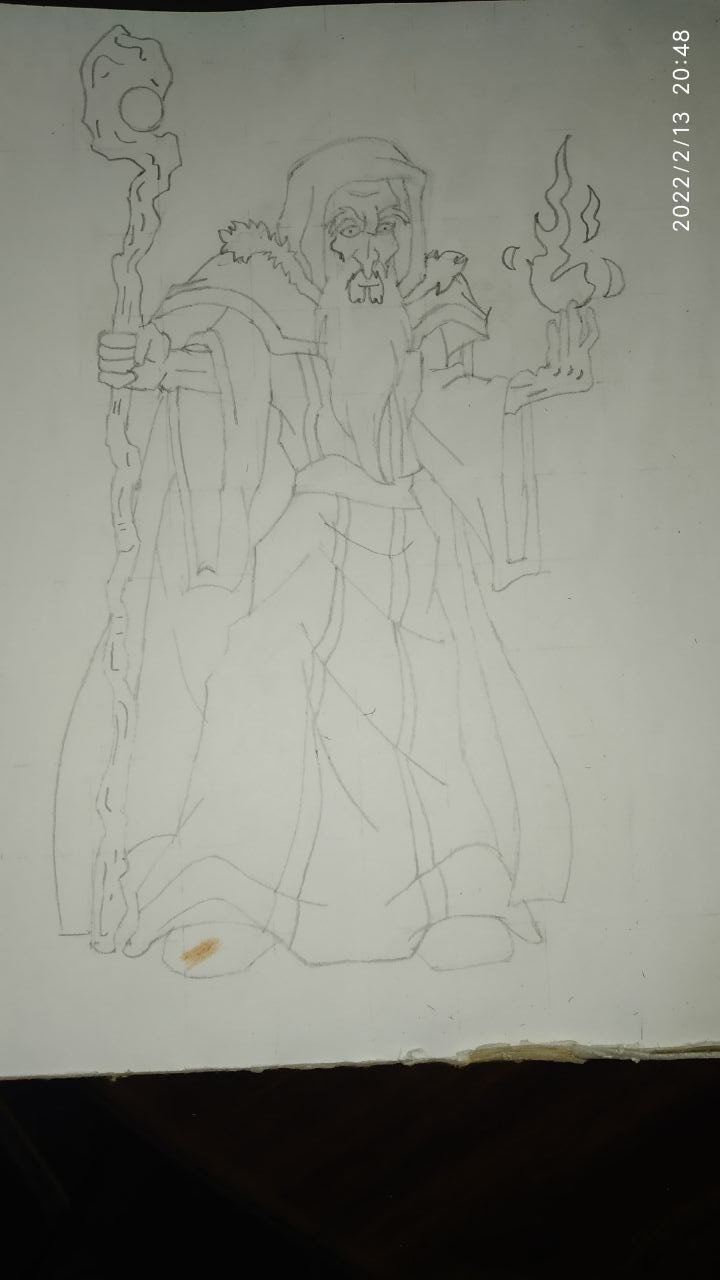
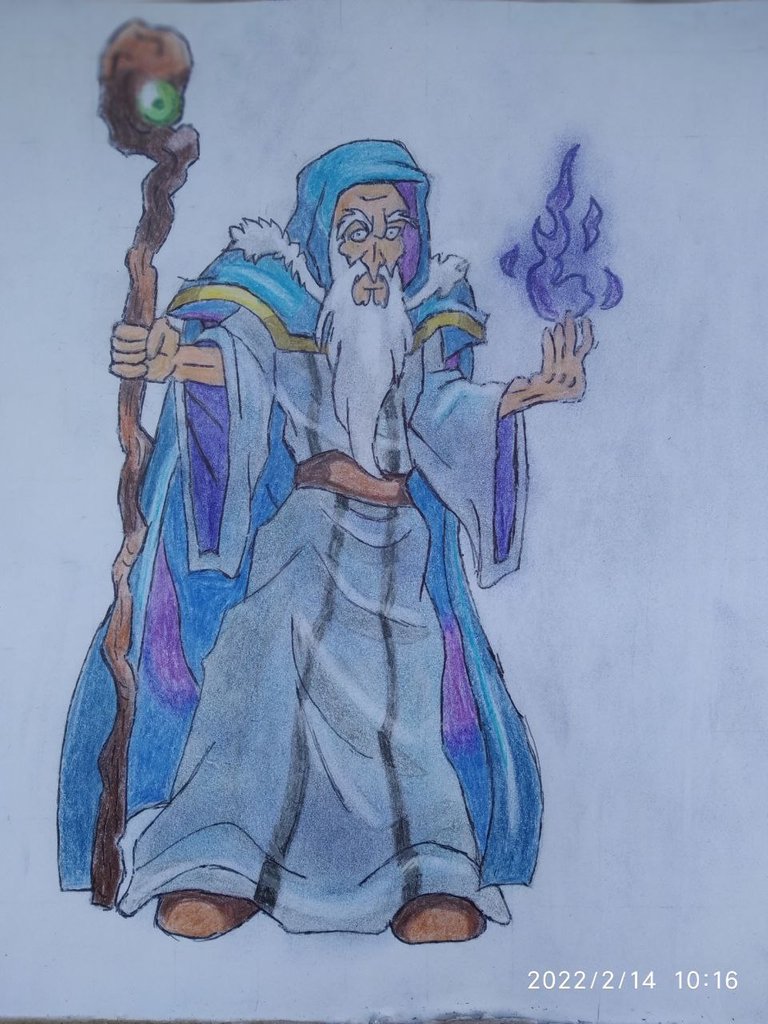
The first step was clearly to draw Alric, I did it in pencil. After finishing the drawing I painted it with crayons so as not to leave it forgotten. And from there I went on to digitize it with Photoshop.

Step 2.
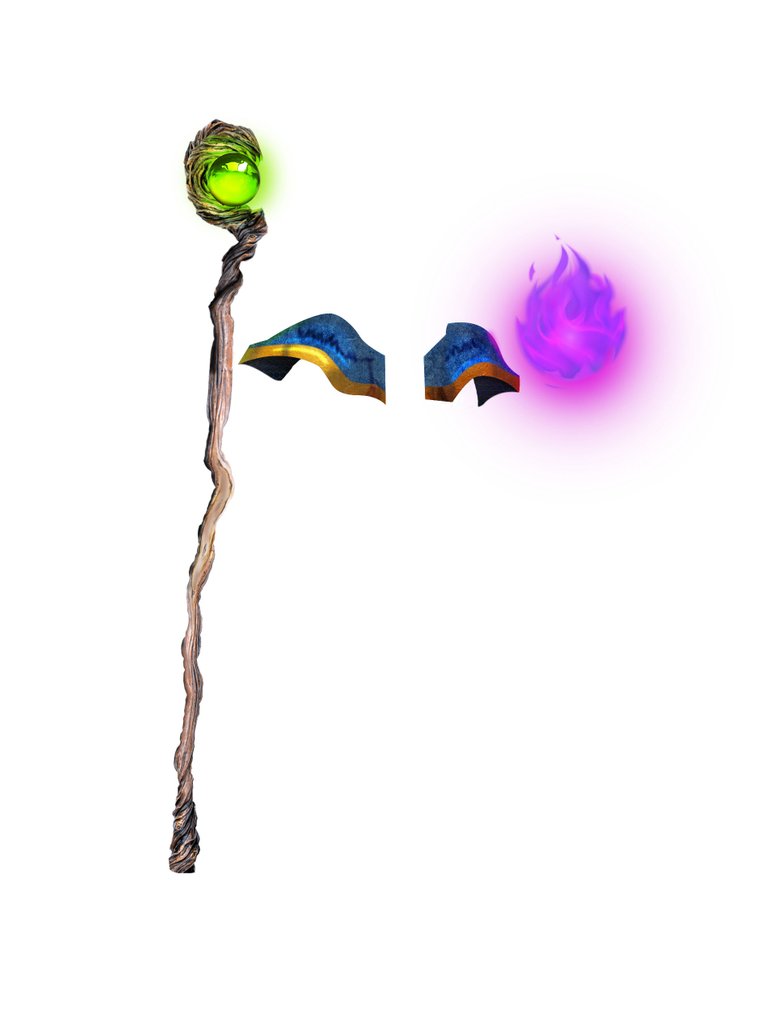
The first thing I did was to outline the drawing, then I searched online in a page to download free images some of which I used, such as the texture of the staff, the crystal ball, the metal of the shoulder pads, and the leather of the belt and boots. Then I started to make the shoulder pads, I made a layer of solid color and then a layer mask with the metal, for the blue part I put a layer of hue and saturation plus another layer of color balance until I got the blue I was looking for and for the golden part I used a gold texture.

Step 3.
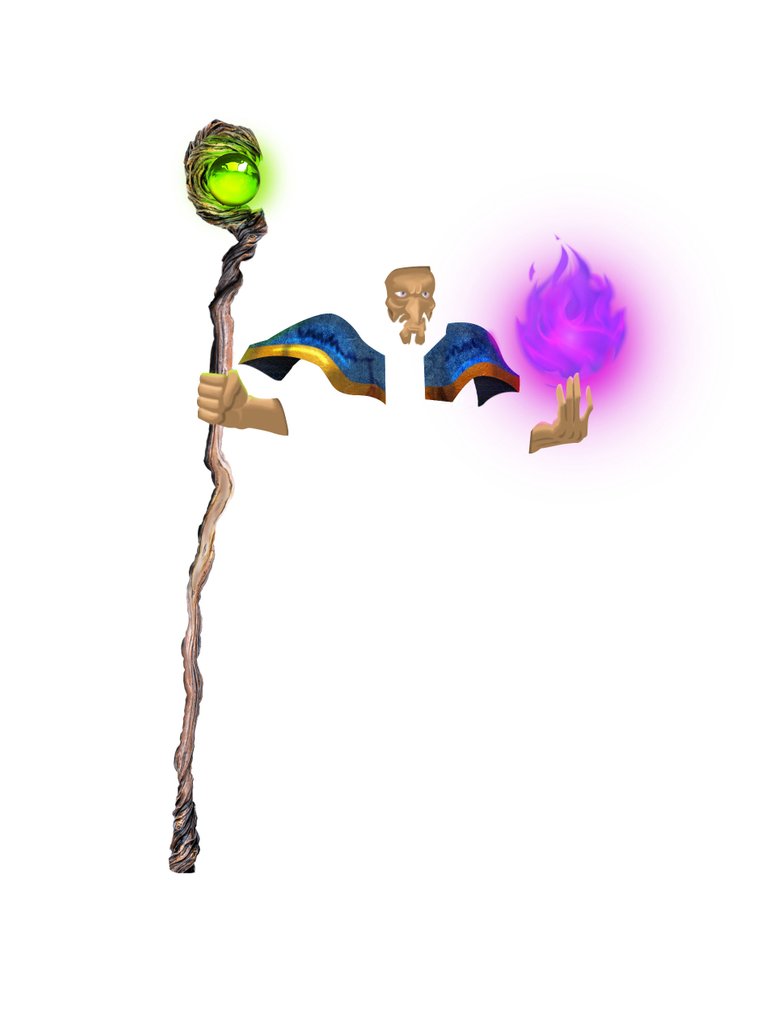
I used textures for the fur of the shoulder pads and for the beard and eyebrows, For the face and hands I first made them in 2D with 3 layers one for the skin, one for the light and one for the shadow, then I made a copy of the 3 layers, I joined them into one, then I used the brush with a low flow to make it 3D, I used the same procedure for the hood and the tunic.

Step 4.
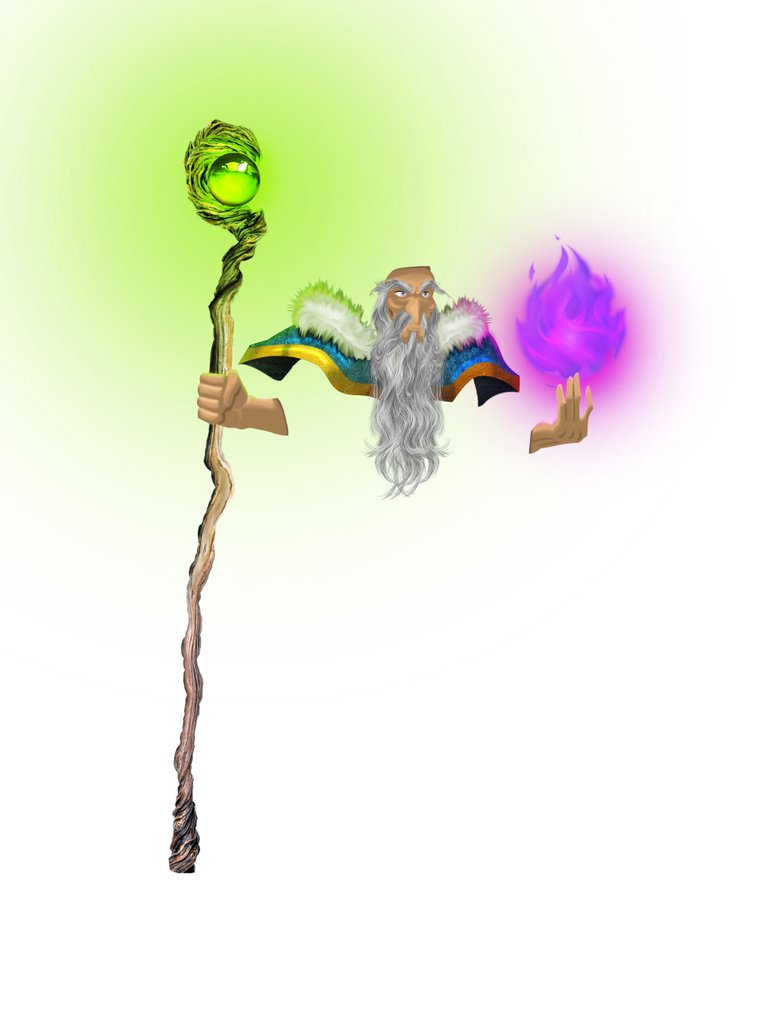
Let's go with the staff, for that one use a wood texture then with the free position deformation tool to give it the required shape once finished that, use a crystal ball with a layer of everything and saturation to give it the green color, with the brush I made a green sphere, and I gave it the. I then copied it, enlarged it and gave it a gaussian blur, copied it again, made it bigger and gave it another gaussian blur, finally I made a new layer on top of the staff layer and then made it a clipping mask to give it the highlights and shadows.

Step 5.
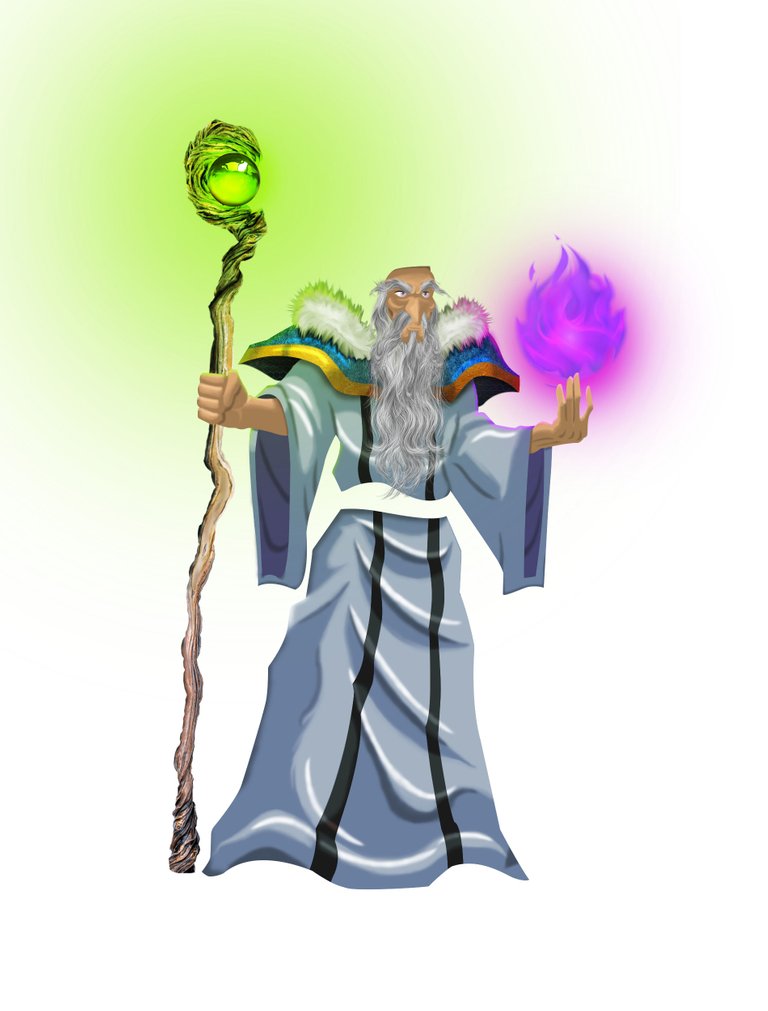
For the beard and eyebrows I used hair textures, with layers of tone and saturation to give the color, then I used free transform / warp to mold the look of the beard, eyebrows and hair. The fire used the same procedure of the staff with a layer that I made a purple circle in blend mode overlay, and layers of gaussian blur for the background I looked for an image of a forest and I modified some values with the raw camera filter Ctrl+Shift+A, and I added fireflies, dust particles, the nebula, the grass and the shiny servo in the background and that's up to your imagination. Finally I made the shines and glows to consider as much as possible with the environment, the staff and the fire.
Among other configurations, the ones I used were these:
Free Transform
Deform
Layer mask
Clipping mask ctrl + alt + a
Hue and Saturation
Color Balance
Inner Shadow
Outer glow
Blending modes: overlay, normal, raster
Free position warping
Camera raw Ctrl+Shift+A
And the final result was this:

I hope you liked the result, and see you in the next contest, good luck to all participants. And Remember:
Splintertalk NFT Opportunity
We've been releasing official Splinterlands NFTs on Splintertalk and now we want to give the opportunity for our Art Contest Winners to tokenize their art and market it to our audience! This will empower artists to mint their own fan art as a Splinterlands approved NFT on Splintertalk while getting credit, growing their own brand, and sharing in the profits!We'll be keeping an eye out for high-quality pieces in the weekly art contest and will be working to empower the artists in our community to expand their reach, grow their brand, and stack up some SPT for making consistently awesome art!
Selected artists will have the opportunity to mint their NFT art on our new account, Splinterchampions, which is the new official Splinterlands account for our Art contest winner's NFTs and then we'll use our reach and social marketing teams to spotlight these users and help them grow!

