Hello everyone... ⚡️🐝⚡️💕
Hello to my dear Hivers and the dear community of artists #HiveArte, very pleased and excited to find me here through #Liketu showing you a work made with love and especially for you.
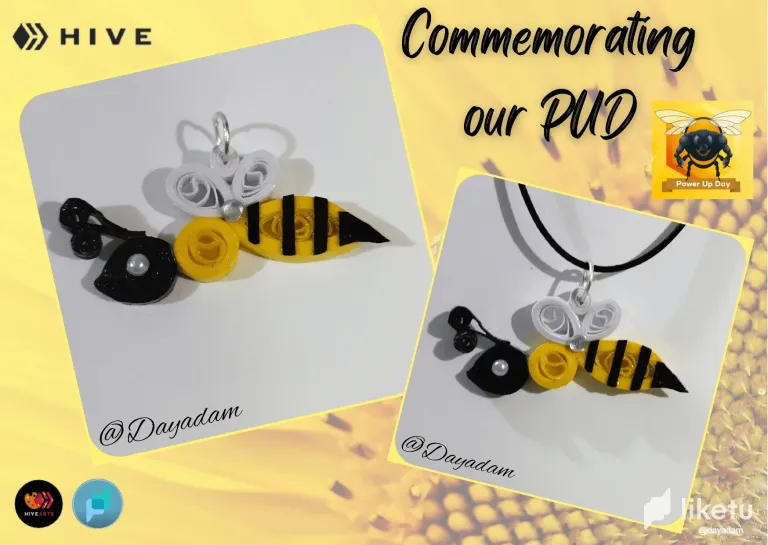
Today in our beloved #Hive, we celebrate being the 1st of the month another #PowerUpDay (PUD). To commemorate this day and celebrate as I usually do every month, not only making my respective powerup, I want to give you today a mini tutorial of a charm in the shape of a little bee, it has become my habit to do something like this every month, I hope to continue celebrating this special day in this way every time I can.
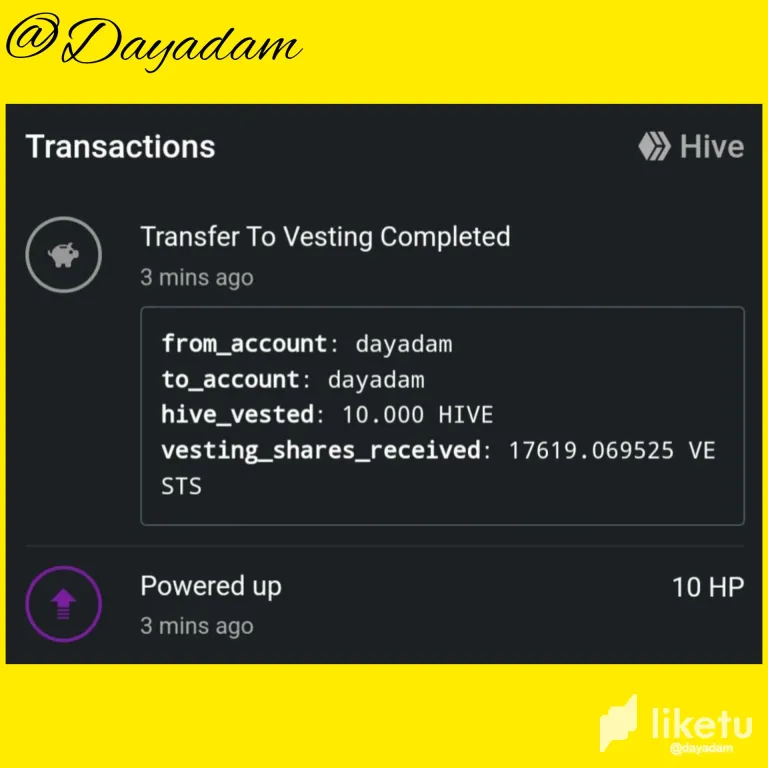
Below is an image of my respective PowerUp with a small contribution of 10 Hive.
Without further ado I leave you my creative process of this little tutorial, I hope you like it.
Let's get started:😃

Hola a Todos... ⚡️🐝⚡️💕
Hola a mis queridos Hivers y a la querida comunidad de artistas #HiveArte, muy complacida y emocionada de encontrarme por acá por medio de #Liketu mostrándole un trabajo hecho con mucho amor y especialmente para ustedes.
El día de hoy en nuestro querido #Hive, celebramos siendo 1ero de mes un #PowerUpDay (PUD) más. Para conmemorar este día y celebrar como suelo hacerlo cada mes, no solo realizando mi respectivo powerup, quiero regalarles hoy un mini tutorial de un dije en forma de abejita, se me ha hecho costumbre realizar algo así mes a mes, espero poder seguir cada vez que pueda celebrando este día especial de esta manera.
Más abajo les dejo una imagen de mi respectivo PowerUp con un pequeño aporte de 10 Hive.
Sin más preámbulos les dejo mi proceso creativo de este pequeño tutorial, espero sea de su agrado.
Comencemos:😃

• Cintas de quilling de 3mm de ancho amarillo, negro y blanco.
• Aguja para quilling.
• Argolla mediana de bisutería.
• Perla blanca.
• Cristal de bisutería
• Pega blanca extra fuerte (de carpintería).
• Tijera.
• Pincel.
• Collar de tu preferencia.
- Quilling ribbons 3mm wide yellow, black and white.
- Quilling needle.
- Medium size costume jewelry ring.
- White pearl.
- Costume jewelry glass
- Extra strong white glue (carpentry glue).
- Scissors.
- Paintbrush.
- Necklace of your choice.

- Let's start by taking a small piece of black quilling tape 3mm wide, with the quilling needle we are going to roll up to the end of the tape, remove the needle and seal with extra strong white glue, to get an open circle, then proceeded to mold as a kind of drop to form the head of my little bee.

• Vamos a comenzar tomando un pequeño trozo cinta para quilling color negro de 3mm de ancho, con la aguja para quilling vamos a enrollar hasta finalizar con la cinta, sacamos de la aguja solamos un poco y sellamos con pega blanca extra fuerte, para obtener un círculo abierto, luego procedí a moldear como una especie de gota para formar la cabeza de mi abejita.

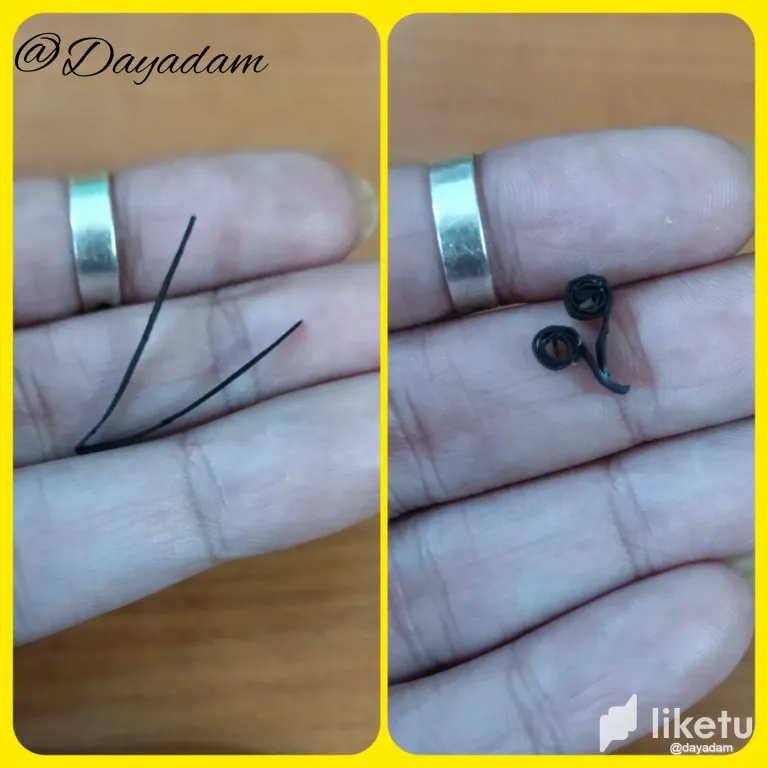
- The antennae were made by folding in half a piece of 3mm black ribbon and rolling the ends with the quilling needle.

• Las antenas las realice doblando a la mitad un trocito de cinta negra de 3mm y enrollando sus puntas con la aguja de quilling.
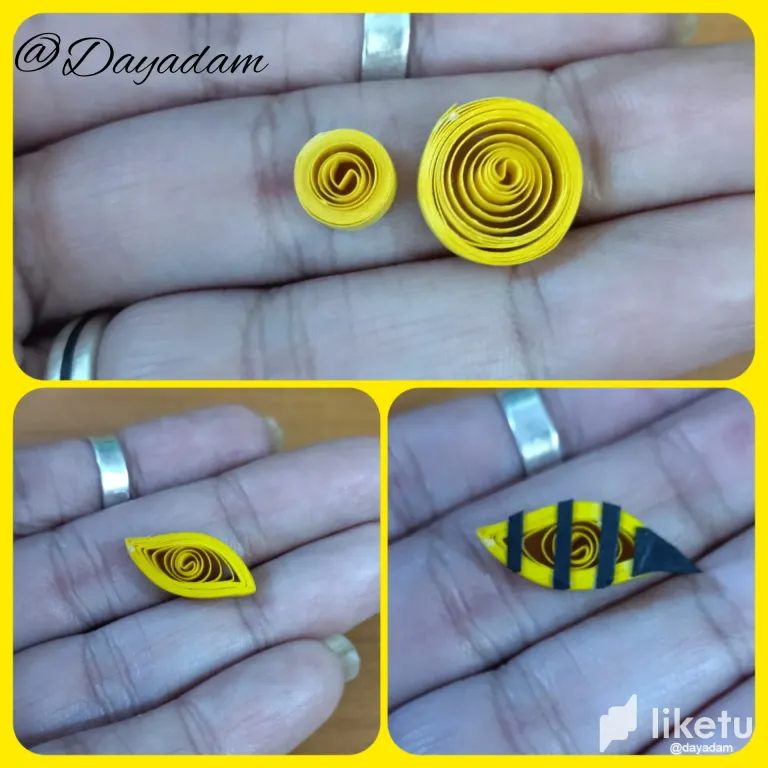
- For the body of the bee, make 2 open circles, one larger than the other with 3mm wide yellow ribbon, shape the larger circle into a teardrop or diamond shape and decorate it with a few pieces of black ribbon.

• Para el cuerpo de la abeja elabore 2 círculos abiertos uno más grande que el otro con cinta amarilla de 3mm de ancho, el circulo más grande lo moldee en forma de lagrima o diamante y lo decore con algunos trozos de cinta negra.
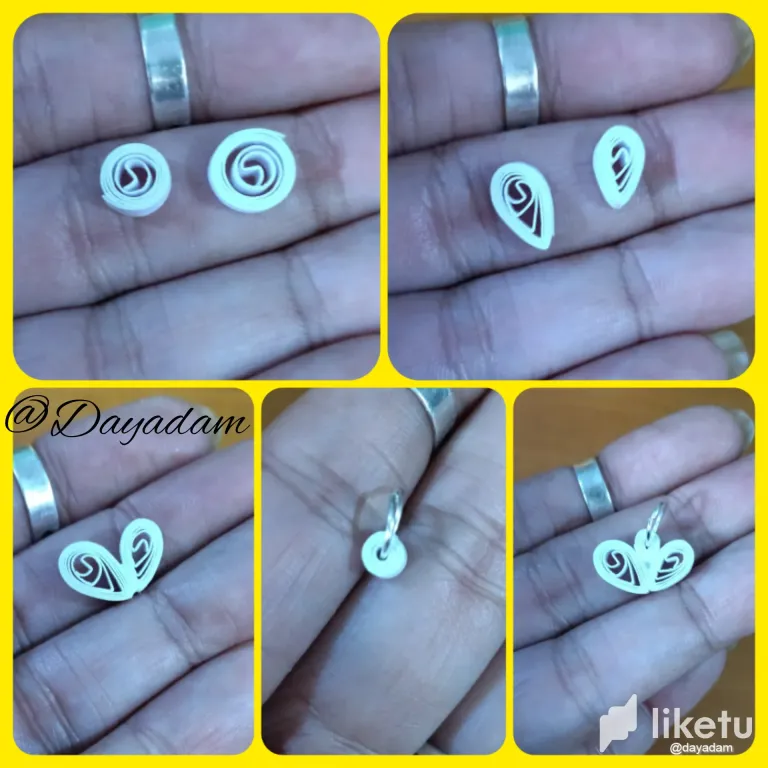
- For the wings, make 2 circles of white ribbon 3mm wide, one larger than the other, mold it in the shape of a leaf and join both pieces together, additionally make another small circle to place the bijouterie ring that will hold the pendant and place the ring at once.

• Para las alas elabore 2 círculos de cinta color blanco de 3mm de ancho, uno más grande que el otro, moldee en forma de hoja y uní ambas piezas, adicionalmente realice otro pequeño círculo para colocar la argolla de bisutería que sostendrá el dije y le coloque la argolla de una vez.
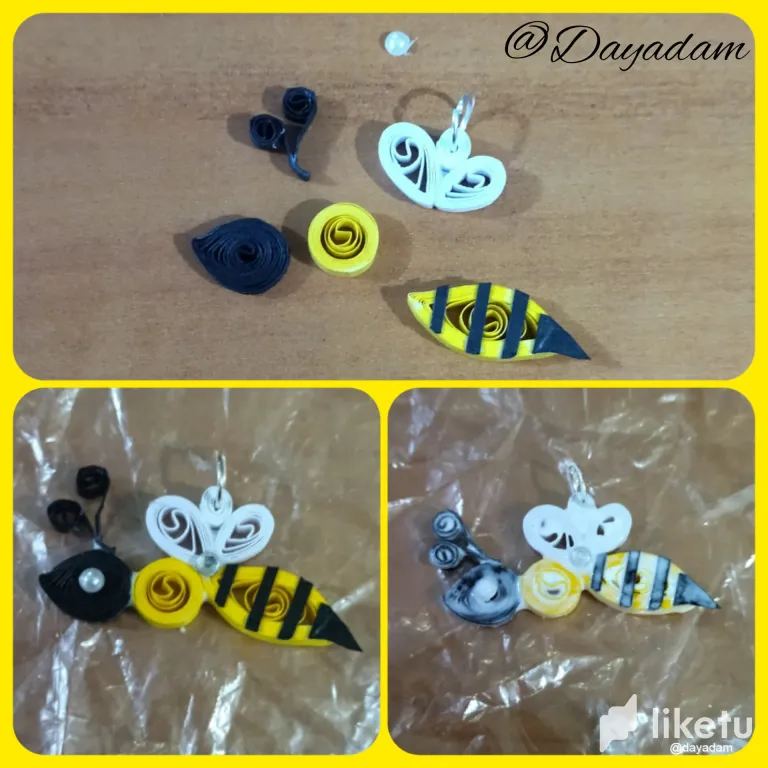
- Once all the pieces are ready, we join them carefully and harmoniously with extra strong white carpentry glue. To decorate, I put a white pearl on the head to resemble an eye, and between the wings and the body a costume jewelry crystal, let it dry very well.
- Once the bee is dry, to finish we put several layers of extra strong white carpentry glue, letting it dry between one layer and another, this will give it protection and plasticizing.
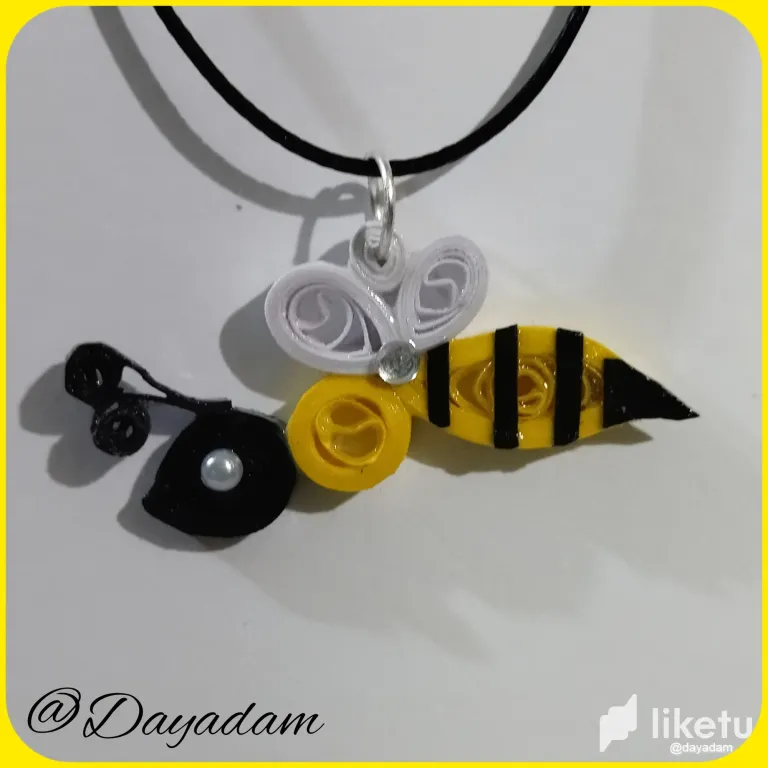
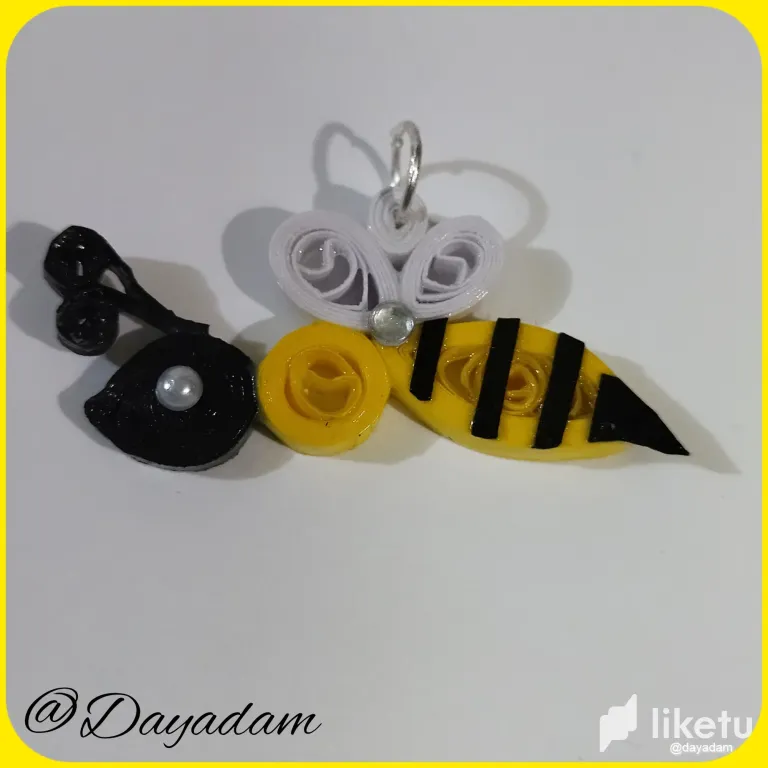
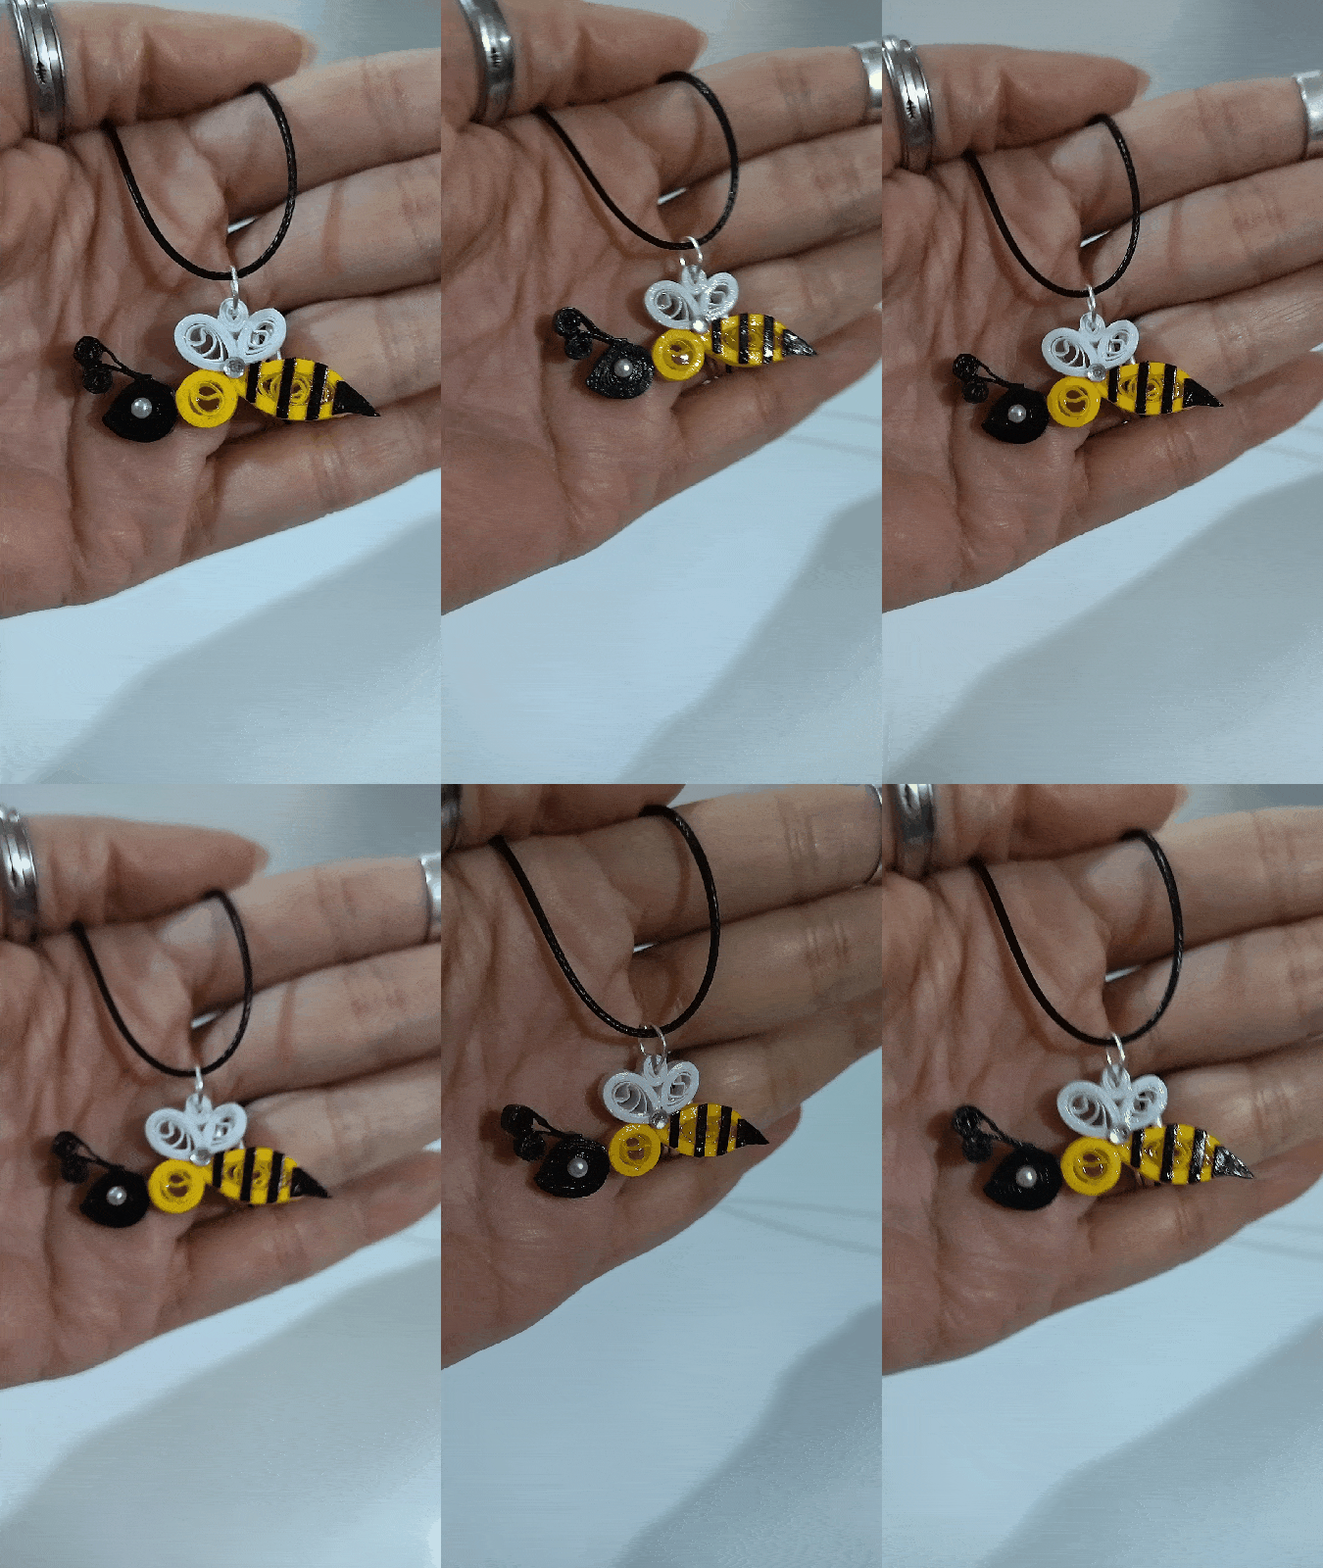
This way we have our bee necklace charm ready to be used.
I hope you liked this work I did to commemorate our September PUD.
Happy PowerUpDay ⚡️🐝⚡️💕

• Listas todas las piezas, las uniremos cuidadosamente y de manera armónica con pega blanca extra fuerte de carpintería, le coloque para decorar una perla blanca en la cabeza para asemejar un ojo, y entre las alas y el cuerpo un cristal de bisutería, dejamos secar muy bien.
• Una vez seca la abejita, para finalizar colocamos varias capas de pega blanca extrafuerte de carpintería, dejando secar entre una capa y otra, esto le otorgara protección y plastificado.
De esta manea tenemos nuestro dije para collar en forma de abeja está listo para ser utilizado.
Espero les haya gustado este trabajo que realice para conmemorar nuestro PUD del mes de septiembre.
Feliz PowerUpDay ⚡️🐝⚡️💕

What did you think, did you like it?
I hope you did, I hope you liked my explanation, procedure and photos, I made them with love for you.
"Let out that muse that inspires you, and let your imagination fly".
Thank you all, see you next time. Happy PowerUpDay ⚡️🐝⚡️

¿Que les pareció, les gustó?
Espero que sí, que les haya gustado mi explicación, procedimiento y fotos, los hice con mucho cariño por y para ustedes.
"Deja salir esa musa que te inspira, y deja volar tu imaginación".
Gracias a todos, nos vemos en la próxima. Feliz PowerUpDay ⚡️🐝⚡️

Todas las fotos usadas en este post son de mi autoría y han sido sacadas en mi celular personal un Redmi 9T, editadas en InShot y Canva Banner y separador hecho por mí en Canva Traducido con la ayuda de DeepL


