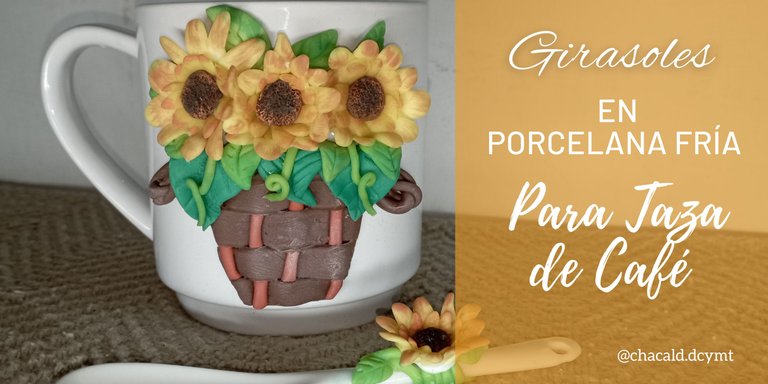
¡Saludos amigos amantes de las artes manuales! Una vez más les doy la bienvenida a mi Taller Bricolaje DC en esta oportunidad para trabajar la porcelana fría sobre una taza de café ideal para regalar. Desde @womentribe queremos hacer un regalo a la directora del hogar de ancianos de Táriba, estado Táchira, para agradecer por su loable labor. Es por eso que esta bonita taza es para ella.
Greetings friends who love handmade crafts! Once again I welcome you to my DC DIY Workshop in this opportunity to work cold porcelain on a coffee mug ideal for gift giving. From @womentribe we want to make a gift to the director of the nursing home in Táriba, Táchira state, to thank her for her praiseworthy work. That's why this beautiful mug is for her.
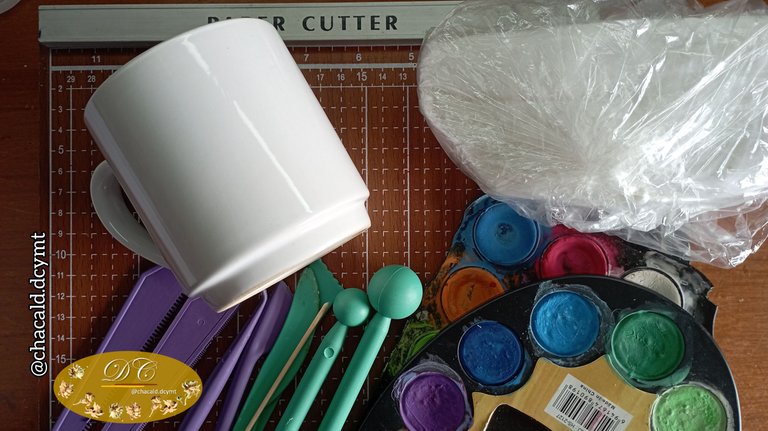
Los materiales que vamos a utilizar son:
-Taza para café unicolor
-Masa de porcelana fría
-Acuarelas
-Pegamento de carpintería
-Barniz transparente acabado Mate
-Estecas para modelar
-Papel plástico
The materials we are going to use are:
-Colored coffee cup
-Cold porcelain dough
-Cold porcelain dough -Candles
-Carpentry glue
-Transparent varnish with matte finish
Modeling trays -Plastic paper
-Plastic paper
Procedimiento:
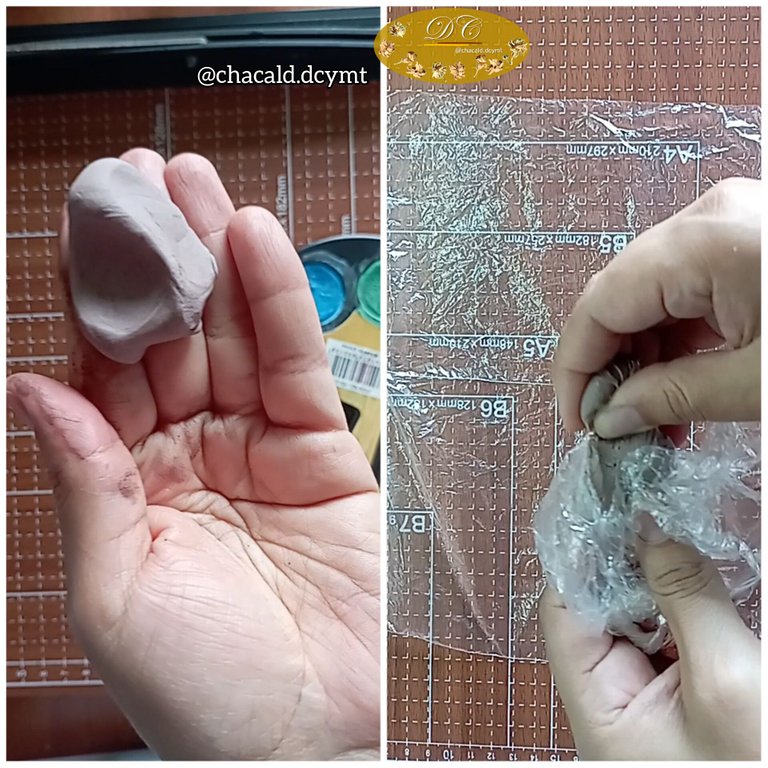
-Tomamos porciones de masa y le damos los colores que vamos a necesitar. En este caso será marrón claro, rojo terracota, verde manzana, verde oscuro y amarillo.
-Envolvemos cada porción de masa en papel plástico sacando todas las burbujas de aire para evitar que se seque.
-Guardamos en un recipiente hermético hasta que utilicemos la masa.
Procedure:
-We take portions of dough and give it the colors we are going to need. In this case it will be light brown, terracotta red, apple green, dark green and yellow.
-Wrap each portion of dough in plastic wrap, removing all air bubbles to prevent it from drying out.
-Store in an airtight container until we use the dough.
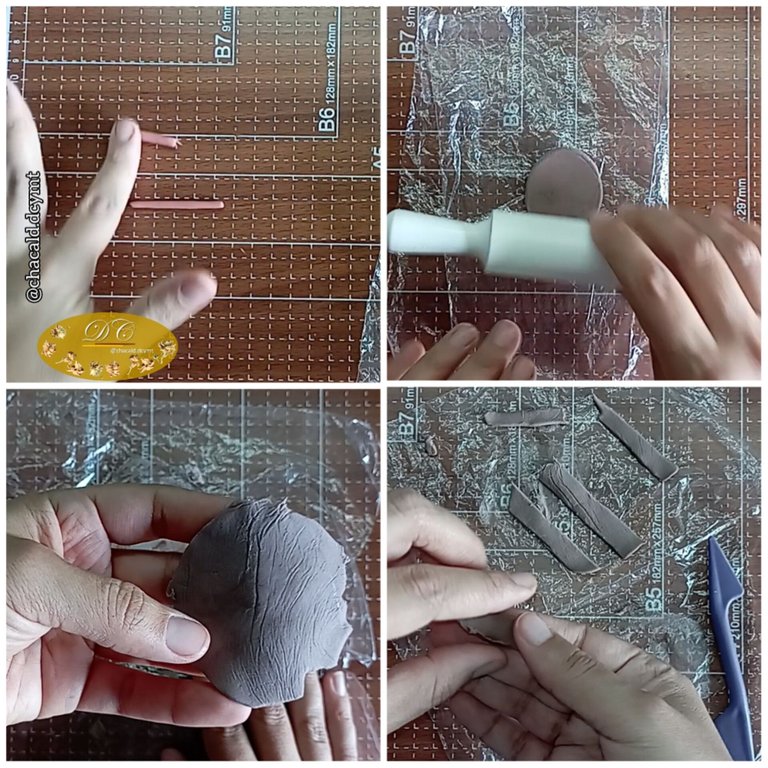
-Siempre que vamos a trabajar la masa lo hacemos sobre papel plástico, así no se queda pegada en la superficie.
-Tomamos un trozo de masa de color marrón y un trozo de rojo terracota.
-Con el rojo terracota haremos un cilindro largo y muy delgado y con el marrón aplanamos para cortar tiras largas.
-Always when we are going to work the dough we do it on plastic wrap, so it does not stick to the surface.
-We take a piece of brown dough and a piece of red terracotta.
-With the red terracotta we will make a long and very thin cylinder and with the brown we flatten it to cut long strips.
-Podemos hacer un patrón de lo que será la cesta, en papel blanco y colocarlo debajo del papel plástico para seguir el diseño.
-We can make a pattern of what the basket will look like on white paper and place it under the plastic wrap to follow the design.
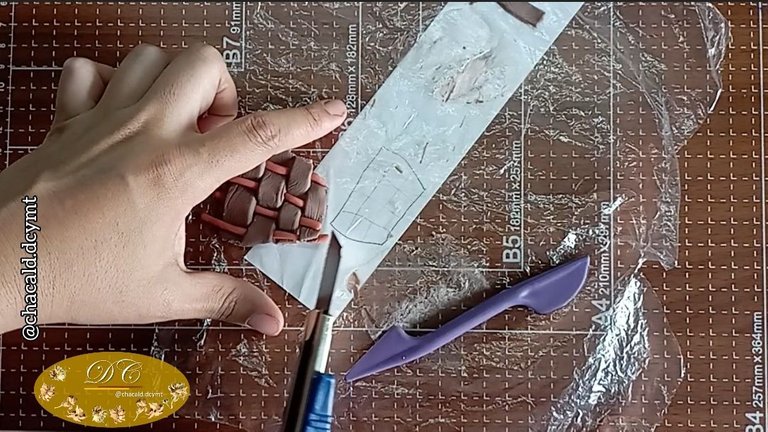
-Una vez que tenemos el tejido de las tiras horizontales y los palitos verticales, cortamos y pegamos con suficiente pegamento para carpintería sobre la taza.
-Once we have the weave of the horizontal strips and the vertical sticks, we cut and glue with enough woodworking glue on the cup.
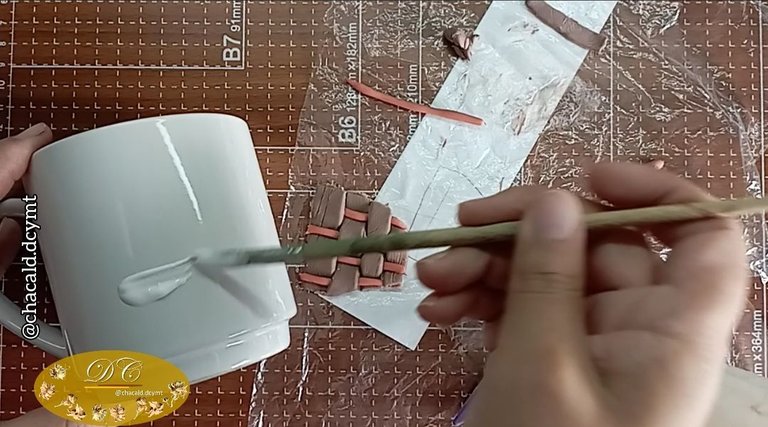
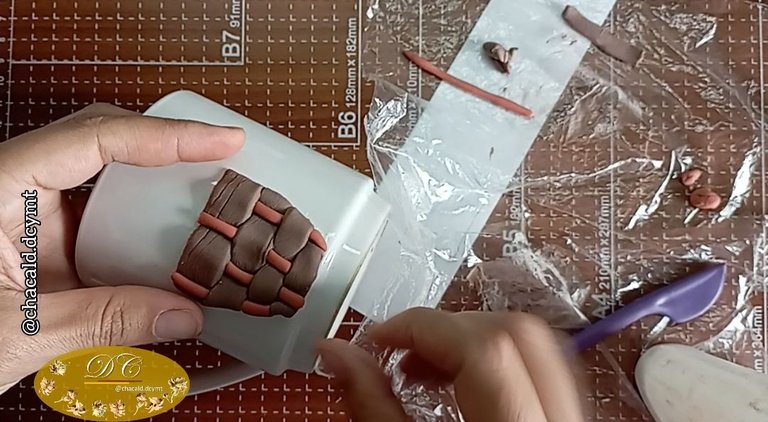
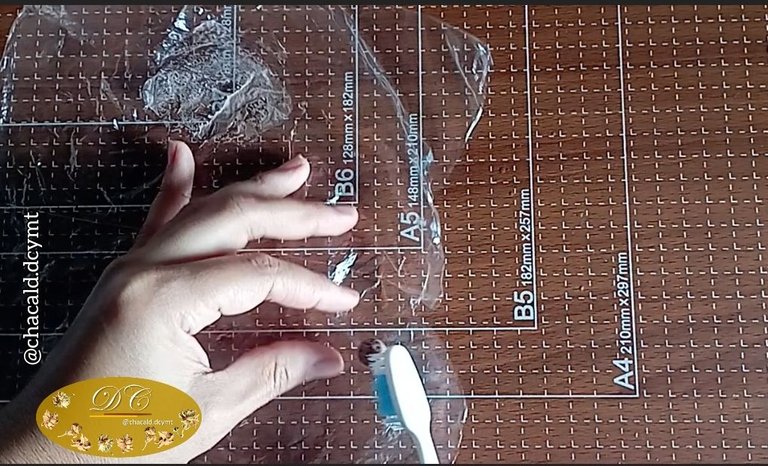
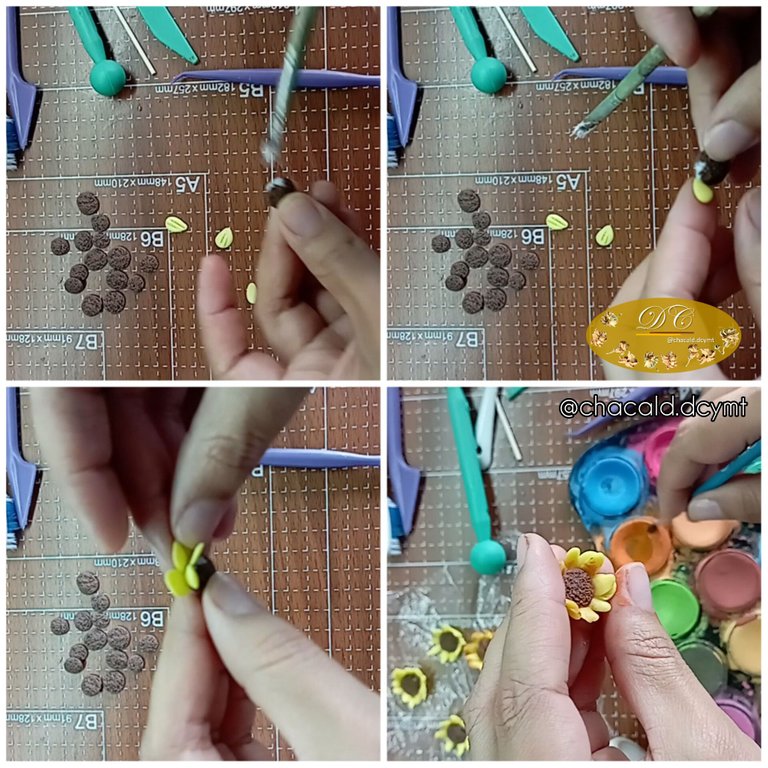
-Para hacer los girasoles, tomamos una bolita de color marrón y con ayuda de un cepillo de dientes viejo vamos a hacer la textura.
-To make the sunflowers, we take a brown ball and with the help of an old toothbrush we will make the texture.
-Tomamos pequeñas bolitas de masa de color amarillo. Formamos los pétalos y pegamos alrededor de cada centro.
-We take small balls of yellow dough. We form the petals and glue around each center.
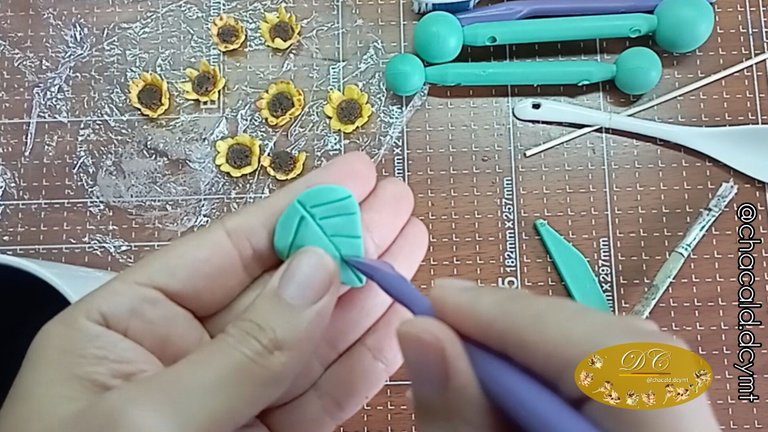
-Para las hojas, tomamos una porción de masa de color verde y la vamos a moldear como una gota. Aplanamos y con una esteca de punta espátula,vamos a marcar las vetas.
-For the leaves, we take a portion of green dough and mold it like a drop. We flatten it and with a spatula-tipped stake, we will mark the veins.
-Nos queda pegar las hojas y las flores sobre la cesta.
-All that remains is to glue the leaves and flowers on the basket.
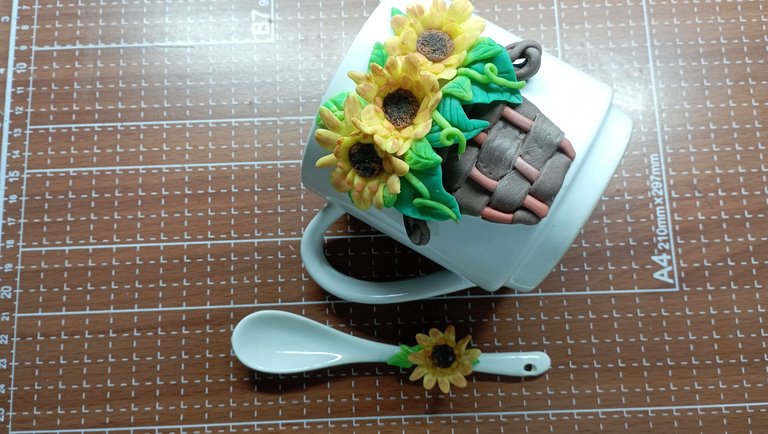
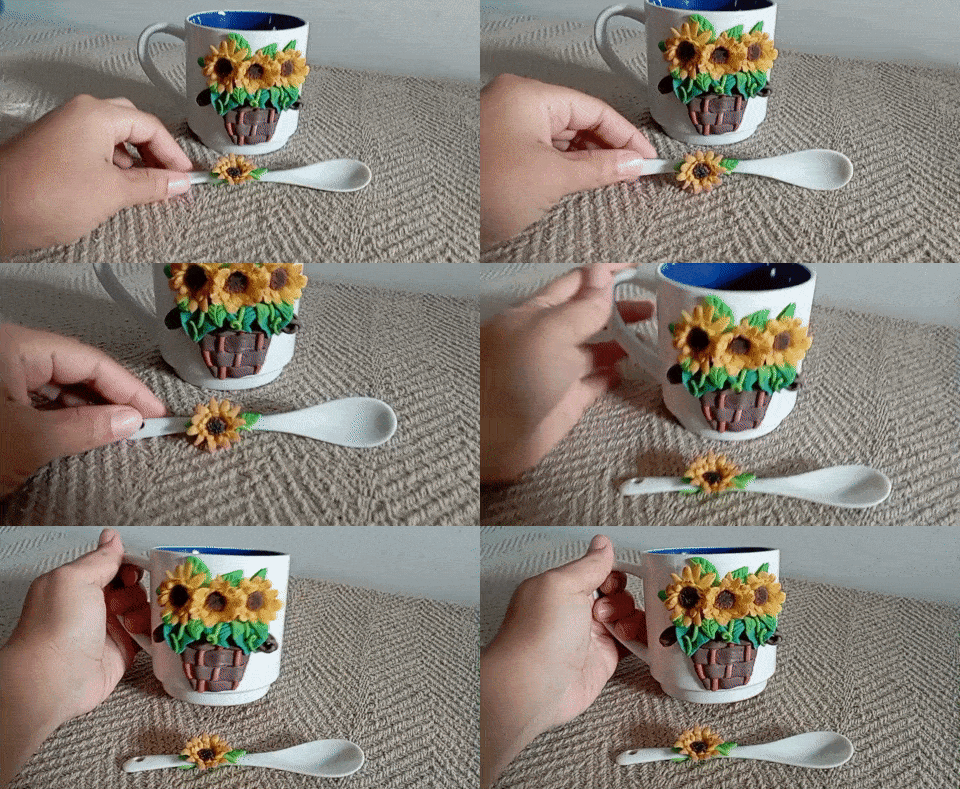
Yo tenía esta pequeña cucharilla de porcelana y le di el mismo diseño que a la taza para que haga juego.
-Dejamos secar por 48 horas que la masa se endurezca totalmente y quede porcelana. Luego le damos 1 capa de barniz.
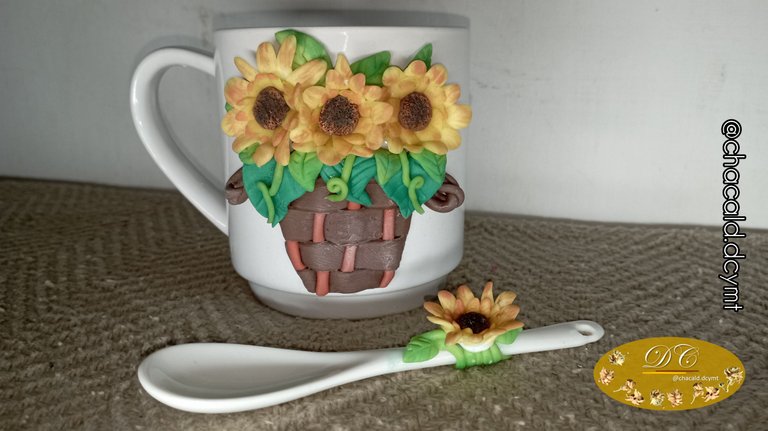
Y listo! Queda nuestra taza para café personalizada con girasoles.
I had this small porcelain spoon and I gave it the same design as the cup to match.
-Let it dry for 48 hours for the dough to harden completely and become porcelain. Then we give it 1 coat of varnish.
And that's it! Our personalized coffee mug with sunflowers is ready.

Desde la columna manos cresdoras en el taller, queremos hacer una dinámica y que nos cuentes:
¿Cómo sería tu taza de café o de té favorita?
Que mensaje te gustaría colocarle y que diseño.
Puedes agregar gif, dibujos y fotos (recuerda citar las fuentes y especificar si son tus fotografías). Los mejores comentarios, los más creativos serán premiados. Comenta y Gana con @womentribe.
From the manos cresdoras column in the workshop, we want to make a dynamic and have you tell us:
What would your favorite coffee or tea cup be like?
What message would you like to put on it and what design.
You can add gifs, drawings and photos (remember to cite the sources and specify if they are your photos). The best and most creative comments will be rewarded. Comment and Win with @womentribe.


Esta es una columna exclusiva de @chacald.dcymt para @womentribe
Canales de @womentribe
Discord
Twitter


Curación


Original content by the author.
Resources: App: Canva / Giphy / Inshot
📷 All photographs and videos are my property, taken with my own camera Redmi 10 Smartphone
Translation done with Deepl.com
✿ All Rights Reserved || © @chacald.dcymt 2023 ✿
💌 Discord: chacald.dcymt#3549
Twitter @chacald1
_
Contenido original del autor.
Recursos: App: Canva / Giphy / Inshot
📷 Todas las fotografías y vídeos son de mi propiedad, tomados con mi Redmi 10 Smartphone
Traducido con Deepl.com
✿ Todos los Derechos Reservados || © @chacald.dcymt 2023 ✿
💌 Discord: chacald.dcymt#3549
Twitter @chacald1


