I was supposed to continue building the environment and show some images of that, and i did do some environmental work, for a while. But i got tired of vertex pushing; as easy as these tools are to work and create maps with, they lack in a few places: one being the inability to align the terrain to a mesh that sits above it. So, placing any road that isn't sitting flat on the ground is a pain in the ass to get the terrain to align to it.
Hence, it's hours of vertex aligning, by pushing and pulling, to get the terrain alignment correct.
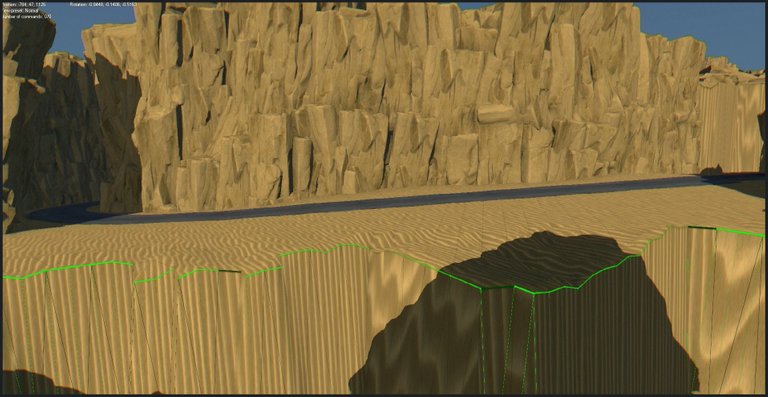
There are some tools that can get you close, but then you've got to vertex push your way to alignment, always.
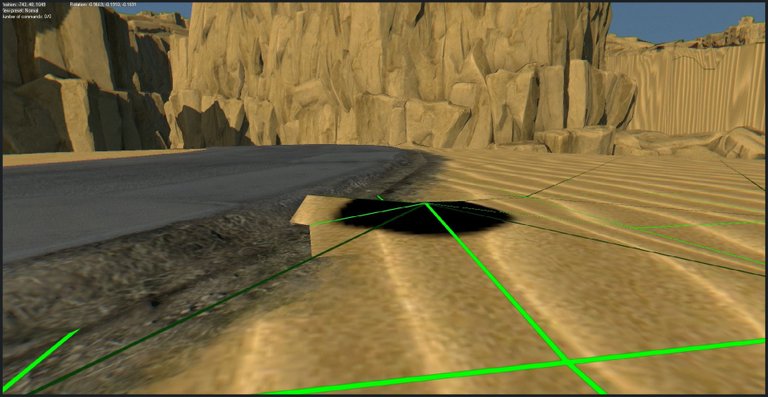
So, as i had enough vertex pushing for the day; i decided to change it up a bit.

Pivoting my Work
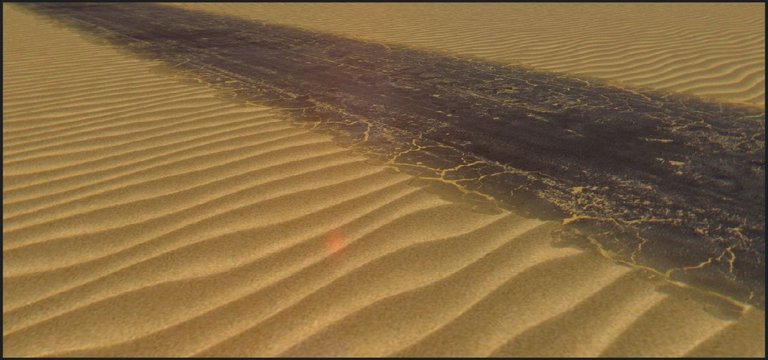
The idea for this custom map came after playing Max Mad and driving around through it's neatly detailed world. The roads and sand hills look fantastic so i thought i'd give it a go and bring a bit of Mad Max into Dying Light.
Dying Light has a drivable buggy, and it's also set in an apocalyptic setting, so it's a no brainer.
So, leaving the environmental design aside for a while, i'll focus on modding the Dying Light roads, to match the ones from Mad Max.
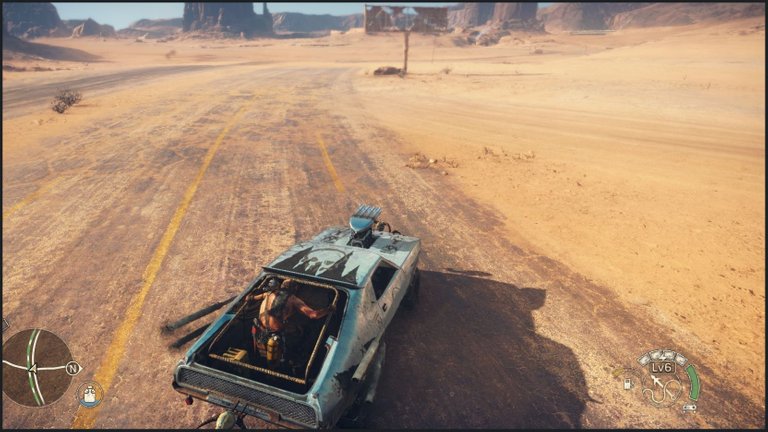
I have to say, Mad Max is a superb game, by the way; driving feels very visceral - if you love the road rage, and the decrepit and post apocalyptic setting (which pretty much sums up the movies), i highly recommend playing it.

Into Blender & Modding
Changing gears into modelling again, i imported all the DL road models i'll use into Blender.
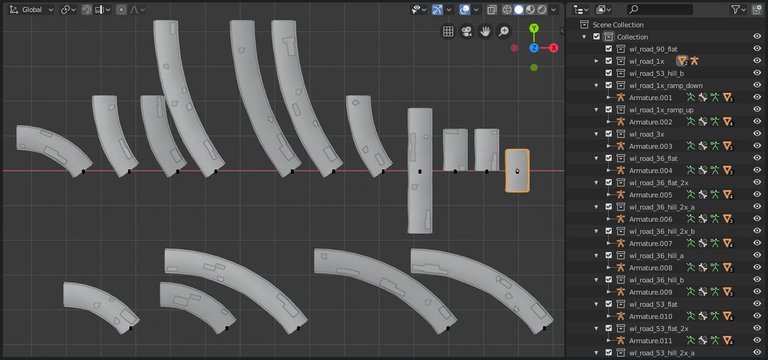
Cleaning them up a bit, by removing any extra unwanted geometry.
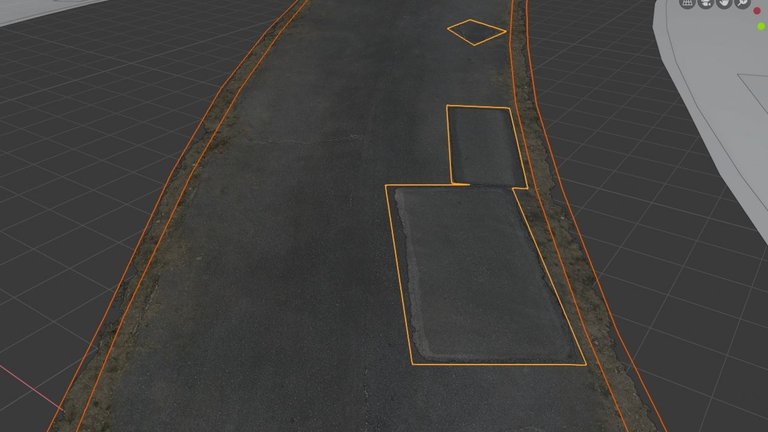
And doing some minor alignments, to mod it to my liking.
Dying Light's roads have an angled slope that connect the road to the ground, using a dirt texture. This makes them sit above ground. Mad Max's road sit flat, aligned with the ground around it. And i like how they look.
So, onto flattening out all the roads.
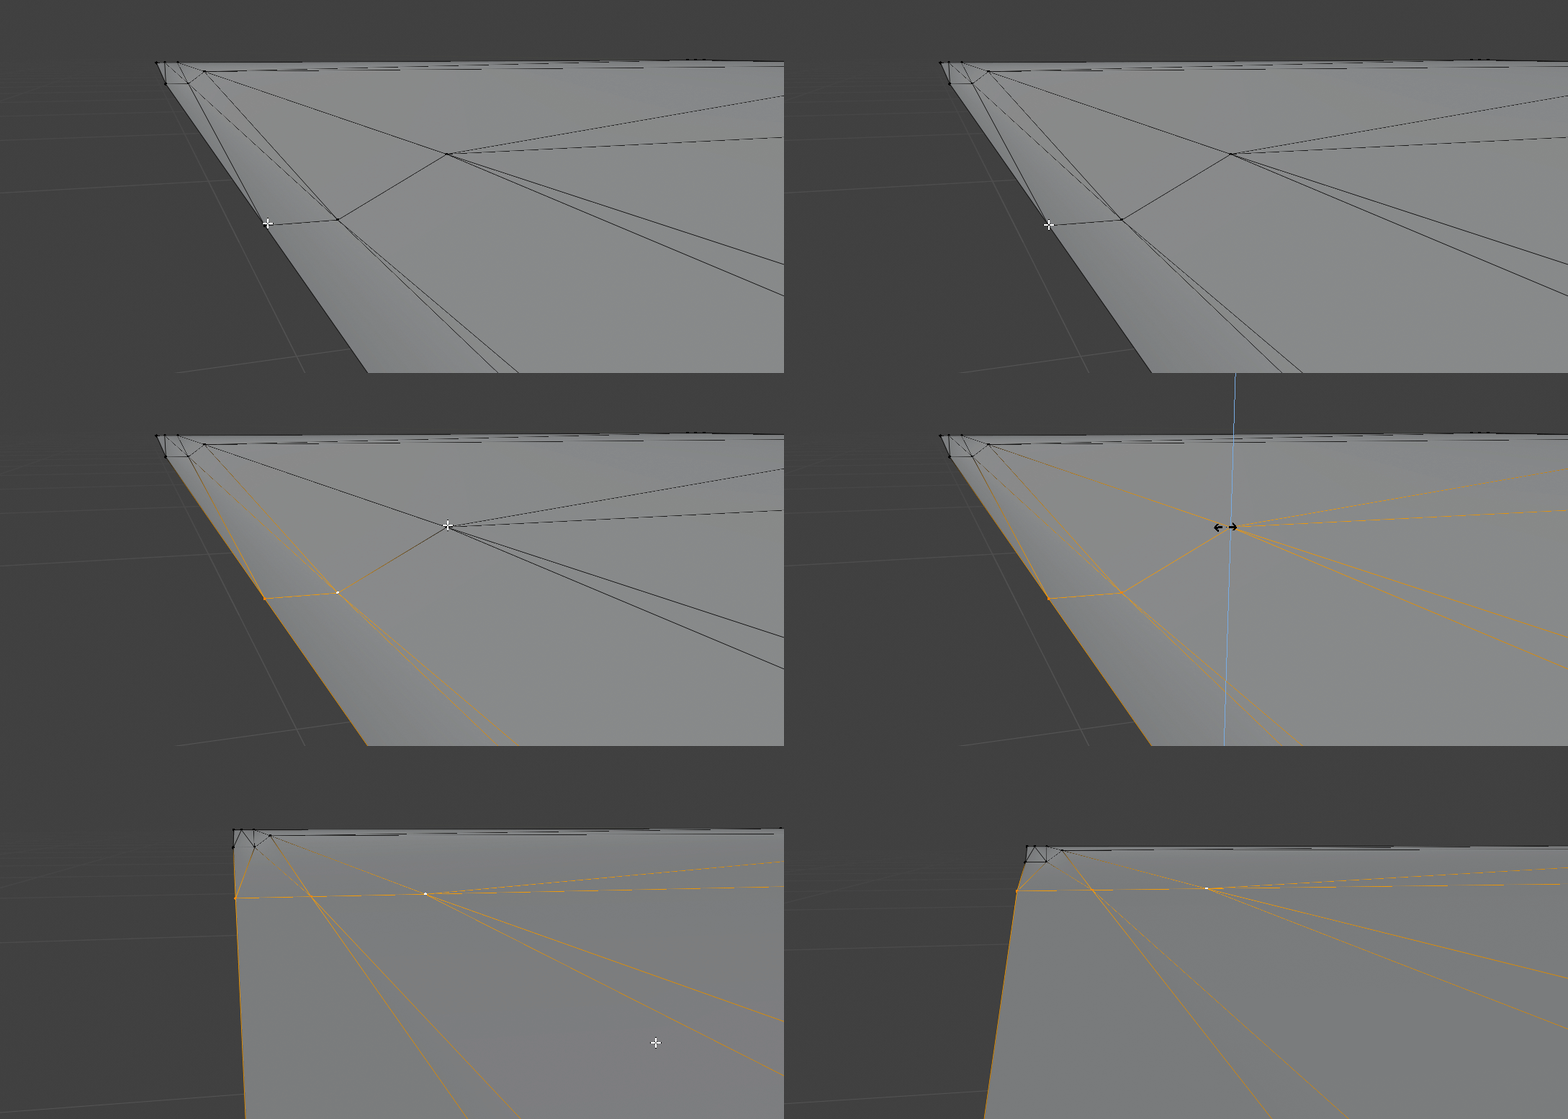
What's specifically important while modding the roads is keeping their original length and slope, so i can pixel-perfect replace the roads i've placed down on my level with these modded ones.
The exporter for the DL models doesn't export each model's hooks (which aids snapping roads together), so if i want to add extra roads, i'm dependent on laying down original game roads (which do snap between each other), and then replace those with the modded ones.
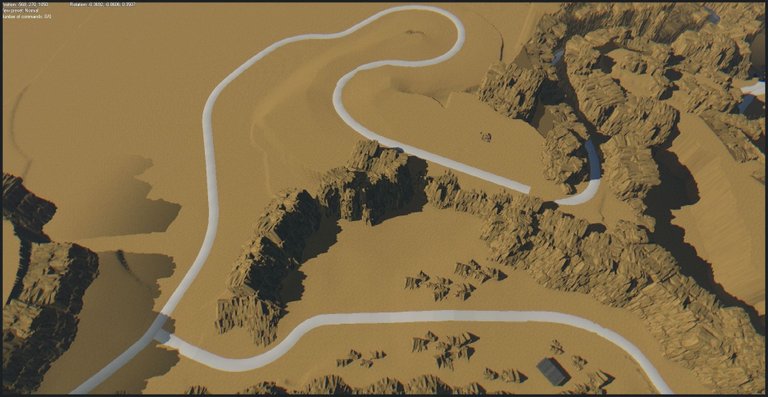
Having finished cleaning up all the roads, i applied the new texture.
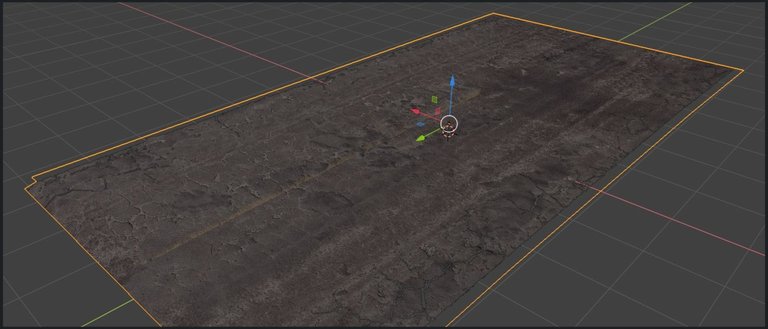
UV's seem good; texture is following the curve of the road.
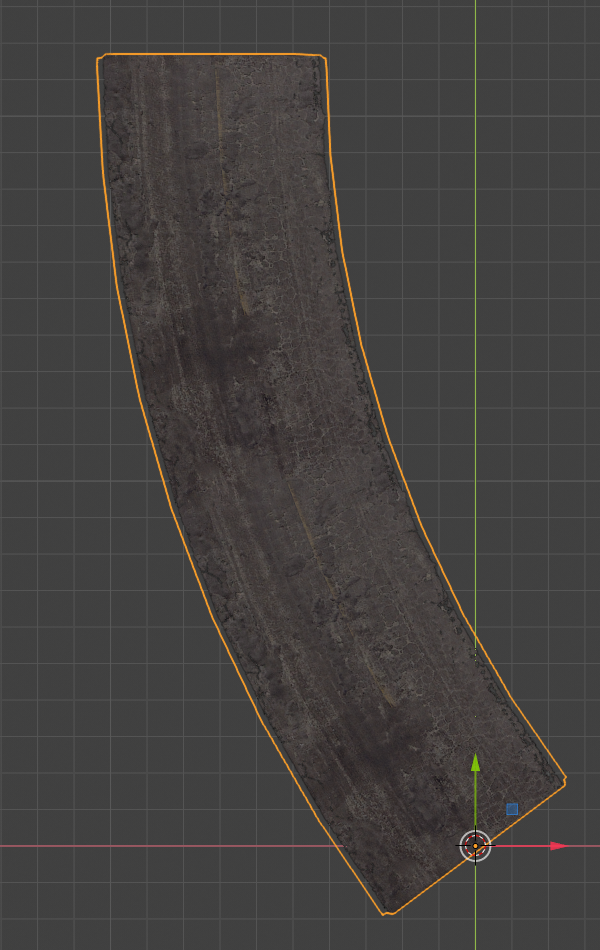

Texturing
Texture applied to the DL roads shows some grey-out occurring on the edges. I have a feeling this has to with transparency information that the tools isn't dealing with correctly.
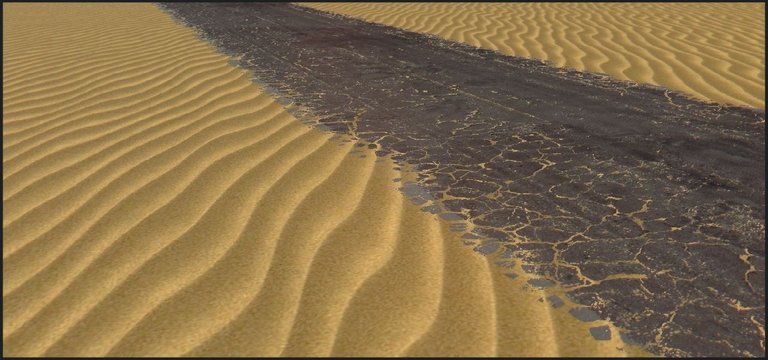
The other issue is the wavyness of the sand; they go right up to the edge of the road and show up in between the cracks, which makes it feel unnatural, and they make it look like the road isn't placed on the ground, but instead, hovering above the waves.
First, edited out the transparency on the edges of the road.
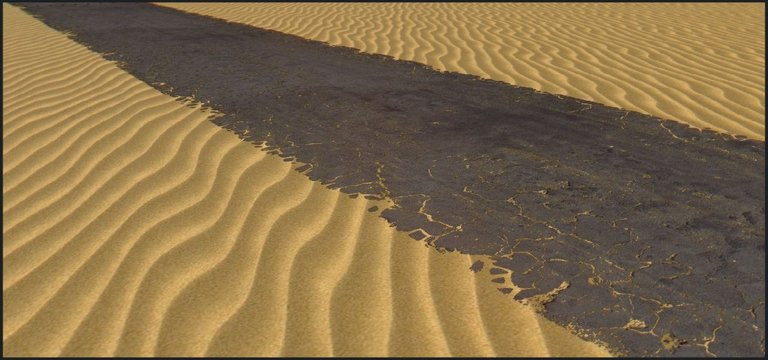
And moving on to fixing the waves near the edge of the road, and in between the cracks. I would do this by editing the road texture, and adding a flatter (no waves) sand below the road. Then creating a transparency gradient to blend the two sands together, for all intents and purposes pushing the waves away from the road edges and create a smooth transition between the two.

Hitting a Major Snag
This is now multiple days and hours of attempts later.
And what i've been attempting to do is creating that transition between the sand waves and the road.
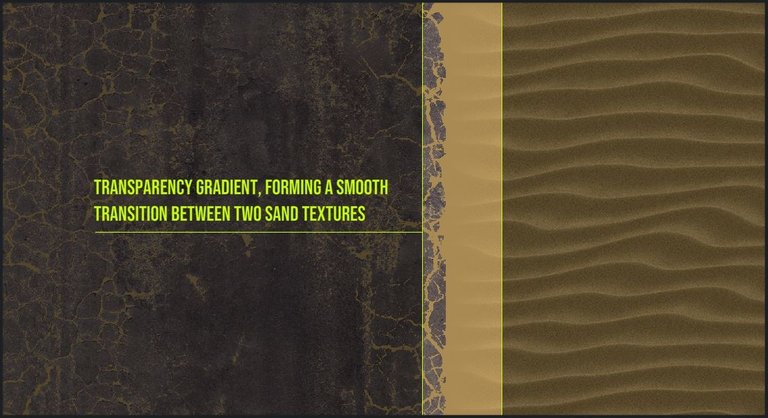
But it turns out, that the dev tools doesn't allow blending of textures that are on different meshes - the terrain being a mesh, and the road being the other mesh.
So this, after many-an-hour of trying, is a no-go on the smooth transition fix.

Solutions
As close as the texture below gets to what passes as nearly acceptable, i still have a few other things i'd like to try.
Notice that in the texture above, there still is no smooth transition; the waves go right up to the edge of the road. What this texture is is an ugly hack that appears to look good at a quick glance, but not at any kind of close inspection.
All it is is a gradient from yellow to fully transparency, applied to the edge of the road texture.
Plan A
While the tools cannot use the transparency applied to a portion of a texture on one mesh, and blend it with a texture applied to another mesh, it actually can blend two textured meshes, if the transparency is applied through the mesh's materials. This has a caveat, however: applying transparency to a mesh through it's material means that the entire mesh will have transparency. That would make the entire road have transparency.
However.
Seeing we can add any number of materials to a single mesh, all i might need to do is add some extra geometry to the edges of the road (where i want the sands to blend), apply the road-sand texture to that geometry, give that a second material and apply the transparency to that material.
Thinking back, this is what the Dying Light original roads had and i removed; a slope with a dedicated material, to create a transition between road and terrain.
I should be able to achieve plan A, but if not..
Plan B
Replace the wavy sand with something less intense, or flatter, removing the need to create any type of smooth transition bwteen the sand and the road.

So, back into Blender, and attempting Plan A.


