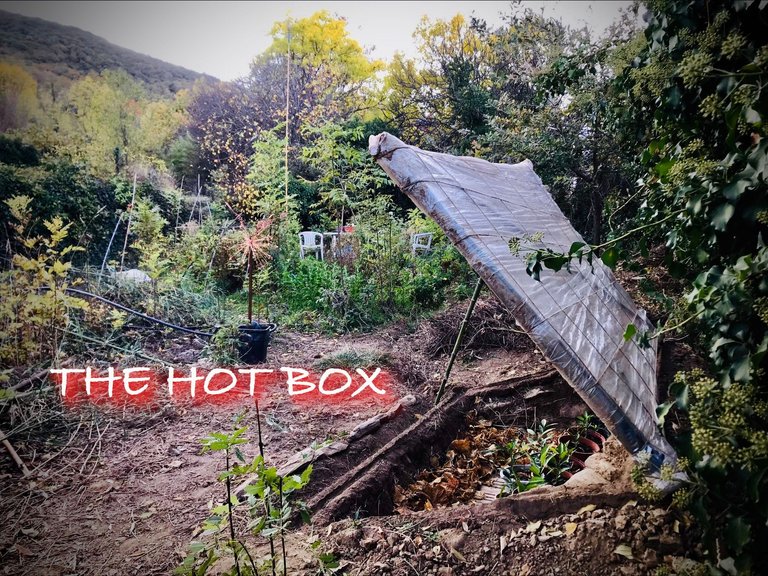
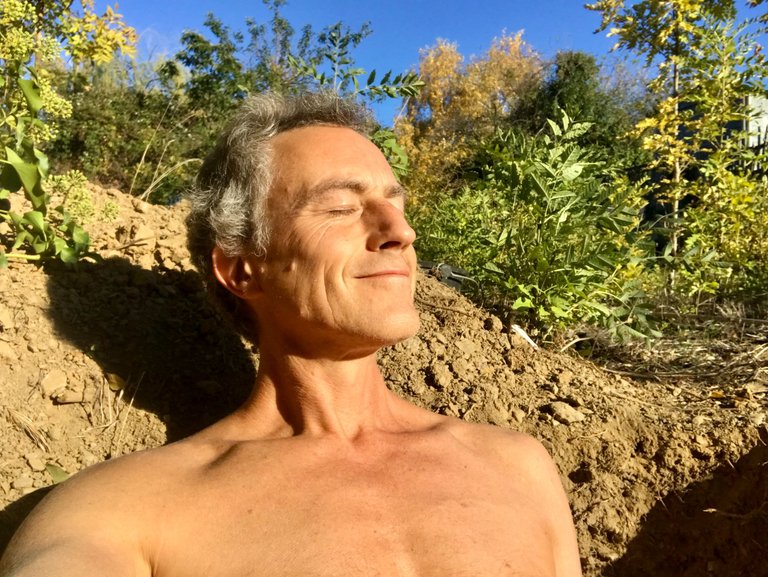
Two weeks ago I felt the urge to dig a south facing hole in order to demonstrate the principles of earthships to my children and after spending a fair bit of time meditating in this hole with the sun on my face I realised it would actually make a fabulous winter greenhouse!
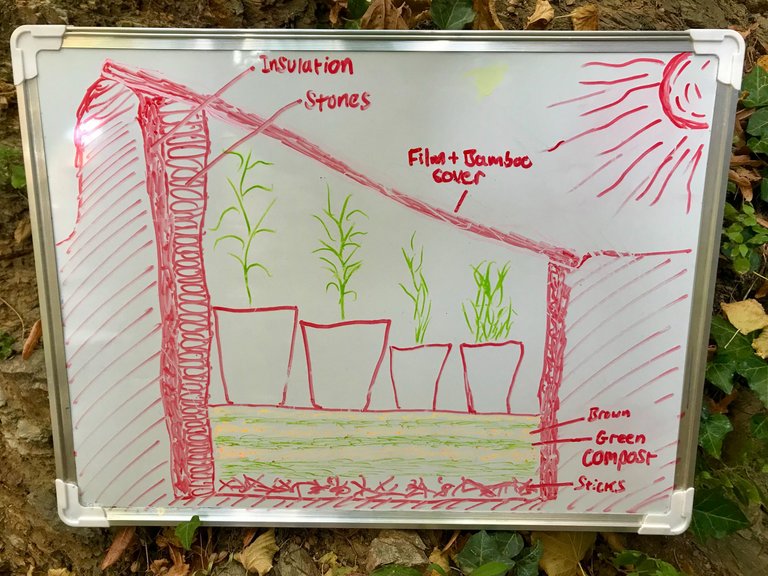
Especially if the hole is deep enough and a decent layer of compost can be added to generate heat from the bottom.
This way there will be warmth even when there is no sun.
Just to take this story back I wanted to mention that I have been thinking about earthship designs for some years now.
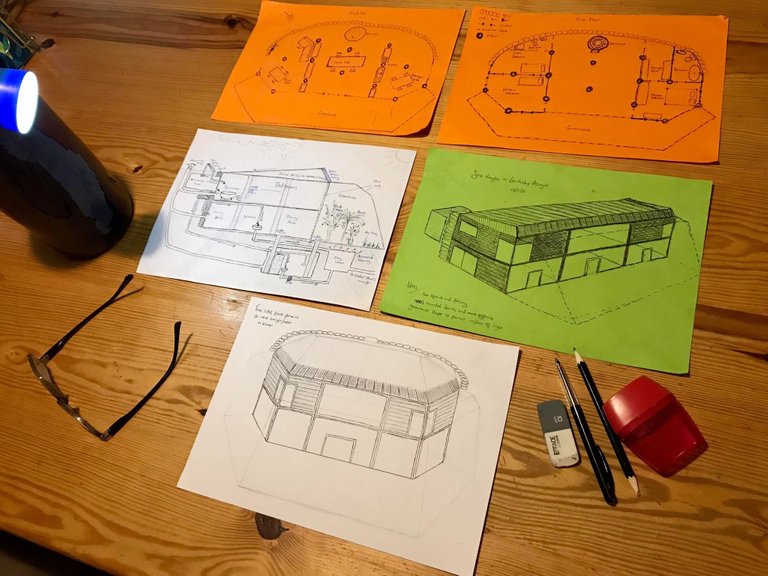
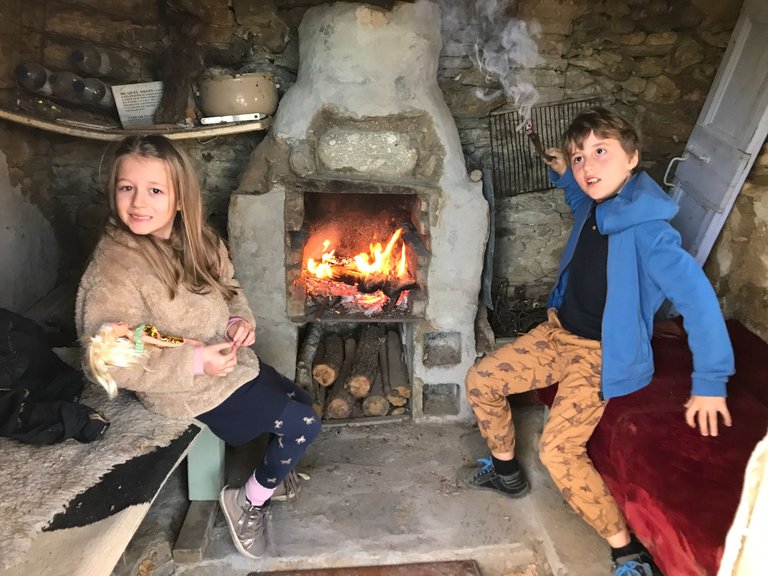
When covid kicked off there was talk of mandatory vaccinations and by 'chance' one of my cats led me to this place in our local forest.
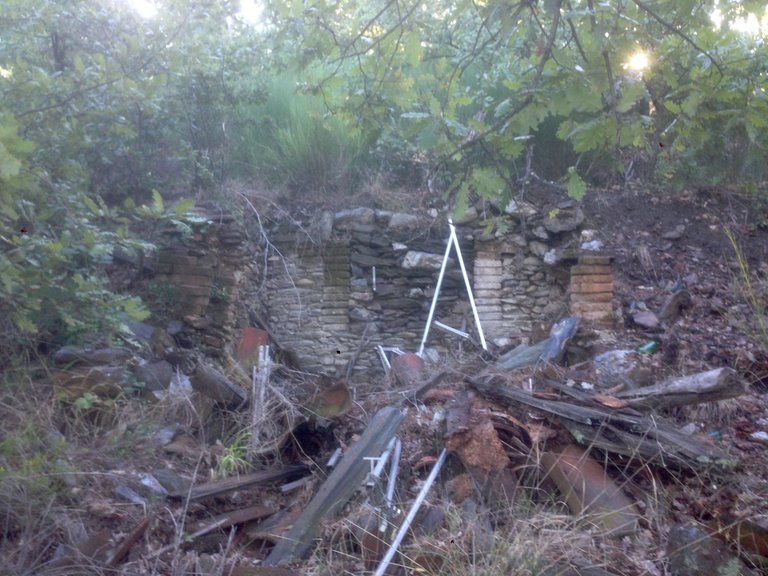
I felt inspired by what I saw and with no budget in 80 days I turned it into this.
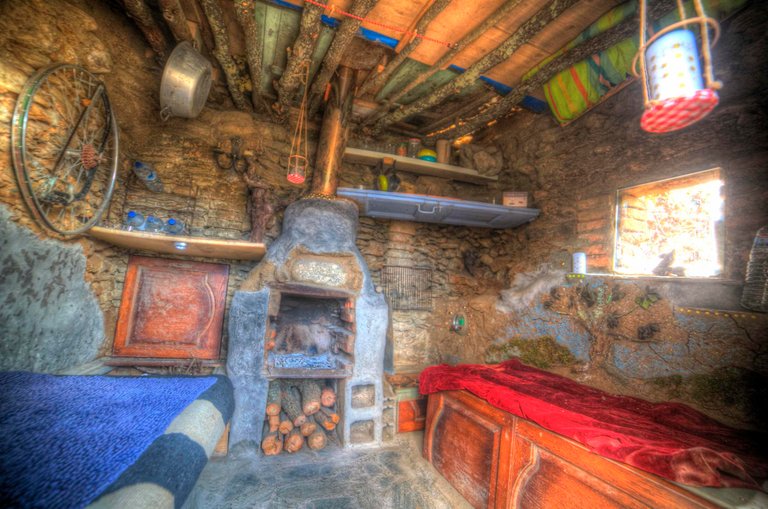
Now I had a secret place in the mountain where my family and I could hide for weeks if we needed to. Even in the winter.
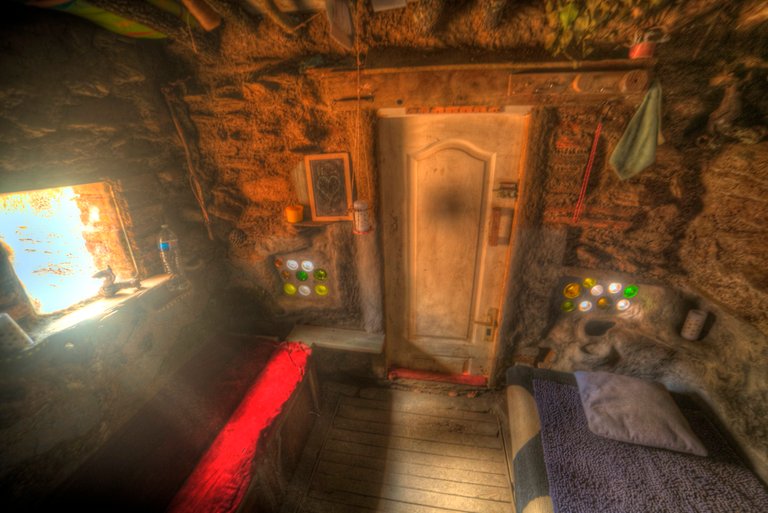
This led me to an understanding of many important lessons described in this post, one of which was how simple it is to make strong walls with mud, water & stones. Three things which are in abundance around here.
For your information our stone house still has a solid structure today (exactly three years later) and we will be giving it some upgrades for the coming winter season.
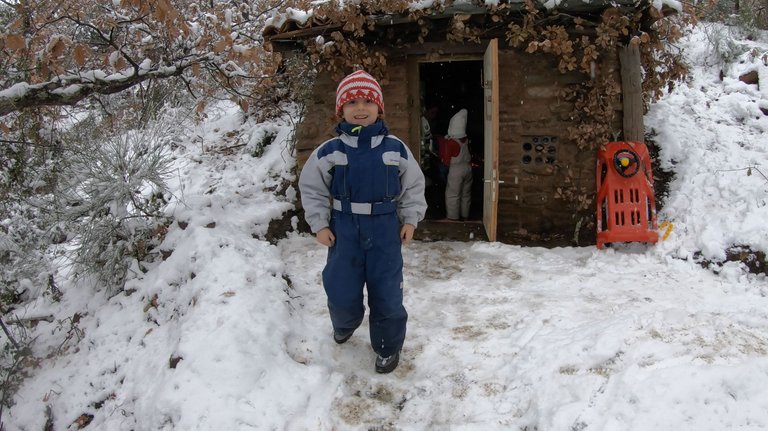
With this in mind I knew it would be simple to create a south facing stone wall at the back of my hole.
But first I had to dig it...
7th Nov
The hole begins.
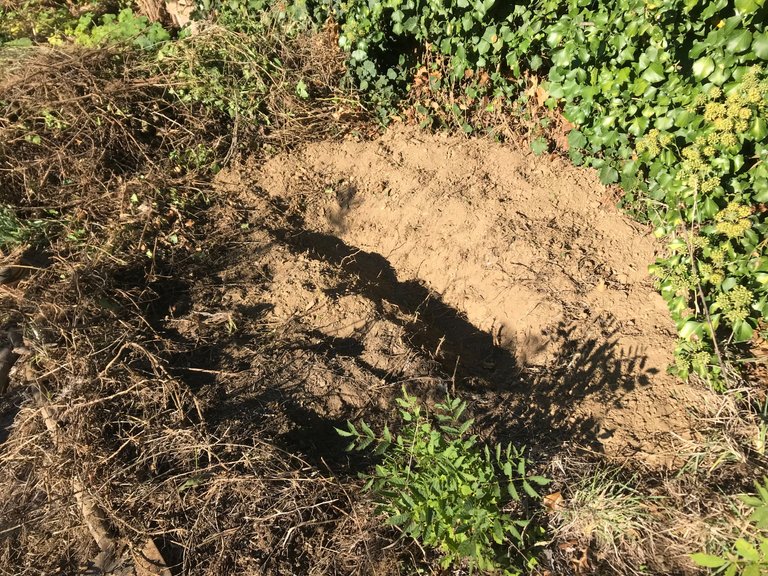
8th Nov
My team gets involved.
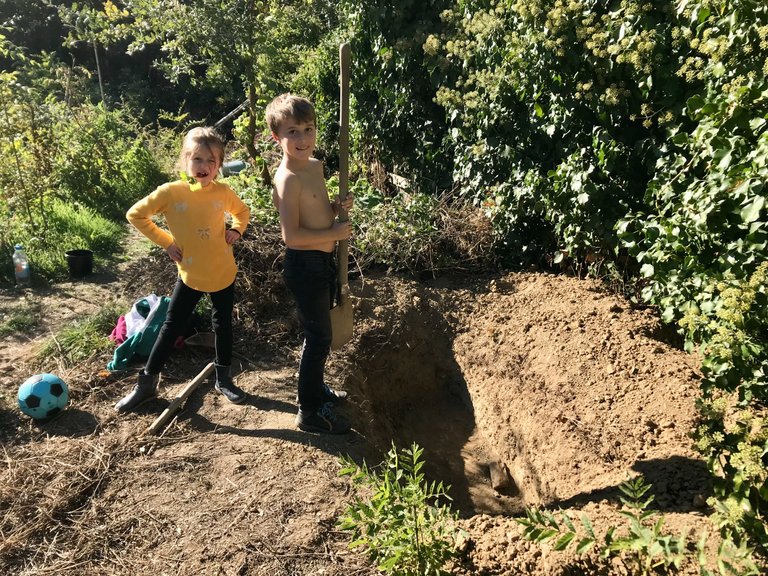
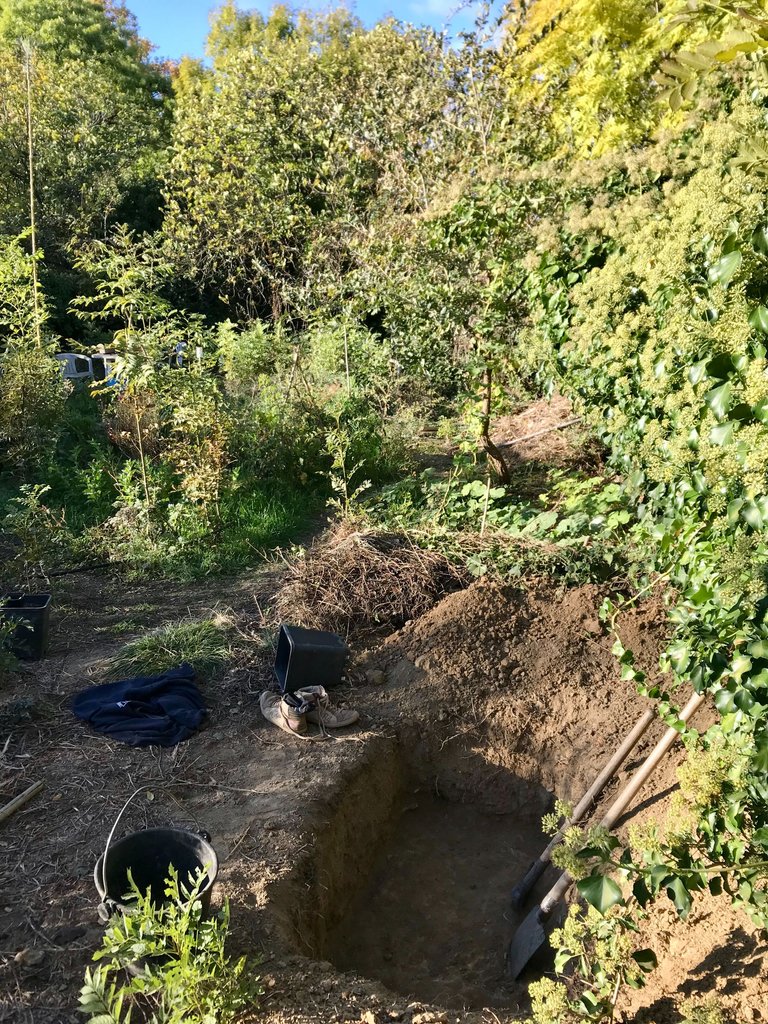
The first layer was mostly soil and quite easy to dig through.
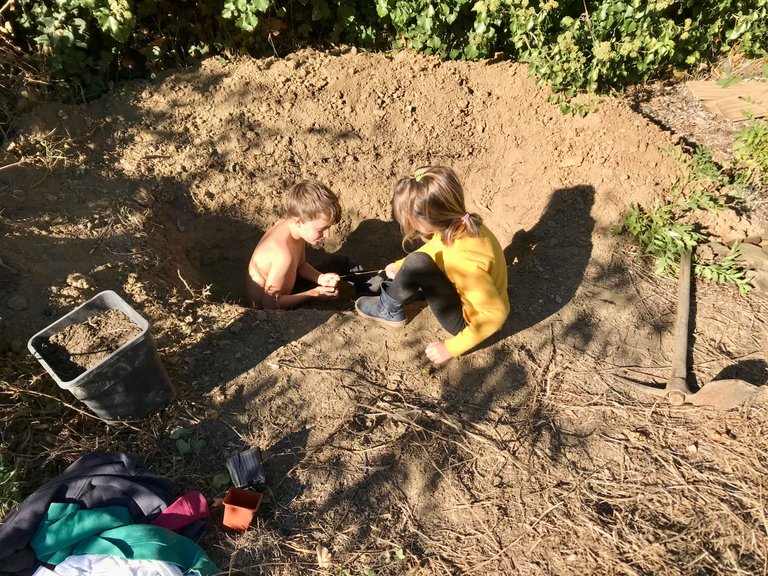
10th Nov
Needed a pick axe to take it deeper.
14th Nov
The insulation layer was created by mixing this stuff (which is all over our land) with mud & water.
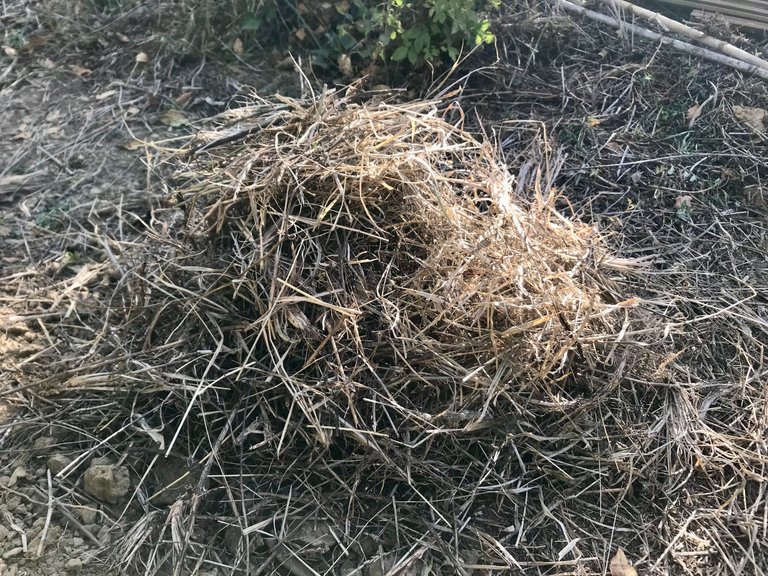
Lovely stuff :)
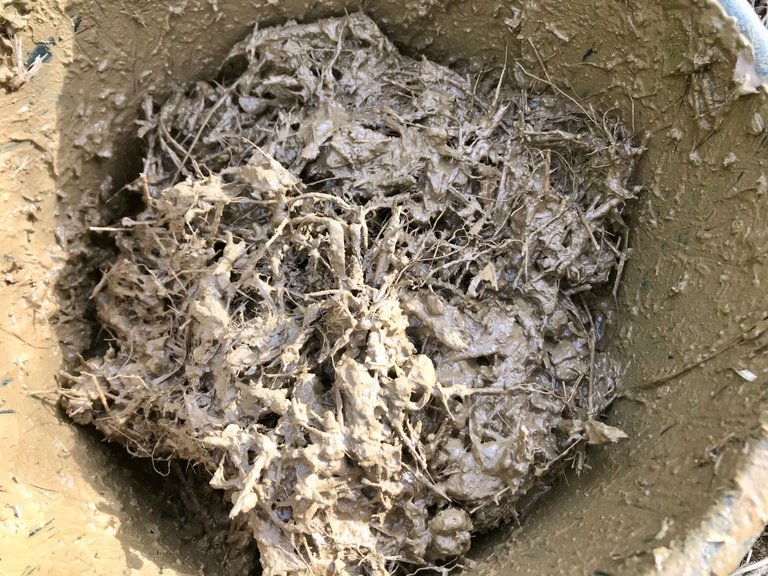
Then I began slapping it all over the walls.
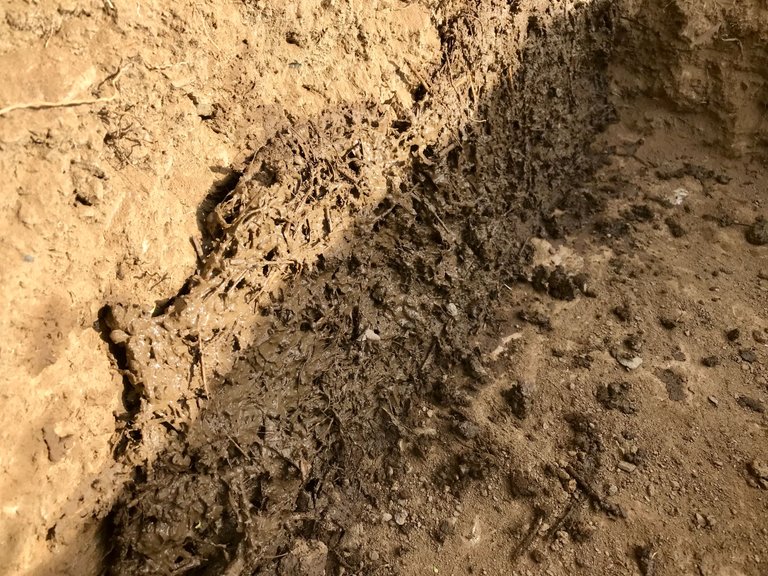
The stone wall went in directly while the insulating mud mix was still wet.
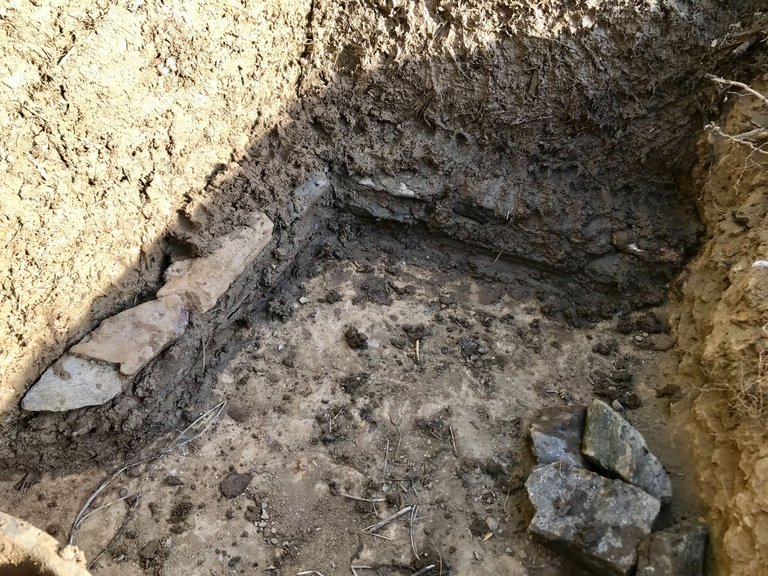
15th Nov
Finding the rocks was simple, though it was quite difficult getting them all there.
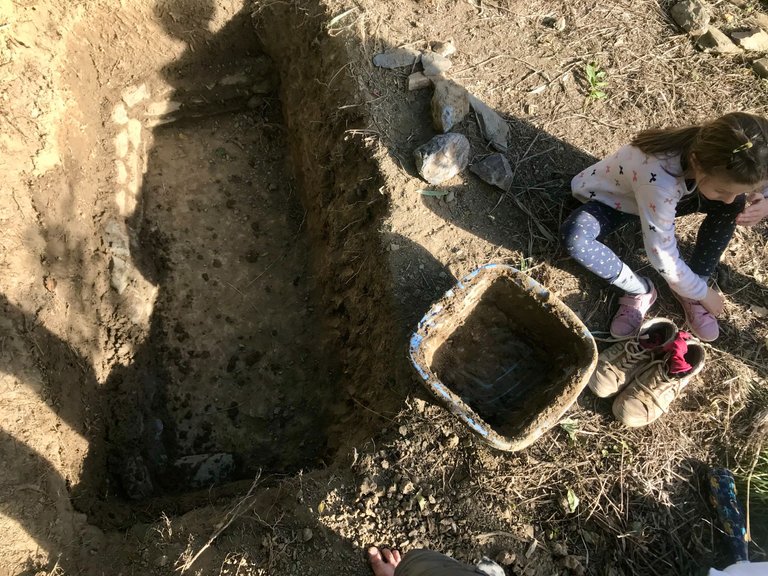
16th Nov
The wall is taking shape now.
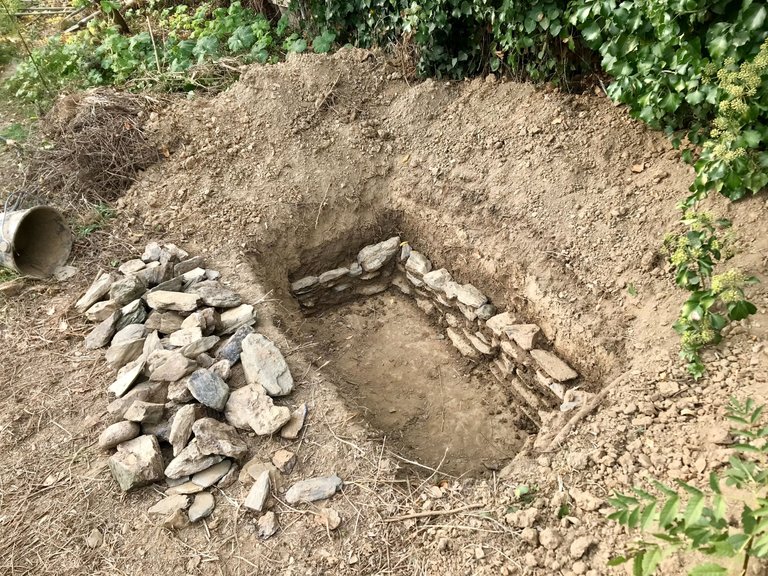
For your reference I make the mud cement by shaking it through this pot and separating out the bigger stones.
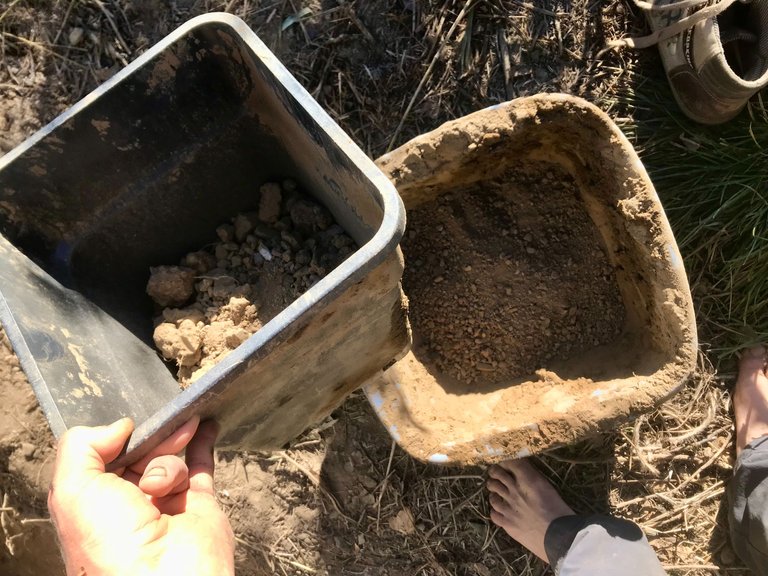
After which I mix it with water in much the same way as one would with cement.
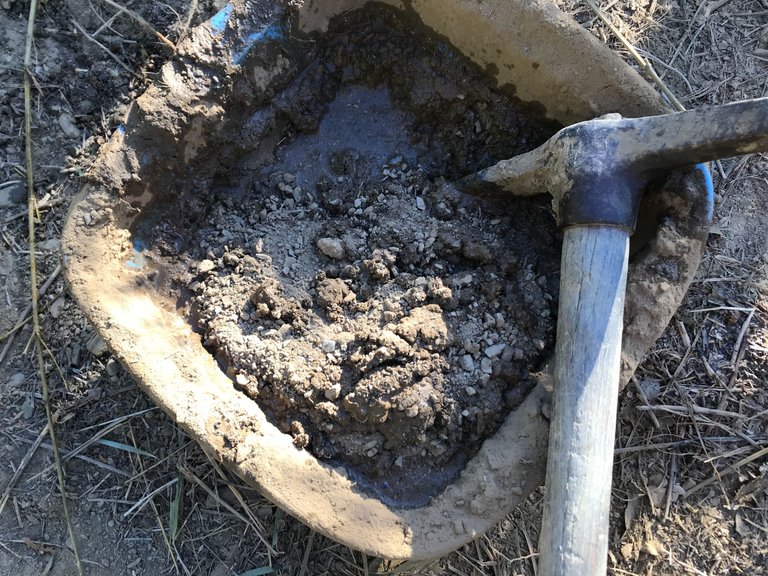
It takes a day or two to dry depending on the weather.
17th Nov
Almost there...
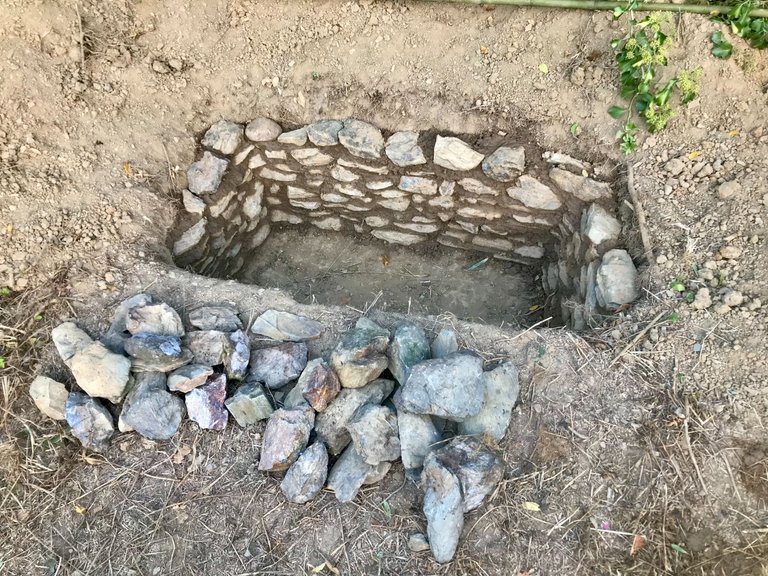
And done!
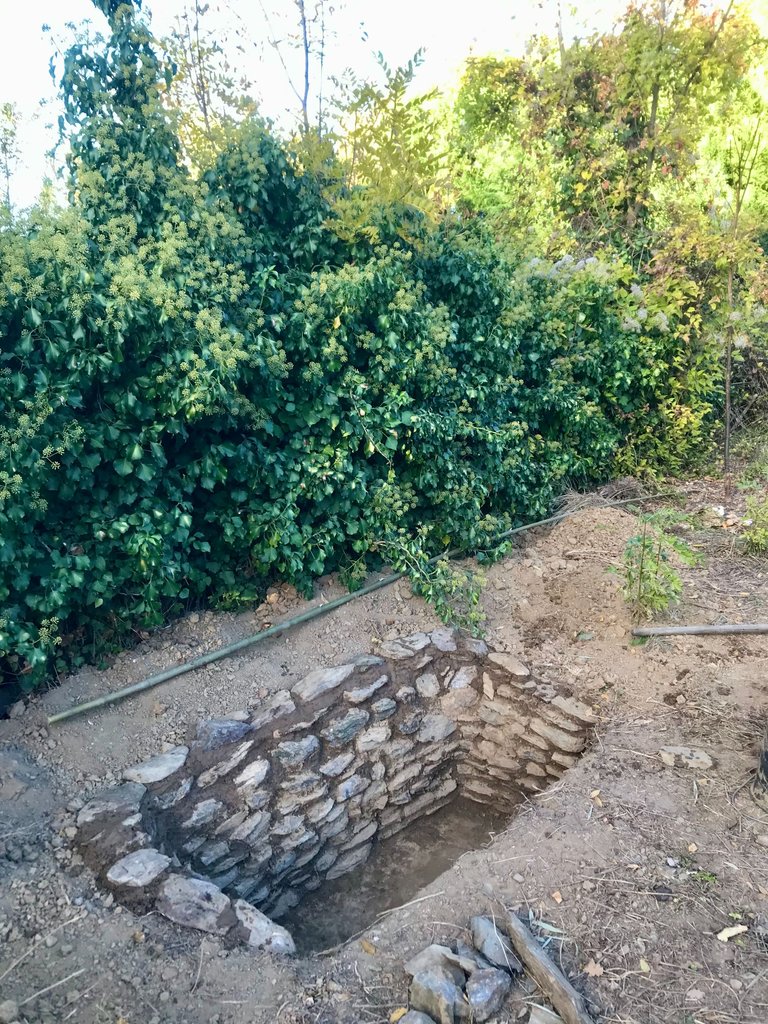
18th Nov
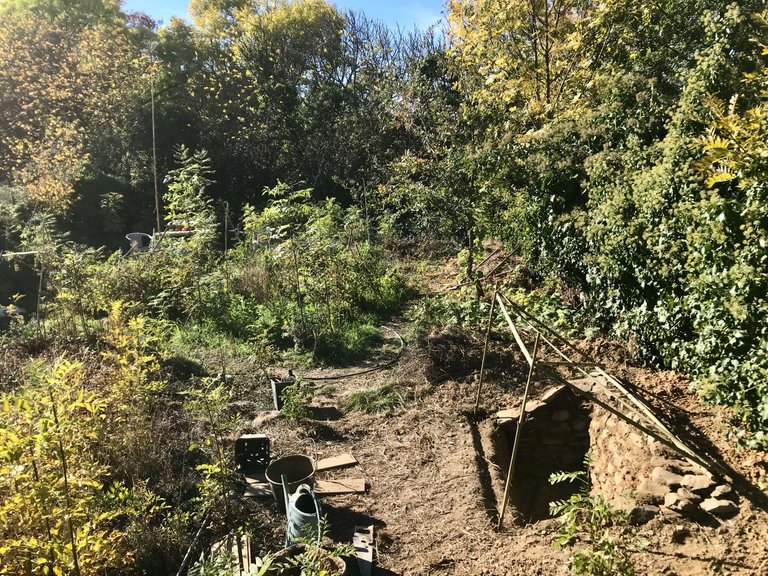
I cut a bunch of bamboo from a secret forest I know and we started thinking about the most effective design for the cover.
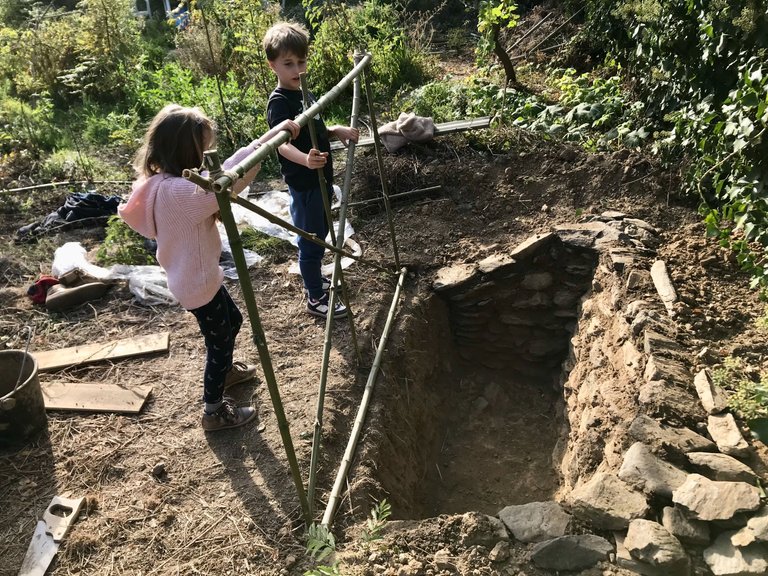
I want it open like this during sunny days.
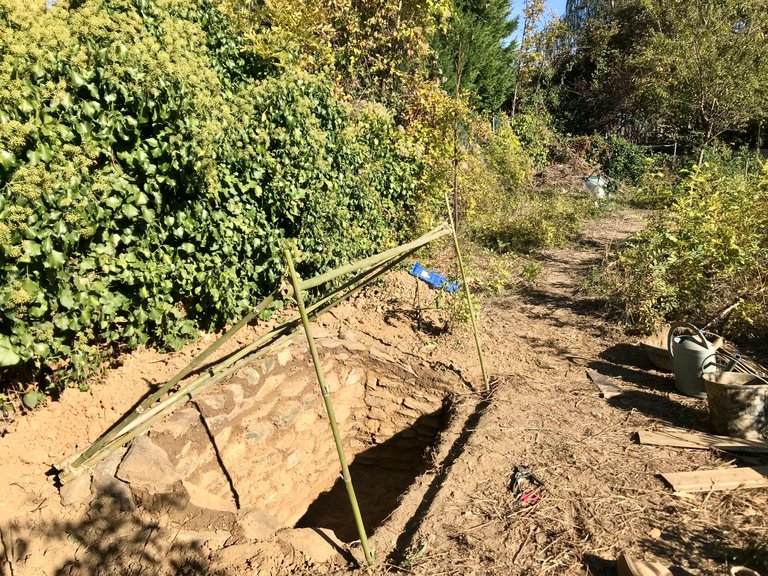
In this way the sun will be able to directly heat the stones at the back and the greenhouse won't overheat.
On the same day we started attaching the clear plastic film to the frame.
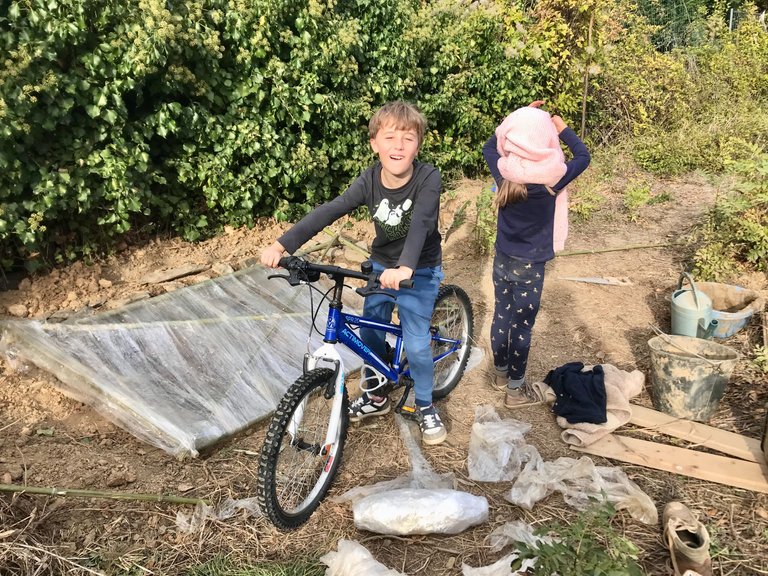
We still have it saved from last year's failed greenhouse!
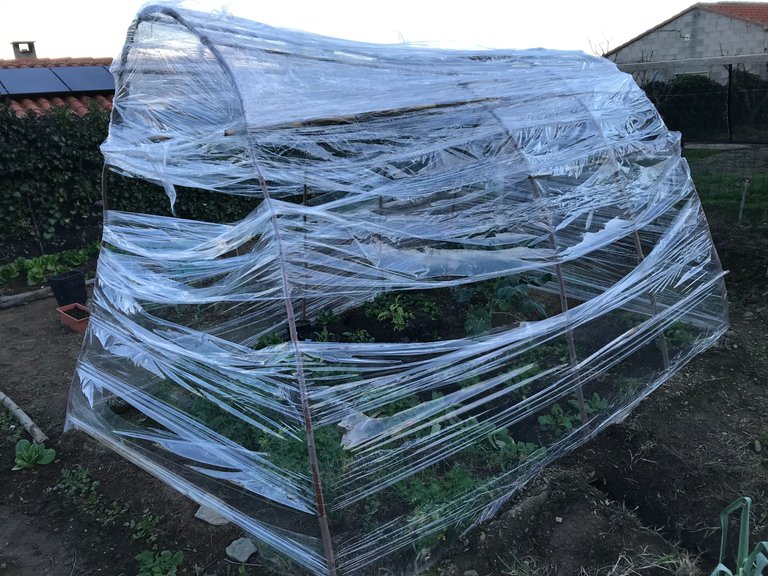
Plus the sunken armadillo greenhouse which replaced it.
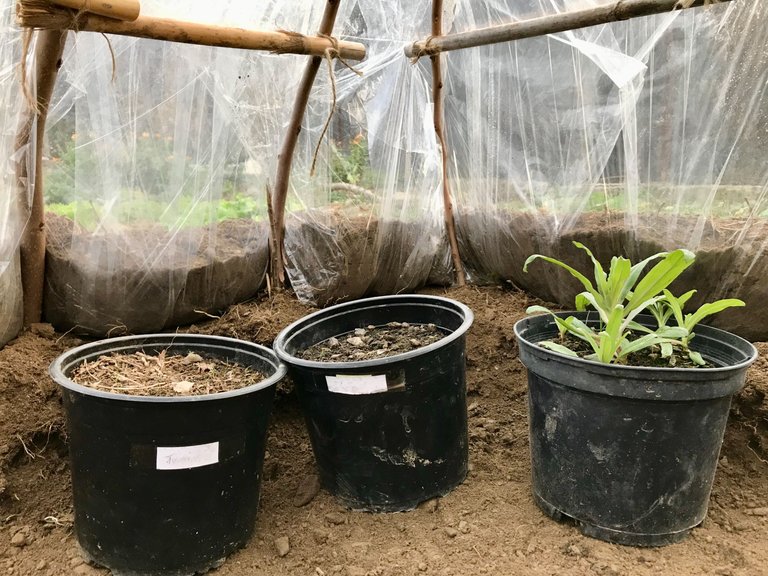
As I said at the time, stuff like this always get a second life. And a third. And a fourth. That's the great thing about plastic!
19th Nov
I realised my frame was not working as expected so took the plastic off and added side supports.
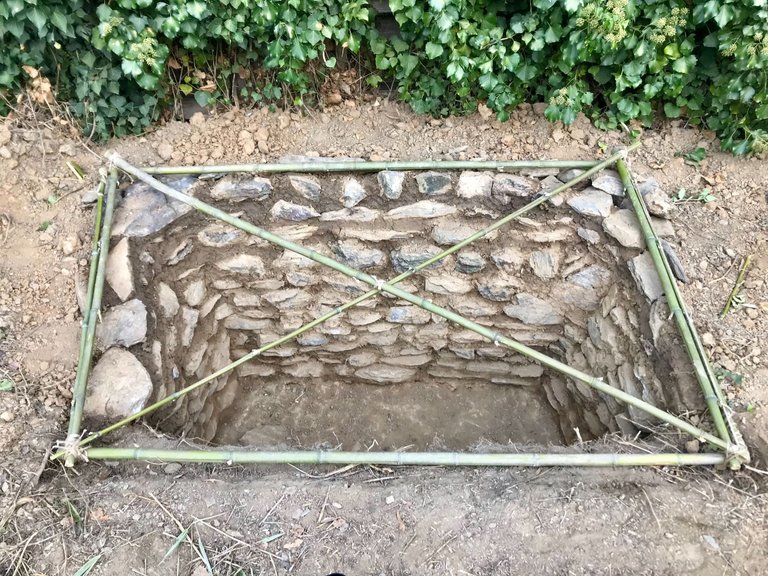
Due to my lack of knowledge around appropriate knots for bamboo the pressure of the cling film was pushing the longest beams inward, so I added an extra beam at each end to stop this happening.
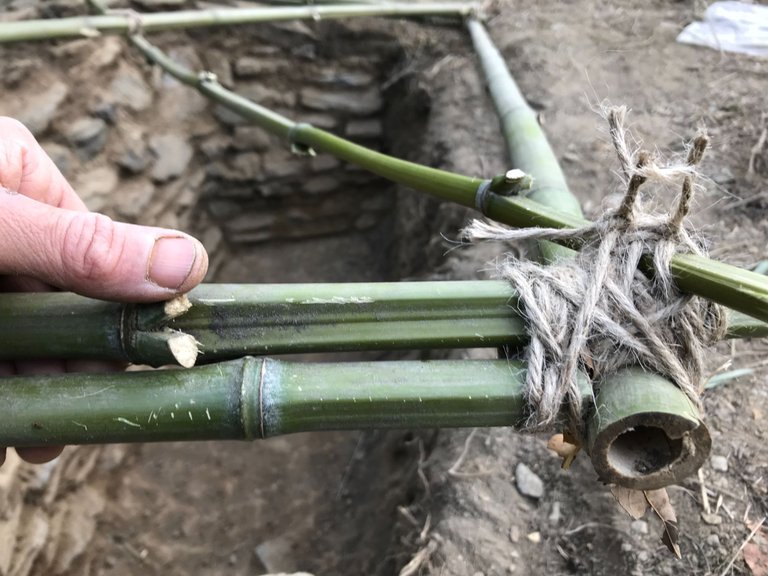
Now I can attach the plastic tightly without the frame slipping inward.
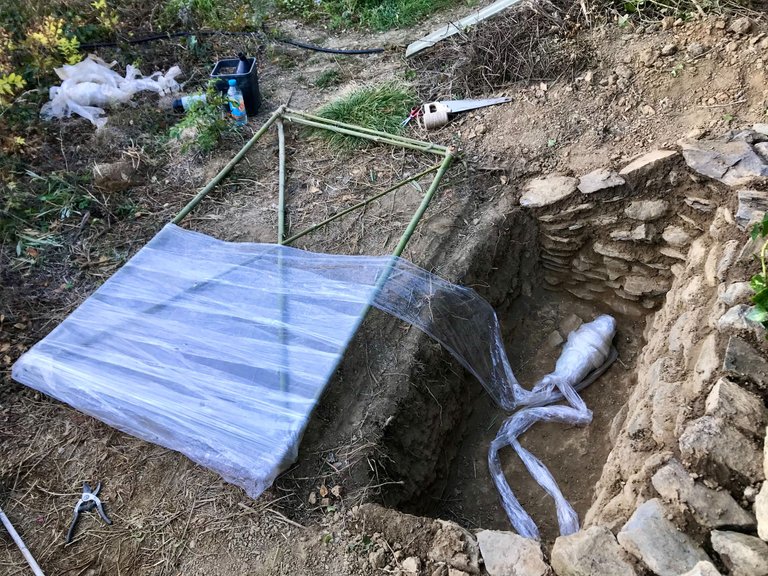
A second layer was attached running from the bottom to the top, to ensure rainwater will run off it and not into the hole.
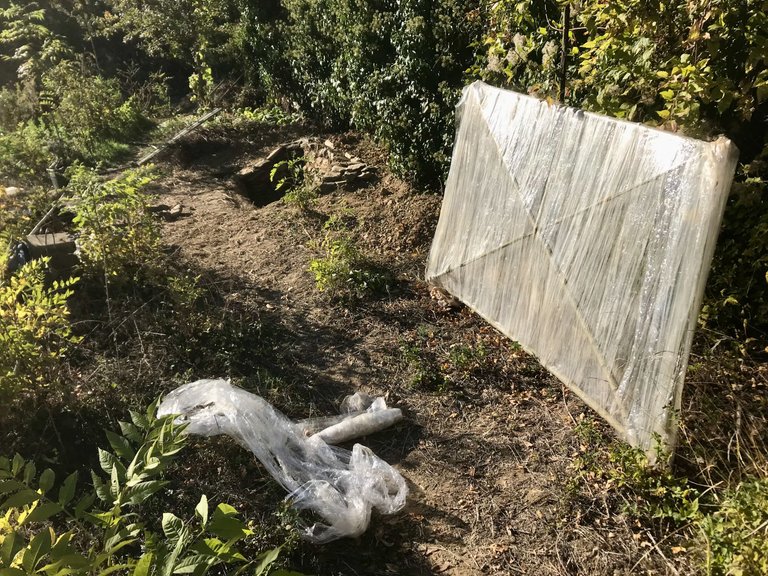
What I am effectively doing is trapping a layer of air in the middle which will hopefully act as an insulator.
Finally I added some string to hold it all together when the wind blows.
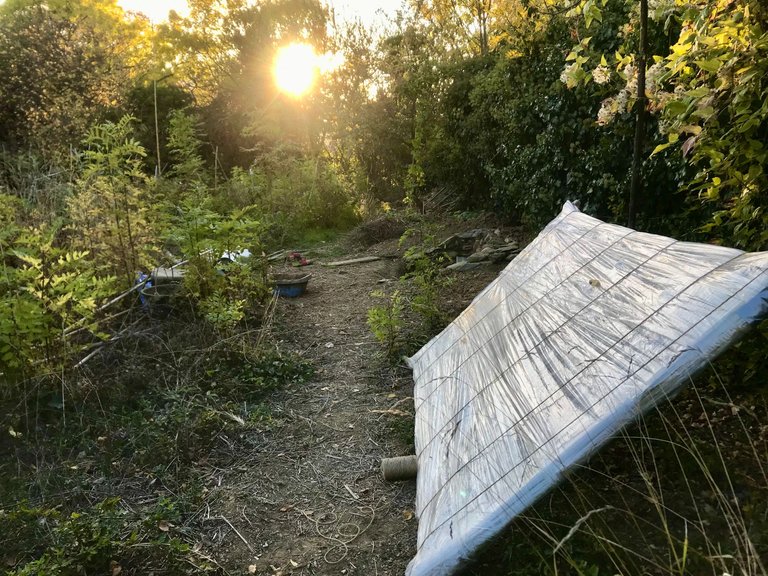
A single piece of bamboo and random bit of wood has been used to create a back shelf for smaller plants where they will receive the heat of the sun by day and the heat of the stones by night.
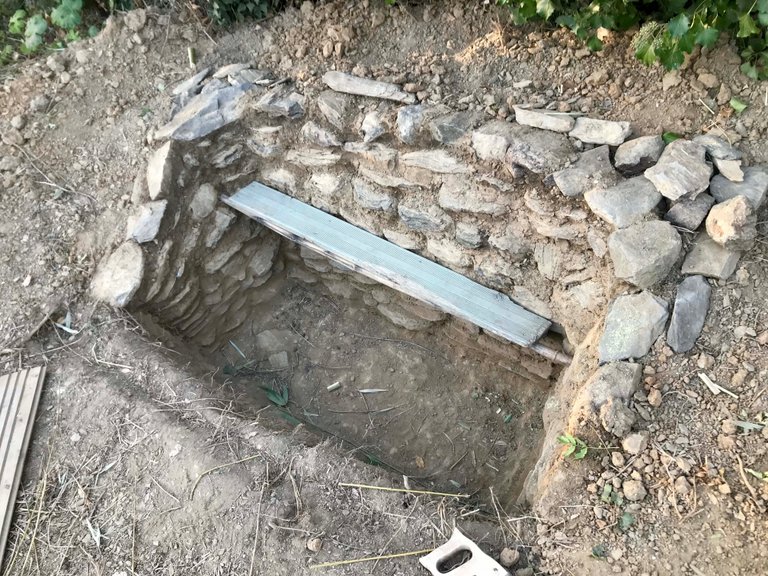
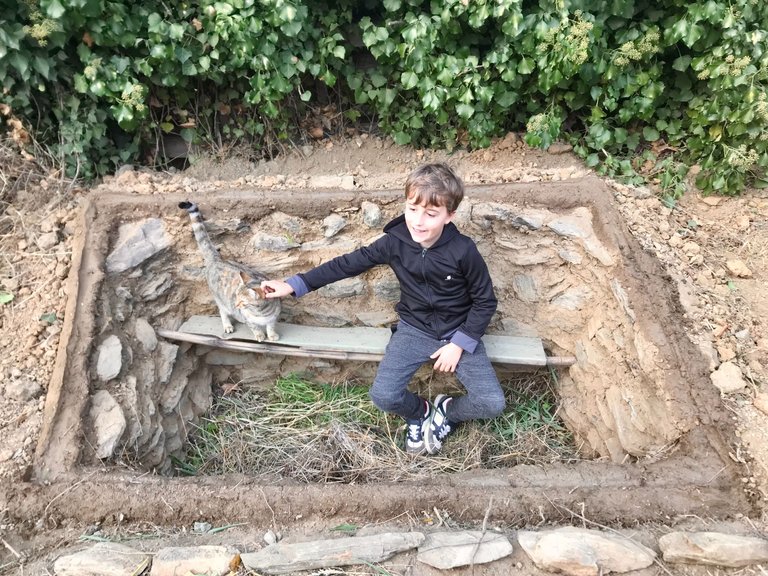
For your reference the hole is around 1meter deep on the south facing side.
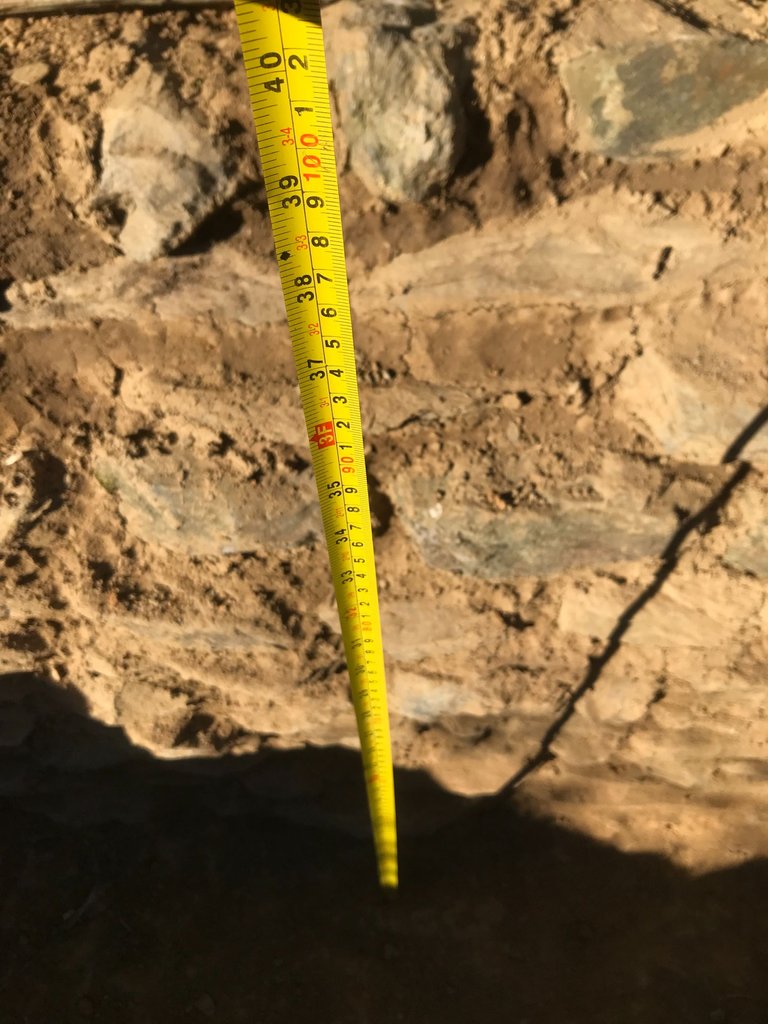
And around 60cms on the other side.
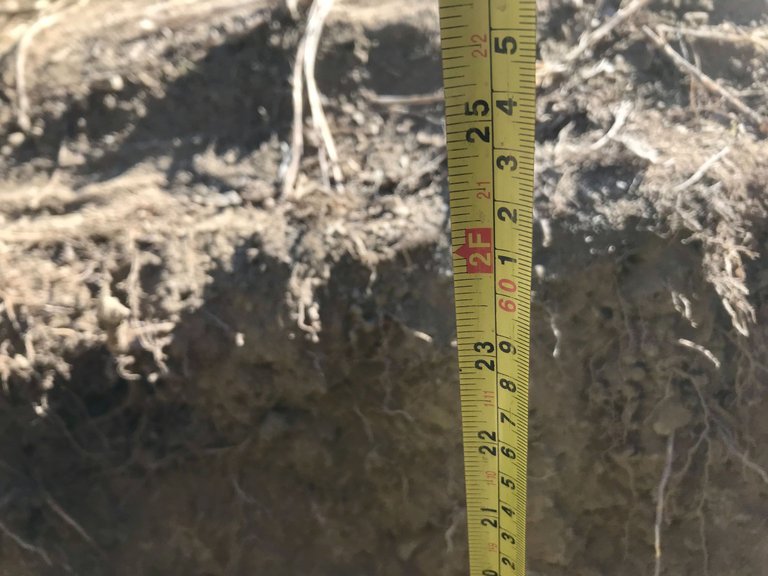
45cms of which will be compost.
At the end of the day I took this rather lovely picture to get an idea for the finished feel.
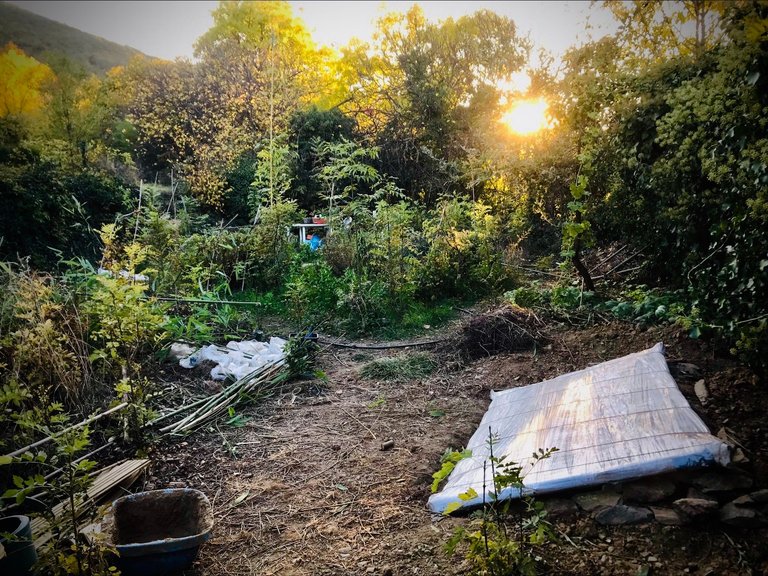
Think it's gonna be great :)
20th Nov
I brought my new antenna this morning and watched the sun rise behind it.
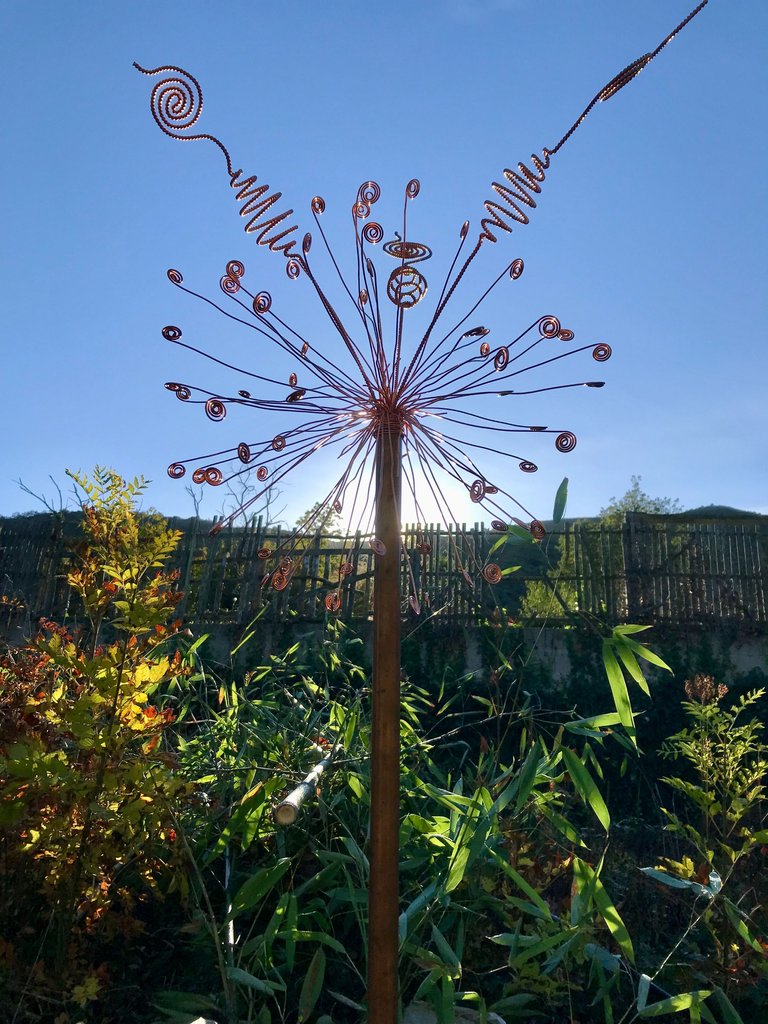
The design was inspired by the bush next to the hole which is full of all these little seed explosions.
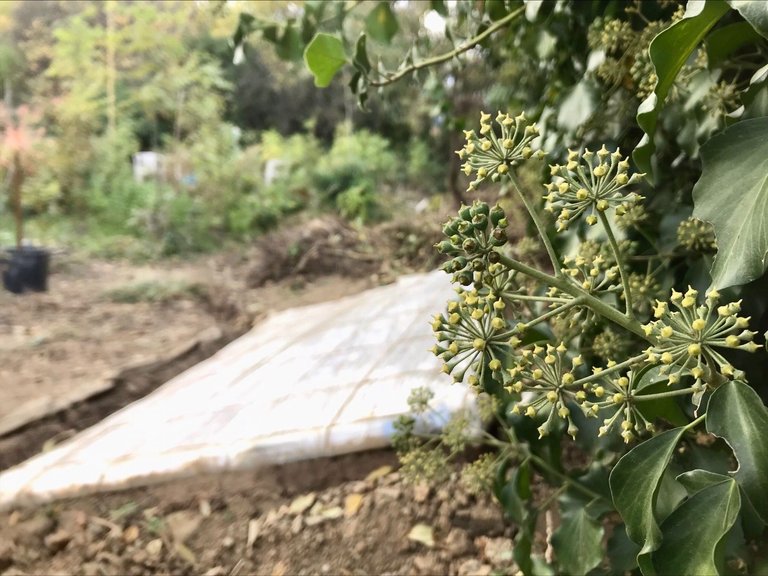
It was also inspired by the great work of Brombo from Shardana Geometries.
So the only thing left is to make the hot box hermetic before filling it with compost.
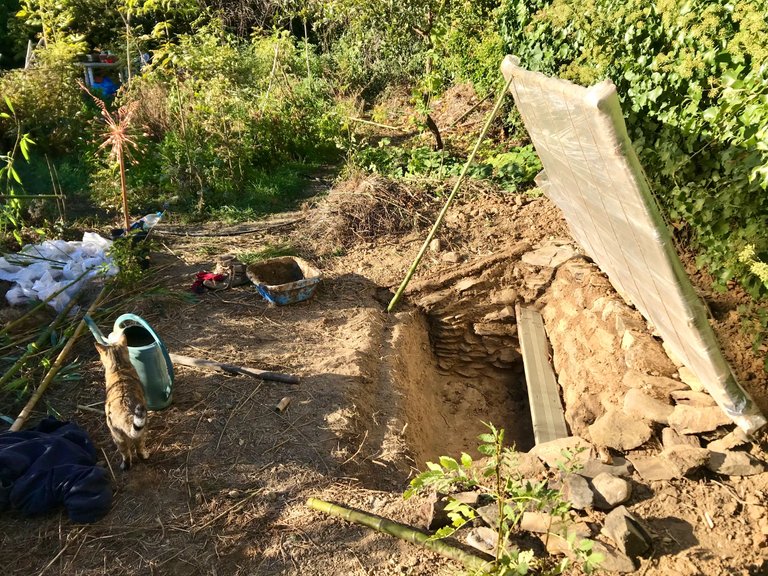
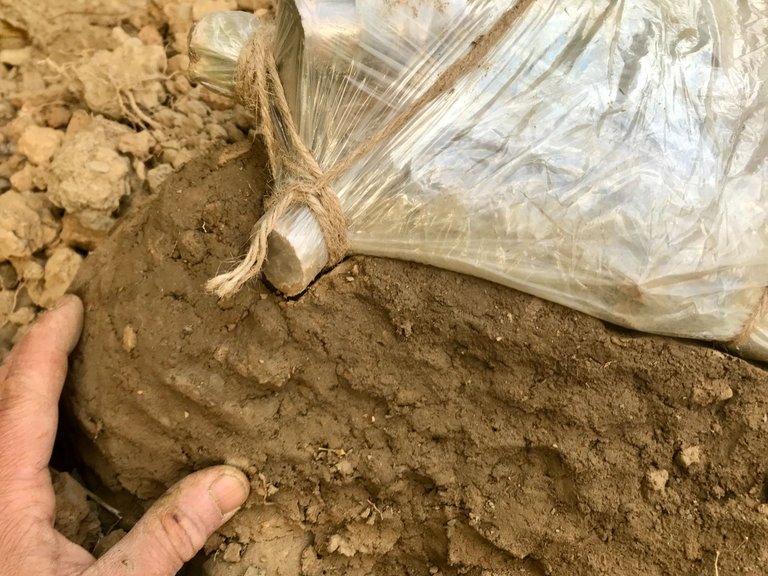
I did this by adding a load of mud around the edges where it touches the bamboo frame.
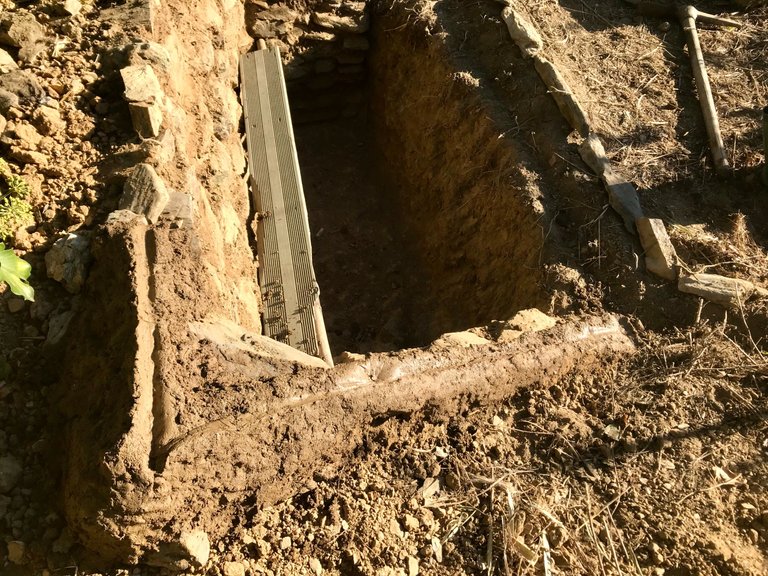
A snug fit is created and the mud is left dry in the sun.
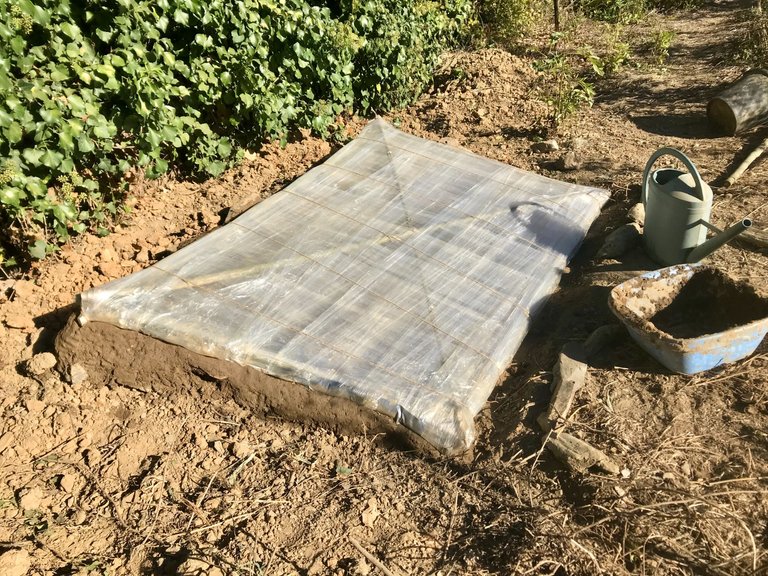
Let's see how it holds up over time.
Towards the end of the day I finished with the boarder, piling up mud and stones around the edges.
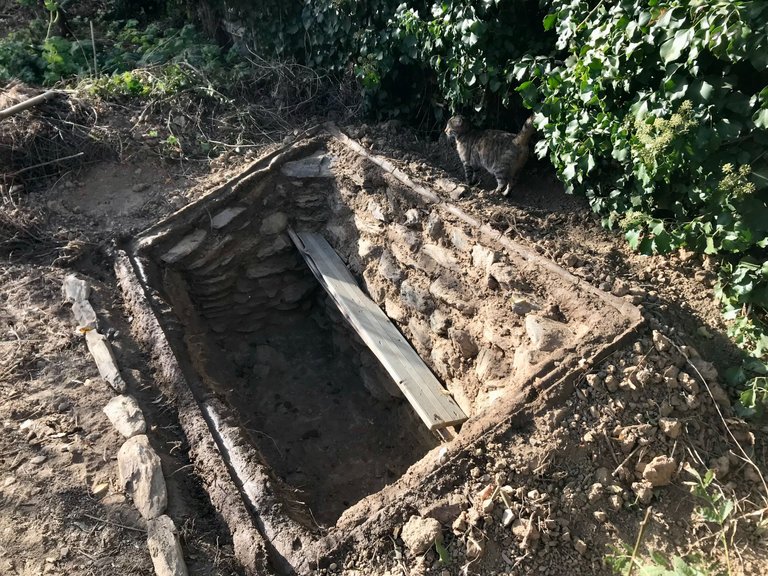
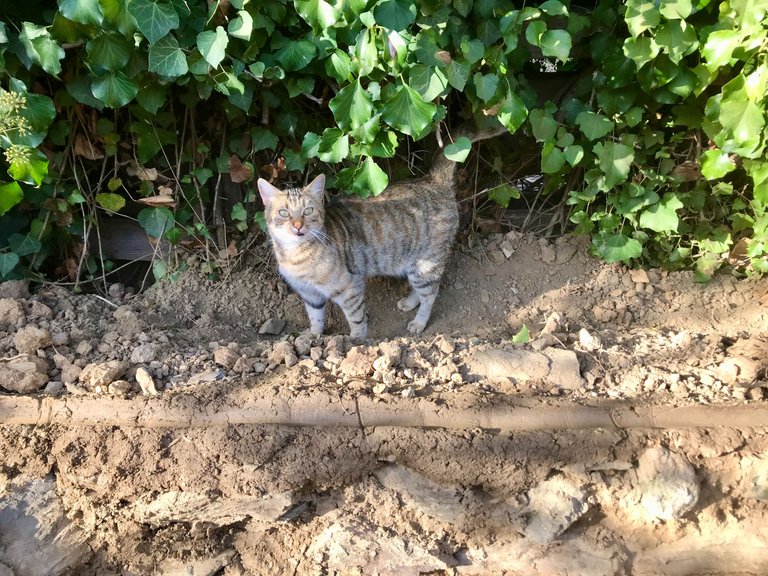
Happy that Fifi was here to see me finish.
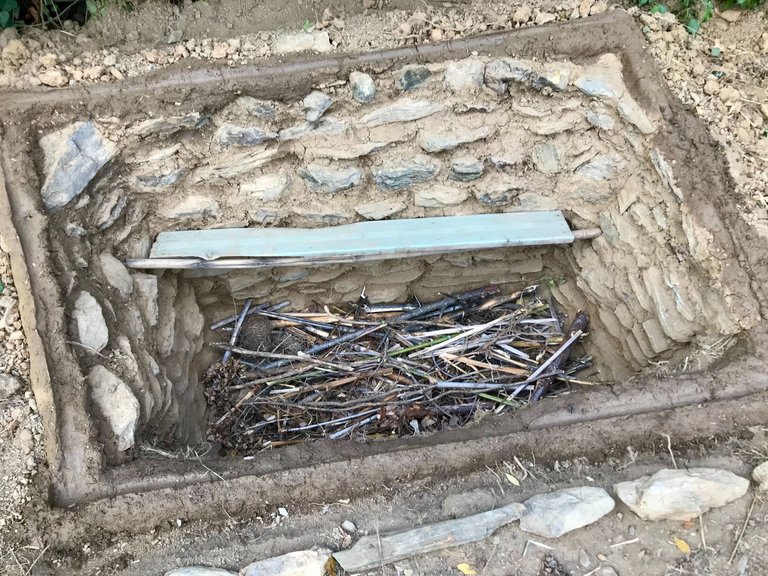
Finally I can start creating the compost!
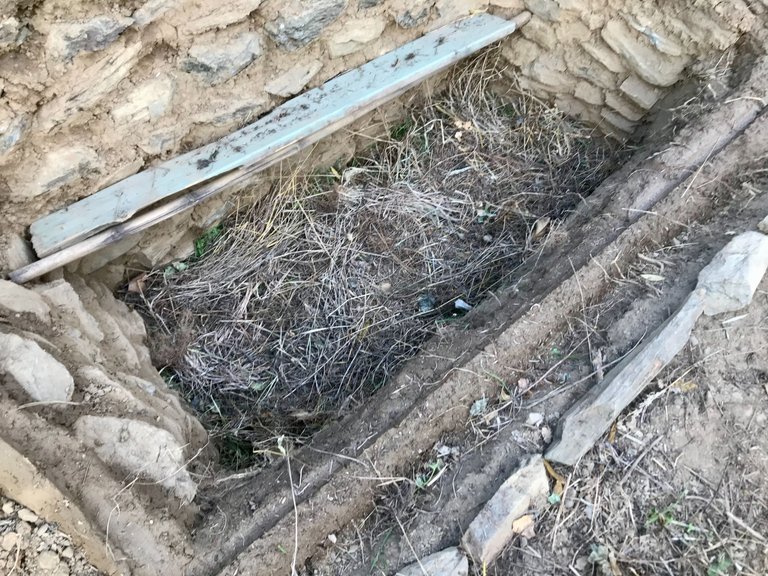
First I add sticks for some insulation and drainage.
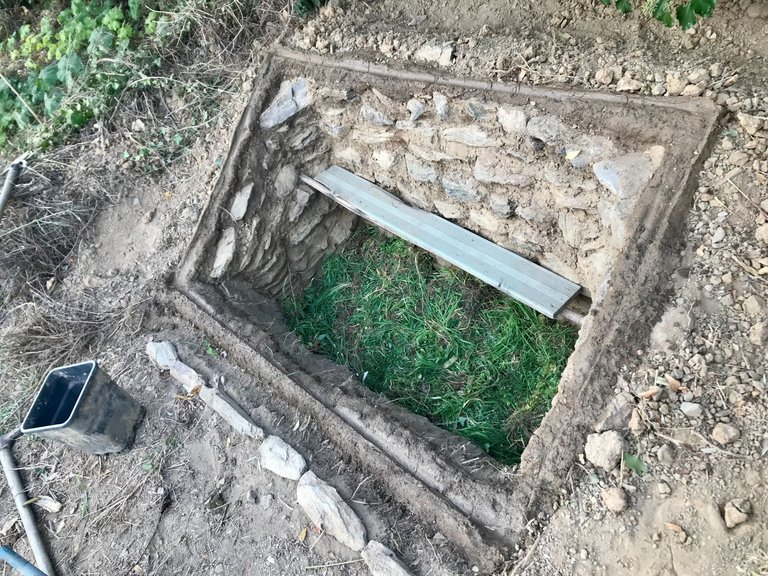
Then grass.
Then brown straw.
Then more green stuff, this time bamboo leaves & weeds.
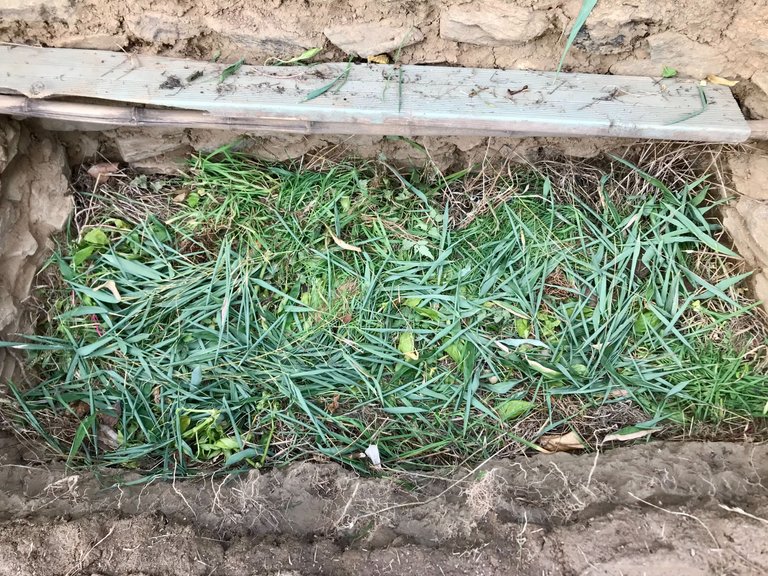
And so on, adding whatever you have along the way!
No more than a few meters away we have these two winter melons, with which I intend to make marmalade.
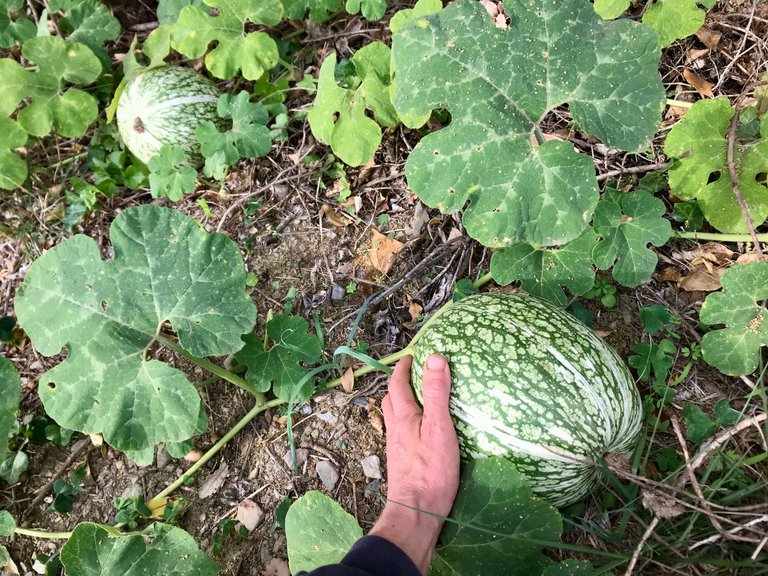
So Sabrina harvested them and I added their vines to the mix.
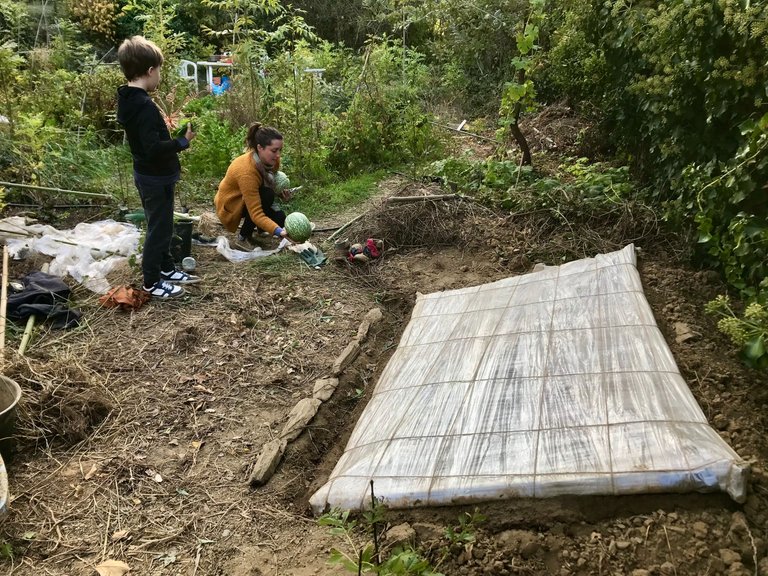
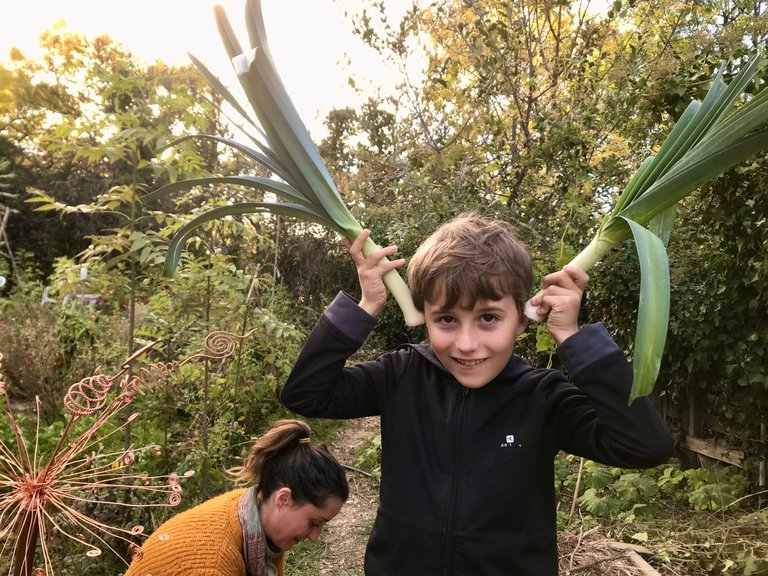
While Esteban harvested these leeks, so I also added their outer leaves.
21st Nov
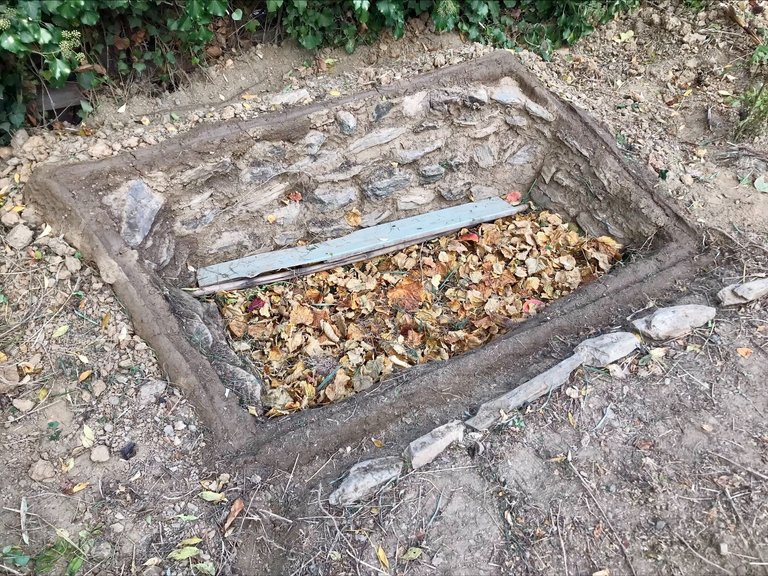
I created around 14 layers in the end alternating between green & brown, compacting it all down with my feet.
For now I just have these plants in here, grapefruit, kumquat and clementine which naturally grow further south from us in Spain so need to be protected in the winter.
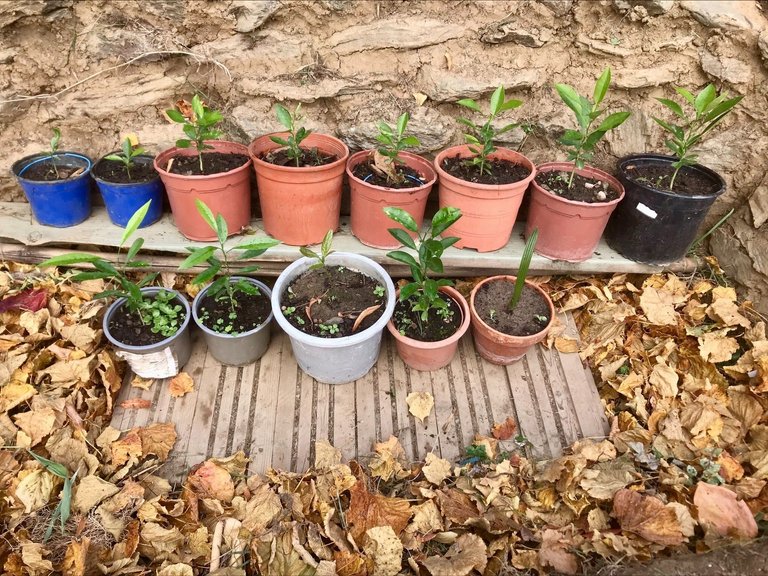
Mostly this will be a great place to start things early next year.
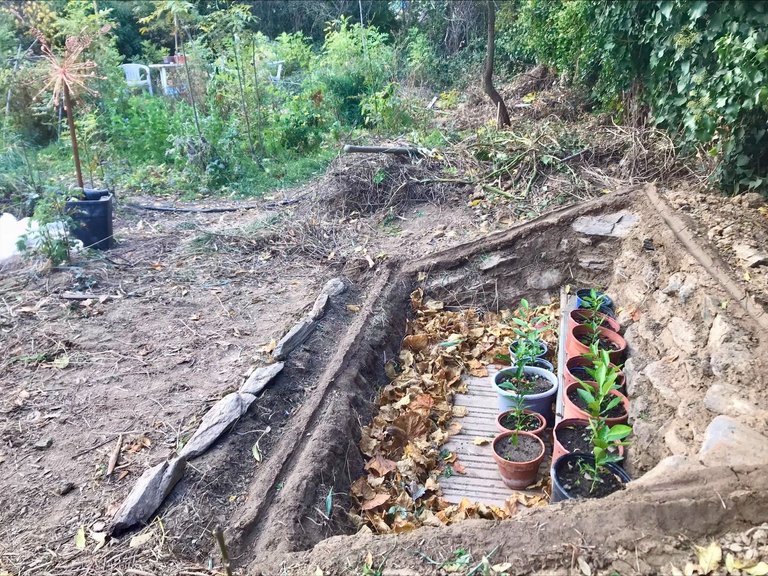
The mud around the edges was solid enough now so the cover was ready to go on.
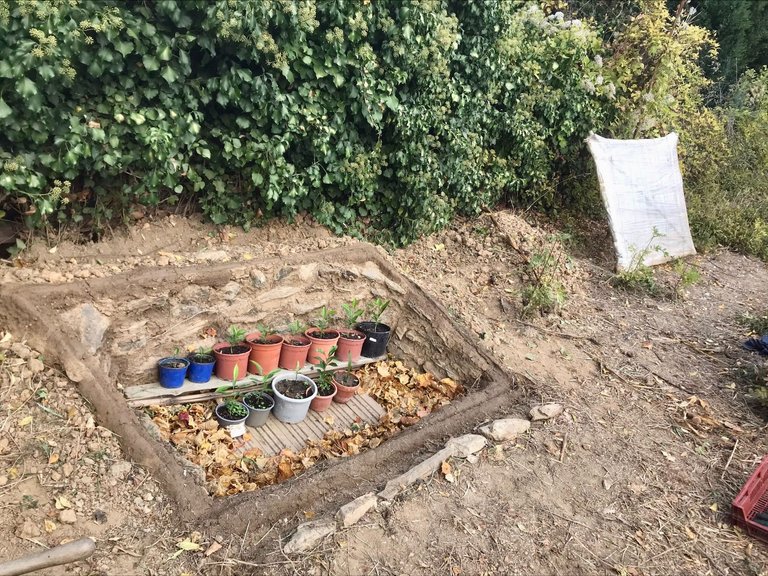
I did a quick test to see if it stands up with some bamboo.
No problem.
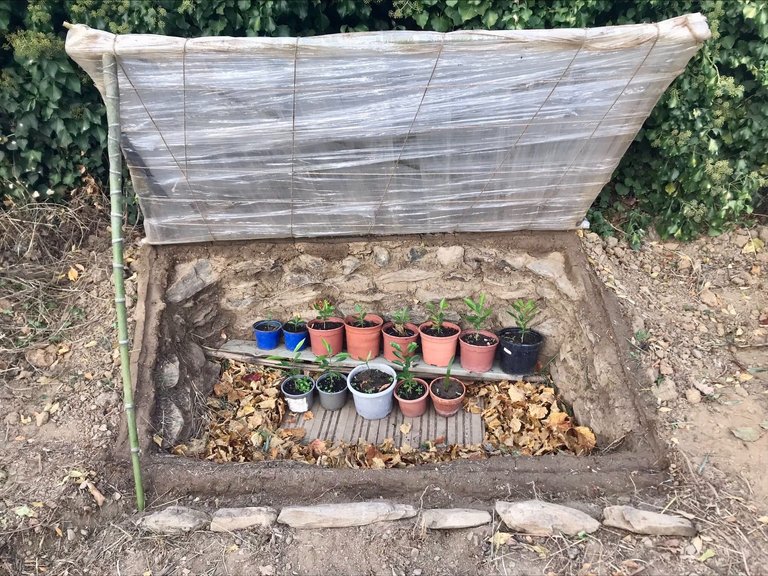
It fits perfectly when closed and I feel sure it is going to be hot in here, true to its name.
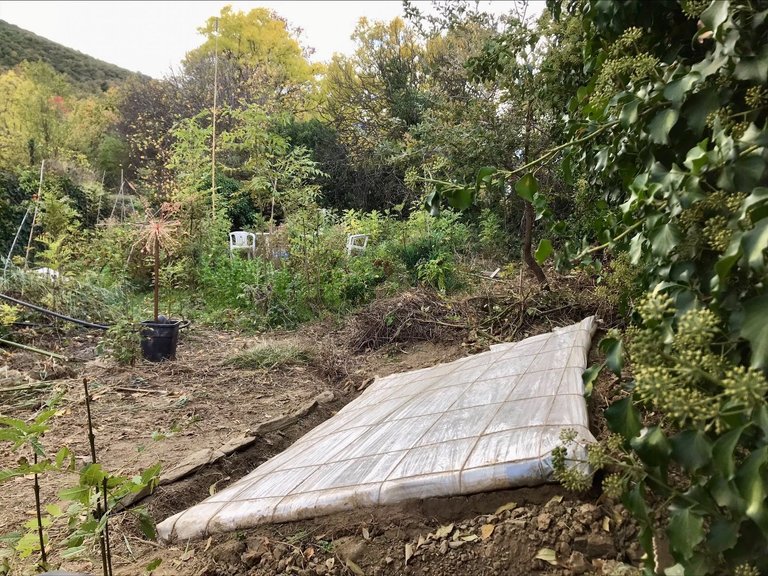
In case we get a lot of rain I dug a drainage channel, leading away from the compost which doesn't need the extra water.
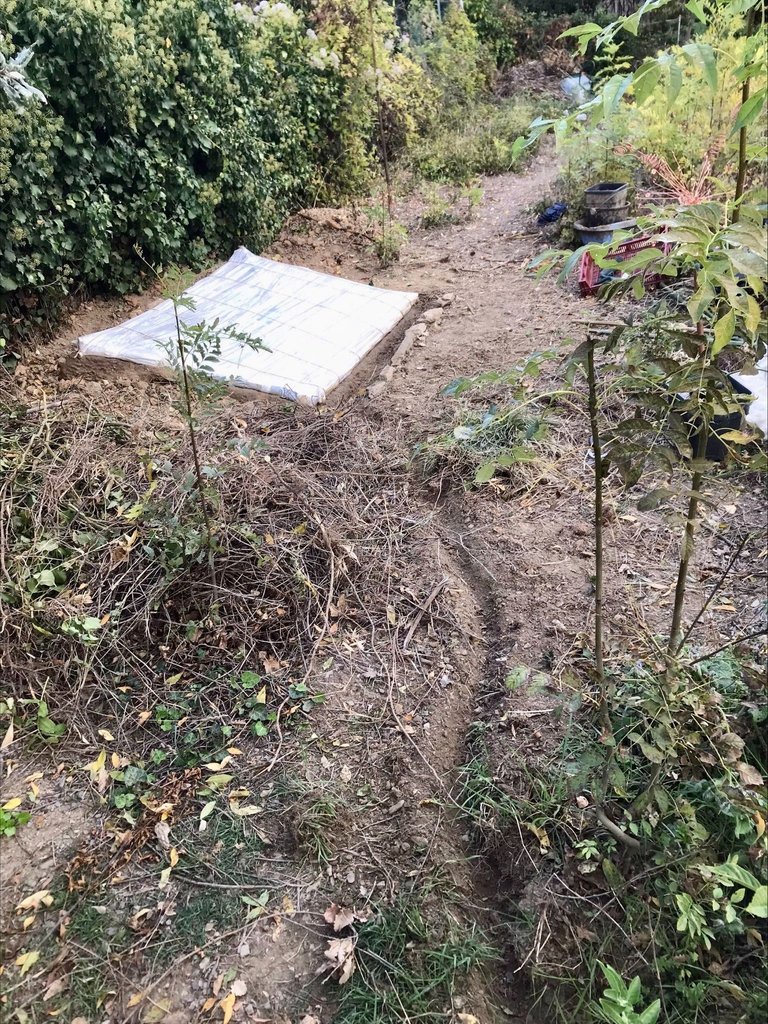
Instead it will water the existing garden.
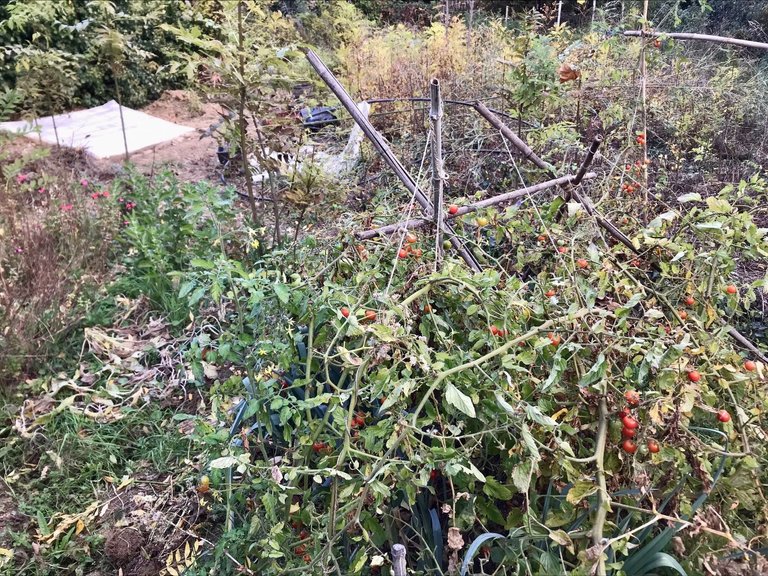
These tomatoes really need to go, giving the leeks beneath some light.
All that remains to be done now is to erect this antenna high above the hot box.
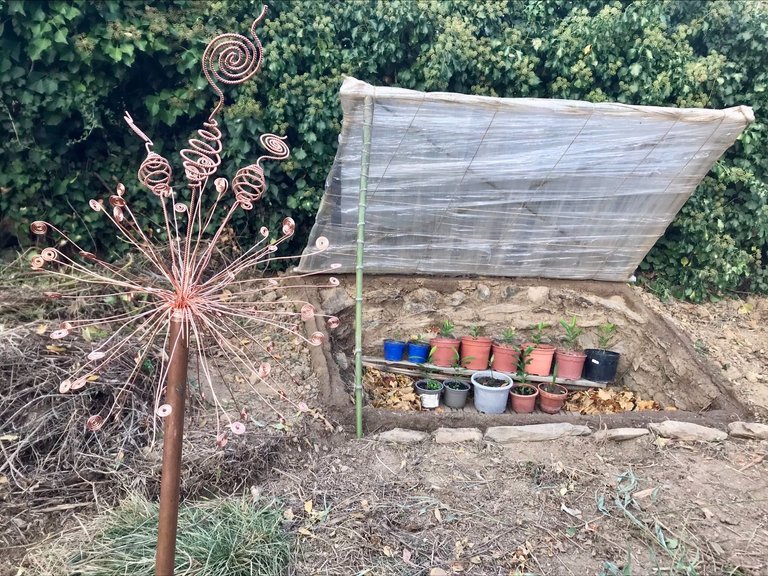
Bit like the other one which is around 7m away.
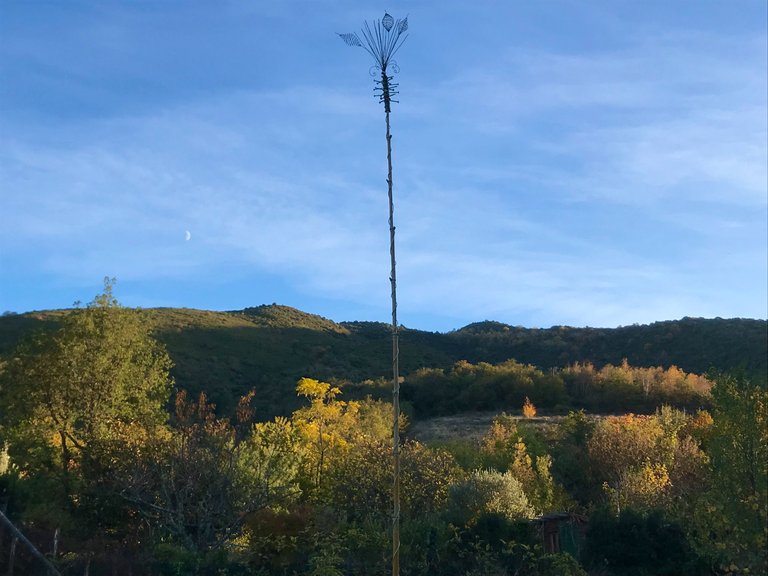
Just as I finished the sky became dark and it started to rain!
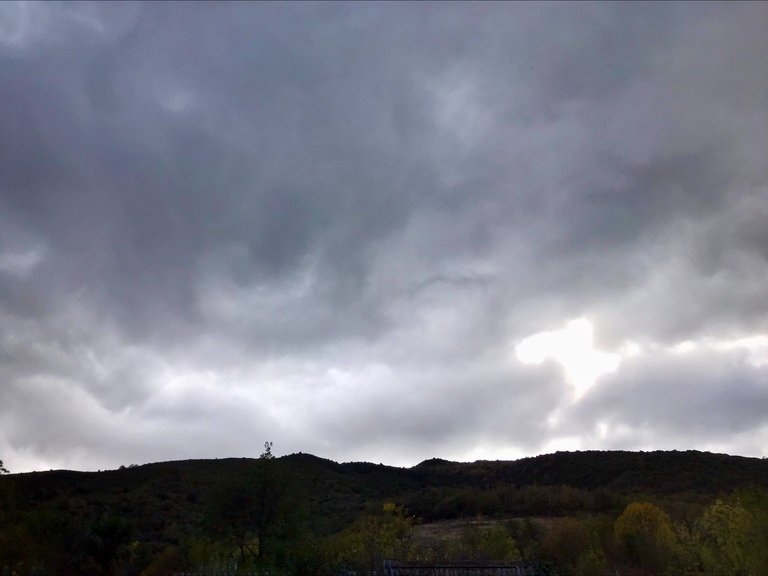
So I attached the lid and left it for the night.
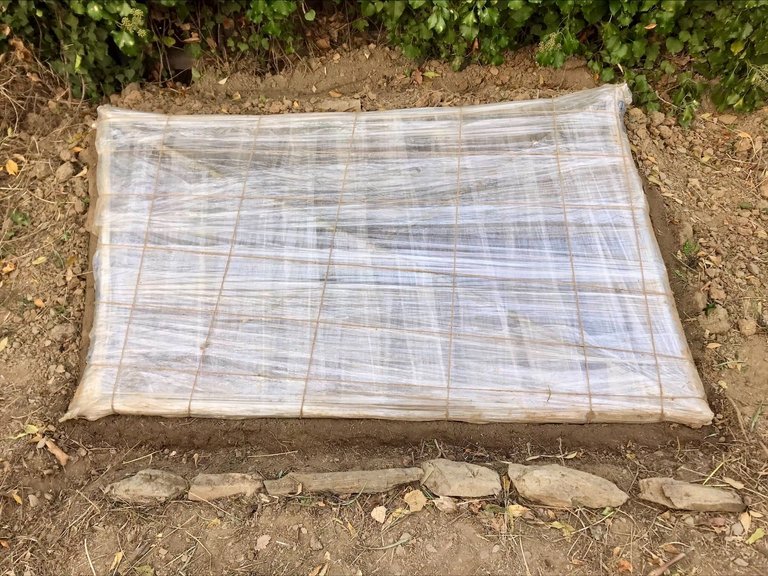
Excited to see how it fares!
Final Thoughts
What I have done here is obviously nothing new. The Victorians would put compost piles inside their greenhouses to generate heat and perfected it to the point where they could grow pineapples & grapes in the cold conditions of the UK.
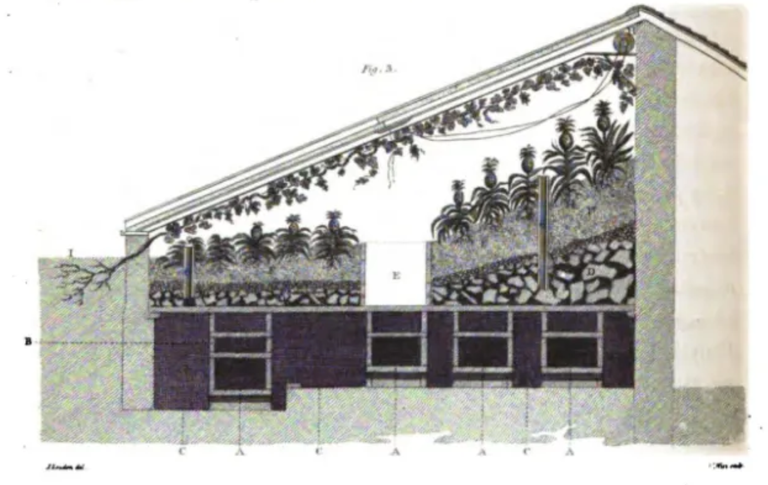
Compost can in the space of a few days generate temperatures of 70°C, potentially for an entire month before it must be changed and needless to say we understood and utilised these simple principles for our benefit in the past.
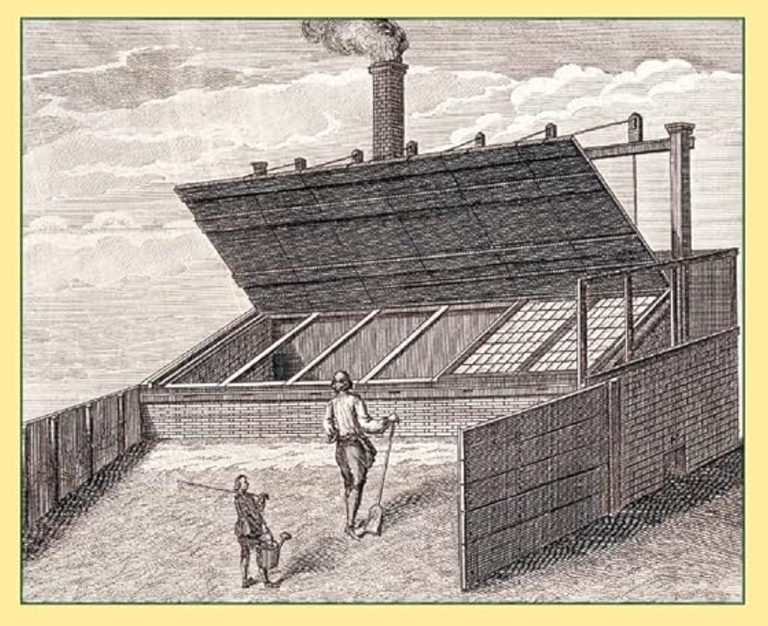
So I take no credit at all for the idea but I will say that not too many people seem to remember these simple systems today.
It occurred to me that a person could even sleep in my hot box. Free heat all winter long! Probably a bit smelly in there though. Will let you know when I sleep in it...
A local friend told me he was able heat his caravan last winter with horse manure and copper pipe. Without making his caravan stink! Plus he says that horse manure lasts 5 weeks before the heat dies out. Which is a decent period.
It seems to me the potential for this idea goes way beyond the garden and a world in which homes are heated this way must surely be on the horizon?
Sungazing
Beyond all the physical stuff I have been sungazing next to my hot box every morning for the last two weeks, thanks to simply being outside at this time of day.
It doesn't come up till 9.30am at this time of year (there is a mountain in the way) but I still enjoy waiting patiently for it to arrive and I especially enjoy the moment it first cracks over the mountain. There is a wave of magic energy in this moment which seems to create a pattern of rainbow rays oscillating out and around the orb of the sun itself.
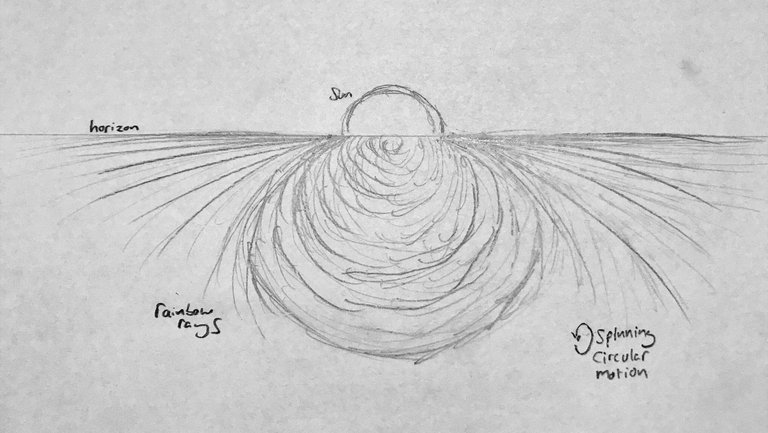
Have noticed these before but never been quite so taken by them. I will therefore be making a painting this winter which reflects what I can see in these few brief minutes before the patten disappears.
I am reading a great book by Viktor Schauberger at the moment.
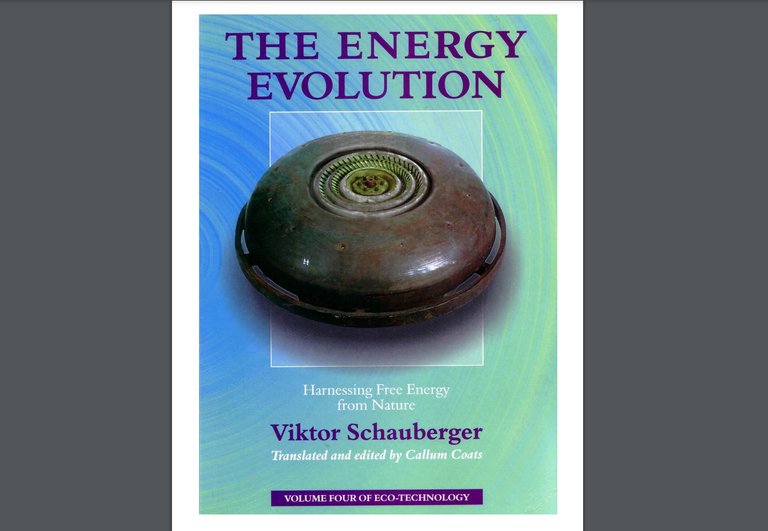
Promise to post in the @survival-archive account when I get a chance!
I came across this image in the book yesterday and was immediately struck by the shape on the right as being the exact shape I am seeing around the sun.
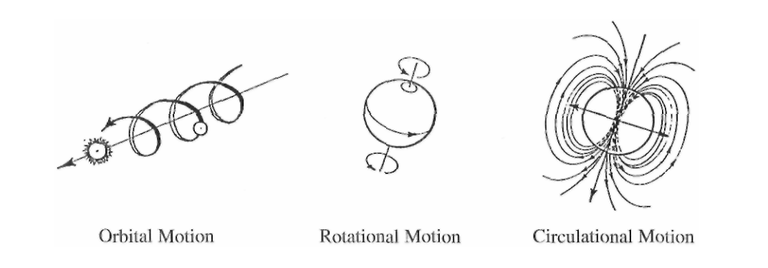
But I can only see the half which has the darkness of the mountain behind it.
Not much different to a bar magnet.
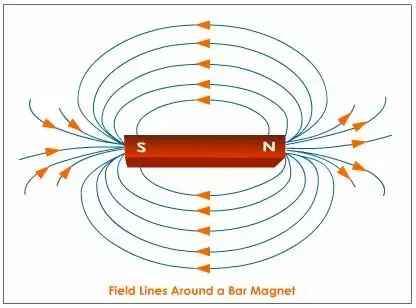
This shape feels extremely important to me and I believe I have been shown it for a reason.
Looking forward to investigating the idea with a painting...
Love & Light everyone 🌱
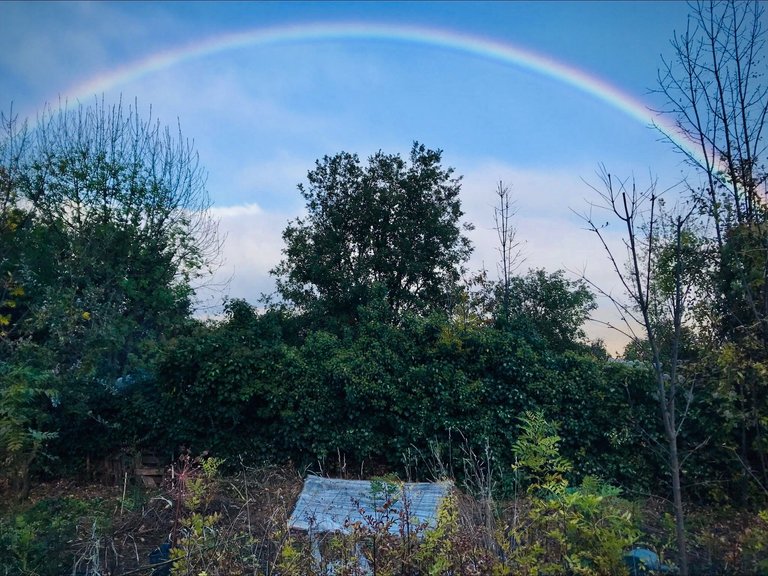
This is what I was greeted with today when I went to check on it 👆
