Hello hive folks,
Always inspired to join an amazing challenge in aseanhive which created by the admin and friend @justinparke, entitled "Reduce, Reuse, Recycle" of things that for garbage but turns into something unique and usable, what really a brilliant idea of this man.
And as doing my part, which I had a little bit talent in arts. Sharing my creativity and knowledge in art which gives also inspiration most to all who have little children in the house.
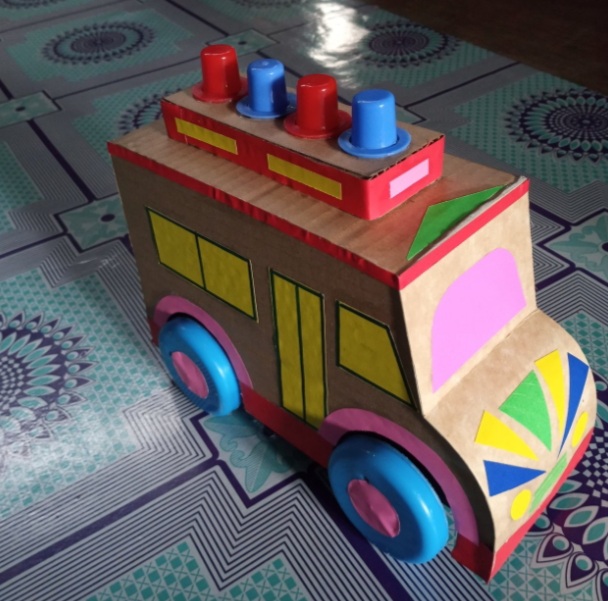
So since my eldest daughter had a project in school with regards to an artwork using with some trash things that to be found in the house. And what in mind, I tried to make a toy car using a carton boxes and had a balloon inside inorder to run. Which a coincidence that I've read a post pertaining to a trash things, so incidentally I am going to featured my artwork, my "Recycled Toy Car" which originally and proudly made by my hand.
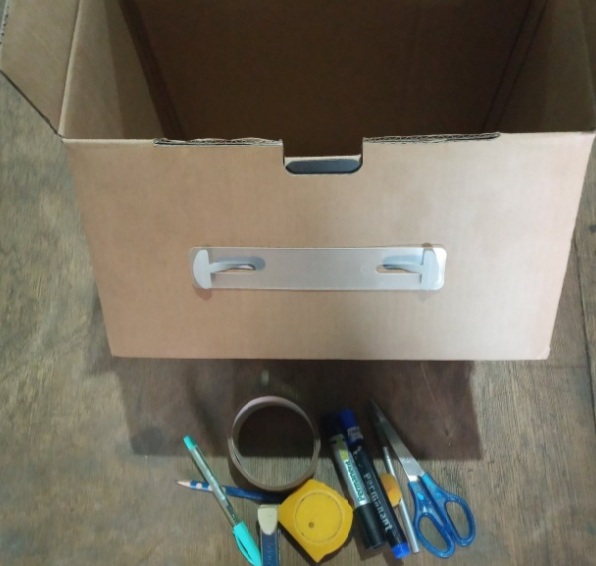
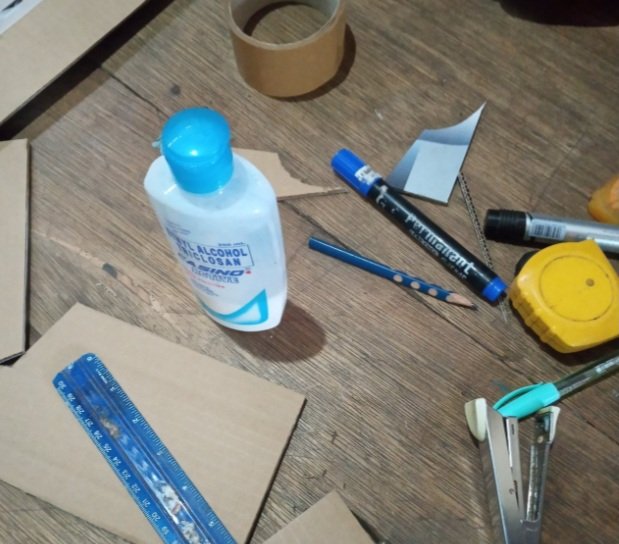
Started sharing with the tools and materials that I have used, which it include the very common things that can be seen in the house. Thus, this are what I have needed inorder to make this toy car;
• a trash carton box
• a butane safety cap
• an aluminum tube
• a water bottle cap
• a measuring tool
• a colored paper
• a bamboo stick
• a plastic straw
• a balloon
• a scissor
• a pencil
• a cutter
• a ruler
• a glue
And my procedures:
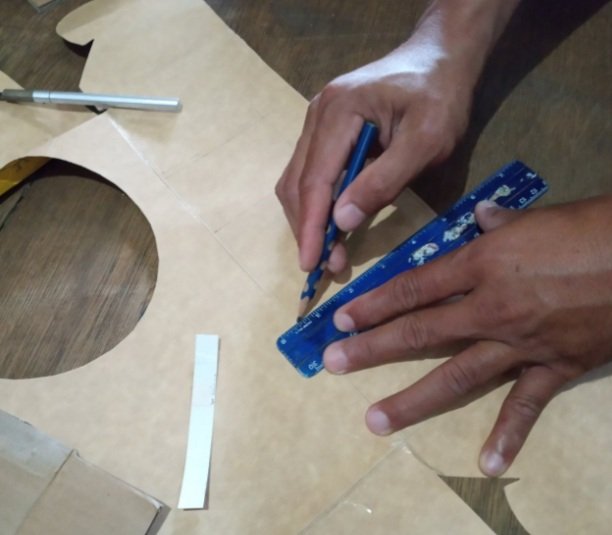
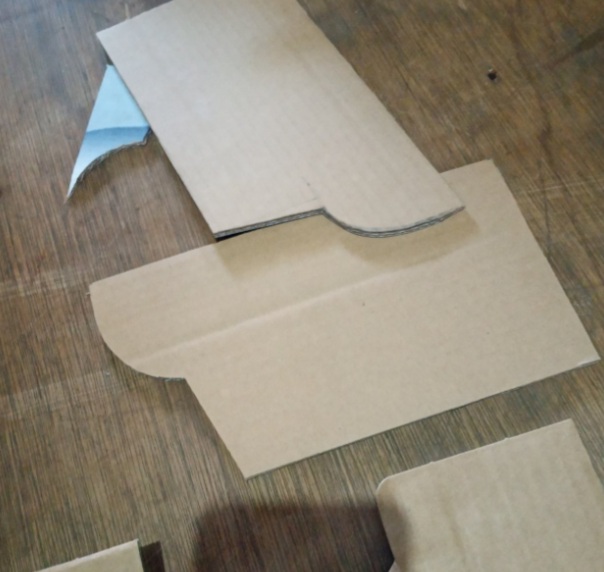
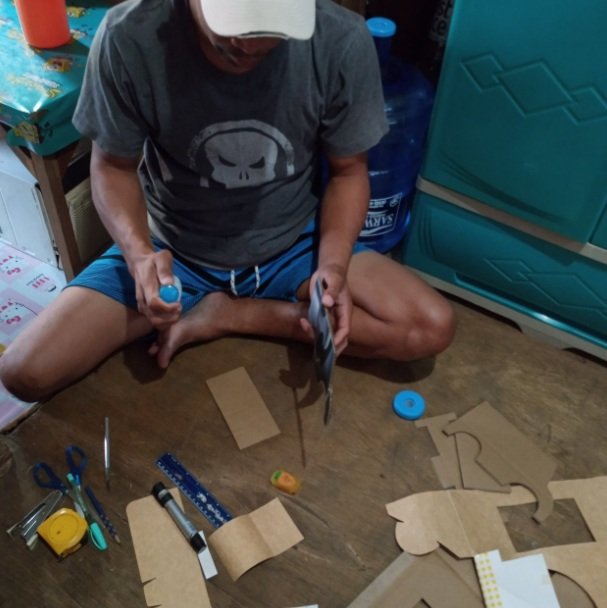
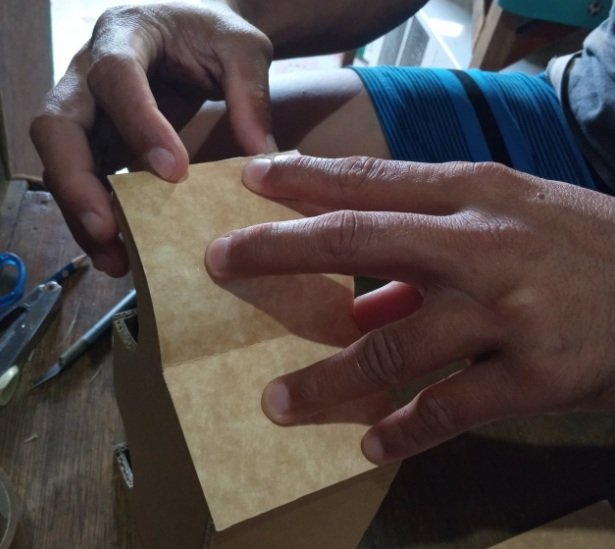
Step 1:
Lay-out a toy car shape into a carton box, from the body to the chasis and cut it using a sharp cutter.

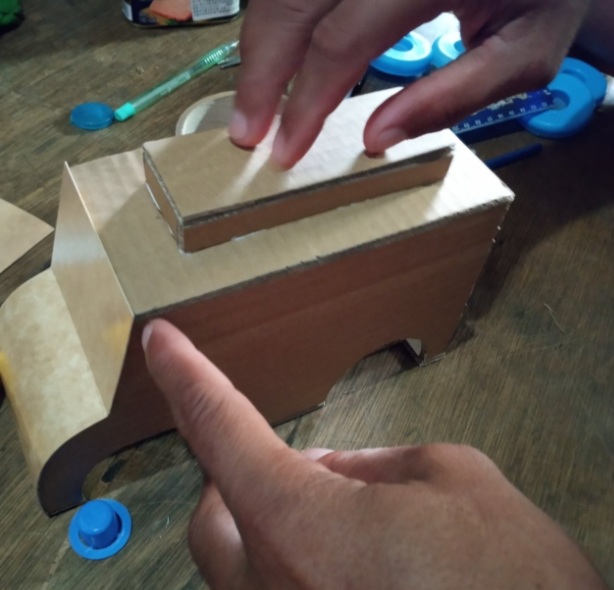
Step 2:
Assembled it sides, top and bottom using a glue inorder to make stronger.
Step 3:
Assemble the balloon inserted with a plastic straw. Trap it properly inorder that the baloon air will not get outside.
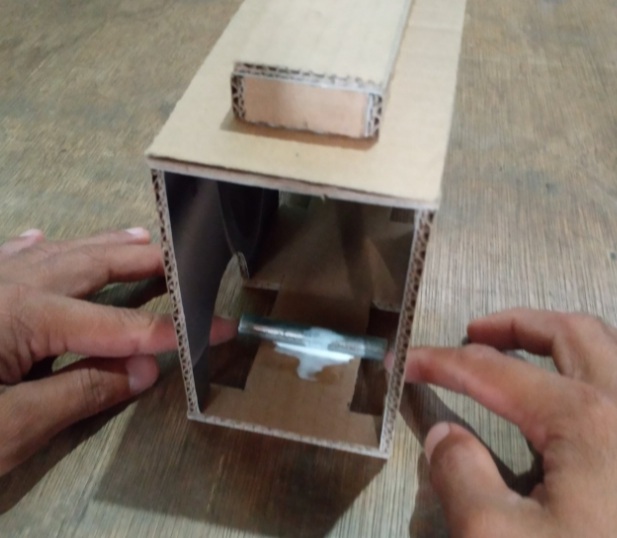
Step 4:
Install the water bottle caps, to serve as the tire connected to the bamboo stick and into the aluminum tube, as chasis.

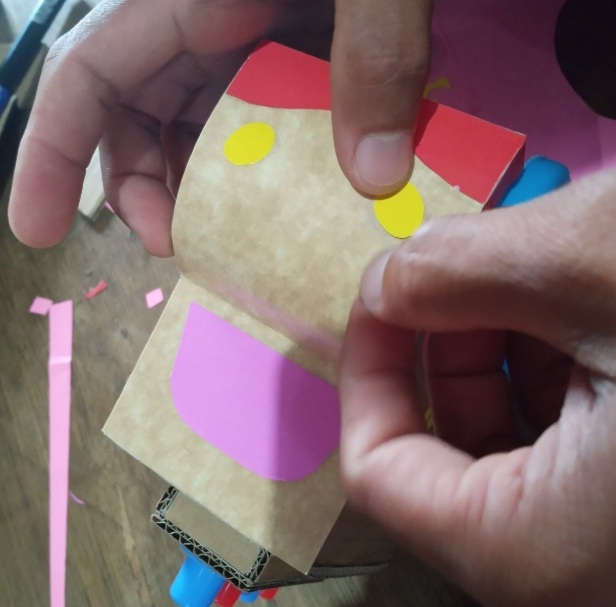
Step 5:
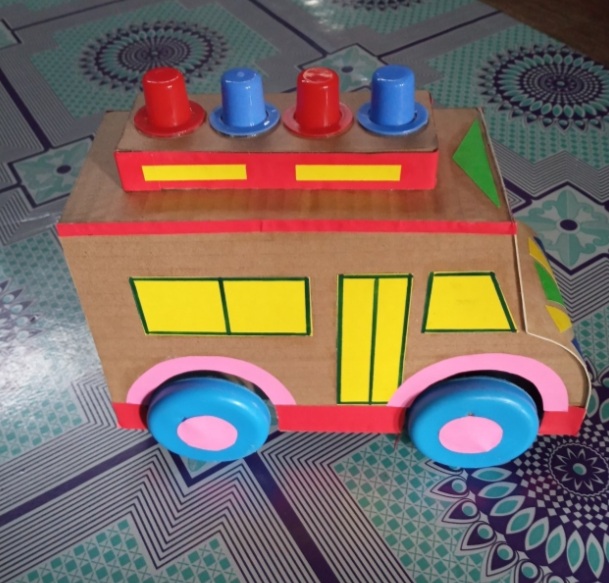
Draw and cut a shape for the headlights using the colored papers inorder to makes it colorful.
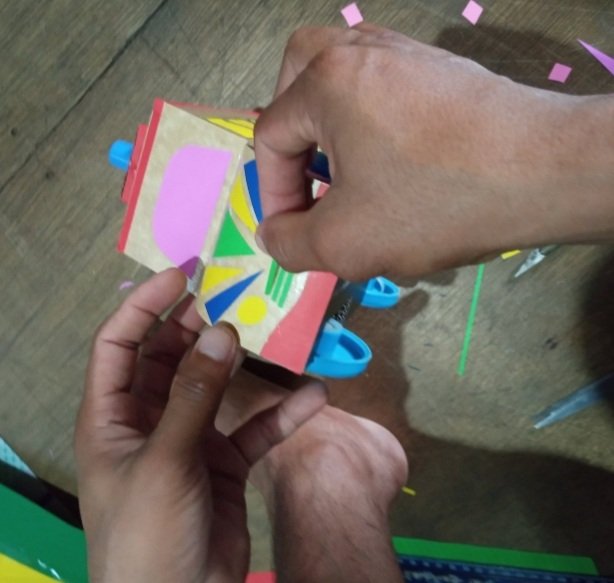
Step 6:
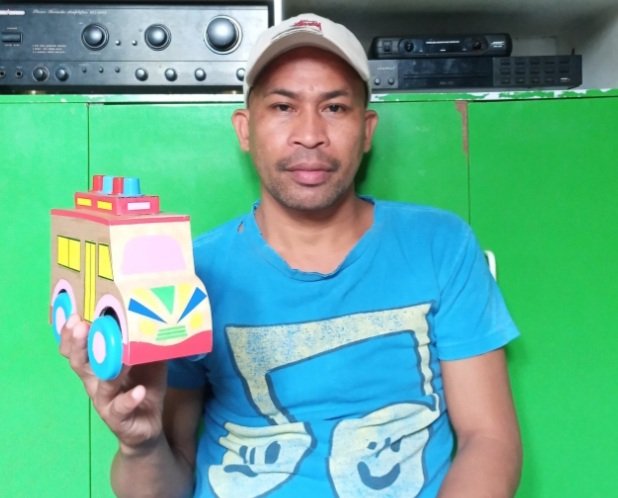
Finish with my artwork, which is ready for submission for school.
So, this is my entry and hopes it will count because I'm really running- out of time for the school project deadline.
Best regards,
Natz04 ✏