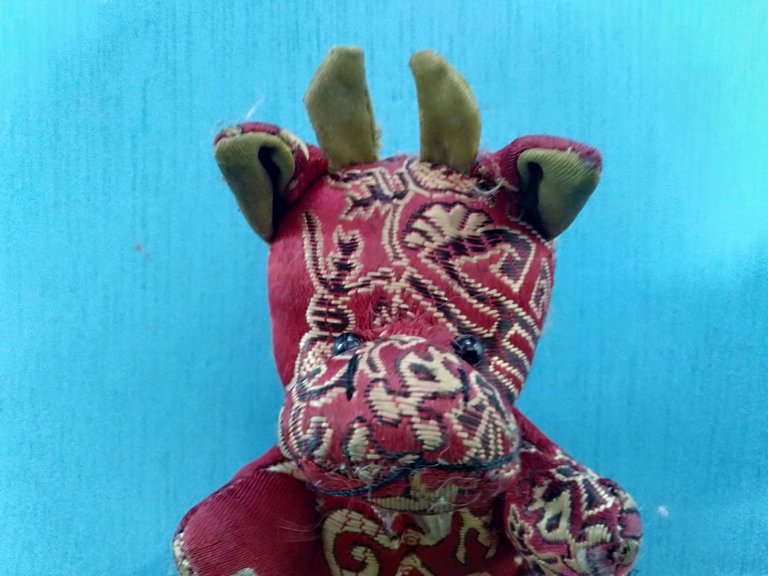
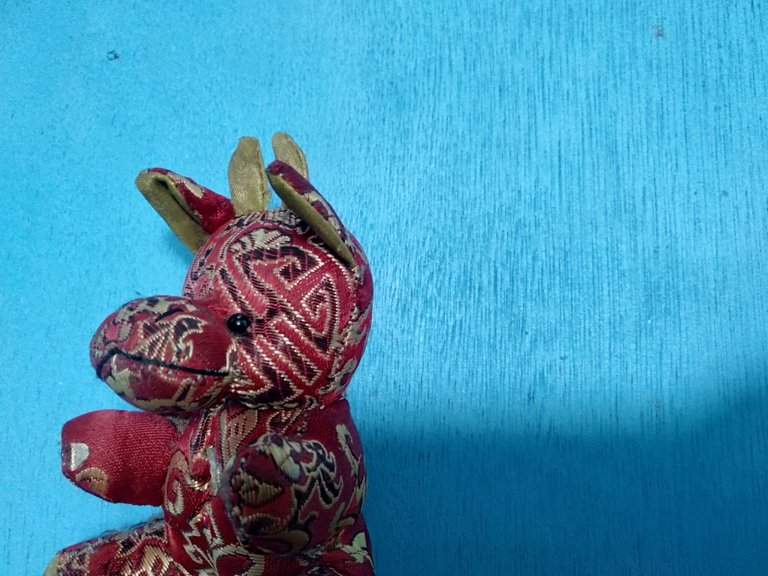
Having cool toys with different designs and colors is surely a wonderful experience for kids. But having a toy that you crafted yourself is much more precious, especially if you put a lot of effort into making it. What more is when you also craft it together with your siblings or maybe with friends or maybe your crush, lol? ╮(^▽^)╭.
I think I already mentioned this on some of my blogs. You see, when I was just a 4-year-old kid, Mommy Merly made me enter kindergarten school. It's not in this school, but it is somewhere in Mommy Merly's home, not that far away from our current home. Mommy Merly, by the way, is my mommy Flor's first partner. So anyway, I am attending that school as a Salimpusa because I am still too young to really enter school, they just let me, maybe so I can observe or learn a thing or two.
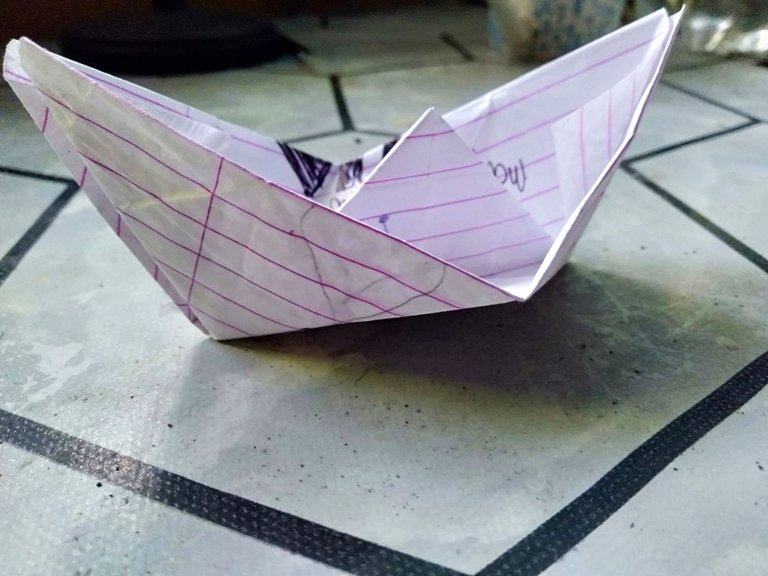
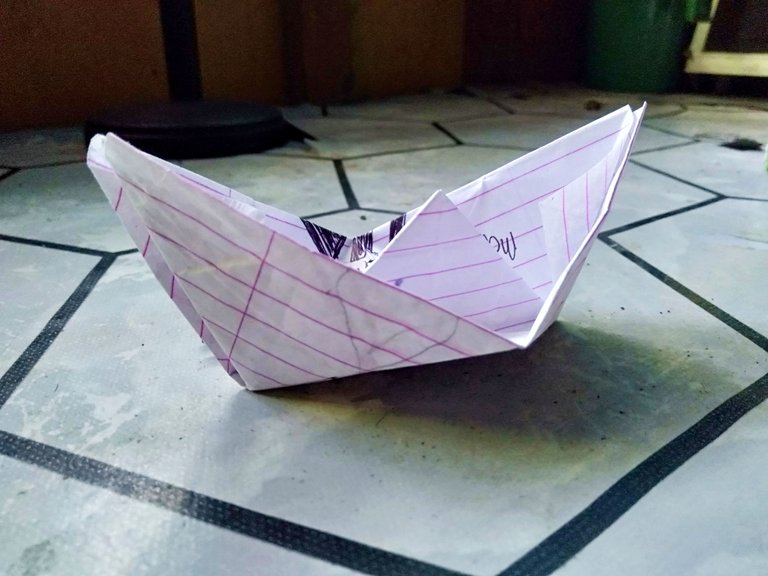
But not long after that, Mommy made me stop attending that school because she heard from my teacher that I don't really listen to my teacher. And that I am too busy folding papers and so distracted to give them attention. I mean, what can they expect from a four-year-old me? Lol. I still crave games or play time during that time (≧▽≦).
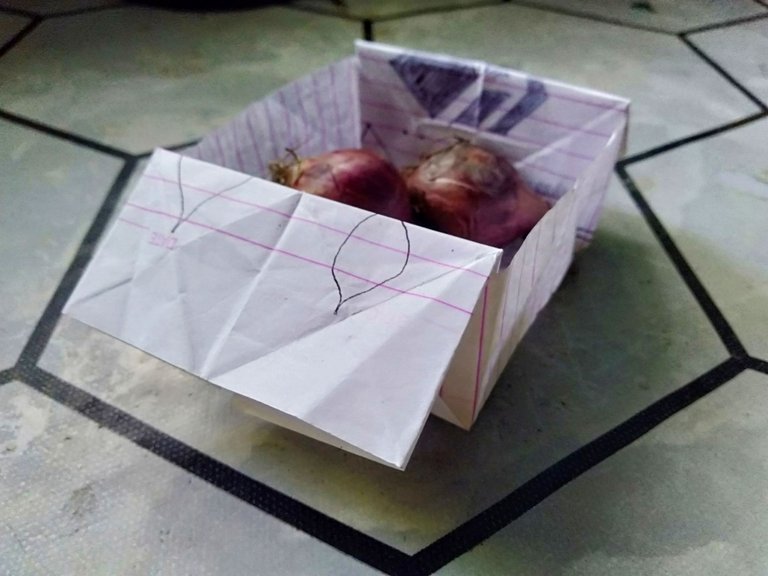
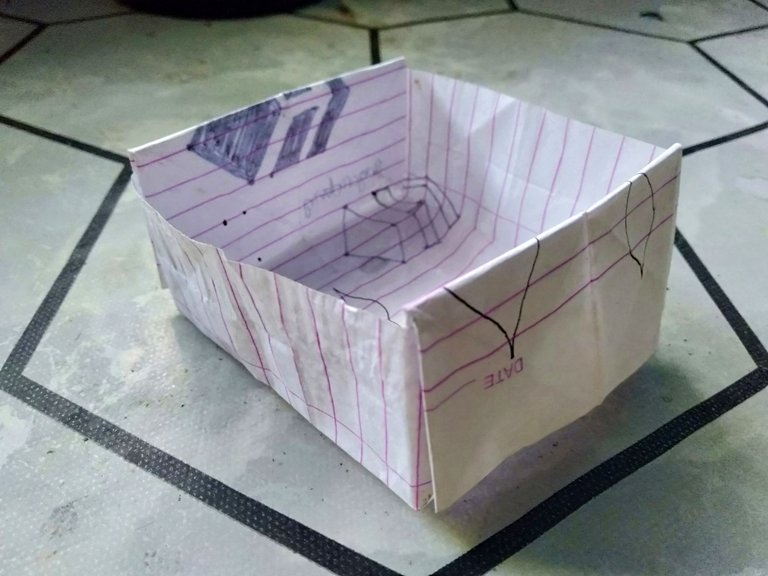
Why do they want me to study that early? I think Mom wants to make me a genius? Or maybe not, lol. So thanks to that, Mom gave me a whole year to just play and play (≧▽≦). I remember her saying, "Now, enjoy folding paper for a year!" She's kind of mad during that time, lol. Isn't that a fun childhood memory (≧▽≦), but scary on my part? I just learned about it because they told me this story before (≧▽≦).
Anyway, let's talk about paper craft toys. There is this one paper craft toy that I can't forget because I had a lot of exciting and fun memories with it with my friends and siblings. This is the kind of play time that you will need to make the craft paper toy from scratch. It's really easy to make, scratch paper is all we need to make it, and doing it is fun and exciting as we are all competitive on how fast we can make it. Then, after that, the fun will finally begin.
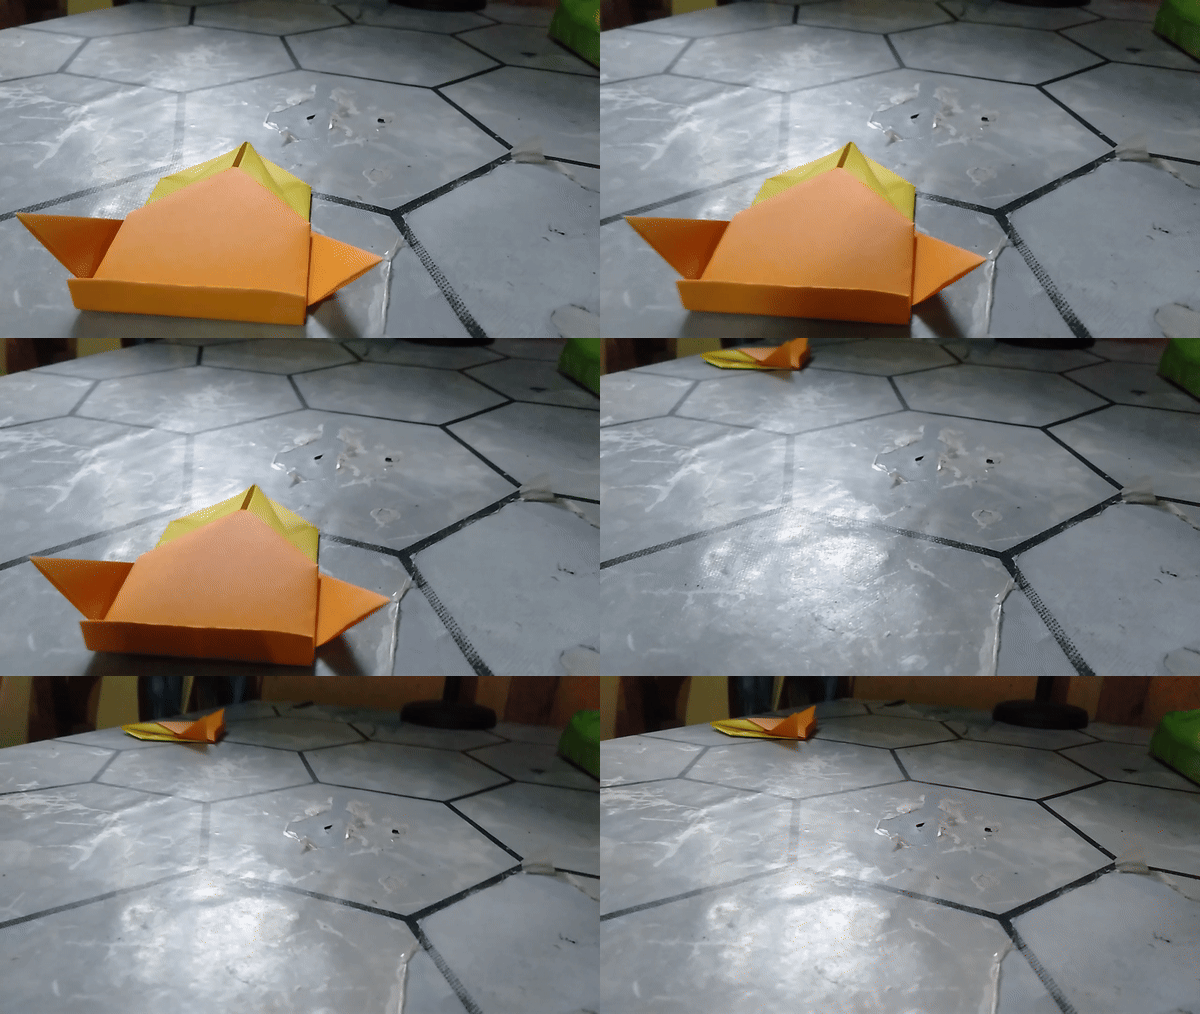
Playing it is actually so simple, they don't require much but air, lol. And where's that air going to come from? We have to blow it with our mouths so that we can make our paper craft toy move. Just be sure to brush your teeth so that it won't be too embarrassing if the other kids smell something rotten. It's easy and simple, but it's a fun kind of game. We play this, especially at school during breaks. To be honest, it's the kind of game that boys often play. You can rarely see a little girl doing this. But I loved this game before, so it doesn't matter who I played it with. It's the fun in which I'm more interested.
I will now share the step-by-step process of making a paper craft toy. Sorry, I just forgot what we called it during those times, but let's just call it a paper toy.
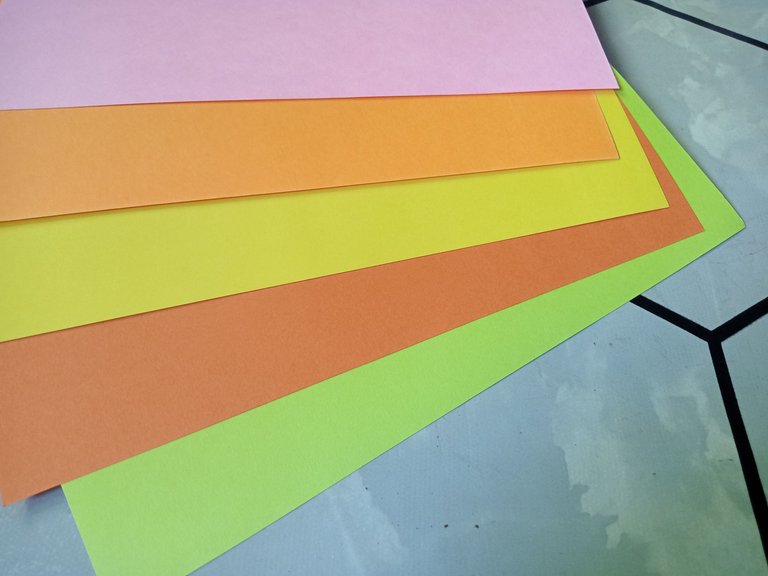
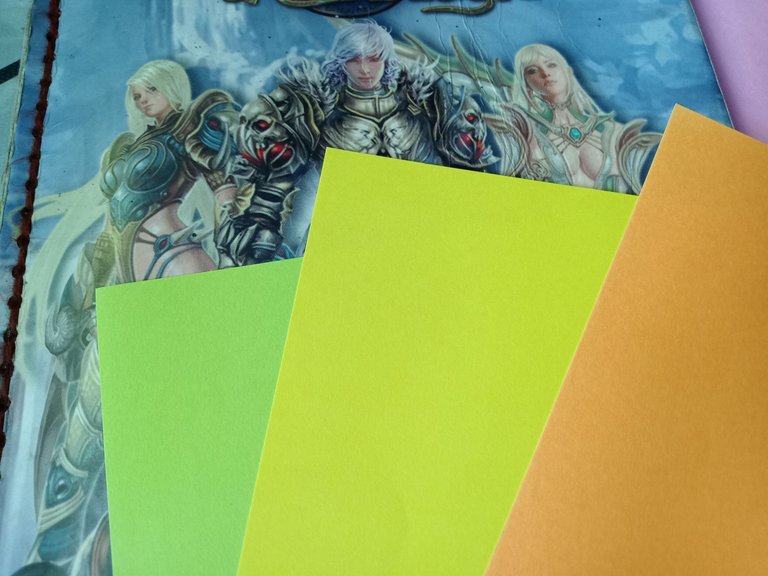
If you want yours simple, then use white paper. You can just skip this if you want. But if you like a colorful toy, then you can just follow this. We'll need three-colored paper here. Use whatever color you desire, your favorite or anything else.
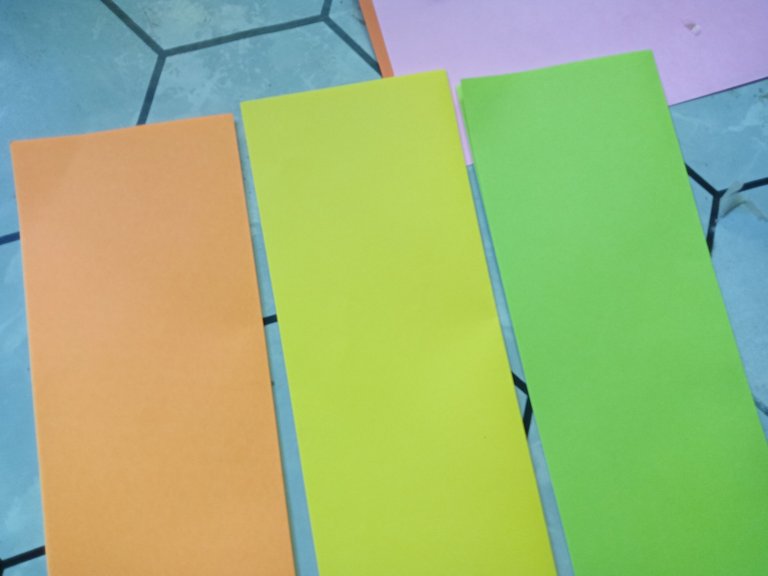
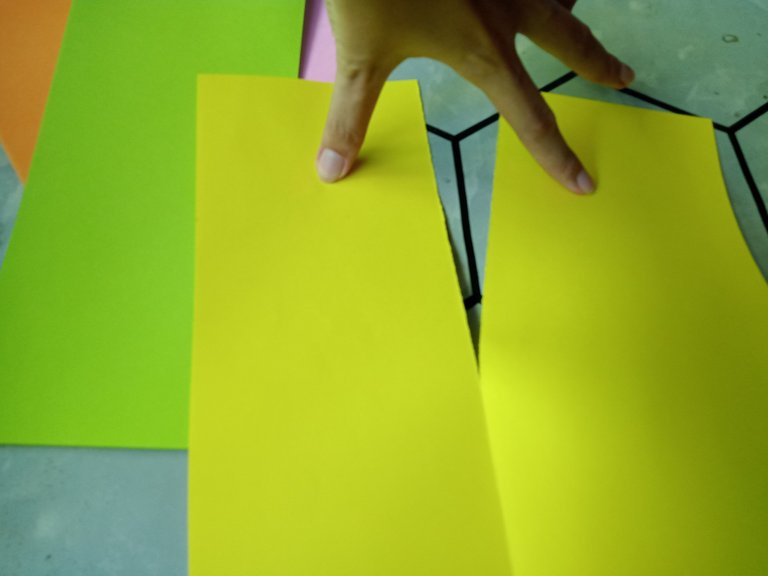
This colored paper is wide, so we need to cut it in half. We'll need something long but short in width, just like this. Cut it using your scissors or saliva (≧▽≦), as long as you can cut it in half, you are doing great.
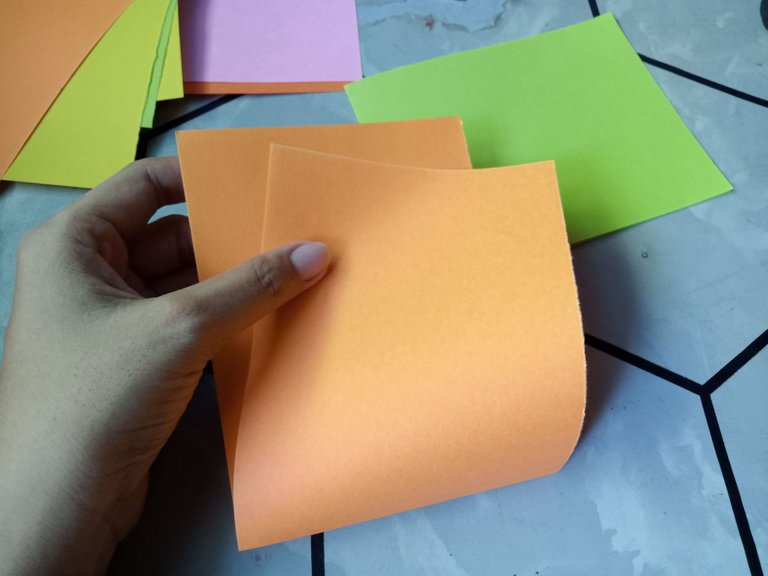
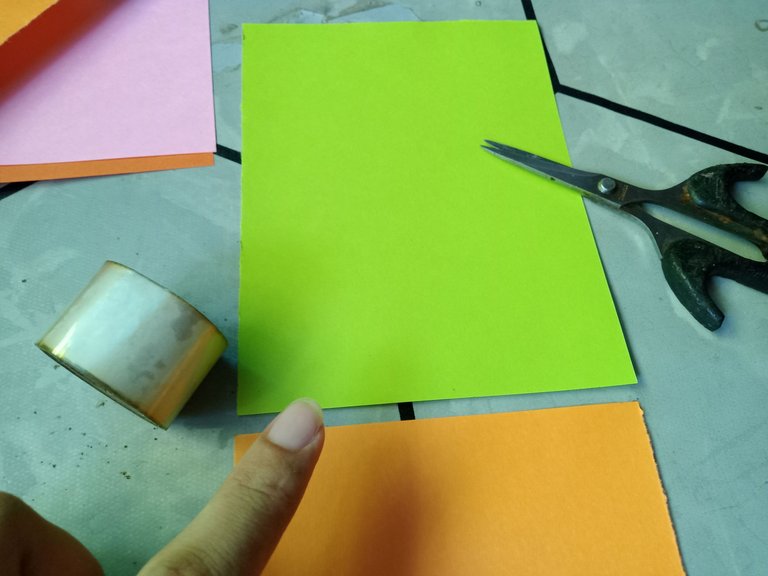
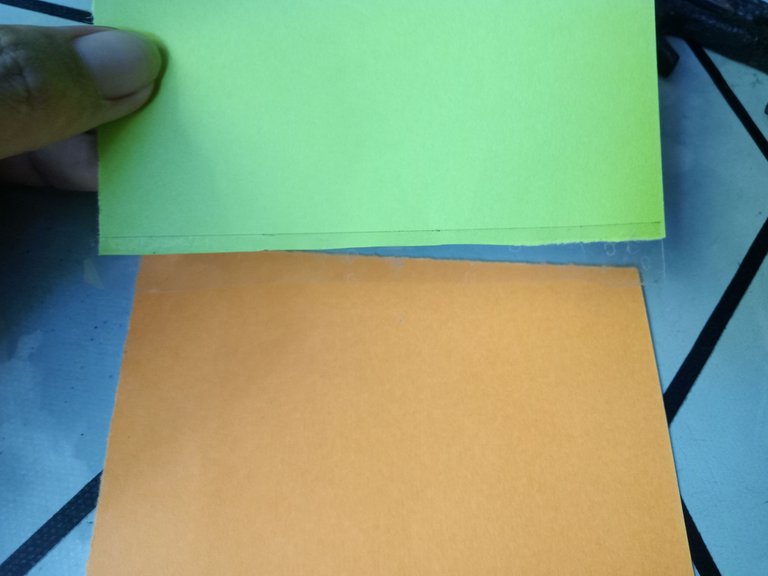
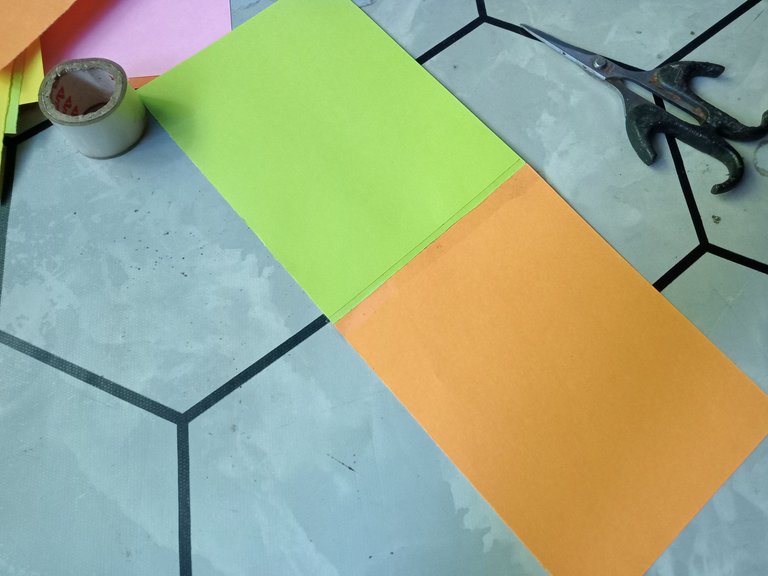
We finally have our long paper, but we have to cut it into two again to attach the other color to it. You know, to make it more creative and colorful is lovely, right? In attaching the other half, you can just use scotch tape, preferably the transparent one, or if you want, you can also use other colors. If tape is not available, then use paste to see if it'll work or some leftover rice, as long as it will stick to it ⟵(๑¯◡¯๑).
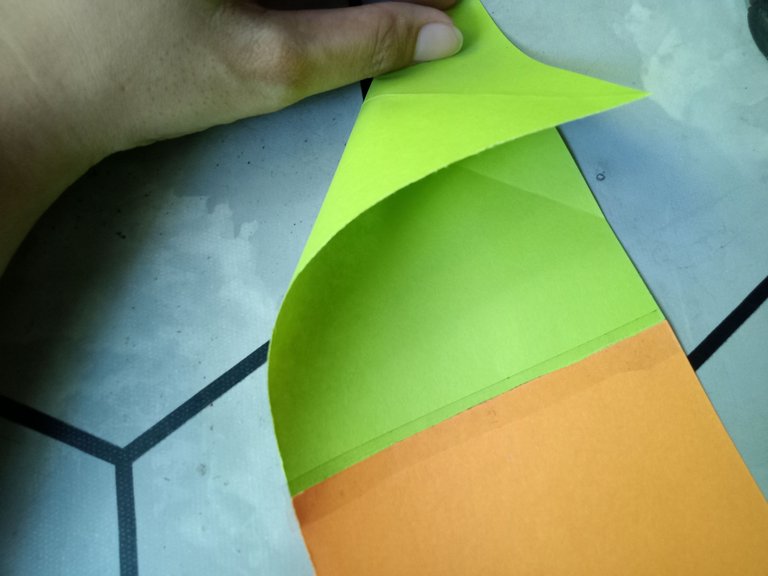
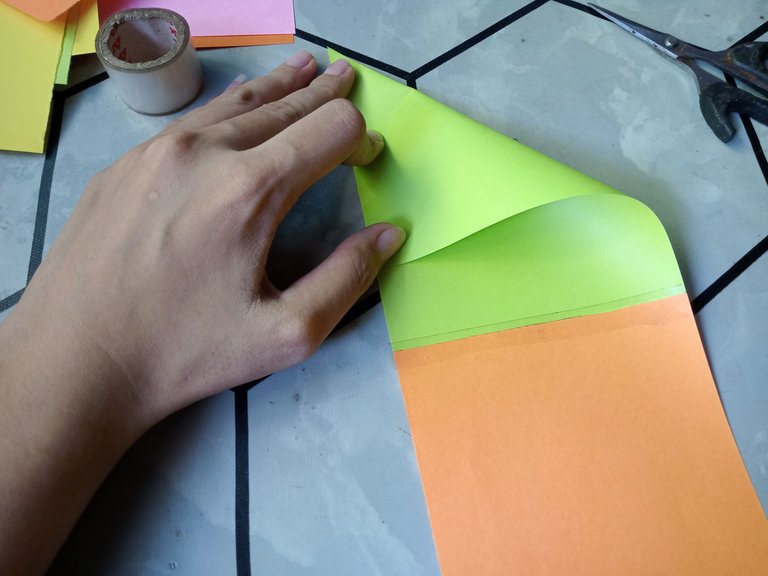
We'll now proceed to the first step in making the craft paper toy. If you have bond paper or scratch paper, then you can start here. Fold each side just like this and that.
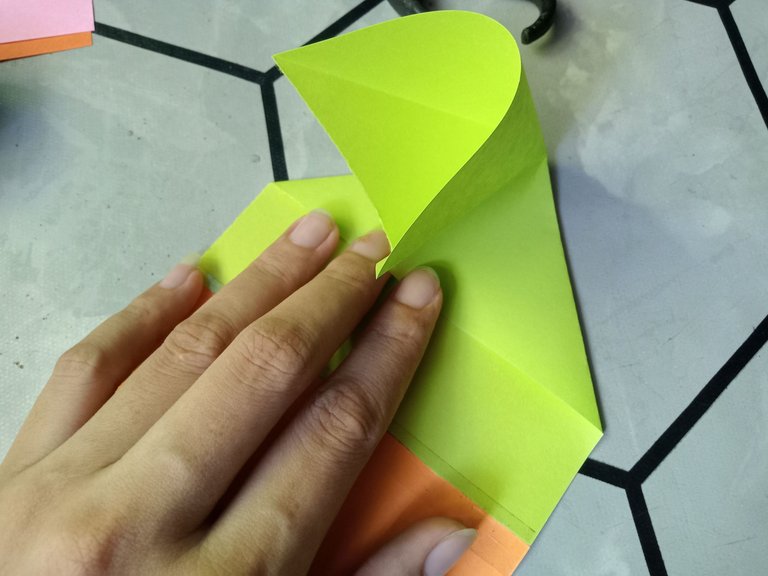
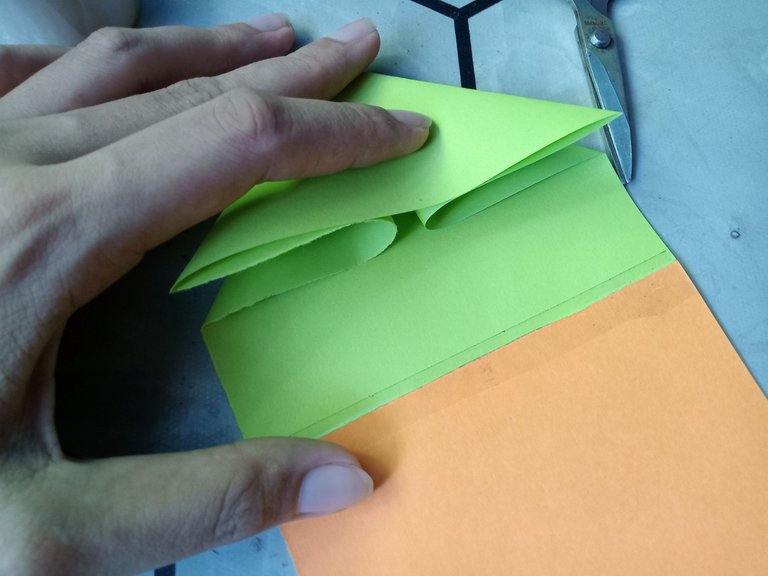
What we did in the first step is important for you to be able to easily do this. We have to make it like this on both sides. I'm sure you can just follow it.
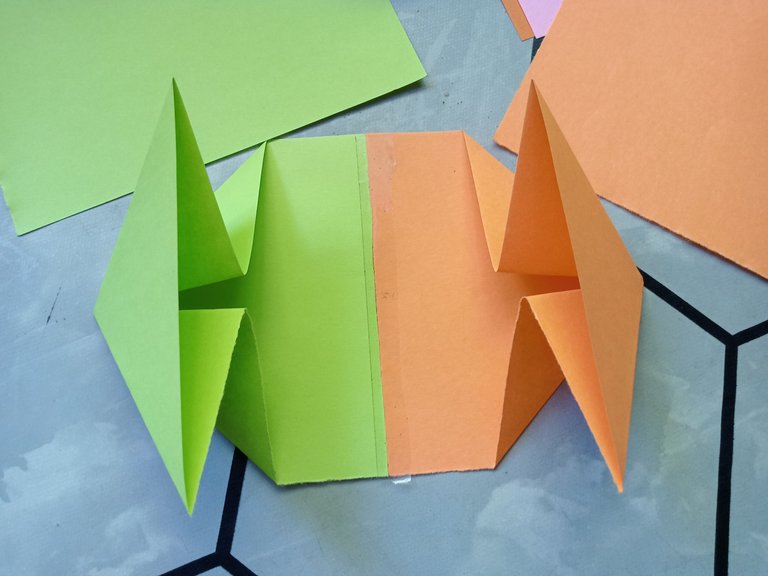
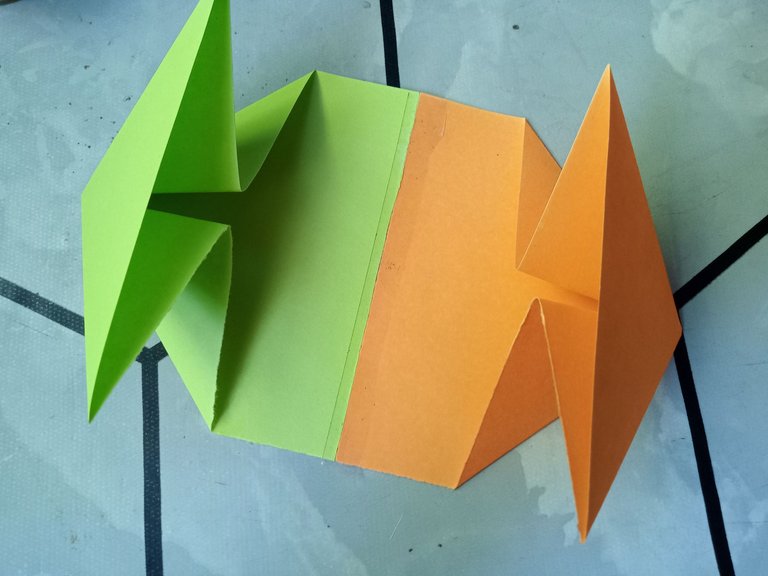
They should look like this after folding both sides. Like an arrow on both sides, pointing each side. Are you still following?.
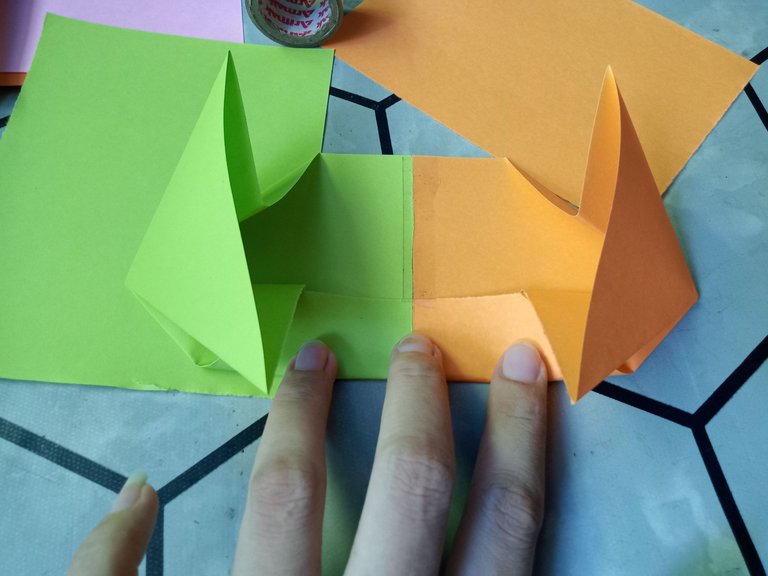
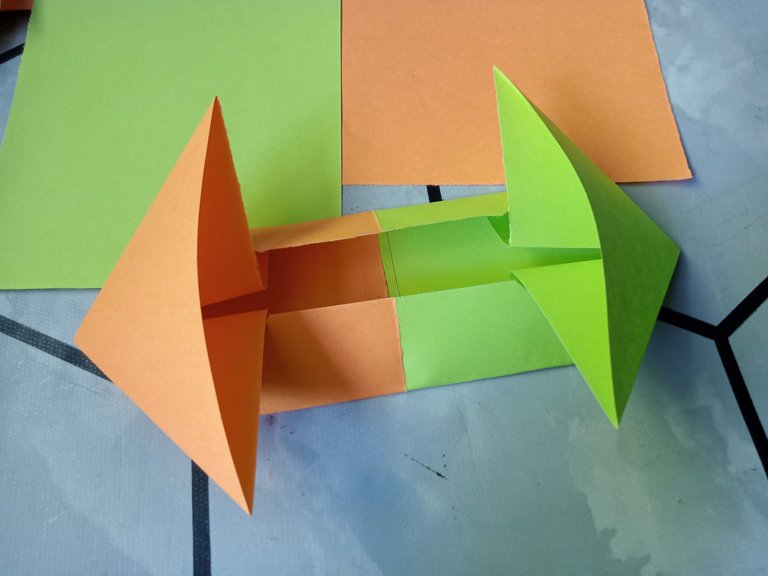
Now, we have another folding to do to make it slimmer this time. Just do this and fold it like that. Now they should look like a thin arrow, lol.
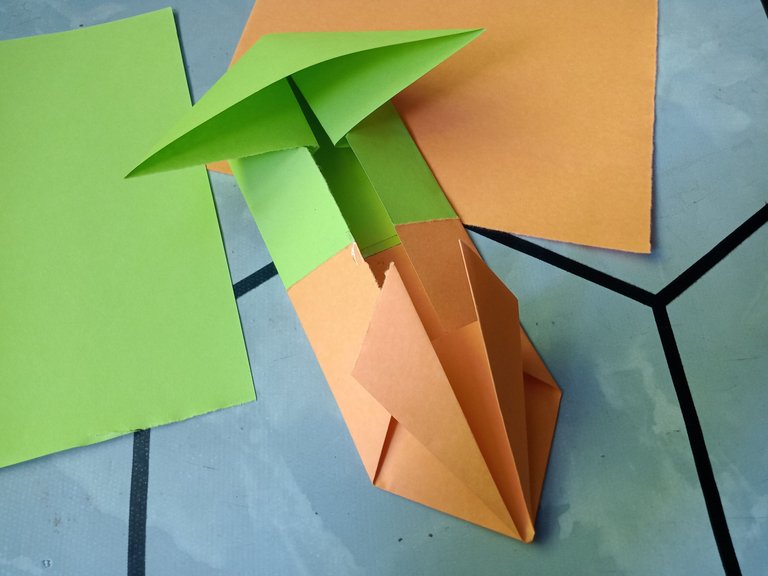
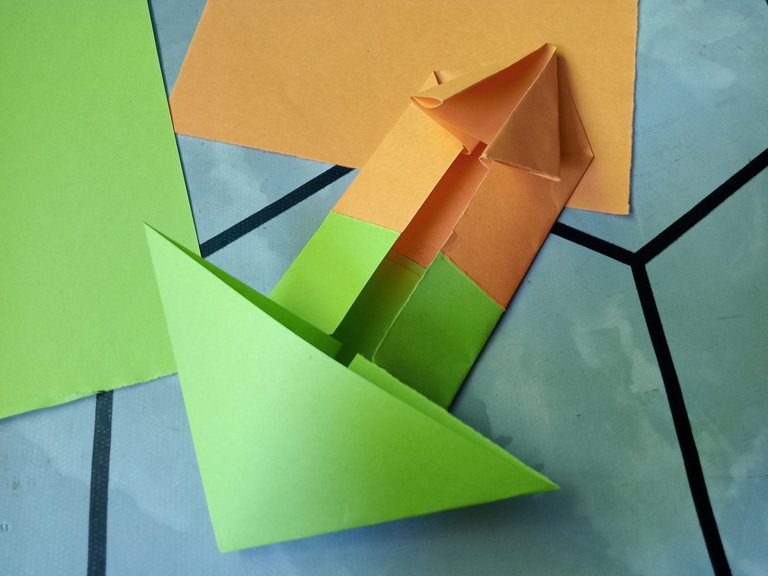
Next is this, we'll fold it like this, but we'll only do this here while we leave the other like that. That's where we will insert the tip of this that we folded here to make it look like a real toy now.
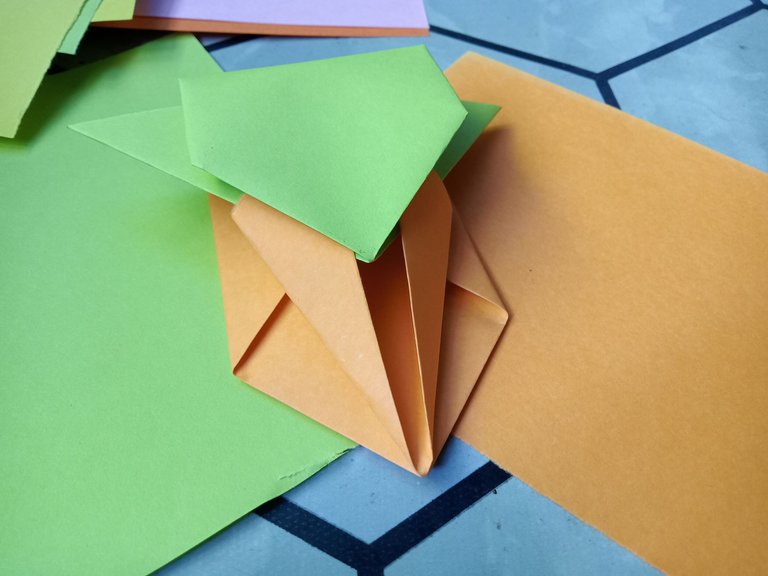
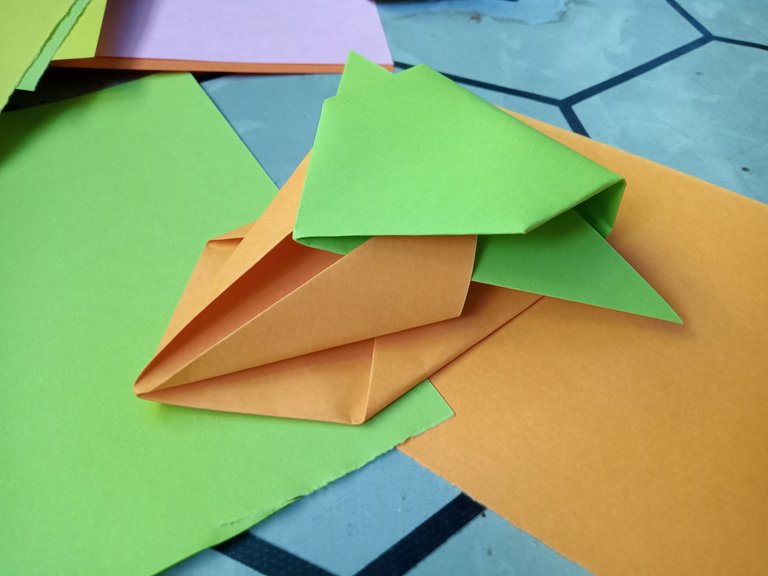
You have to fold it so that we can insert the tip here. It is really easy, no? Now that we're almost done, you can finally see a cool shape here. It looks like a jet plane, right? Or does it? What do you think? But this is not the final look.
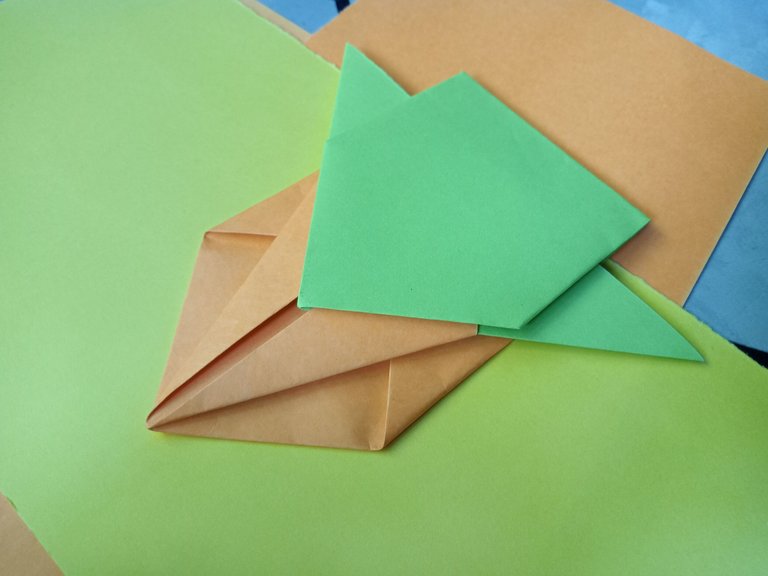
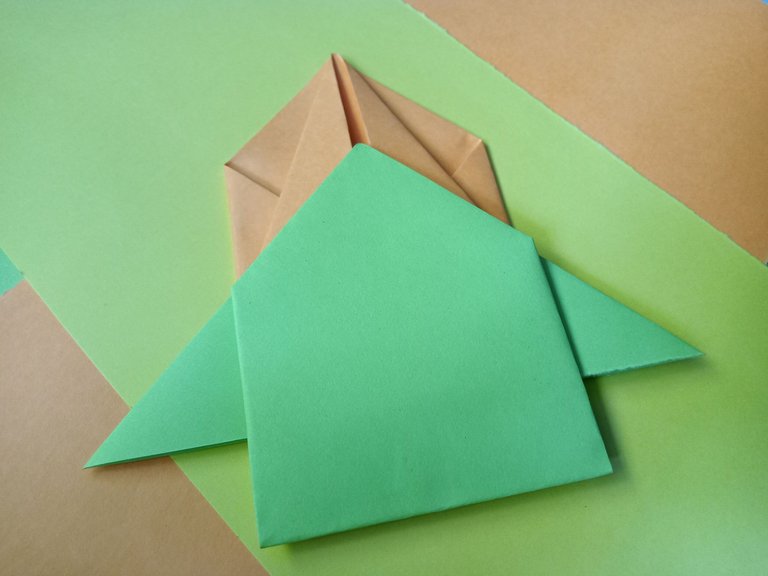
We need to flatten it just like this, use your finger to flatten it really well and neatly.
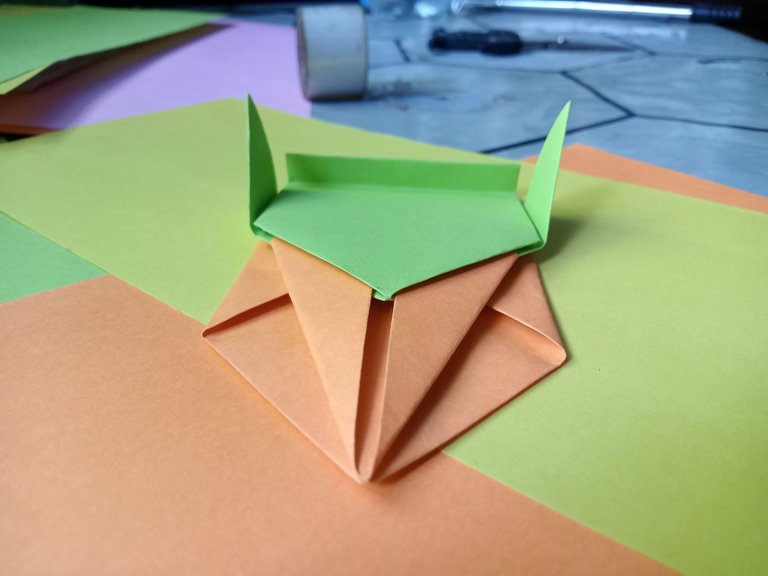
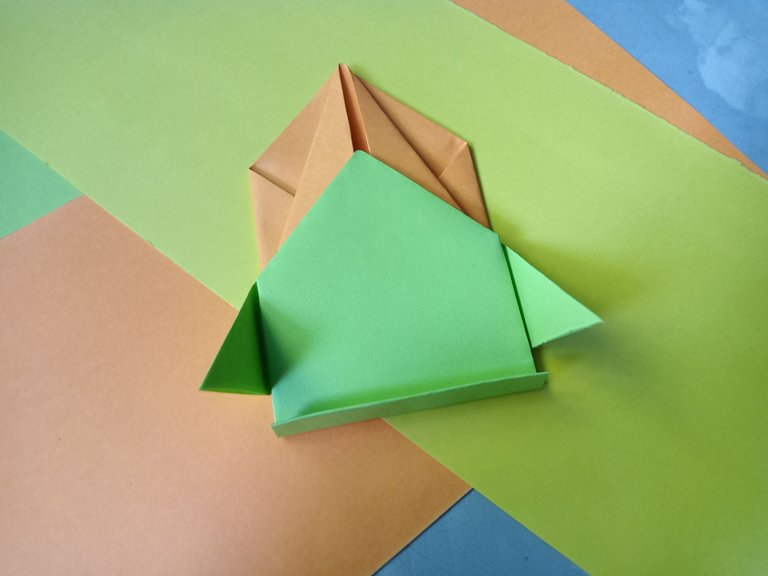
And tadaaaaaaan!! Here's the final look. I fold both sides to make it look like it has wings. I also fold the back side like a tail or something. Now it looks more like a toy. What do you think?
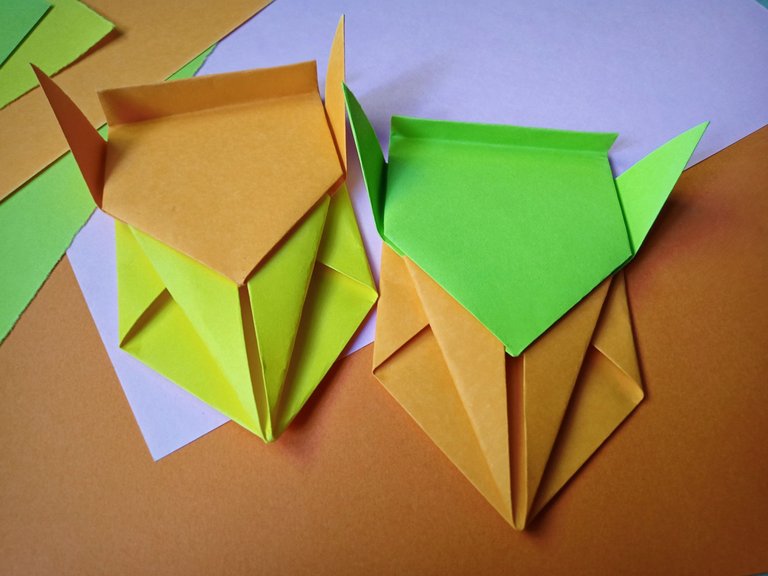
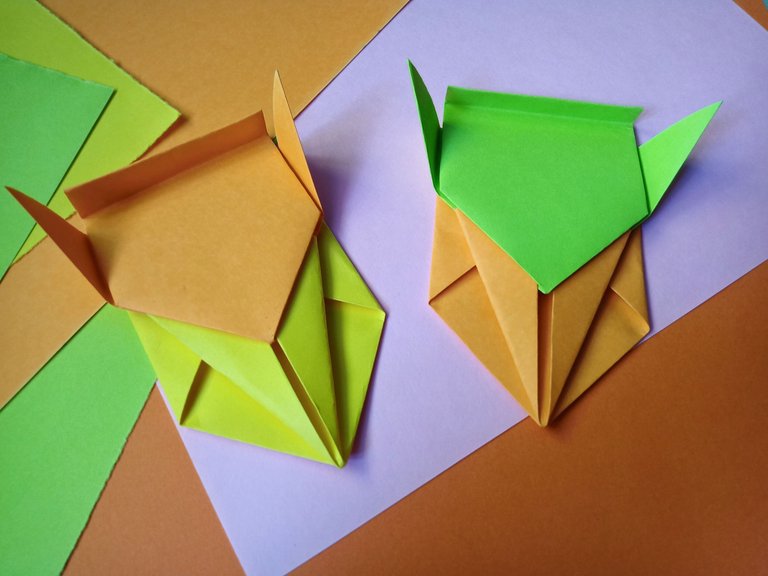
And I applied the same process to the other color combination. Now I have two paper craft toys. I need someone with whom I can play this. Anyone? Hehe.
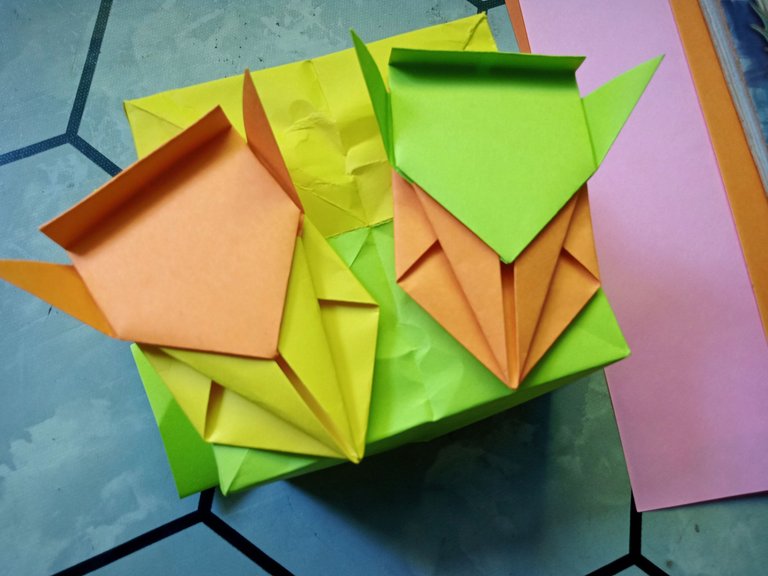
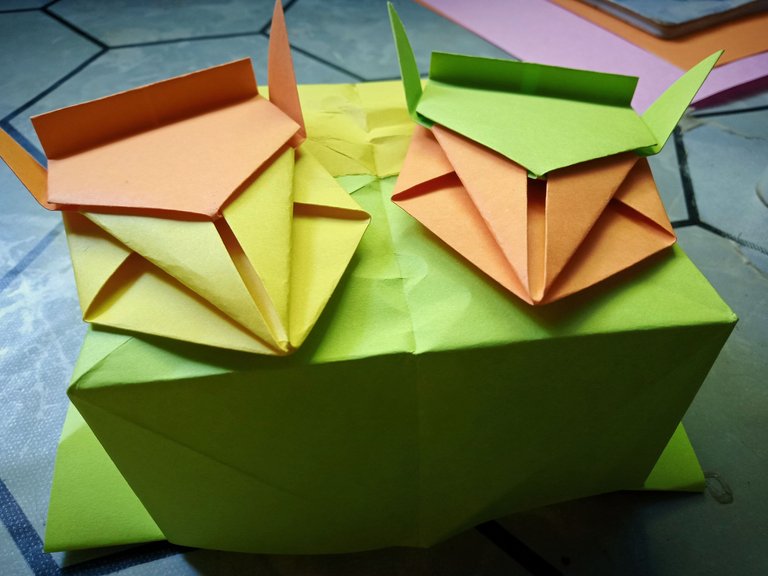
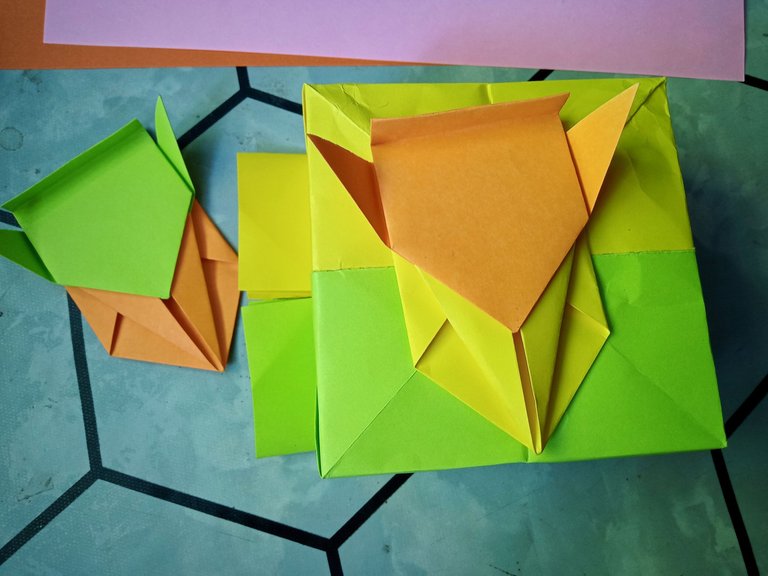
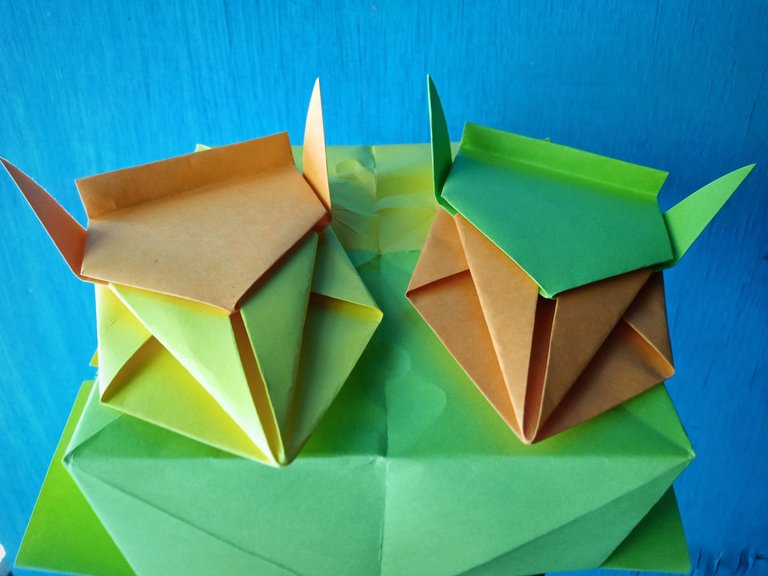
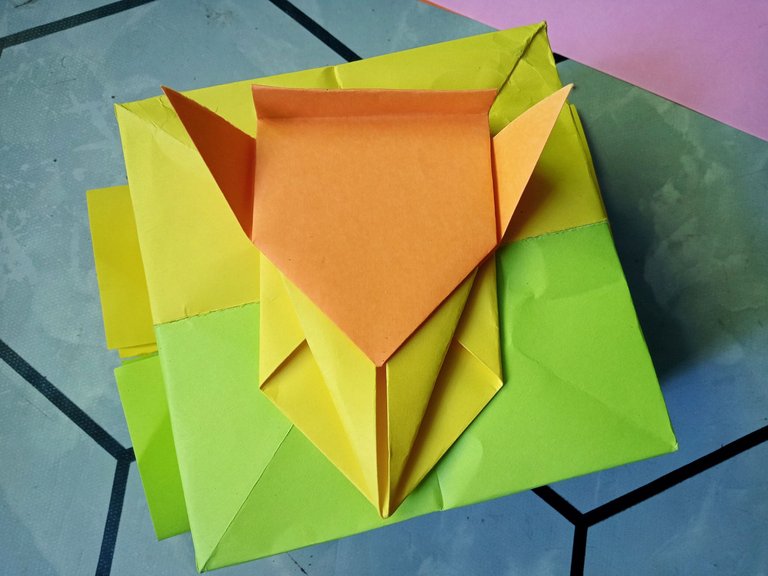
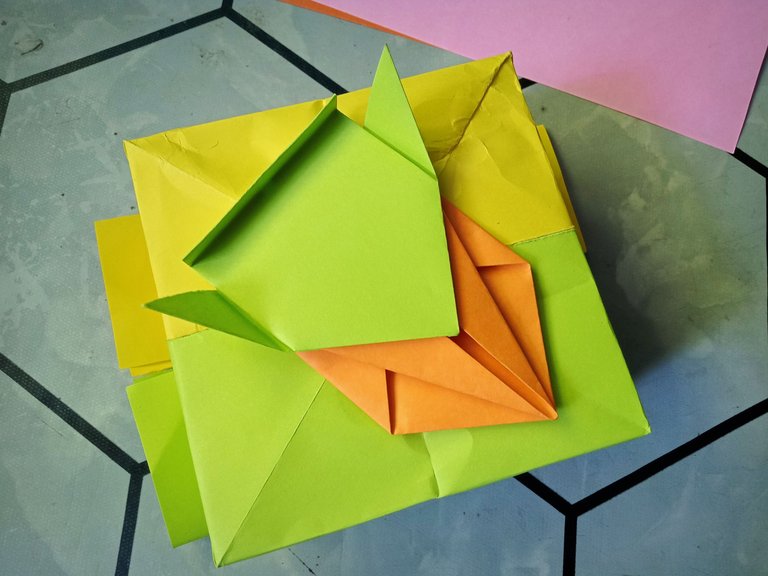
I also did some photoshoots with these as subjects. It's not the best, but I hope y'all like it, because I really like the outcome of all there ฅ^•ﻌ•^ฅ.


