Siguiendo con esta serie de tutoriales, guías, o si los quieren llamar en un modo menos académico "trabajos hechos en el jardín la huerta durante el otoño y el invierno" paso a ocuparme de una planta de vid que tengo en el patio.
Creció sola, simplemente un día la vi pequeñita, comencé a cuidarla y regarla y el año pasado inició a desarrollarse y a trepar por una columna que sostiene una media sombra hasta cubrirla enteramente. Favorecida por los travesaños de hierro que sostienen las cuatro vidas ha ido creciendo sin parar y a generar nuevas ramas que a su vez han continuado a enroscarse.
Cuando la vid llega a este punto hay que podarla porque caso contrario desarrolla una linda sombra, pero de uvas... nada.
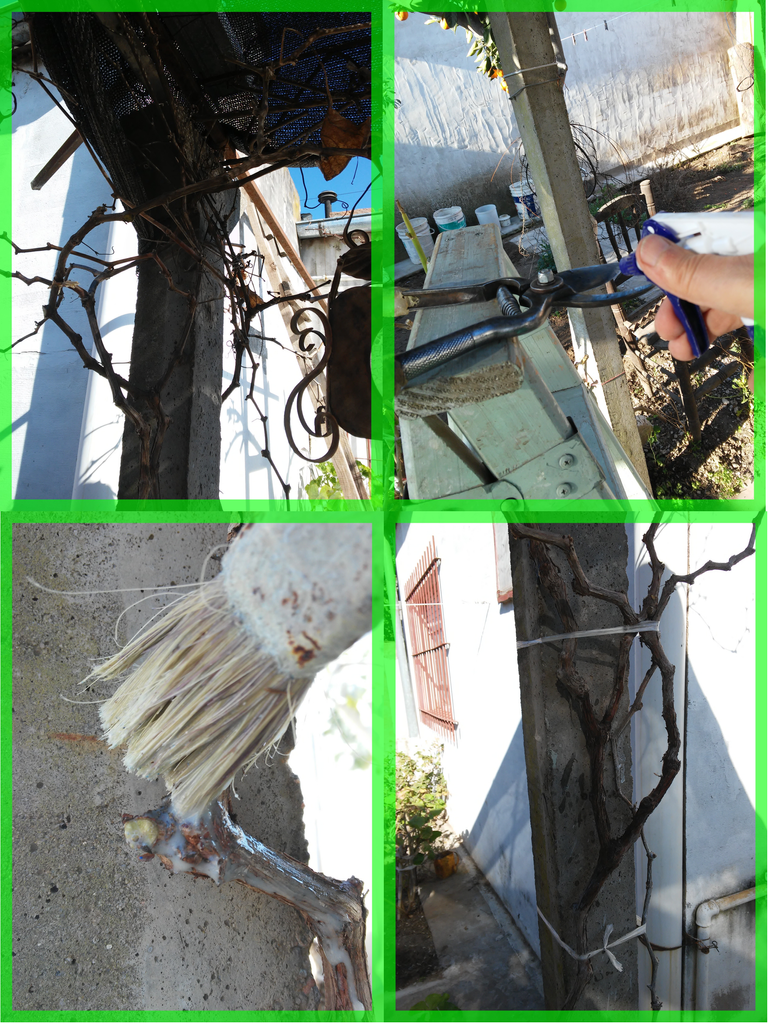
El primer paso es limpiar y desinfectar el tronco principal, muy "leñoso" y con cáscaras de corteza que se van desprendiendo con el tiempo.
Una buena pincelada de sulfato de cobre diluido en agua y cal viva (proporción: 1 cucharadita de café y otro tanto de cal viva diluidos en un litro de agua) y eliminamos todos los parásitos.
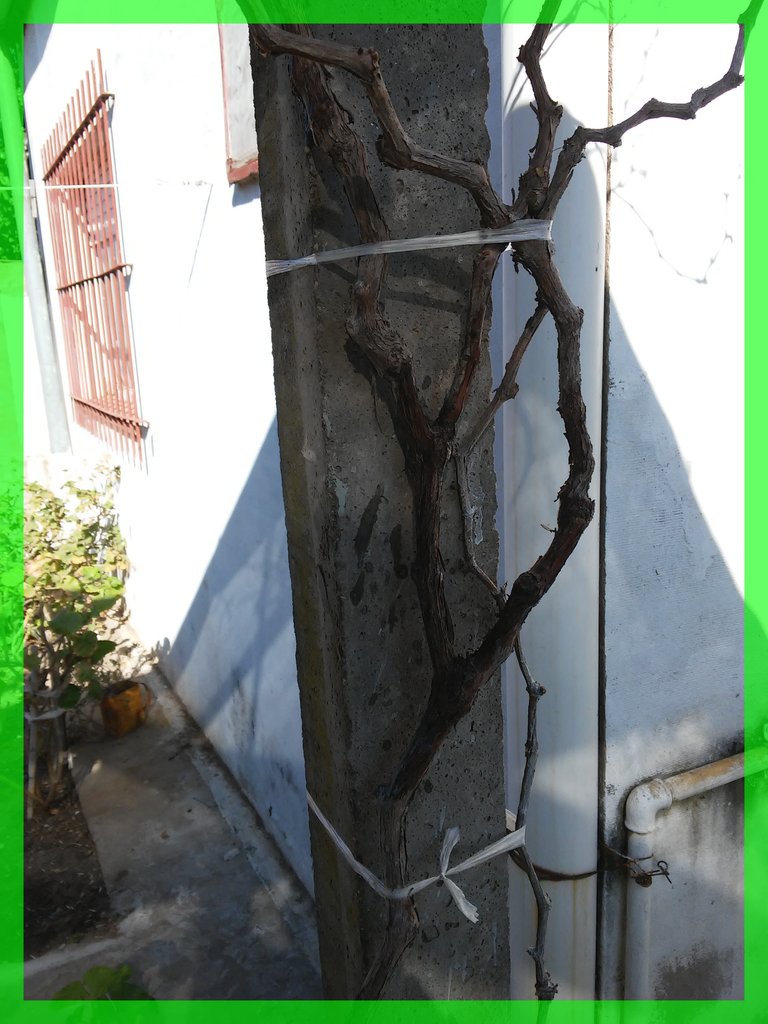
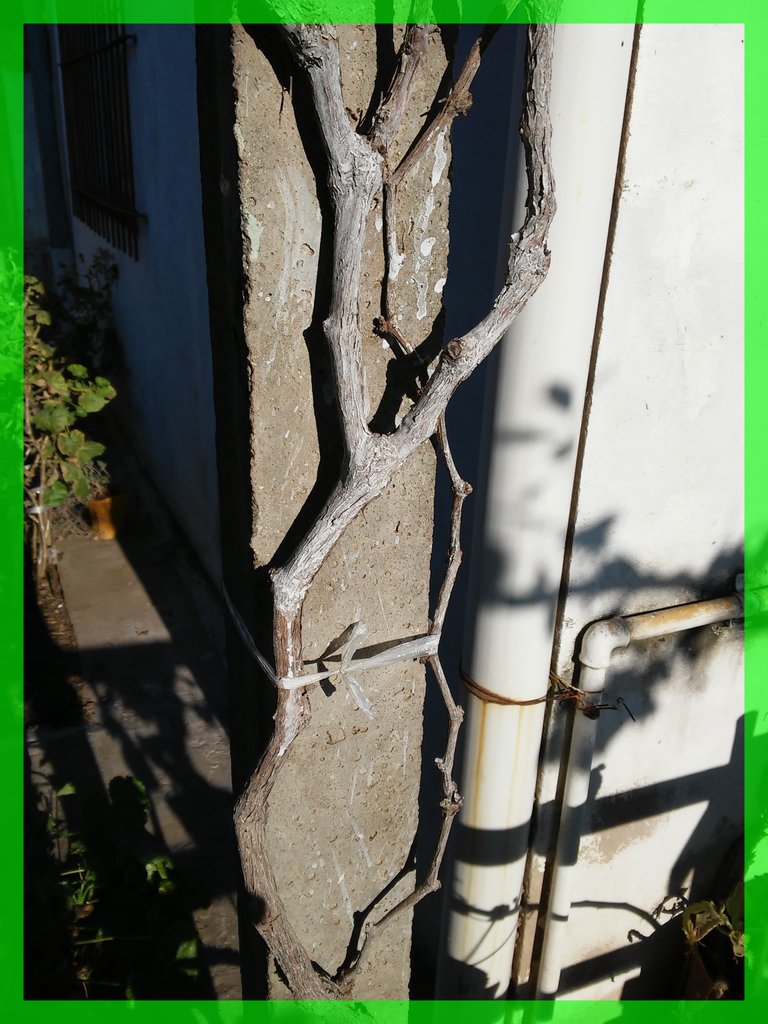
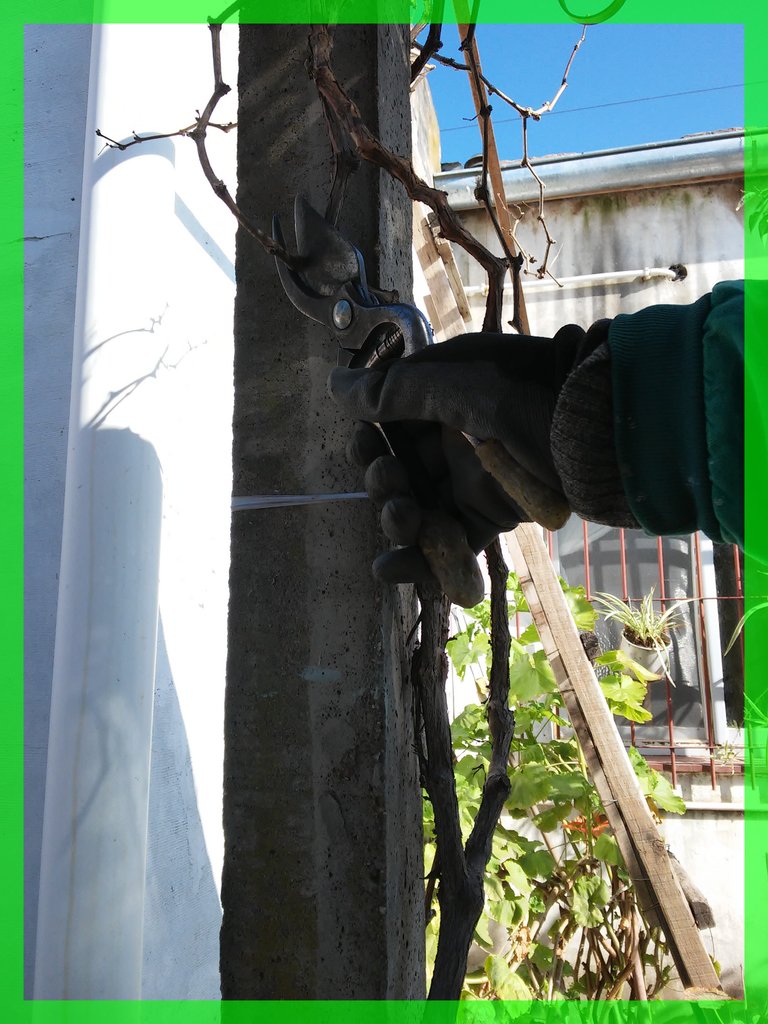
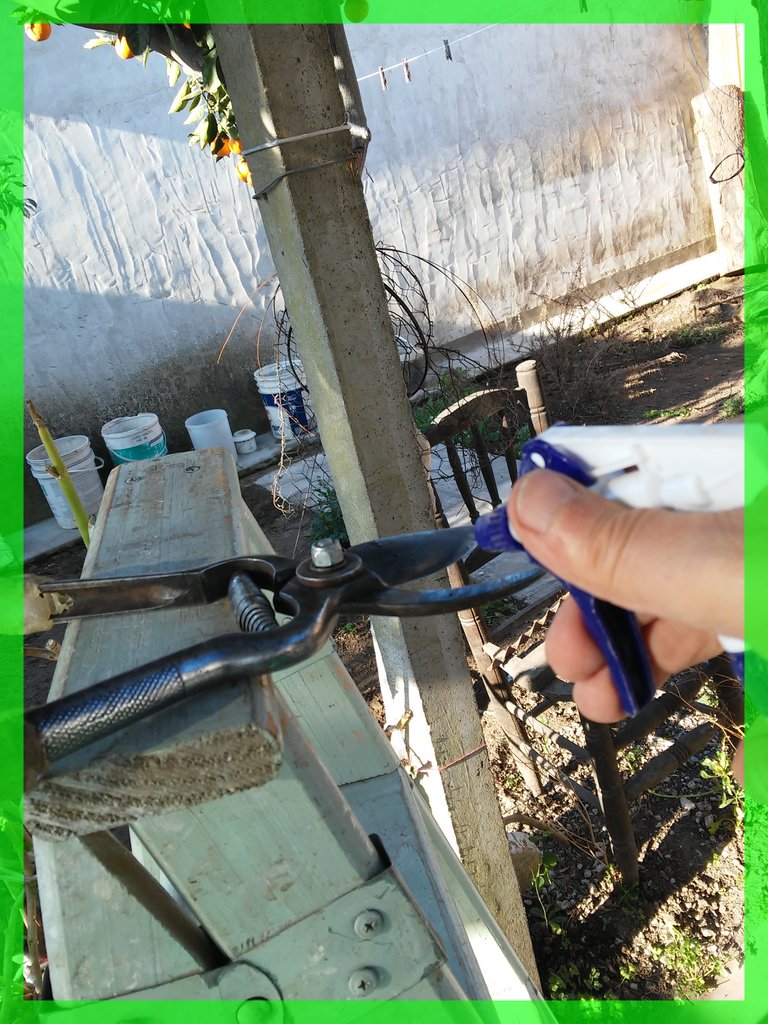
Con la tijera de podar eliminamos la mayor parte de las guías laterales que se han ido desprendiendo del tronco principal y dejamos solo las más vigor ososas. Si es posible las atamos al tronco principal para evitar que se bifurquen demasiado.
Esta tarea de "atado" es muy importante para que toda la planta se vaya enroscando en el sostén principal en modo vertical u horizontal, sin bifurcarse en demasía. Debemos tener en cuenta que la vid sigue los mismos principios de desarrollo de cualquier enredadera. Trepar y trepar hasta el cansancio.
Si queremos solo sombra esta actitud de la vid es perfecta. Si, en cambio, queremos sombra y uva debemos asumir un compromiso intermedio haciendo una poda que tienda a eliminar las guías más débiles o finas.
En cambio, si queremos que nos dé solo fruto, como hacen los cultivadores profesionales, entonces no debemos dejarla crecer más de 1-1,50 mts, crear una estructura de palos para que la sostengan horizontalmente y hacer una poda vigorosa.
En mi caso he optado por una linda sombra y algo de fruta.
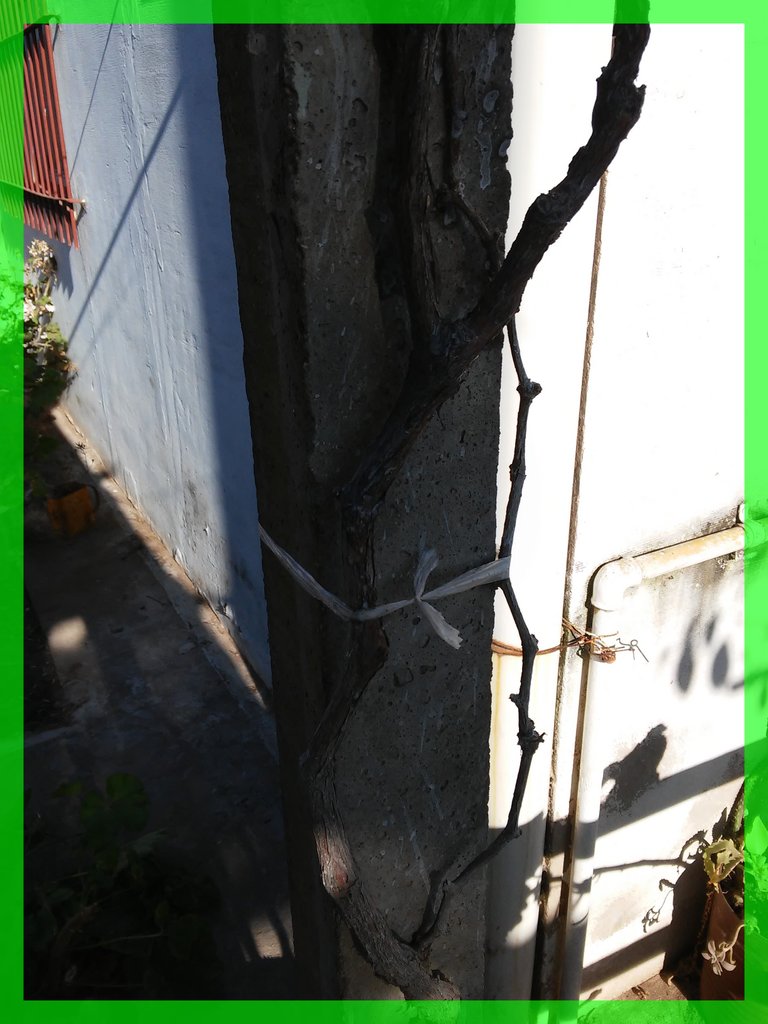
Esta tarea es relevante hacerla mientras la planta está en "reposo vegetativo", es decir cuando la savia todavía no ha alcanzado las ramas y se mantiene en las partes bajas de la planta.
No solo la planta sufrirá menos, sino que apenas iniciada la primavera comenzara a desarrollarse con renovado brío.
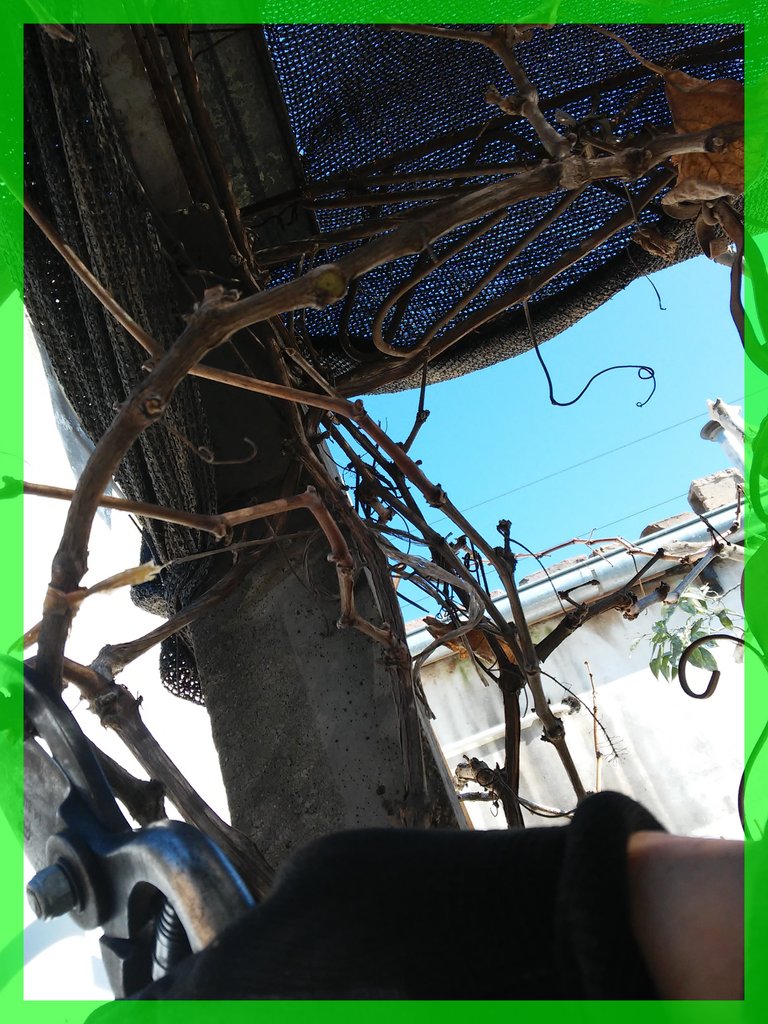
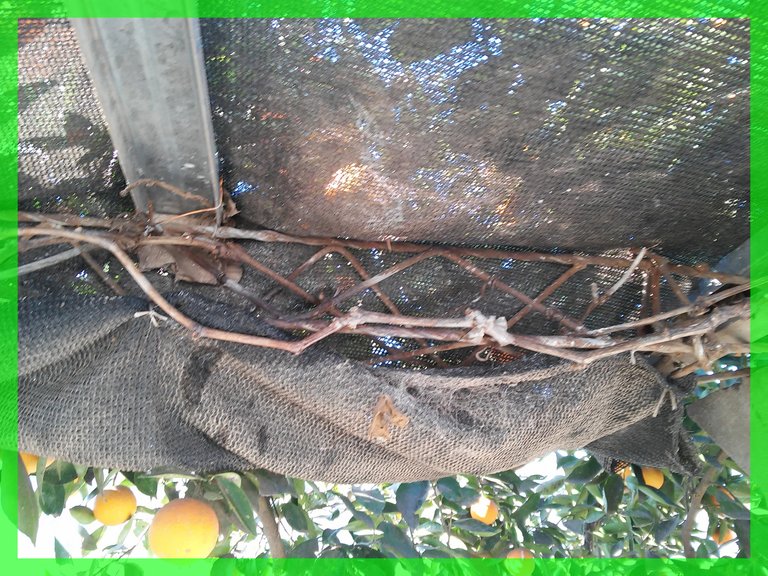
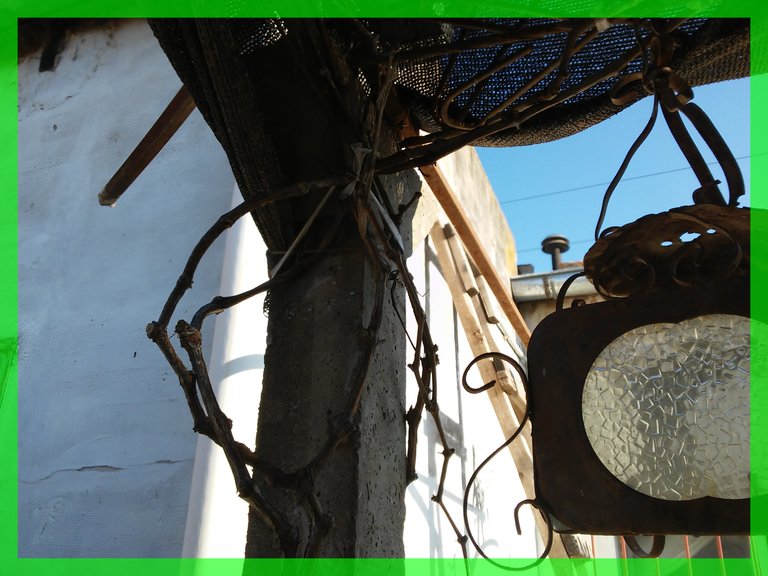
Las ataduras como pueden ver en las fotos las hago siempre con el plástico comun cortado en tiritas. Ese que hasta hace no mucho nos entregaban en los supermercados en las bolsas donde metíamos las compras. Y que aún podemos encontrar en pequeños negocios o en los mismos centros comerciales provenientes de los envases con que son sujetadas las bebidas, latas de bebidas varias, bolsones de fideos y otros alimentos, etc.
Es cuestión de acercarse con gentileza al empleado que acomoda la mercadería en las góndolas y pedirle un poco de ese plástico. No nos va a cobrar nada.
No se trata solo de un discurso ecológico de reaprovechamiento del material menos biodegradable. Se trata solo de sentido comun. Cuando la planta y los tallos o las ramas comienzan a crecer y los hemos atado con un material rígido corremos el riesgo de que se lastimen favoreciendo de esta manera la entrada de parásitos que irán a atacar directamente la base de esa rama o de ese tronco, siguiendo con el resto.
Si no nos damos cuenta en seguida terminaremos con amputar toda una rama del frutal o cualquier otra planta del jardín.
Terminada esta tarea solo tenemos que esperar que termine el invierno e inicie la primavera. Pronto veremos que nuestros esfuerzos han sido bien recompensados.
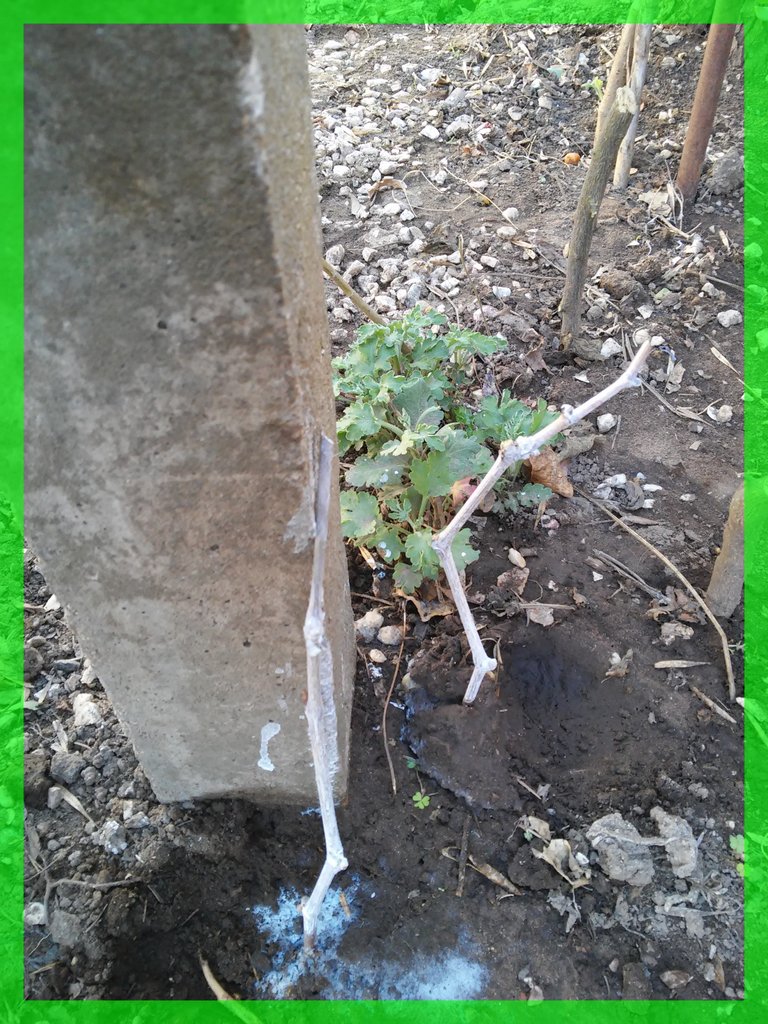
Si queremos encontrarnos con una grata sorpresa podemos plantar un esqueje de las ramas más vigorosas que hemos podado. No más largo de 30 cms. El corte horizontal va enterrado y "pelado" unos 5 cms del tronco. El corte superior, oblicuo, queda expuesto al aire libre y sellado con cera de abejas. Existen grandes posibilidades de que en el curso de los próximos meses nos encontremos con una nueva y hermosa planta de vid.
Como siempre les digo: higienicen las herramientas de corte (tijeras, serruchos, etc). Una plaga o una bacteria aparentemente innocua para una planta puede ser mortal para otra y manténganlas siempre bien afiladas, los cortes deben ser siempre netos y oblicuos.
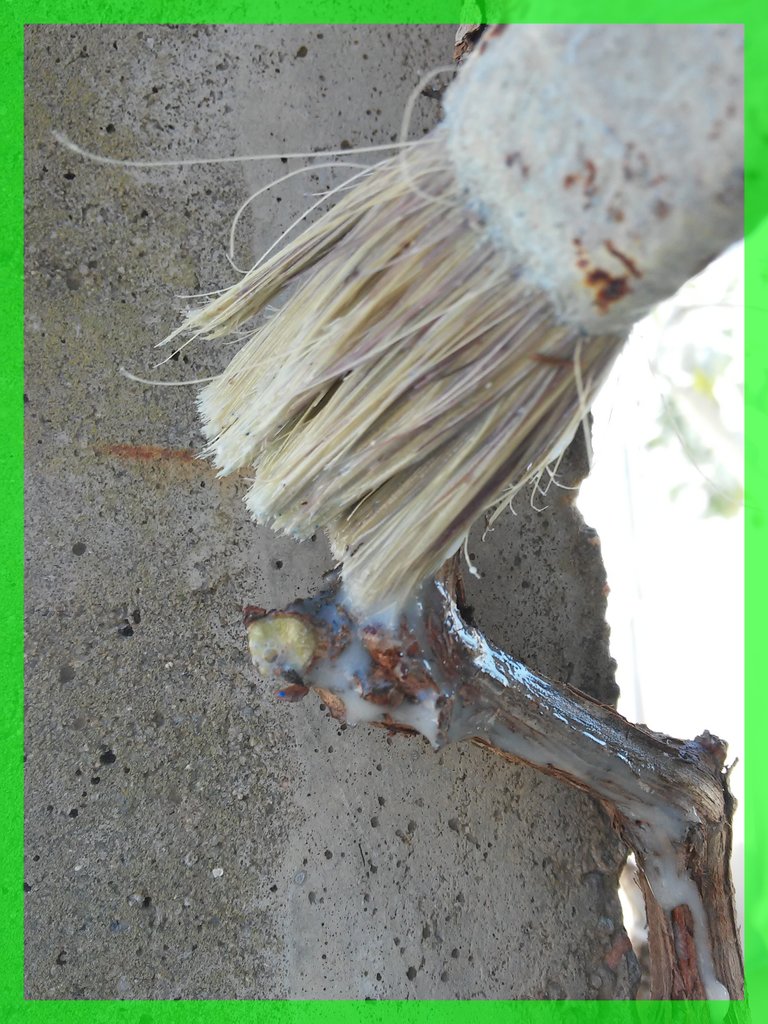
Por último no se olviden de sellar los cortes en las ramas. Yo uso generalmente cera de abeja virgen, la pueden requerir de cualquier apicultor que seguramente se las regalará, porque a él solo le sirve para alimentar a las propias abejas.
Y se los mostraré, al igual que en los otros casos, en fotos con toda la evolución hasta llegada de las flores.
¡Hasta pronto amigos del jardín y la huerta!!!

Continuing with this series of tutorials, guides, or if you want to call them in a less academic way "works done in the garden and orchard during the fall and winter" I am going to deal with a vine plant that I have in the yard.
It grew by itself, just one day I saw it tiny, I began to take care of it and water it and last year it began to develop and to climb up a column that supports a half shade until it was entirely covered. Favored by the iron crossbars that support the four lives, it has been growing steadily and generating new branches that in turn have continued to twine.
When the vine reaches this point it must be pruned because otherwise it develops a nice shade, but grapes... nothing.
The first step is to clean and disinfect the main trunk, which is very "woody" and has bark peelings that are coming off over time.
A good brushstroke of copper sulfate diluted in water and quicklime (proportion: 1 teaspoon of coffee and 1 teaspoon of quicklime diluted in a liter of water) and we eliminate all the parasites.
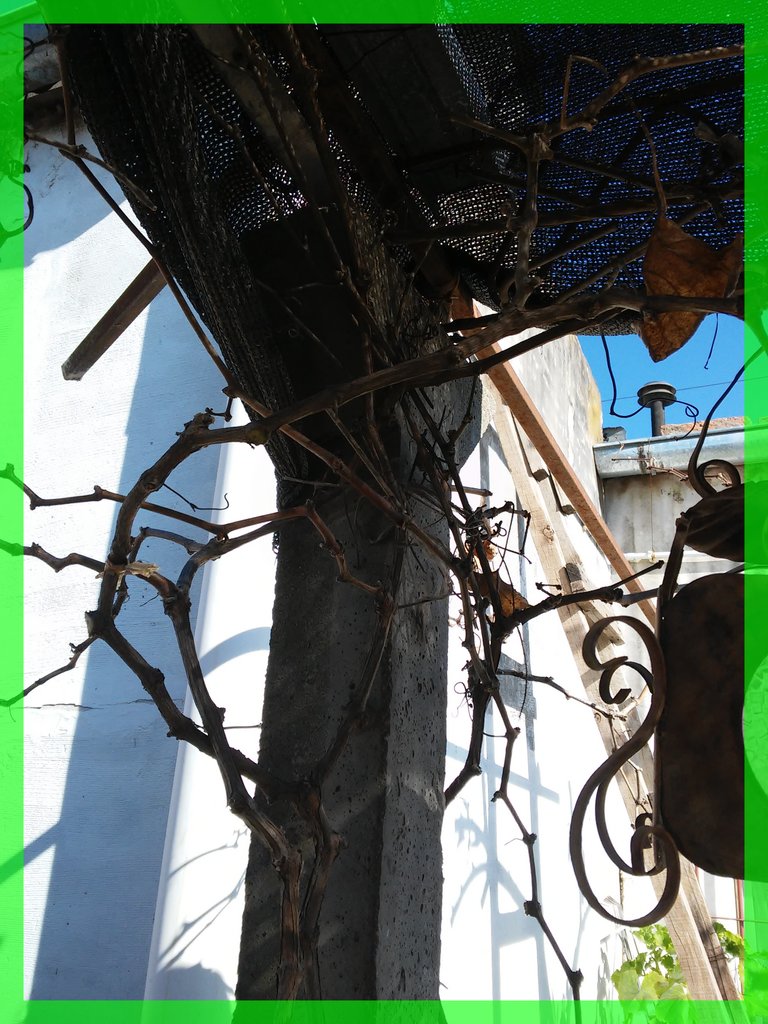
With the pruning shears remove most of the lateral guides that have been detached from the main trunk and leave only the most vigorous ones. If possible we tie them to the main trunk to prevent them from bifurcating too much.
This "tying" task is very important so that the whole plant is twined around the main support vertically or horizontally, without bifurcating too much. We must keep in mind that the vine follows the same principles of development of any vine. Climbing and climbing until exhaustion.
If we only want shade, this attitude of the vine is perfect. If, on the other hand, we want shade and grapes, we must make an intermediate compromise by pruning to eliminate the weaker or thinner guides.
On the other hand, if we want it to give us only fruit, as professional growers do, then we should not let it grow more than 1-1.50 meters, create a structure of poles to support it horizontally and do a vigorous pruning.
In my case I have opted for a nice shade and some fruit.
This task is relevant to do while the plant is in "vegetative rest", that is when the sap has not yet reached the branches and is kept in the lower parts of the plant.
Not only will the plant suffer less, but as soon as spring begins, it will start to develop with renewed vigor.
The ties, as you can see in the photos, are always made with the common plastic cut in strips. That one that until not long ago they gave us in the supermarkets in the bags where we put the purchases. And that we can still find in small stores or in the same shopping malls from the containers that hold drinks, cans of various beverages, bags of noodles and other food, etc..
It is a matter of approaching with kindness to the employee who arranges the merchandise on the shelves and asking for some of that plastic. He will not charge us anything.
It is not just an ecological discourse of reusing the less biodegradable material. It's just common sense. When the plant and the stems or branches begin to grow and we have tied them with a rigid material, we run the risk that they get hurt, thus favoring the entrance of parasites that will attack directly the base of that branch or trunk, following with the rest.
If we do not realize it, we will end up amputating an entire branch of the fruit tree or any other plant in the garden.
Once this task is finished we only have to wait for the winter to end and spring to begin. Soon we will see that our efforts have been well rewarded.
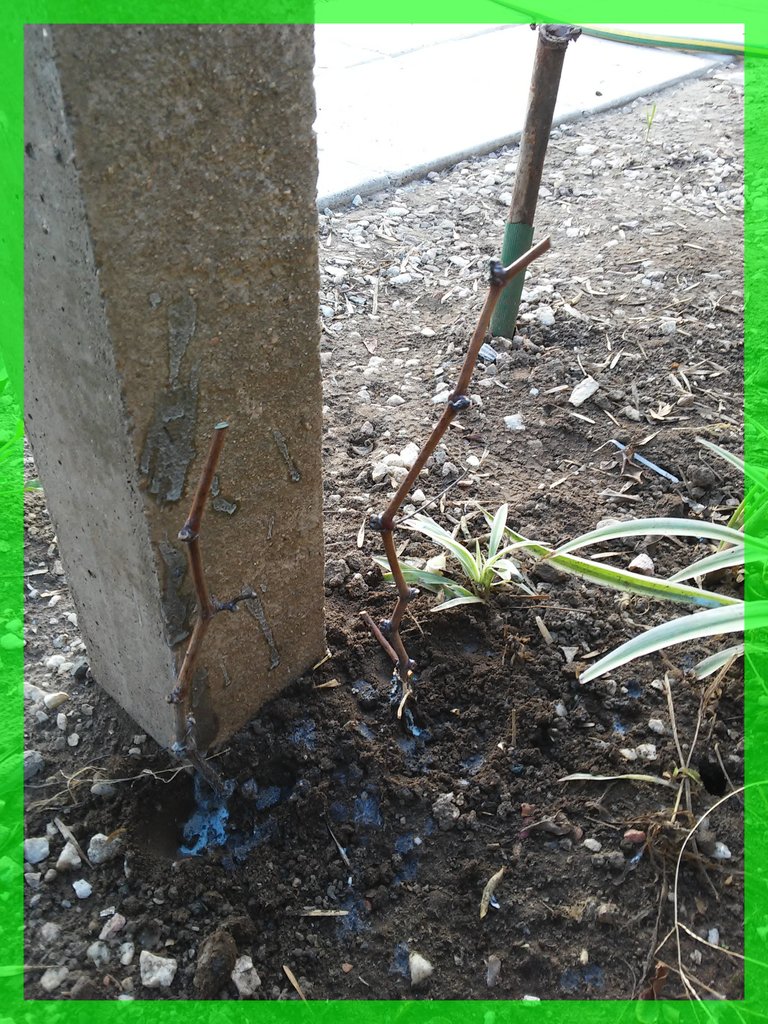
If we want to find a pleasant surprise we can plant a cutting from the most vigorous branches that we have pruned. No longer than 30 cms. The horizontal cut is buried and "peeled" about 5 cm from the trunk. The upper, oblique cut is exposed to the open air and sealed with beeswax. There is a good chance that in the course of the next few months we will find a beautiful new vine plant.
As I always tell you: sanitize your cutting tools (scissors, saws, etc). A pest or a bacteria apparently harmless for one plant can be deadly for another and always keep them sharp, the cuts should always be clean and oblique.
Finally, don't forget to seal the cuts on the branches. I generally use virgin beeswax, you can get it from any beekeeper who will surely give it to you, because he only uses it to feed his own bees.
And I will show you, as in the other cases, in photos with all the evolution until the arrival of the flowers.
See you soon, friends of the garden and the orchard!
Traducido con /Translated with: www.DeepL.com/Translator (free version)
Imágenes propias. Separador de Textos / Own images. Text Separator: The Peak Studio
