Recently I may have mentioned that I was getting my car fixed, just some work to the body to remove corrosion. Very happy that it's now patched up and no longer raining on the inside. Sometimes things go wrong in batches and just after I got my car back from the shop, the battery went flat and completely died and then the car interior blower stopped working at the same time.
I prioritised what I was going to fix first and now that the battery is replaced I could get down to business and fault find what the hell is making my blower stop working.
Let me tell you that YouTube is a beautiful thing sometimes! I can remember my father working on his cars. It was always a very tedious job because there was no YouTube. There was an owner's manual which most of the time was rather useless and a mechanics workshop manual which were quite expensive and seemed very difficult to navigate repairs through sketches and images.
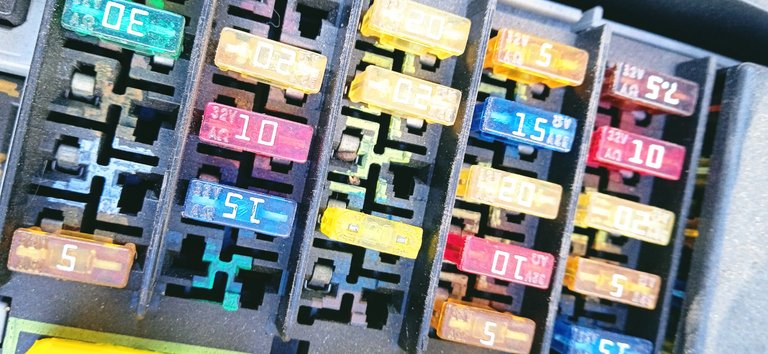
The first thing I wanted to check was the fuses and relays as this would more than likely be the first point of failure. Fuses are intended for that very purpose - that if there is a fault or overload, that the circuit will fail there and not overheat elsewhere. It also often saves your components from damage, but not always.
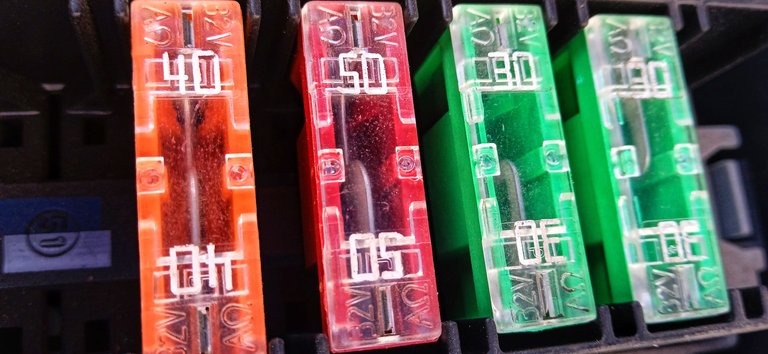
I checked the corresponding fuse which is a 30A fuse like the green ones in the first photo but it was still intact. I was really hoping it was just the fuse but as my luck would have it, it wasn't.
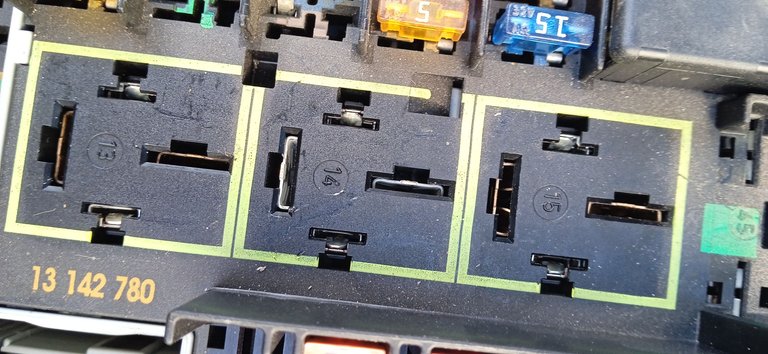
Then I decided to move on to the relays.
Relays are basically just switches that work with a little electromagnet to close or open the switch by breaking or making the circuit. The most difficult part of this was getting the bloody things out of the holding sockets. They were in there properly snug. I ended up prying them off with a flat screwdriver by working my way around carefully.
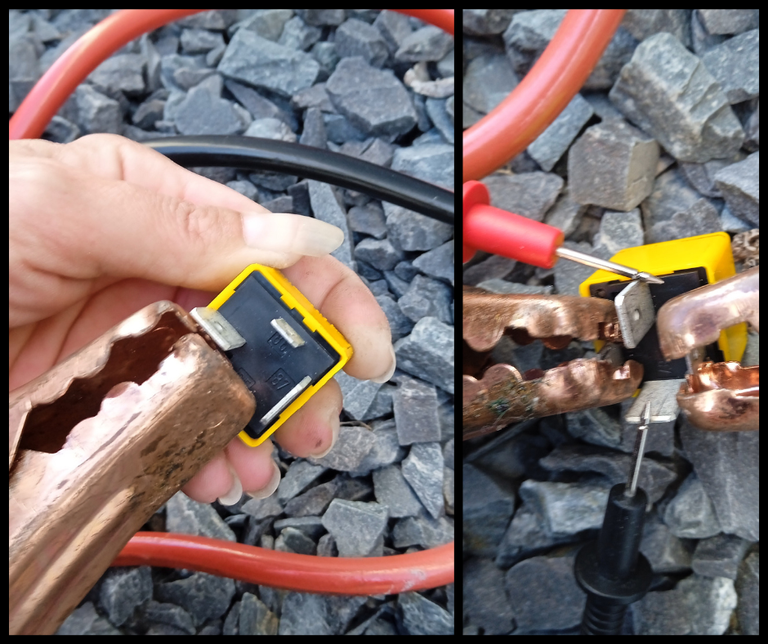
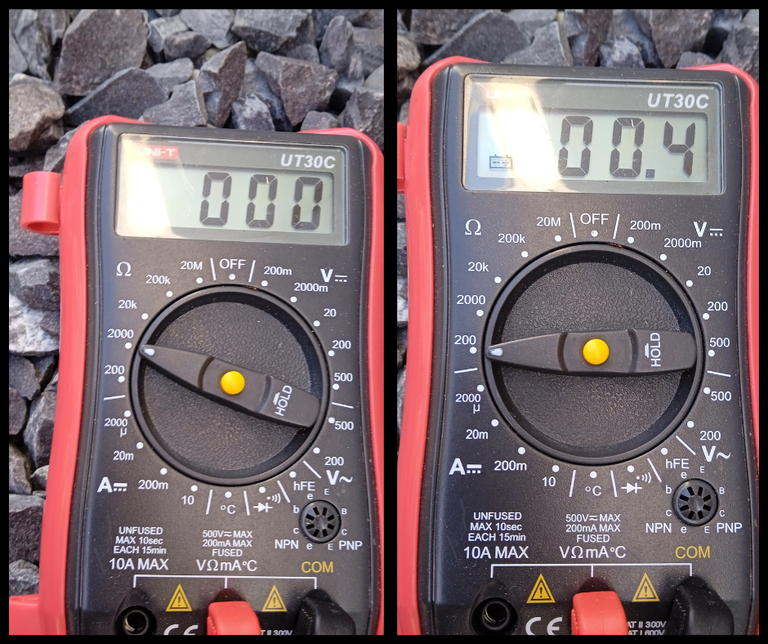
Once you have the relay out, it's pretty easy to test them albeit a bit scary. You have to hook up a set of jumper leads from your 12V battery to the power terminals on the relay. When you do this, you will almost immediately hear a clicking noise which is the switch opening and closing. This doesn't necessarily mean your relay is working correctly though. In order to check if it's working correctly, you need to hook up a multimeter and see what the resistance is on your relay. Resistance is measured in Ohms, so that's what I turned the multimeter to. It doesn't matter which setting you use, it basically just means that the decimal place will move.
I checked all three relays and the only one that didn't show 00,0 or 00,1 was the one pictured on the right. I don't think that is a fault though because if the circuit was not being closed, then it would simply show 1 (which means to infinity) and basically means that the circuit is open.
I however didn't think to switch the relays around (they are all 276's) to see if that would solve the immediate problem - because these tests showed that the relays were all working so the fault needed to be somewhere else.
The next thing to check would be the blower motor and the heater resistor. Here again the heater resister I was thinking would possibly be the first point of weakness as it gets very hot and through time they tend to wear out from the heating and cooling. Getting to the bloody thing is a freaking nightmare.
You have to take the glovebox out (that's the easy part) and then you have to take the blower airflow manifold out. This part sucked. There's meant to be some fancy ass clip on the left that you pull out gently with a pair of pliers. There was no little clip, the thing would not budge and I ended up tearing the part off that seemed like it had been glued on with contact adhesive by some nitwit instead of replacing the actual clip. I put my annoyance to once side and deal with that later. I removed the blower air manifold and then was able to get to the blower motor and the resistor.
That round box on the right hand side is my blower motor. The taped up parcel type thing on the left I believe is my vehicle tracking system.
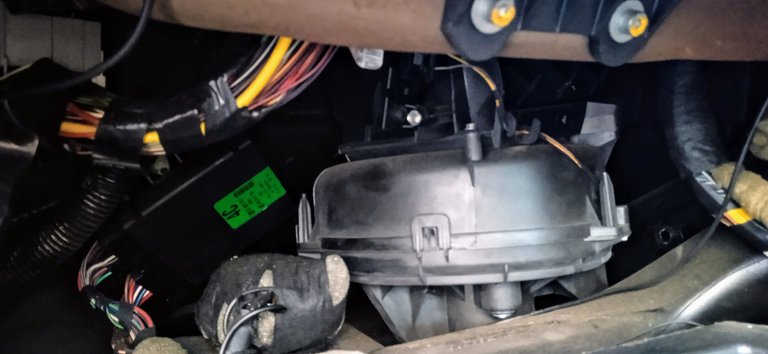
Once you remove the manifold, you can get to the blower motor power supply connector and you then have to reach behind it to get to the heater resistor. Before removing it, I unclipped the electrics connection to the blower motor and tested it to see if there was power (voltage) reaching the motor on the different switches. If there was with the blower switch turned to different speed settings then it meant that the resistor is more than likely not the problem. If the resistor was blown then the circuit would not be closed. Each setting read at more or less 12V, so that was looking like it may not be the resistor at all. It basically just unclicks and you can carefully remove it.
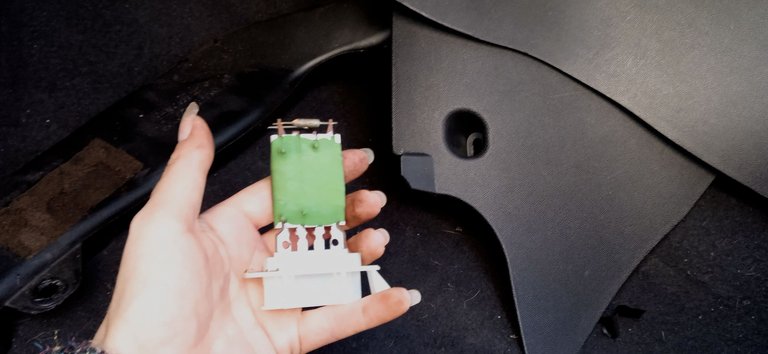
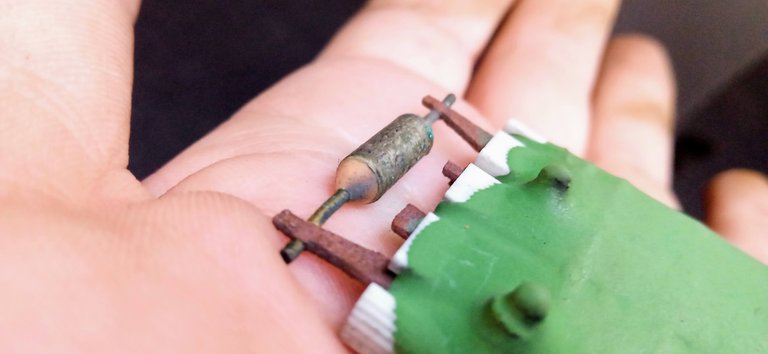
I tested the resistor with the multimeter as well. The pin on the right hand side is basically a straight circuit (heater switch setting 4), this often works while the other settings don't work and it's because there isn't a resistor inside this circuit. There are resistors in switch settings 1, 2 and 3. The measurements were all consistent with a resistor that is functioning correctly so even though it seems to have some heat damage showing, I'm still not convinced it's the resistor.
By this time the sun was already setting (sorry, the photos weren't great as a result) so I decided to pack it up for the evening and remove the motor itself at a later stage. I have a suspicion that the motor brushes and rotor are probably corroded and need to be cleaned. I'll also check all the terminals for rust and clean those up too. Who knows, it might work, it might not, but at least it's worth tracking down myself. Who knows how much an auto electrician would charge me to do this and then I learn nothing new in the process.
Have you even diagnosed and tracked down a bad part in your car and fixed it yourself?
𝑷𝒓𝒐𝒖𝒅𝒍𝒚 𝑨𝑰 𝒇𝒓𝒆𝒆. 𝑨𝒍𝒍 𝒊𝒎𝒂𝒈𝒆𝒔 𝒂𝒏𝒅 𝒘𝒓𝒊𝒕𝒊𝒏𝒈 𝒂𝒓𝒆 𝒎𝒚 𝒐𝒘𝒏.


