Going through this week's task, it actually looks so complicated to me. I’m not a graphic designer, though have been trying some since I joined Hive, but summarizing the steps is not what I would love to do, because even the once I do design for myself...."NA IDEA I DEY USE"(I was only using ideas). But Glory to God i was able to attend the tutorial.
This week's tutorial was anchored by @starstrings01 and @olujay. Our tutor for the tutorial was @olujay , he explained at length how we can create our own thumbnails using Canva
With a clapping ovation, i want to use this medium to introduce my partner for this week task @nwothini335
TASK FOR THE WEEK
With your own understanding, explain what you understand by "thumbnail." Hence, discuss why they have to be stunning and of what importance it is in relation to creating content.
A thumbnail is a graphic design that summarizes what your post is all about.
It provides insight into what is to be expected in the post. That is why it must be eyes catchy and attractive.
A good thumbnail will attract readers to your post and can qualify you for curation.
What are the dimensions in relation to creating thumbnails? What is the general size (or dimensions) for a thumbnail, and explain why it is so?
Dimension is the size of your content.
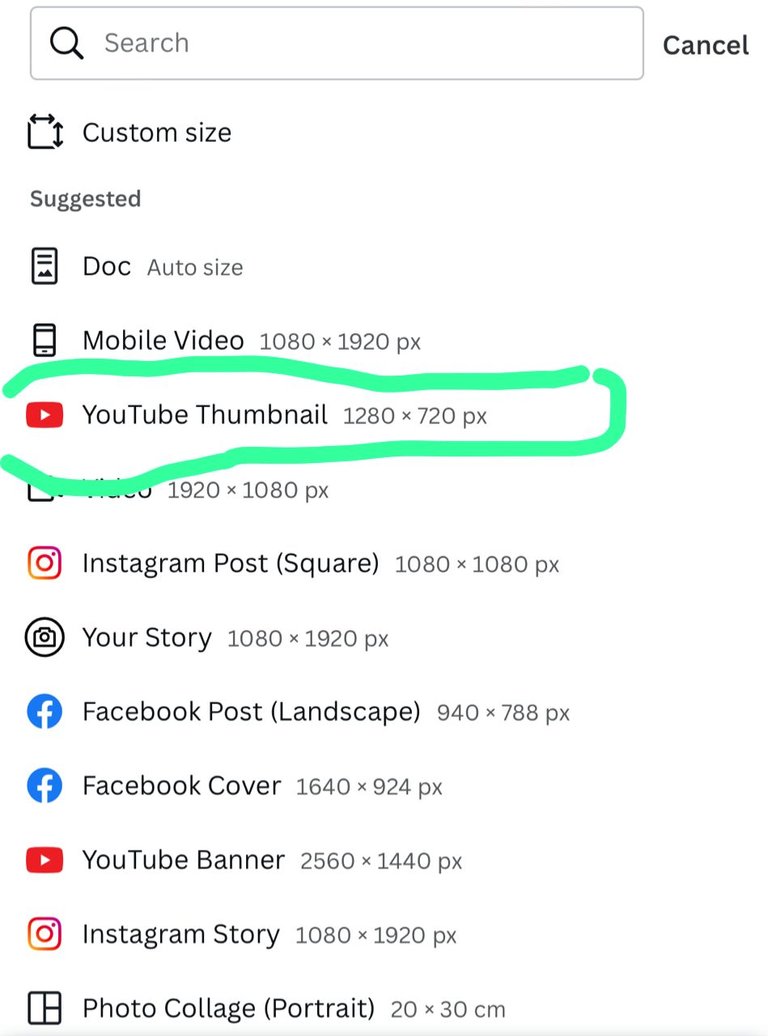
The acceptable dimension is 1280 x 720 pixels because it displays thumbnail better when used.
For this task, make two thumbnails. Use one as the main, and provide the other in the post. Both images should be different yet relevant to the post. Hence, provide a step-bystep explanation of how you achieve each.
In designing a thumbnail, you can use a pre-existing template on Canva, change the text and picture and Boom! You are good to go.
You can also start your design from the scratch. I will show you how I design my first Thumbnail.
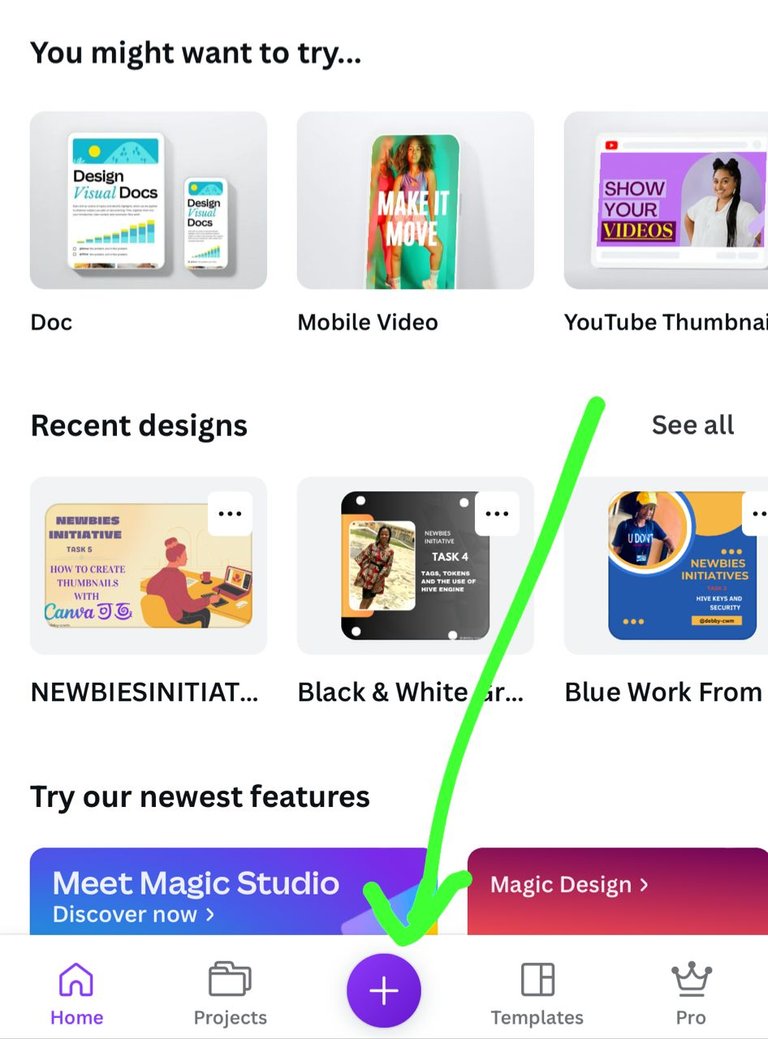
STEP 1:There is a + icon at the home page which leads to dimension. Choose your dimensions by creating a custom size for your work. I will be using the standard size 1280 by 720
You can change the background by clicking on the replace option.
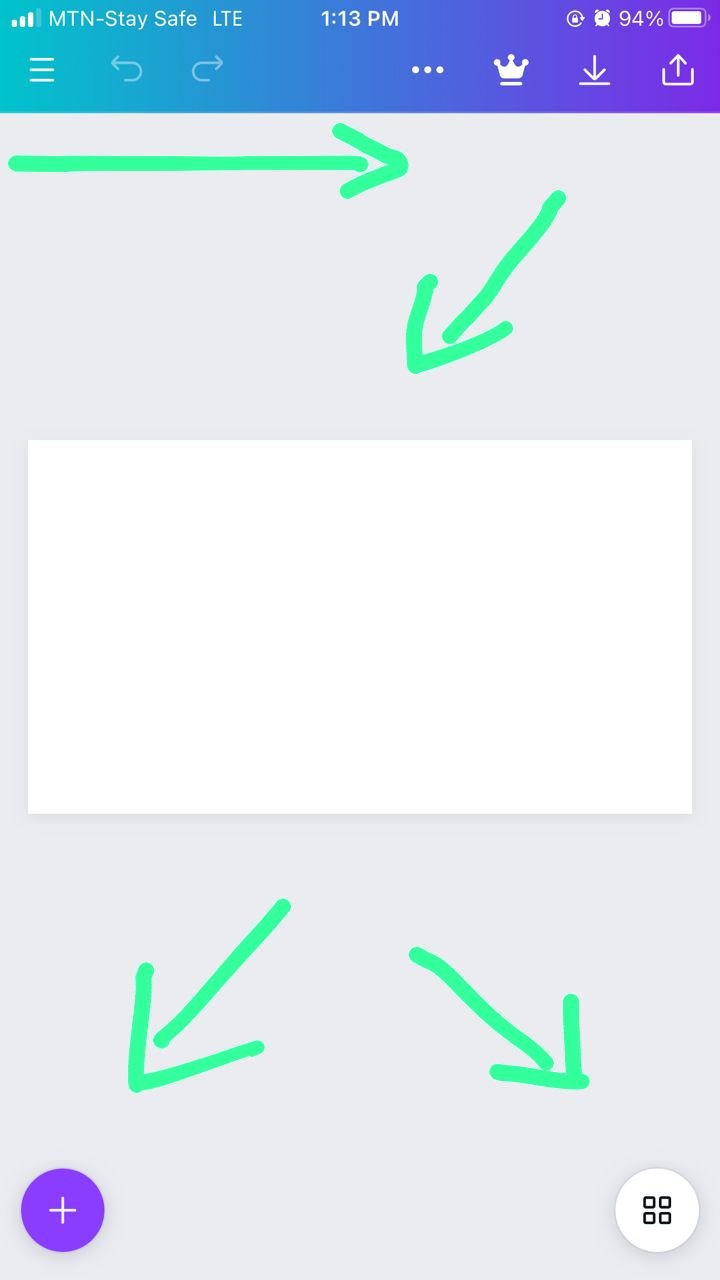
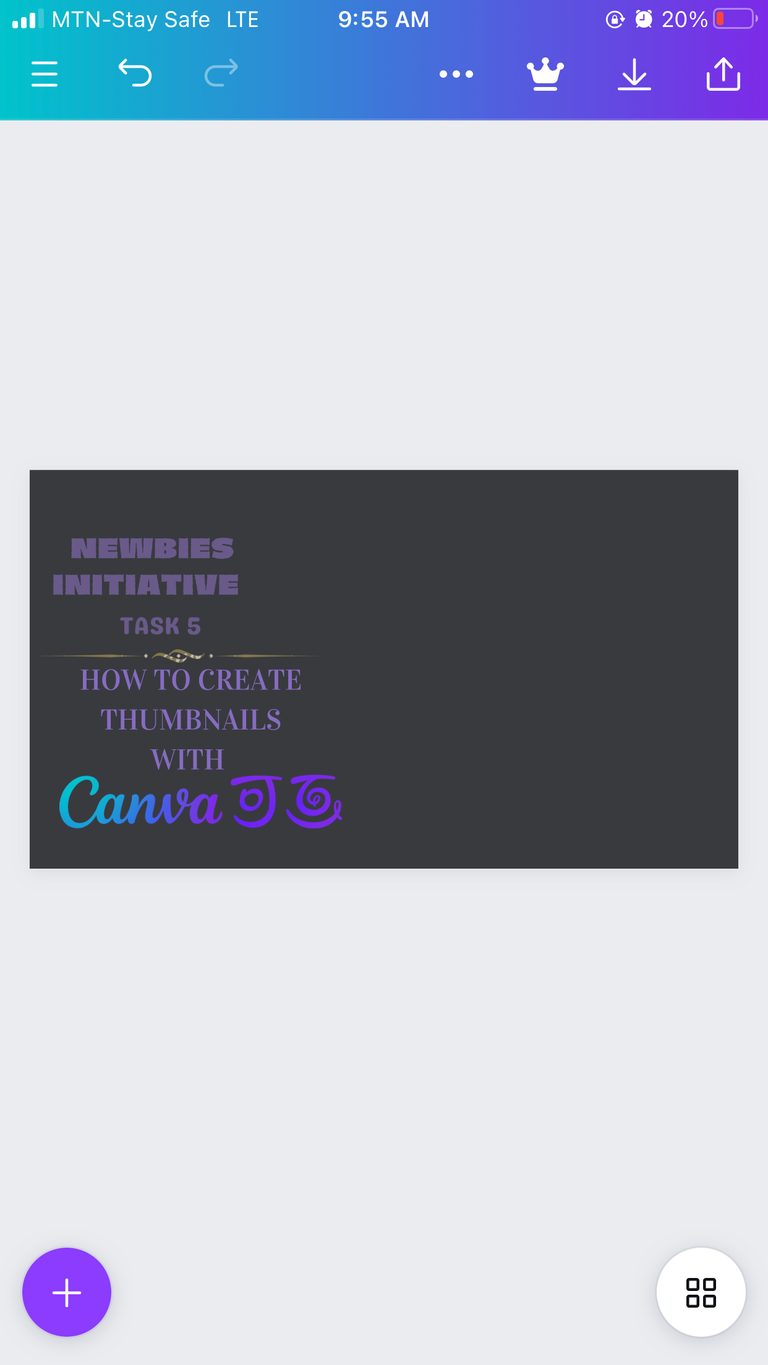
WORK SPACE
Features above
From the left-hand side, we have.
Home icon: It takes you to the home page
The undo and redo icon: It helps to go back to previous action and back to the initial action.
The three dots icon: It displays the setting and page design.
The crown: It signifies the Pro version.
Download icon: Click on it to save images
share icon: Allows you to share with other apps.
At the center.
Editing plane: this is where you see what you are working on and edit
Features below.
The + icon: it display section where you will find text, element, upload, and so on.
The other iconopen a place where you can delete, duplicate and add new ones.
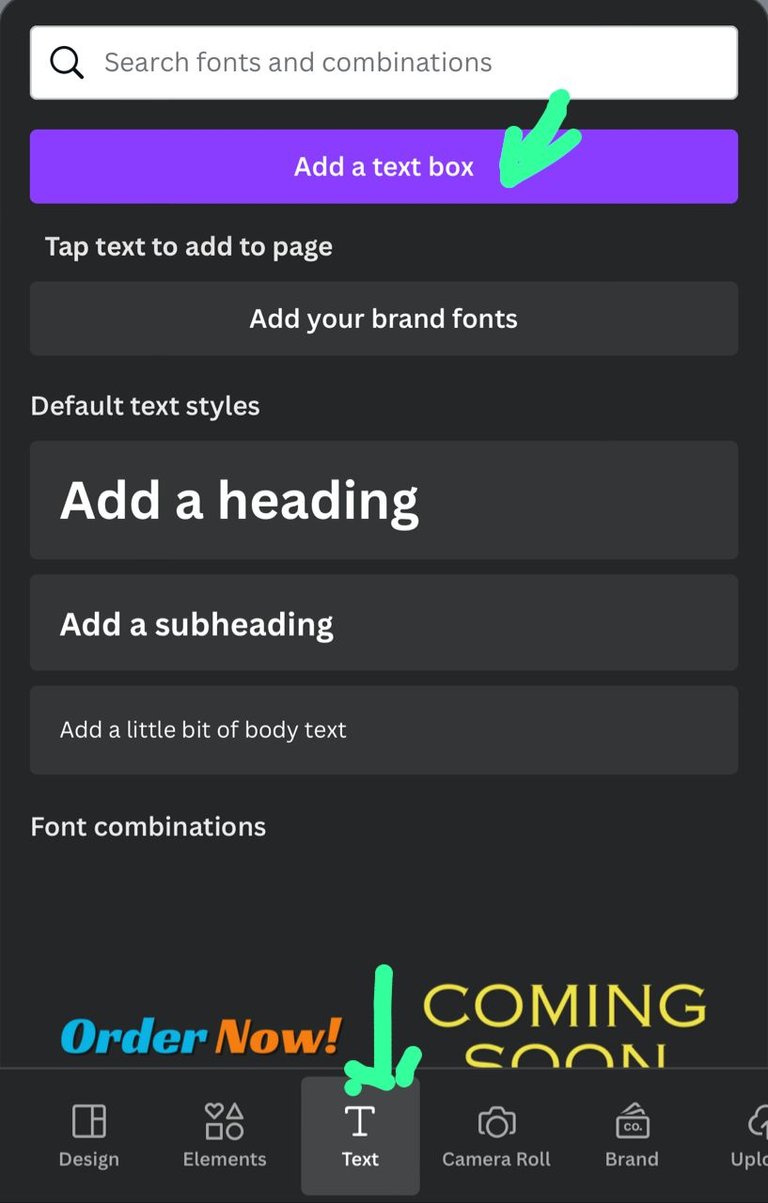
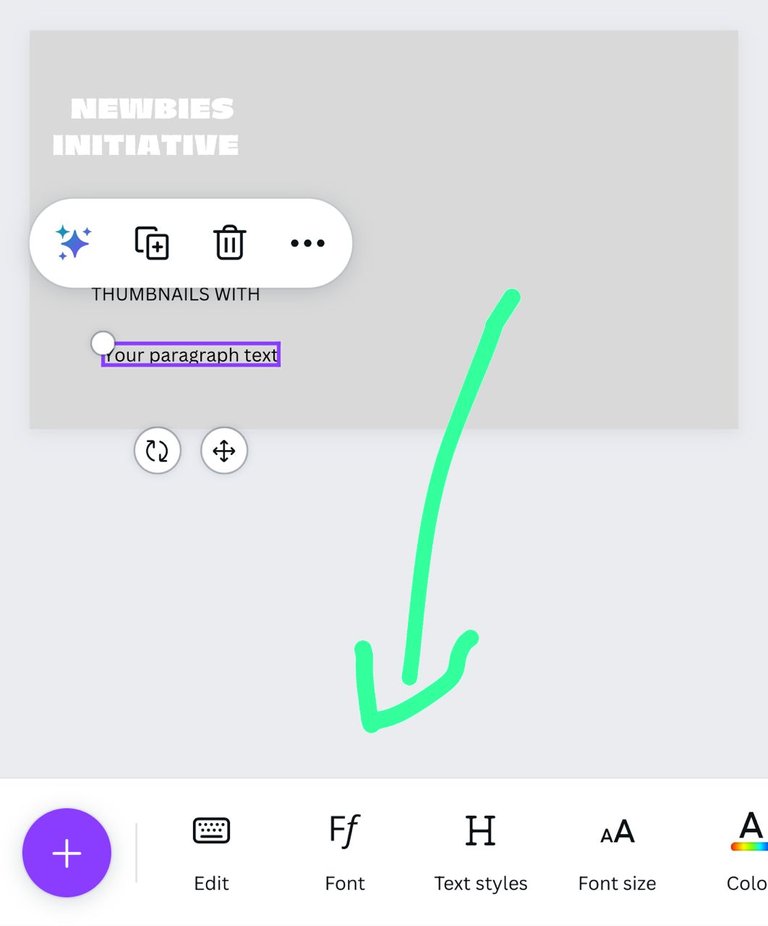
STEP 2: Add your text. Adding text is important in thumbnails, it is what conveys the idea of your post. It must be easy to read and attractive to the eyes.
To add text, click on the + icon, then click on text. Choose the text box, and everything you need for your text to be eye catching will be displayed below. For example, color, size, font style, and so on.
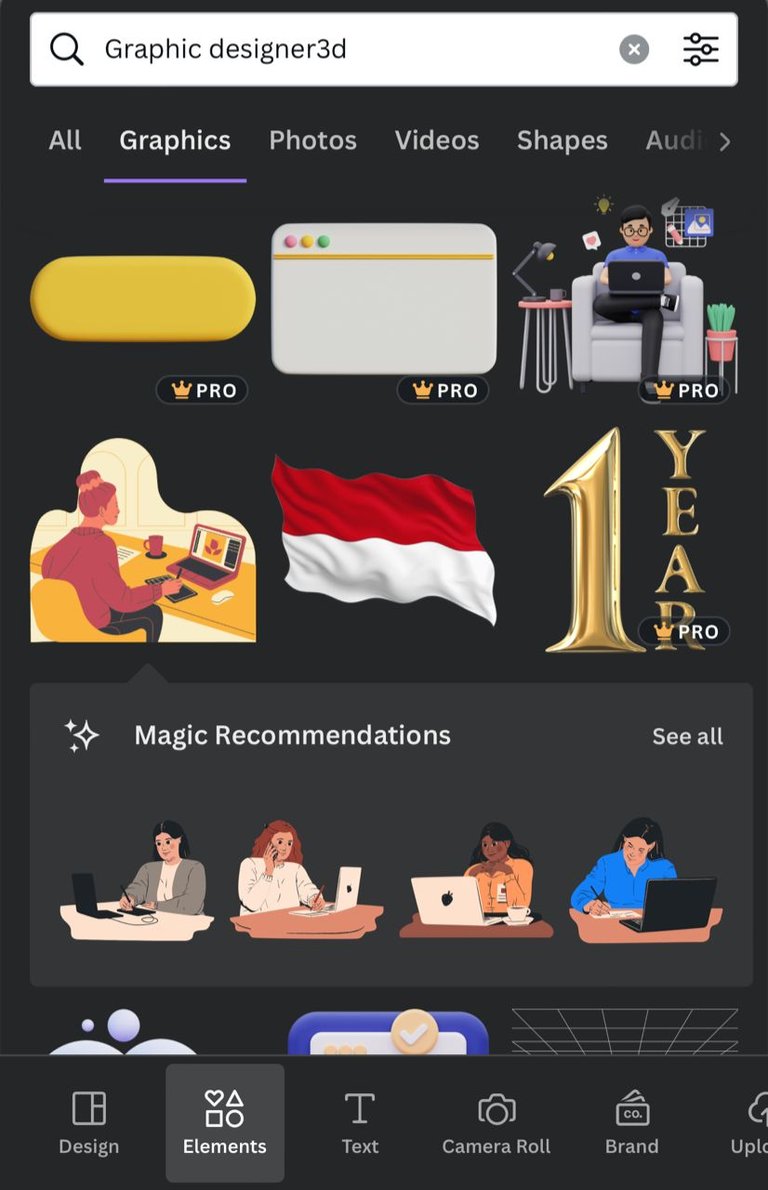
STEP 3:Proceed to add your image.
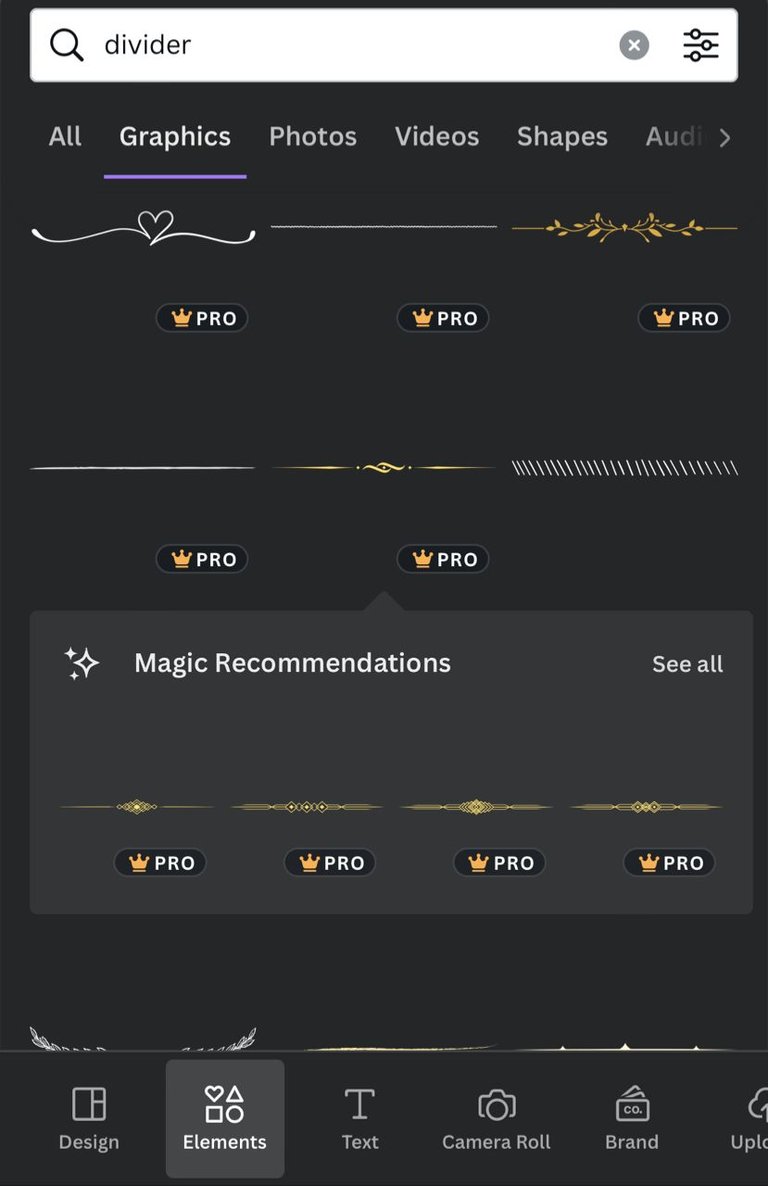
Click on the + icon, select Element from the options displayed. Element contains a lot of interesting stuff like images, shapes, banner divider and so on. The one thing you will interact with the most is Element because it contains almost everything you need to in the process. Just search for it and you are good to go.
To add images click on Elements, search for images frames, select the one you want.
Click on the + icon select upload. Upload, consists of images you have uploaded before or click on camera roll, when you click on it, it takes you to your gallery.
You can also make use of images from Element.
STEP4: Using Element, you can decide to put a divider, you can also use any other shapes. Edit to your taste or satisfaction and your Thumbnail is ready!
Note: You can always explore other icons on the workspace when designing. For example, Effect.
My second Thumbnail
I chose an exiting Thumbnail on Canva and I edited it following the steps above
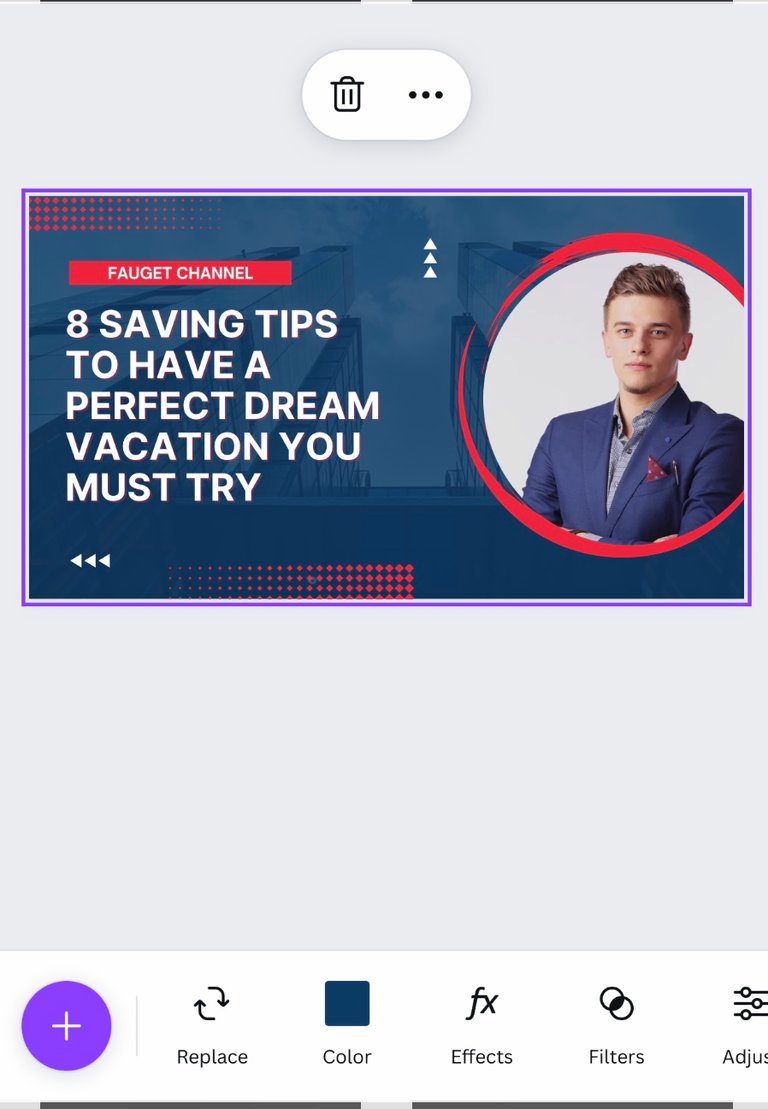
Original image
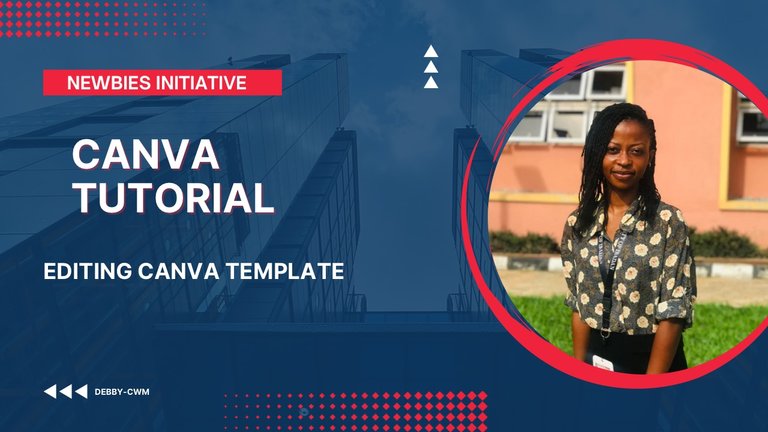
Edited image
Explain why JPG format should be your preferred export format.
JPG: It is preferred because it is smaller in size.
Grateful Heart ❤️
Thanks for visiting my blog 🥰
With your own understanding, explain what you understand by "thumbnail." Hence, discuss why they have to be stunning and of what importance it is in relation to creating content.
A thumbnail is a graphic design that summarizes what your post is all about.
It provides insight into what is to be expected in the post. That is why it must be eyes catchy and attractive.
A good thumbnail will attract readers to your post and can qualify you for curation.
What are the dimensions in relation to creating thumbnails? What is the general size (or dimensions) for a thumbnail, and explain why it is so?
Dimension is the size of your content.
The acceptable dimension is 1280 x 720 pixels because it displays thumbnail better when used.
For this task, make two thumbnails. Use one as the main, and provide the other in the post. Both images should be different yet relevant to the post. Hence, provide a step-bystep explanation of how you achieve each.
In designing a thumbnail, you can use a pre-existing template on Canva, change the text and picture and Boom! You are good to go.
You can also start your design from the scratch. I will show you how I design my first Thumbnail.
STEP 1:There is a + icon at the home page which leads to dimension. Choose your dimensions by creating a custom size for your work. I will be using the standard size 1280 by 720
You can change the background by clicking on the replace option.
Features above
From the left-hand side, we have.
Home icon: It takes you to the home page
The undo and redo icon: It helps to go back to previous action and back to the initial action.
The three dots icon: It displays the setting and page design.
The crown: It signifies the Pro version.
Download icon: Click on it to save images
share icon: Allows you to share with other apps.
At the center.
Editing plane: this is where you see what you are working on and edit
Features below.
The + icon: it display section where you will find text, element, upload, and so on.
The other iconopen a place where you can delete, duplicate and add new ones.
STEP 2: Add your text. Adding text is important in thumbnails, it is what conveys the idea of your post. It must be easy to read and attractive to the eyes.
To add text, click on the + icon, then click on text. Choose the text box, and everything you need for your text to be eye catching will be displayed below. For example, color, size, font style, and so on.
STEP 3:Proceed to add your image.
Click on the + icon, select Element from the options displayed. Element contains a lot of interesting stuff like images, shapes, banner divider and so on. The one thing you will interact with the most is Element because it contains almost everything you need to in the process. Just search for it and you are good to go.
To add images click on Elements, search for images frames, select the one you want.
Click on the + icon select upload. Upload, consists of images you have uploaded before or click on camera roll, when you click on it, it takes you to your gallery.
You can also make use of images from Element.
STEP4: Using Element, you can decide to put a divider, you can also use any other shapes. Edit to your taste or satisfaction and your Thumbnail is ready!
Note: You can always explore other icons on the workspace when designing. For example, Effect.
My second Thumbnail
I chose an exiting Thumbnail on Canva and I edited it following the steps above
Original image
Edited image
Explain why JPG format should be your preferred export format.
JPG: It is preferred because it is smaller in size.
Grateful Heart ❤️
Thanks for visiting my blog 🥰