Hello Hivians! Welcome to my blog 🤗. So a few days ago, I got bored jobless and I randomly found an old piece of shoelace lying on the floor. Suddenly, an idea popped up to crochet a lacelet with it although, it's my first time making one.
Now, a “lacelet” is a word I'm not sure exists but I coined that name because it's a 'bracelet' made with a 'shoelace'. And since the end result came out nice, I thought about redoing it for the creative Sunday initiative. This time, I took photos of my process. So in this blog, I'd be showing you the diy process of how I made this lacelet of mine 😊.
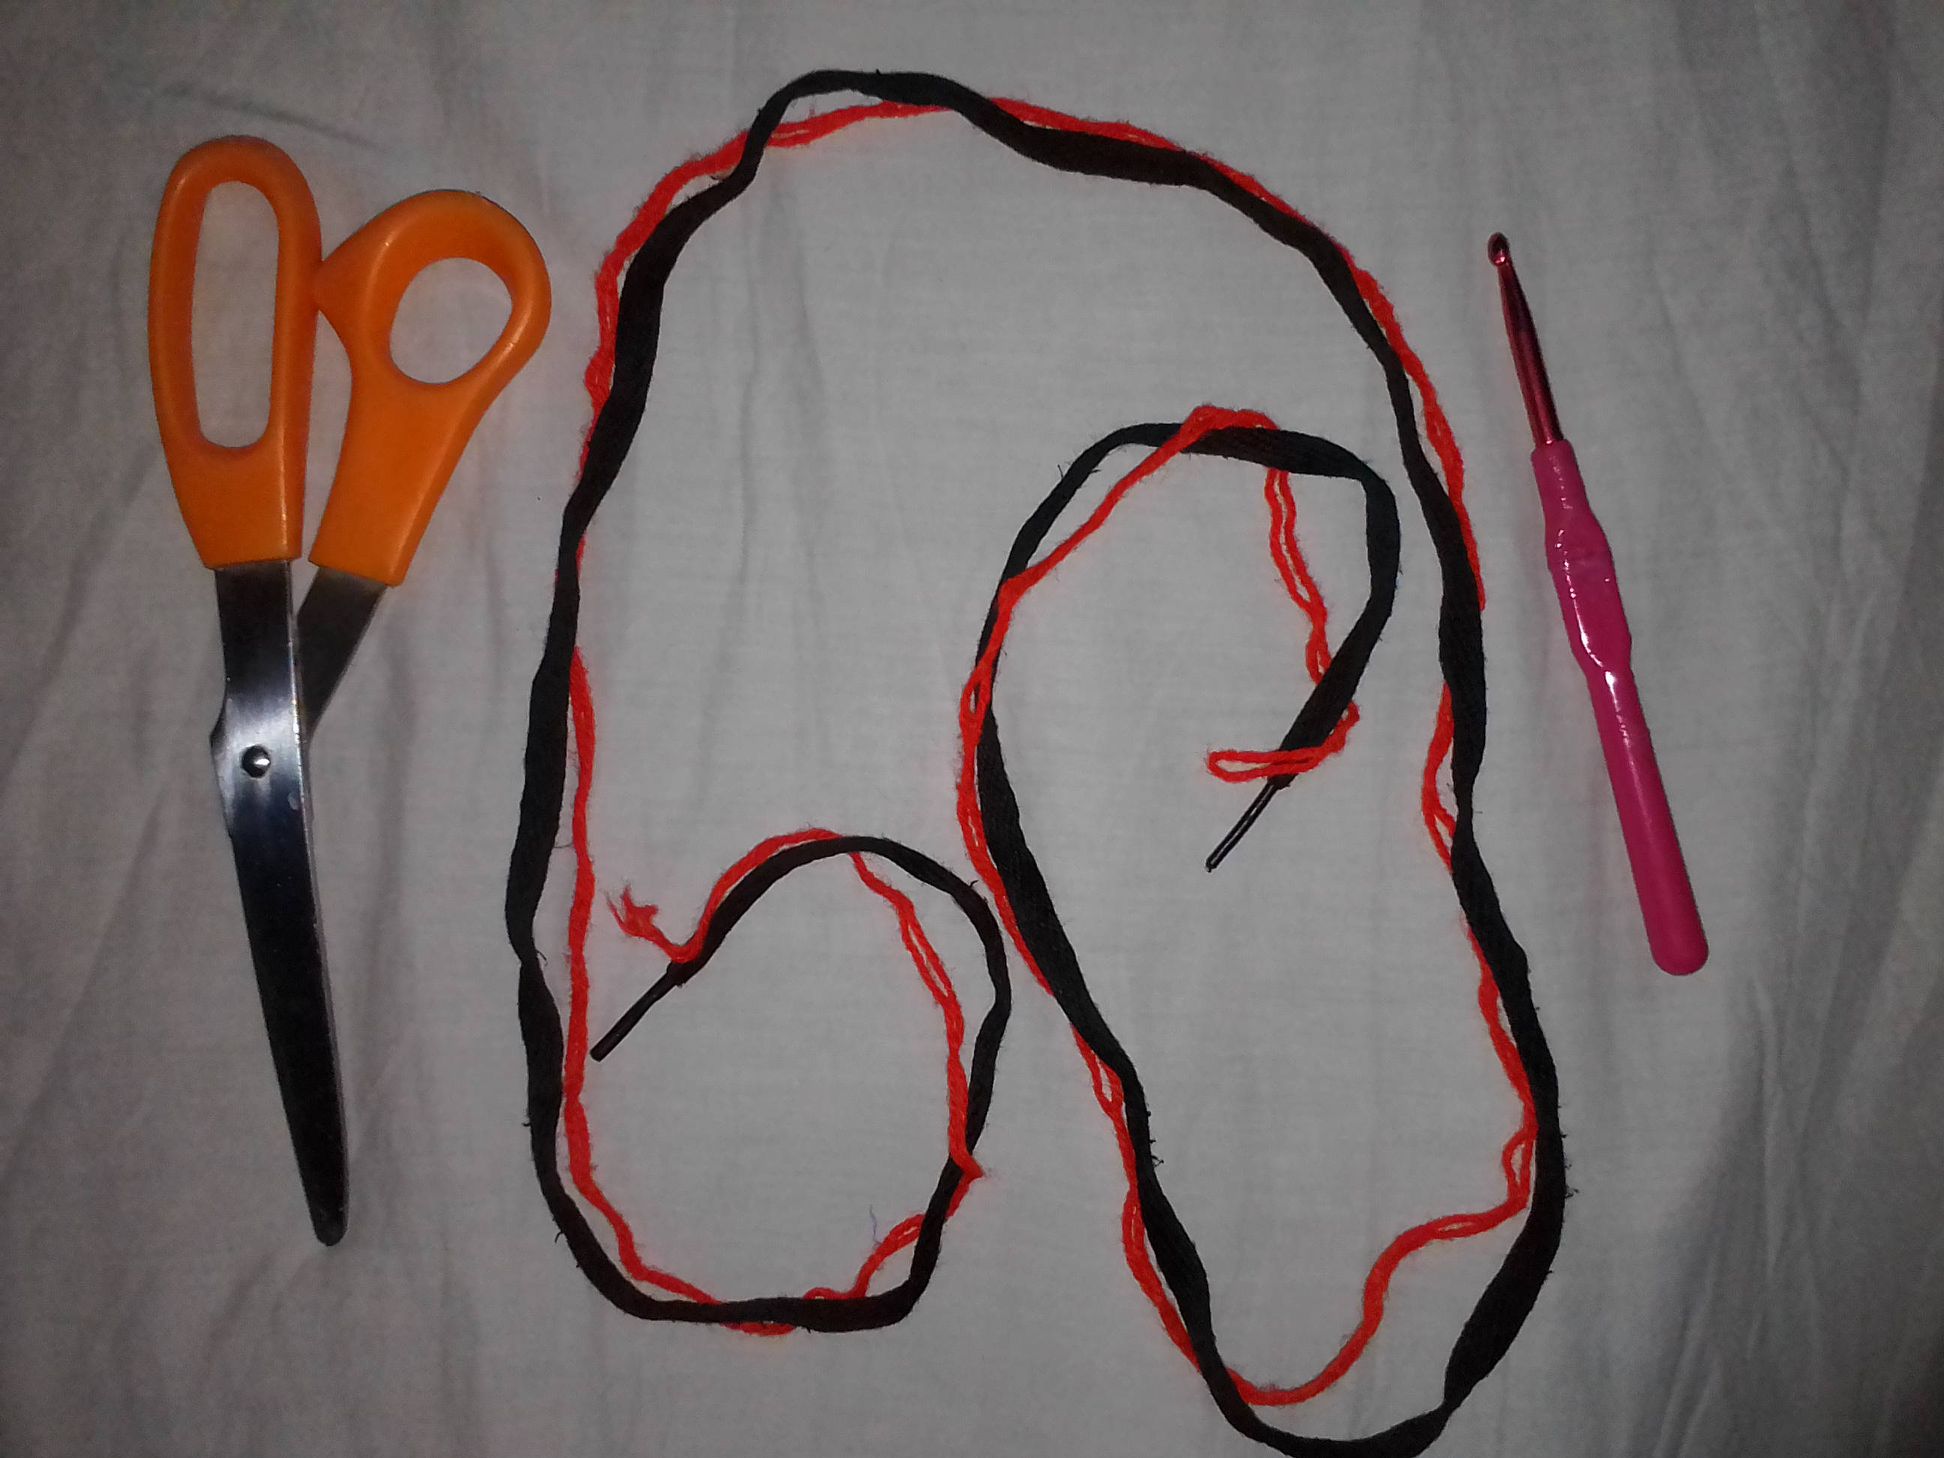
MATERIALS USED:
THE PROCESS:
STEP 1: Join your piece of shoelace and a piece of your yarn. In this case, I doubled mine for no serious reason. The piece of yarn simply serves as a design to complement the lace colour. You're free to go creative with your colour mix. Then, once you've joined both, make a slip knot on which you'll insert your hook into. Also, make sure to leave out some of the lace ends which would serve as the tie end of the lacelet.
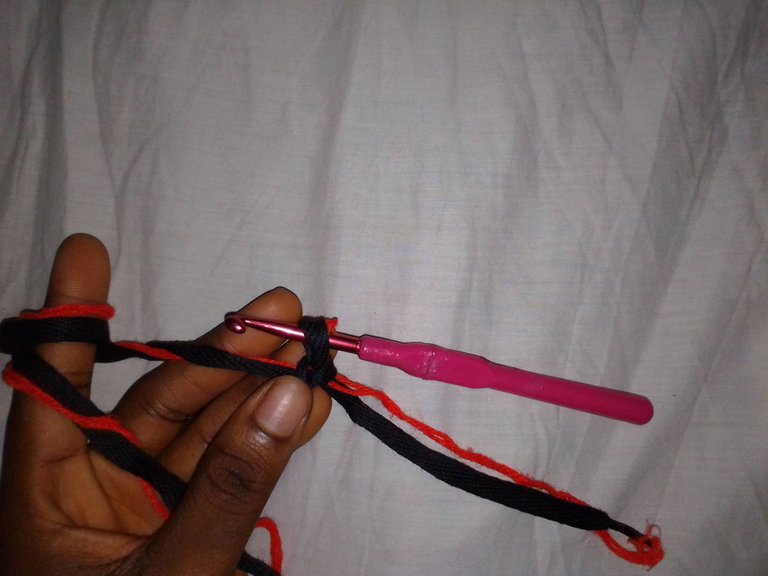
STEP 2: Once you've twisted one part of the lace unto your index finger, use the hook on your right hand to yarn over the lace, then you pull through.
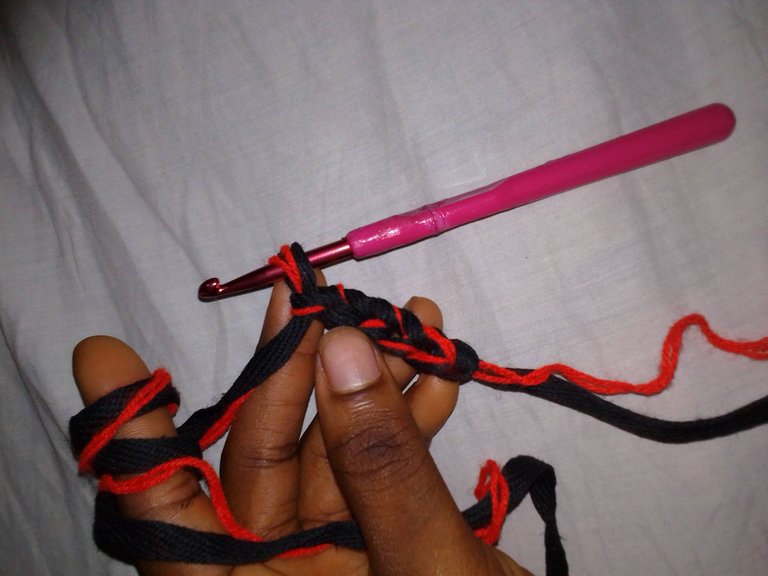
I think this process would be easier for crocheters who are already familiar with the term. Which is why I wish this was a video tutorial so others can understand better. Anyway let's move on... This process is basically called the “chaining process”. What I did was create chains with my hook which would serve as the body of the bracelet. For this case, I chained until the end of the lace was equal to the other tie end. So now there's two tie ends.
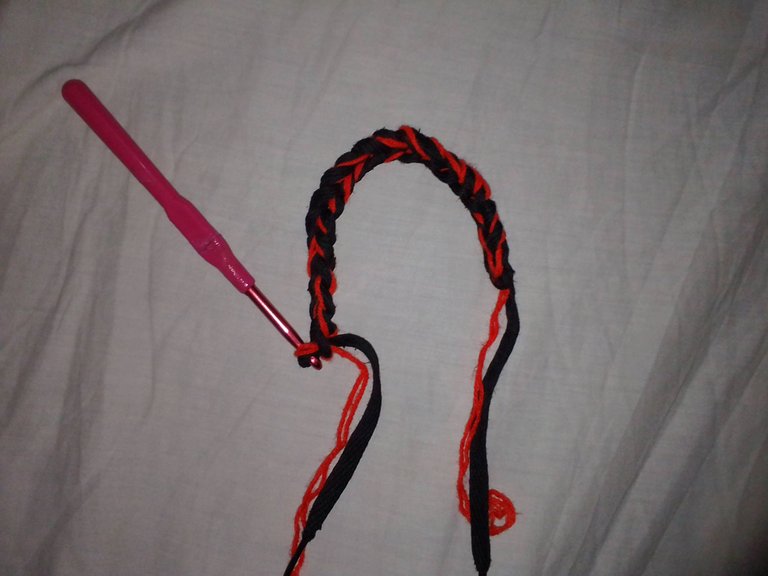
STEP 3: The next step is to close up both ends by first pulling through the yarn with our hook and cutting off with a scissors. The first end should be closed up by tying the yarn and the lace together. This is done so that the lacelet doesn't come lose. Also make sure to cut off the excess yarn as we won't be needing them anymore.
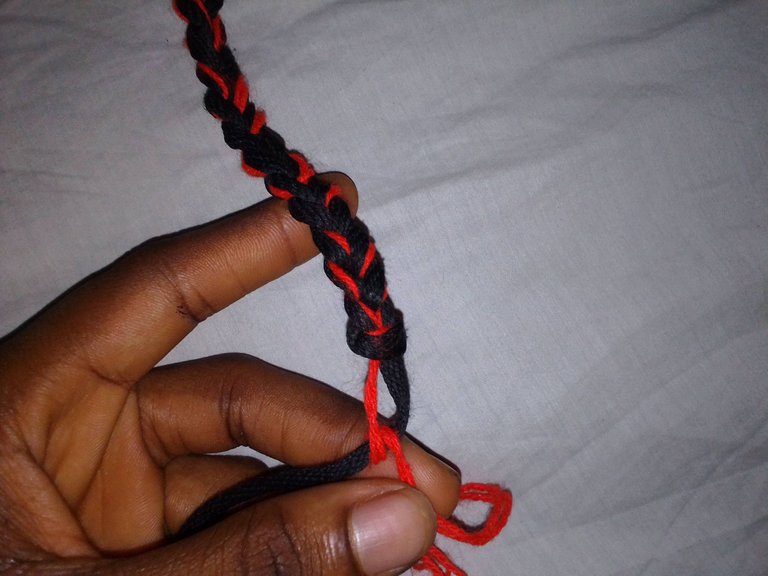
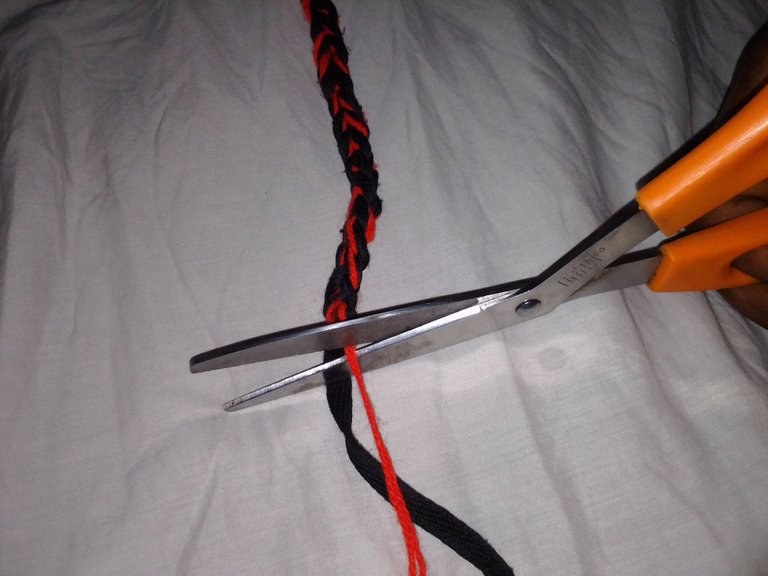
STEP 4: This is the final step and it only entails tying both tie ends in a way that it's adjustable and easy to wear. All you have to do is take one end and tie into the other.
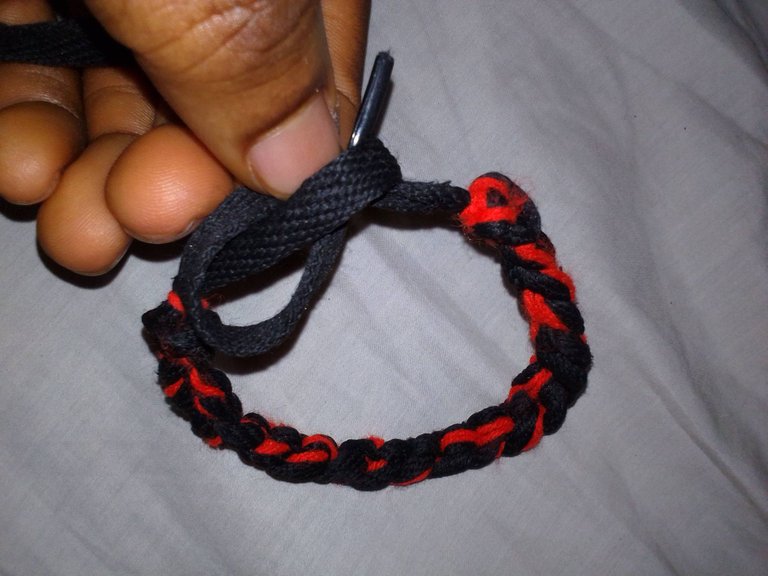
This is how it should look in the end.

And voilà! A nicely done lacelet!
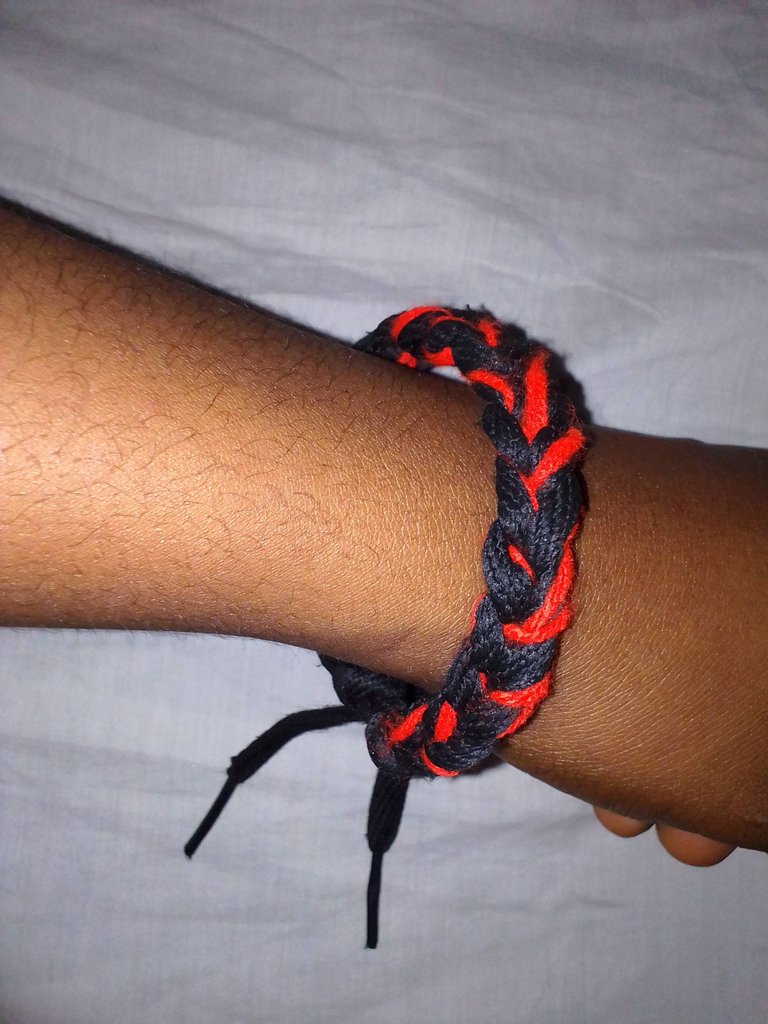
I believe this diy would be beneficial to us bracelet lovers. It feels good to make something beautiful out of anything. Plus, it'll help to save money. Stuff like this is pretty expensive out there but in the comfort of my zone, I can make one for myself with available resources.
It was fun making this and I hope you like it as much as I do. And please do let me know what you think of my little creativity ☺️.
THANKS FOR READING! ❤️


