Hello, 🤗 creative Sunday friends. Today, in my little adventure of beading the 26 Alphabet as part of my two-year-old son's educational materials, I will show you how I beaded the letter 'M.'
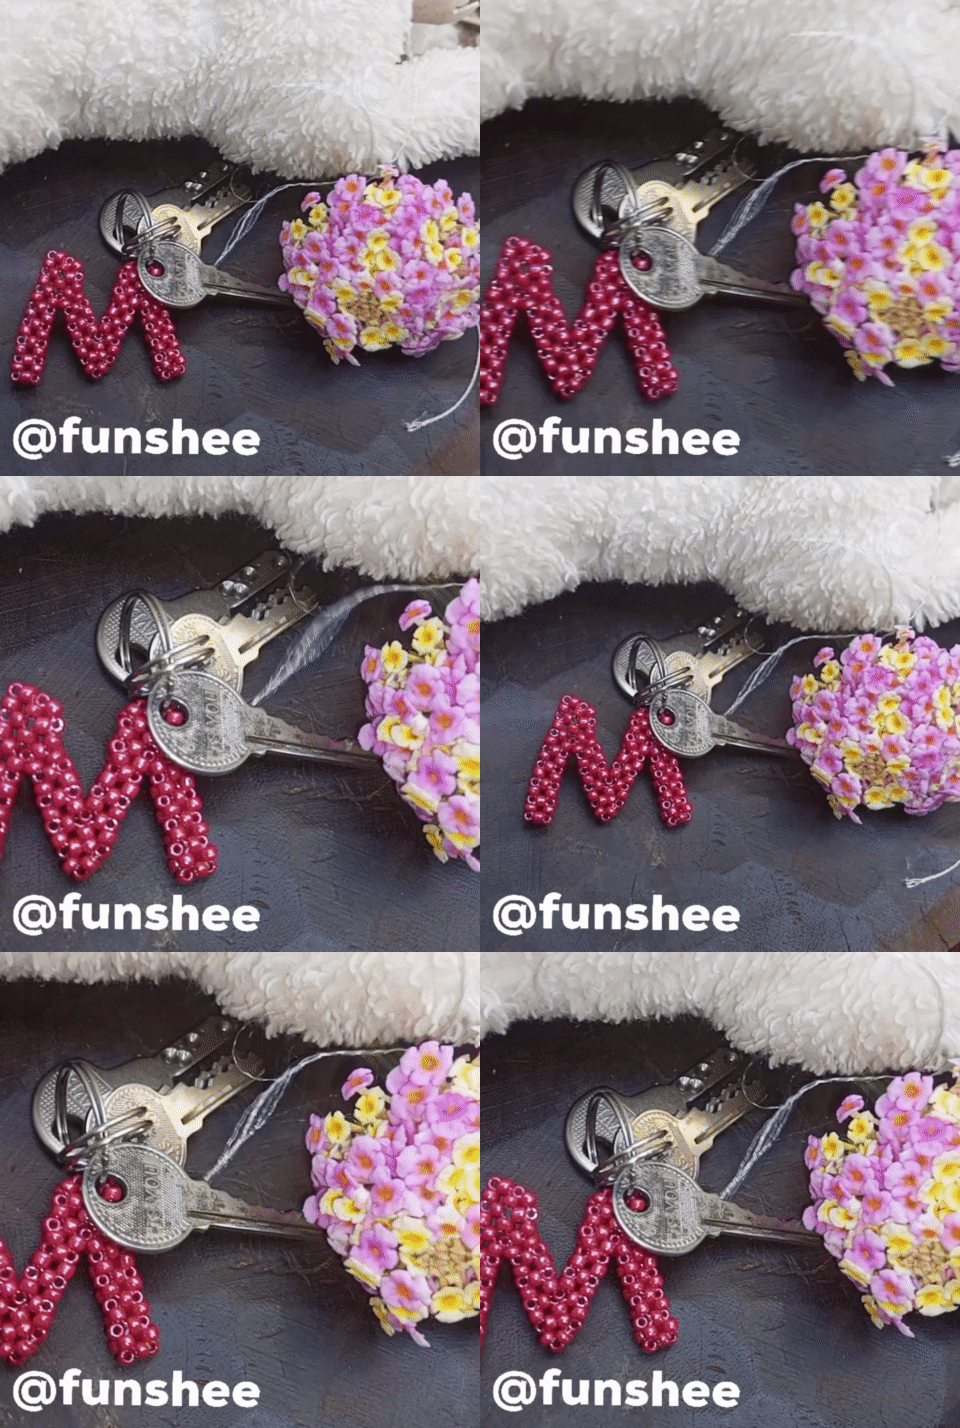
This M can as well serve as a necklace pendant or a keychain depending on what you want to use it for. I have to admit, the M is the toughest letter I have done so far; I kept messing up at the turning of the legs, but don't worry, I have simplified the process as much as possible for you in case you want to bead yours.
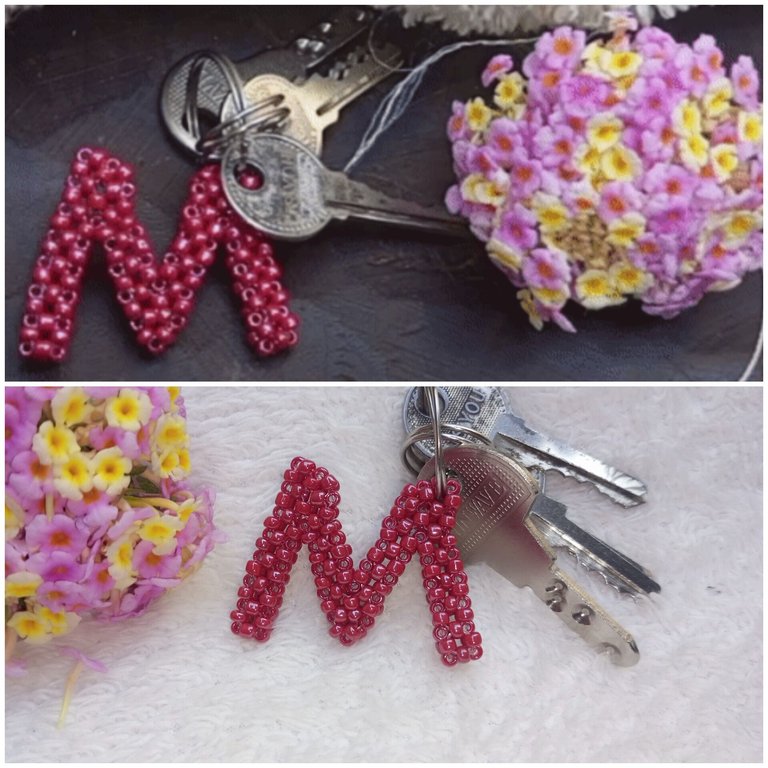 The letter 'M' is a special letter to me; it's the initials of my parents' names, and that is why I have chosen this beautiful deep red color as a symbol of love that connects my parents, which then extends to myself and now my kid❣️.
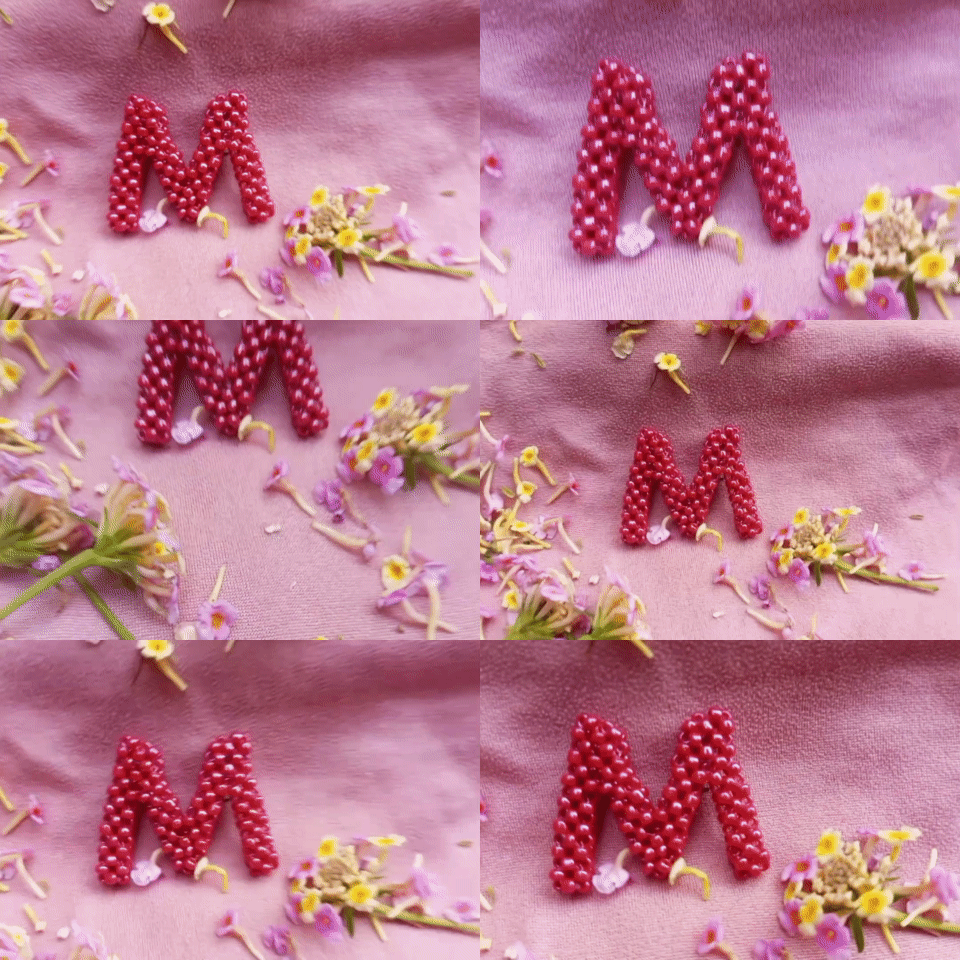
I feel so blessed to have this Lantana Camara in my backyard. It keeps on bringing me fresh flowers every time I want to photograph my work—beautiful, right? It is such a strong plant that keeps flourishing even in our current dry and cold weather.
 Okay, enough of the small talk; let's get to beading. 😊
Materials used:
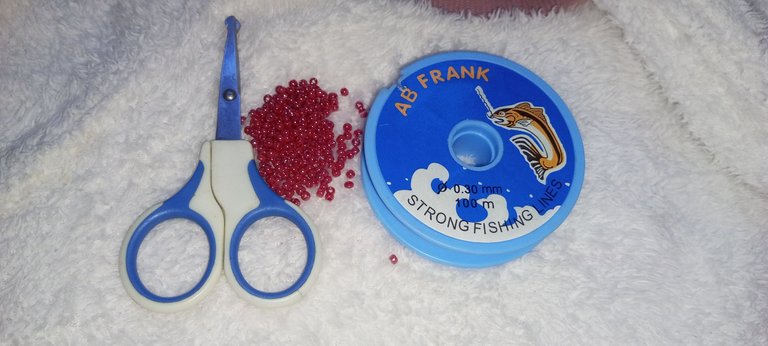
To make the beaded M, I make use of the following materials:
✓ 0.30 fishline
✓ Deep red seed beads
✓ and scissors
Step-by-step process:
Step 1:
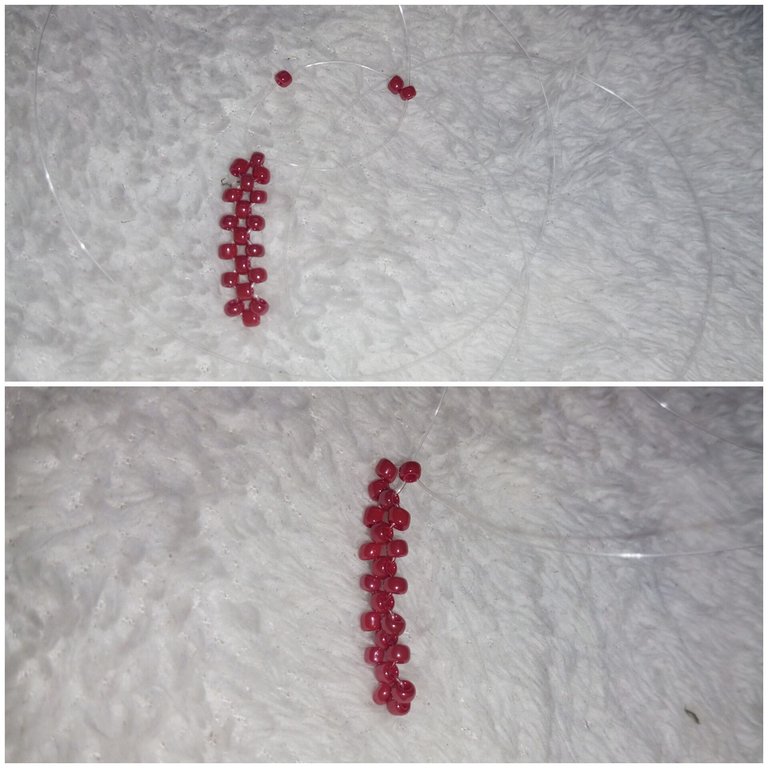
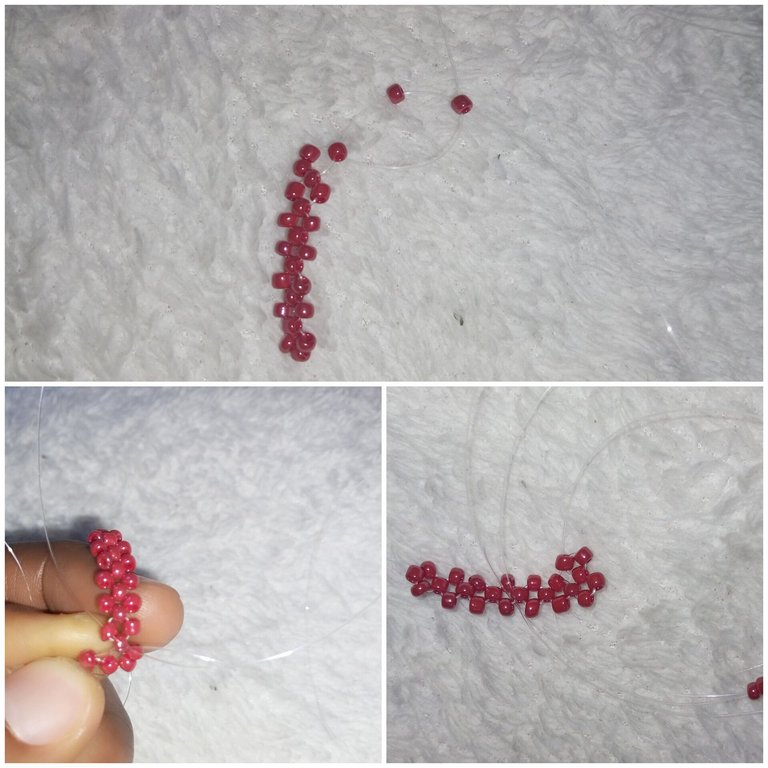
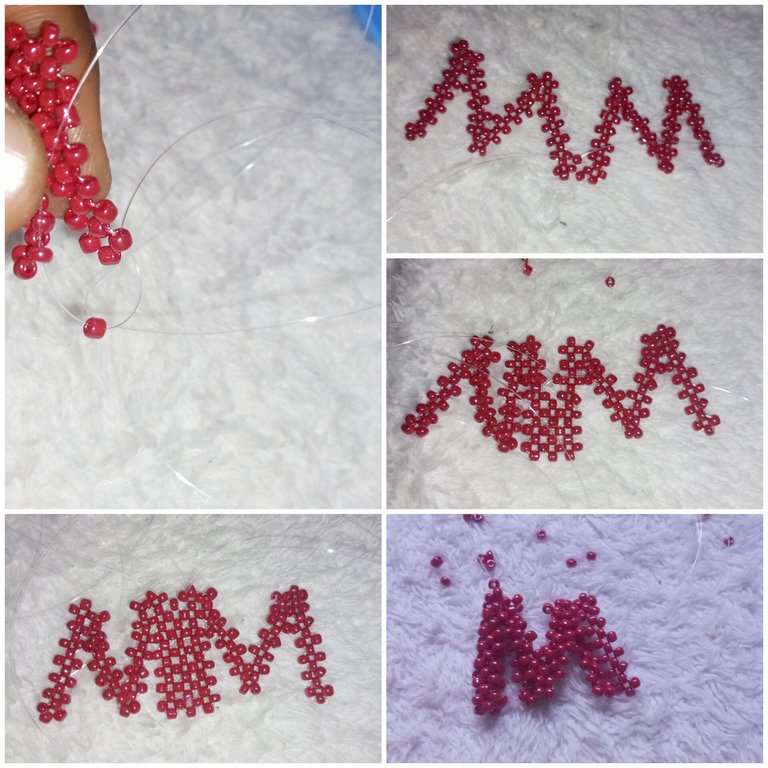
I started by putting four beads on a 100 cm fishline, then crossed both sides of the fishlines with the fourth bead. I continued to put one bead on my left fishline and one bead on my right fishline and then crossed both lines with one bead; I repeated this until I had six rings of beads. Then, for the seventh ring, I put two beads on my left fishline and one bead to cross both lines, as you can see below.👇
Step 2:
Here I put one bead on my left fishline and then one bead to cross both lines. After that, I put my left fishline to the next bead on the line, put one bead to the left fishline, and one bead to cross both lines.
Step 3:
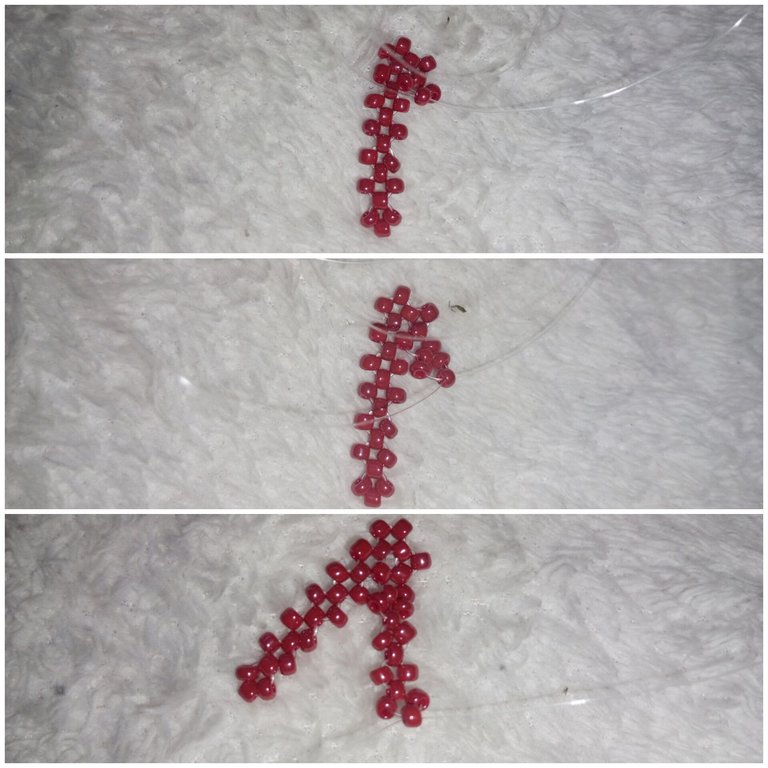
I continued to add one bead to the left, one bead to the right, and one bead to cross both lines until I made seven rings of beads on this line.
Step 4:
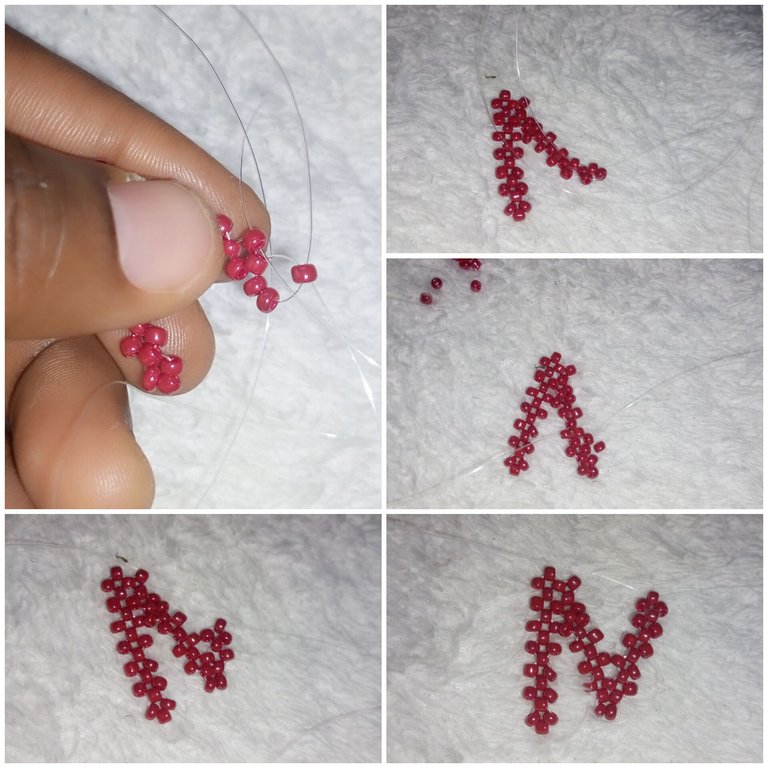
To turn the line, I put two beads on the left fishline and one bead to cross both lines. I passed my left fishline to the next bead by the left, as shown in the picture, and then continued to add to the beads until I had seven rings of beads on this line.
Step 5:
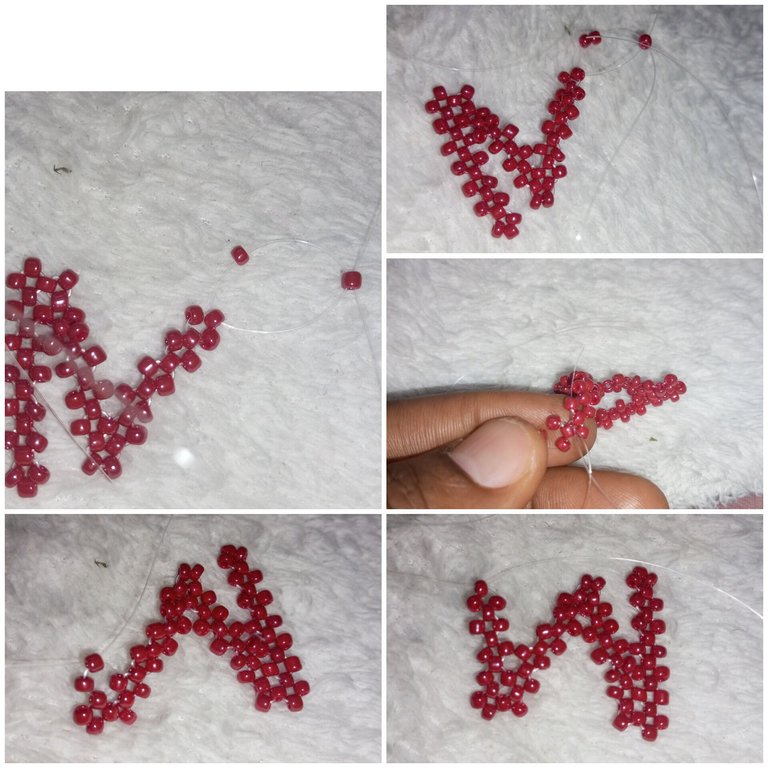
Here, I needed to turn the line for the last time, so I put one bead on the left fishline and one bead to cross both lines. From there I put two beads on the left fishline and one bead to cross both lines. And then I continue to add to the beads until I have seven rings of beads on this side. Which gives me half of the 'M.' I tried the knots, trimmed the excess fishlines then kept it aside.
Step 6:
I repeated steps 1 to 5 above to make the other half part of the 'M.'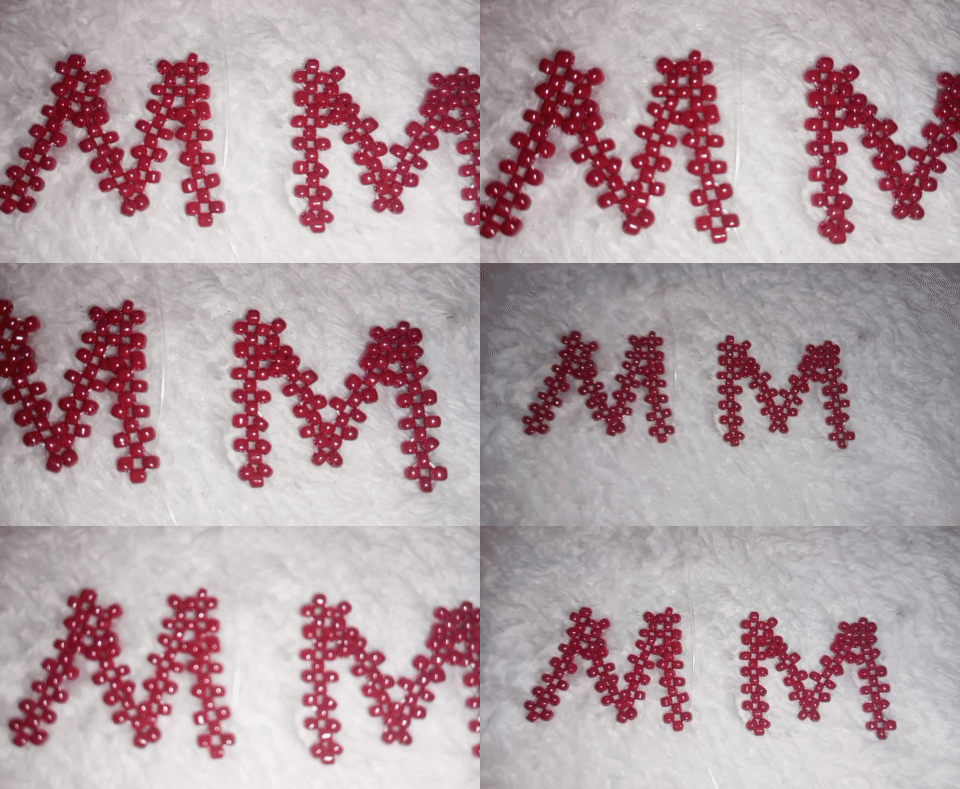
Step 7:
I simply brought the two halves together, using a new fishline, I started to join them with one bead until the M was complete. I tied the knots and cut off the excess fishlines.
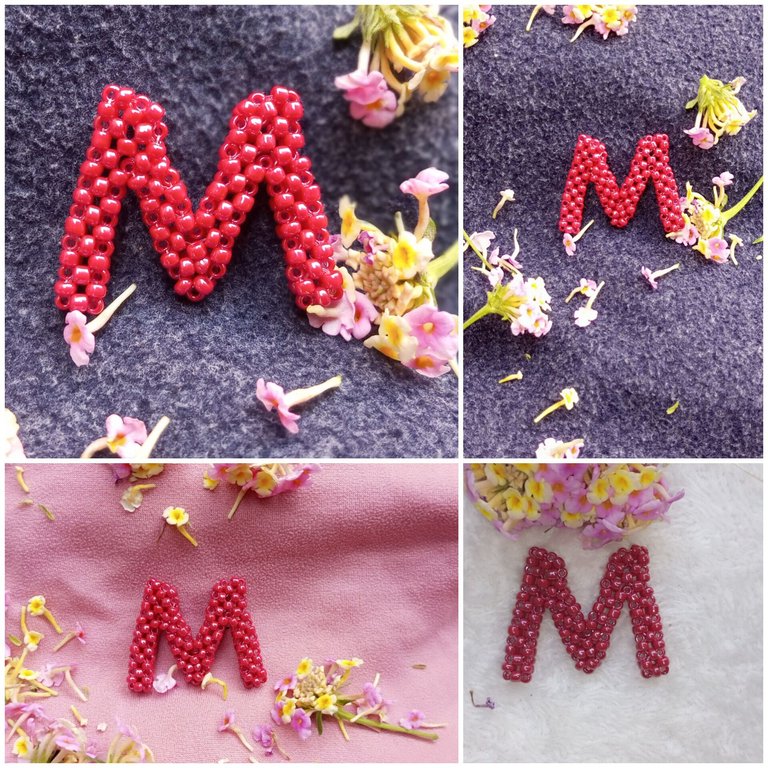
And we have our 'M.'
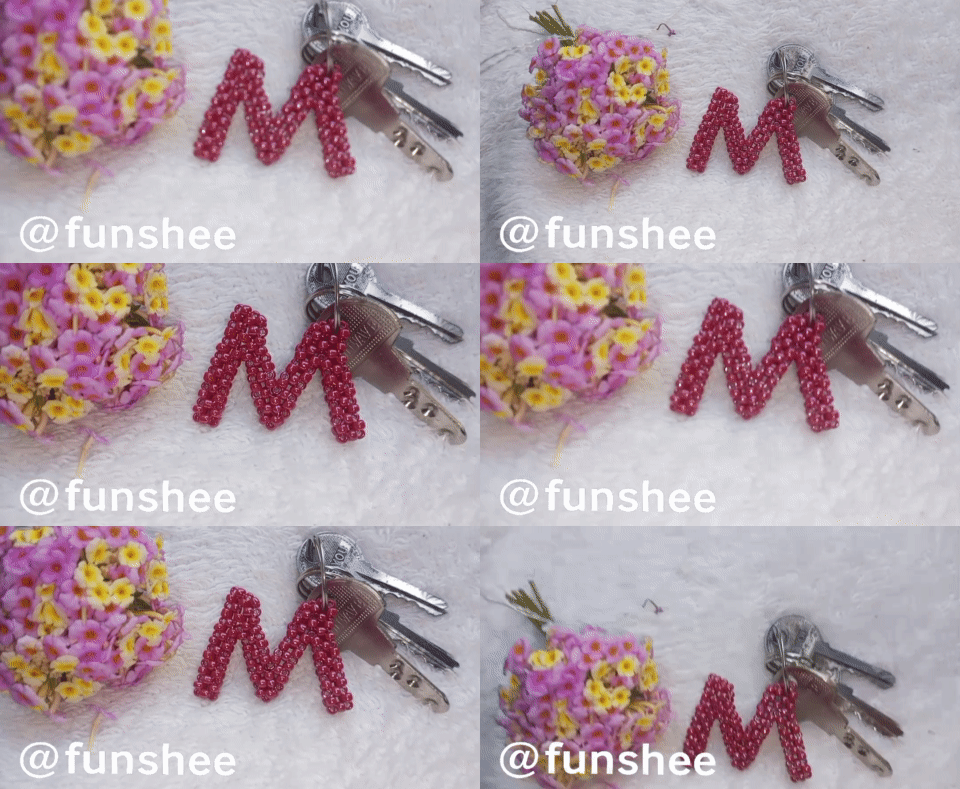
I simply inserted my keyring through one side of the 'M' to make it a keychain.
Made with love, and I hope that you love it. And please, let me know what you think about it in the comment section.
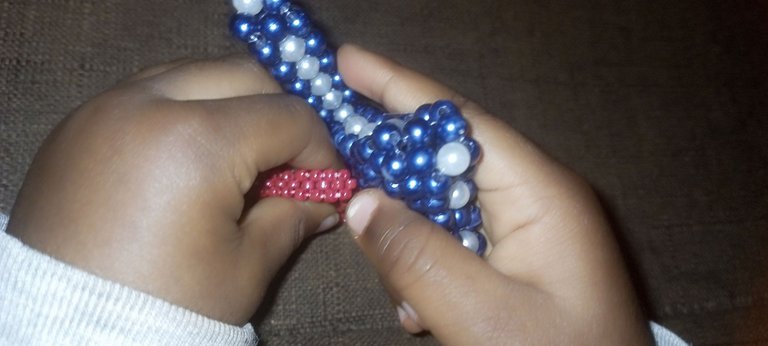
And guess who hasn't let go of the M, since yesterday? This was 5 am, and the first thing he said and looked for was M; I guess he gets a new favorite until a new letter comes along hehe.
Thank you very much for your time and support; have a blissful Sunday.❣️
All images are mine @funshee ❣️😊✍️


