Hello, everyone.
I welcome you to my blog. Sundays down here are considered a day where you relax and prepare for the new week, a day where you try to avoid stress as much as you can, so you will have enough strength to face the stress that comes with the new week, but in the hive learners community Sunday is that day where you get to see creativity at its peak, a day where members go extra miles to show how creative they can be.
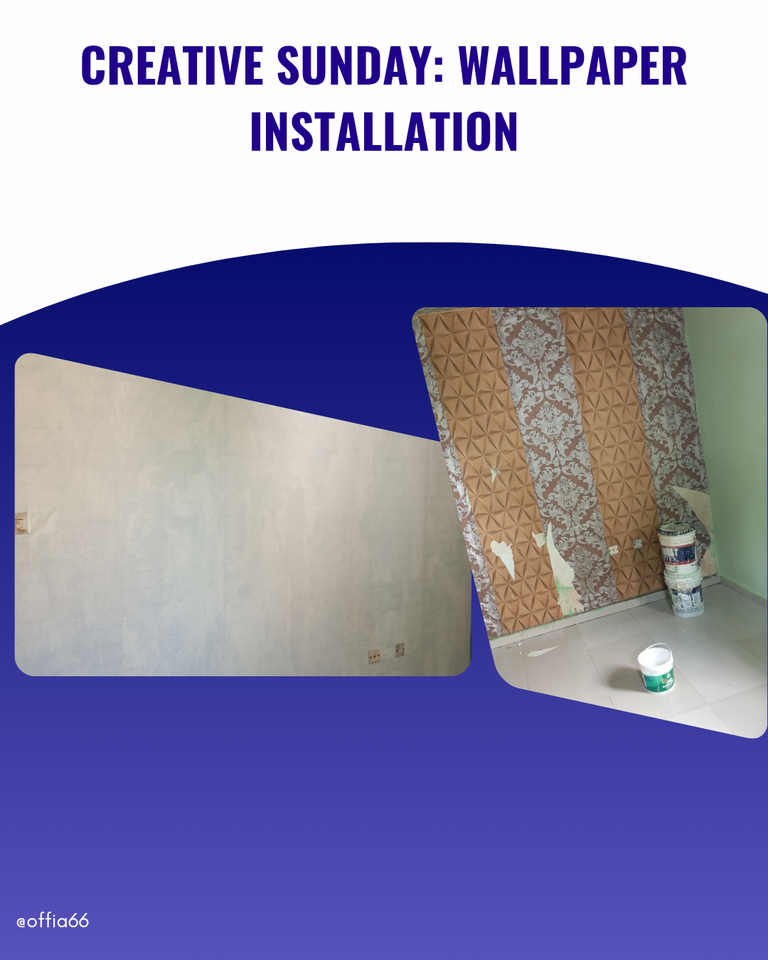
designed in canva.
After my internship program, I had to enroll in an interior design course, and we have been up and doing, and yesterday we were directed on how to successfully install wallpapers. I never knew it would be hard and easy at the same time. Just a few steps and it is over, though it has some challenges.
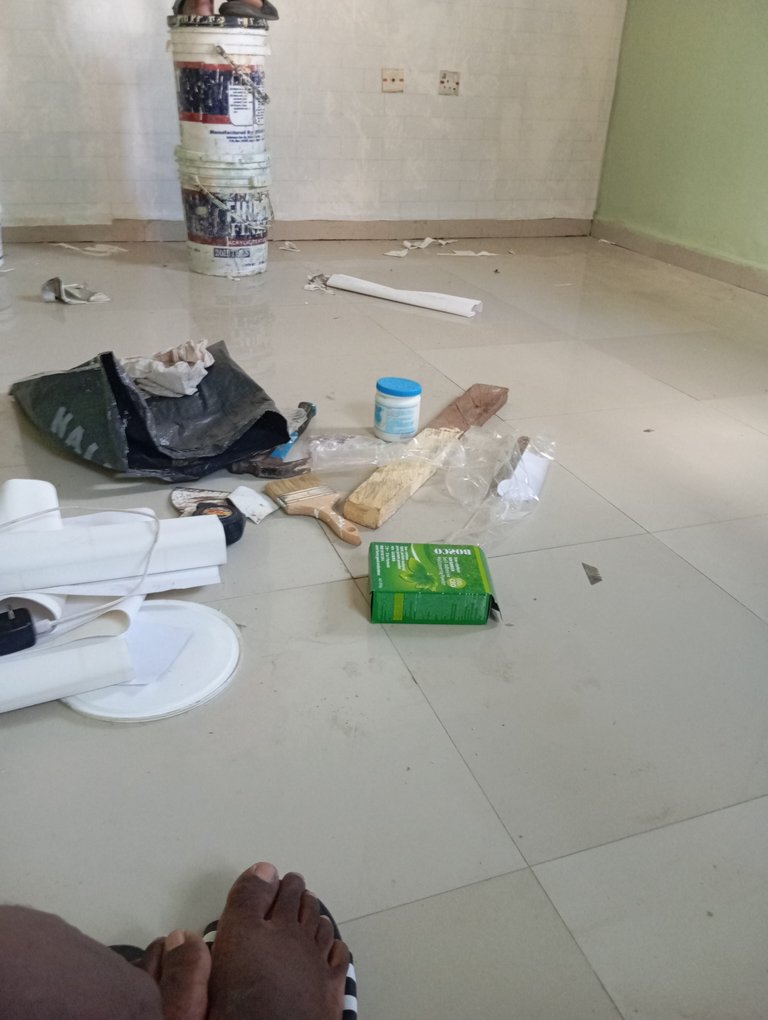
picture of the tools and materials used.
- Brush
- Wallpaper
Potato starch - top bond
- water
Cutter and scissors
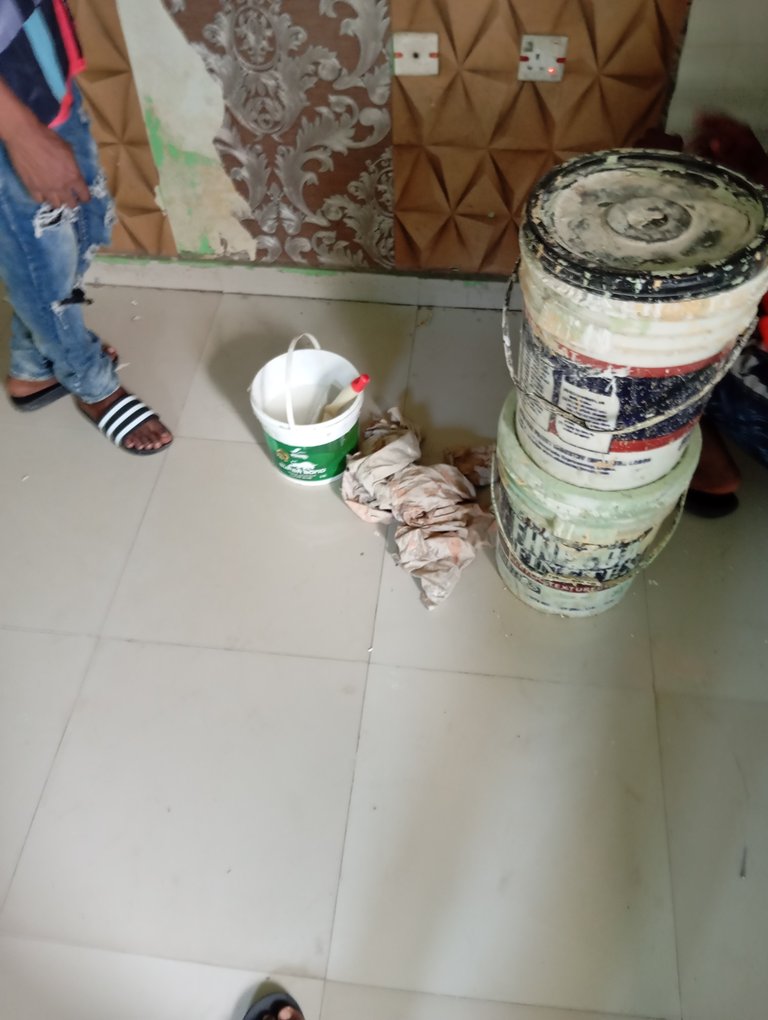
adhesive in the bucket.
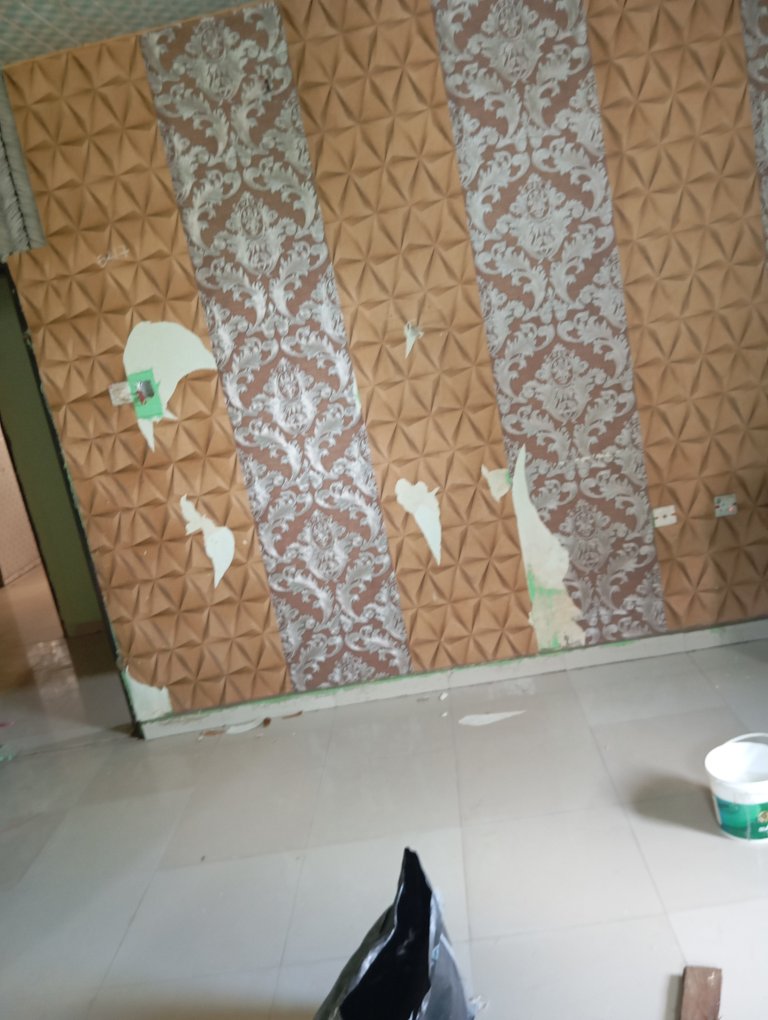
The wall or surface with the old wallpaper we could not get off.
We mixed our potato starch and top bond adhesive with water. After that, we went ahead to try and remove the previously installed wallpaper, but we could not because the previous installer used only top bond to install it, and therefore forcing it off could bring about a rough surface, so we settled to install the new wallpaper on top of the old one. According to my boss, the mixture of potato starch and top bond adhesive with water is good and will be easy to uninstall compared to when you use only top bond like in the case of the previous installer and will only force subsequent installers into confusion.
At this step we used the brush to apply adhesive to the wall or surface we are about to install the wallpaper on. You don't apply on all the walls at a time instead just around the area your wallpaper will cover to avoid the adhesive getting dried up before you get to it.
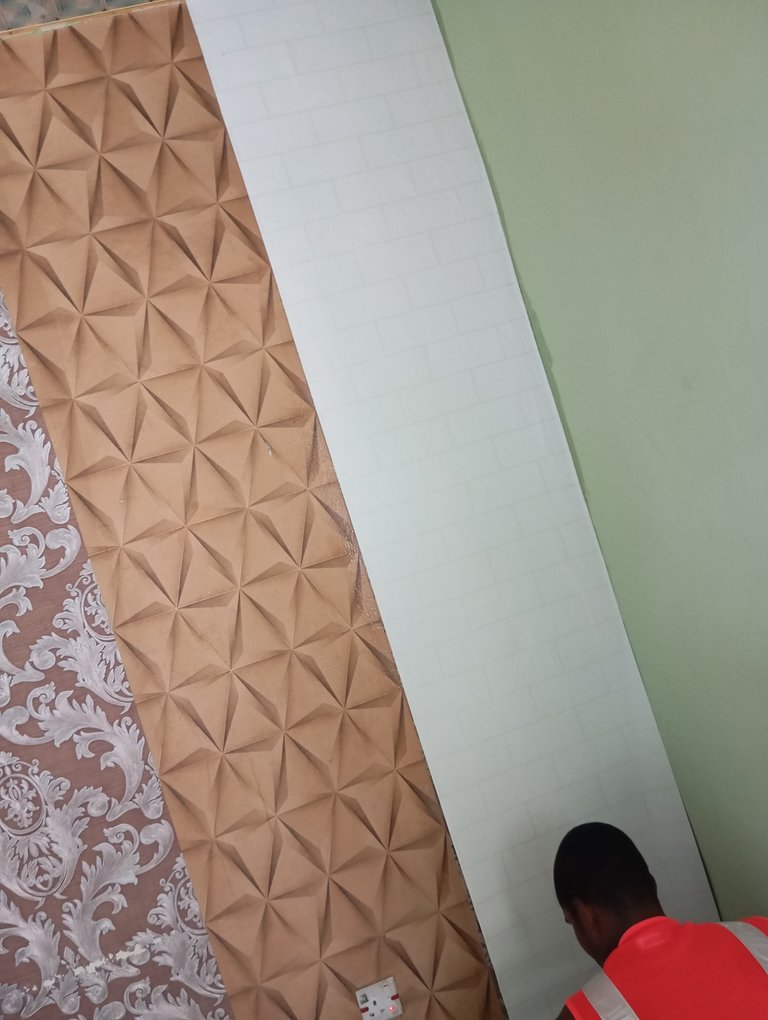
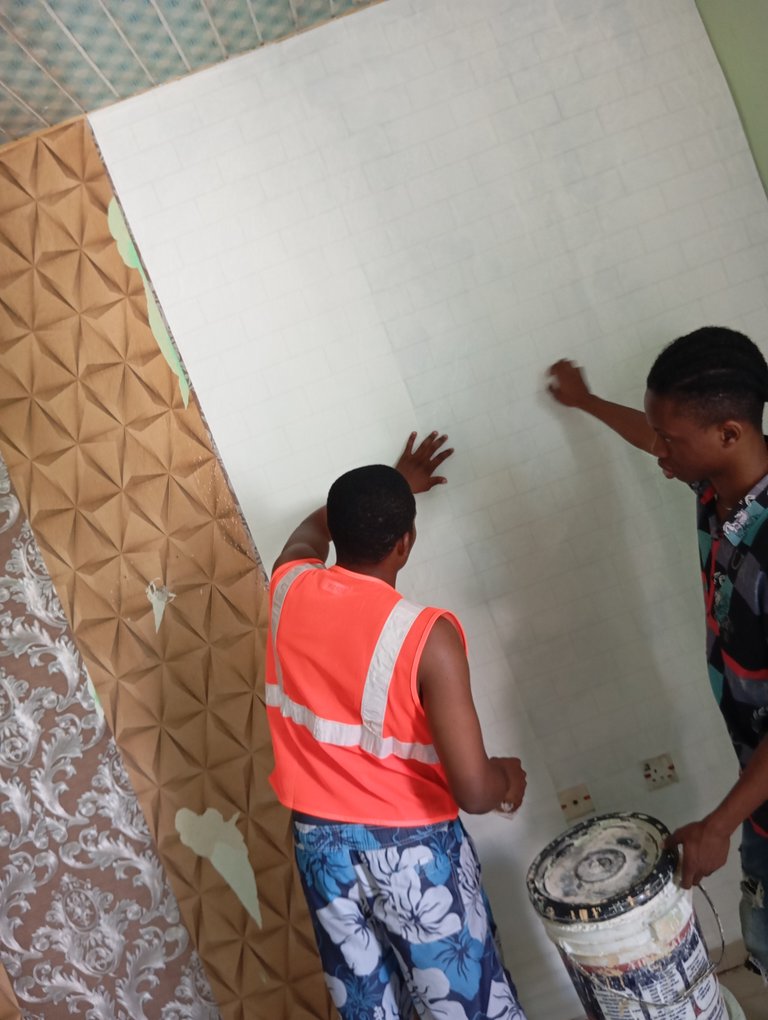
At this point, you have to be extra careful. We carefully installed the wallpaper covering the old installation as well as covering the part where we had already applied adhesive. This part is delicate as you have to make sure that the wallpaper installed is smooth and does not contain air. You can rub a piece of cloth over it or you can use your hand, but one must be careful because the adhesive has made it soft, and if you go rough, it can tear or get damaged.
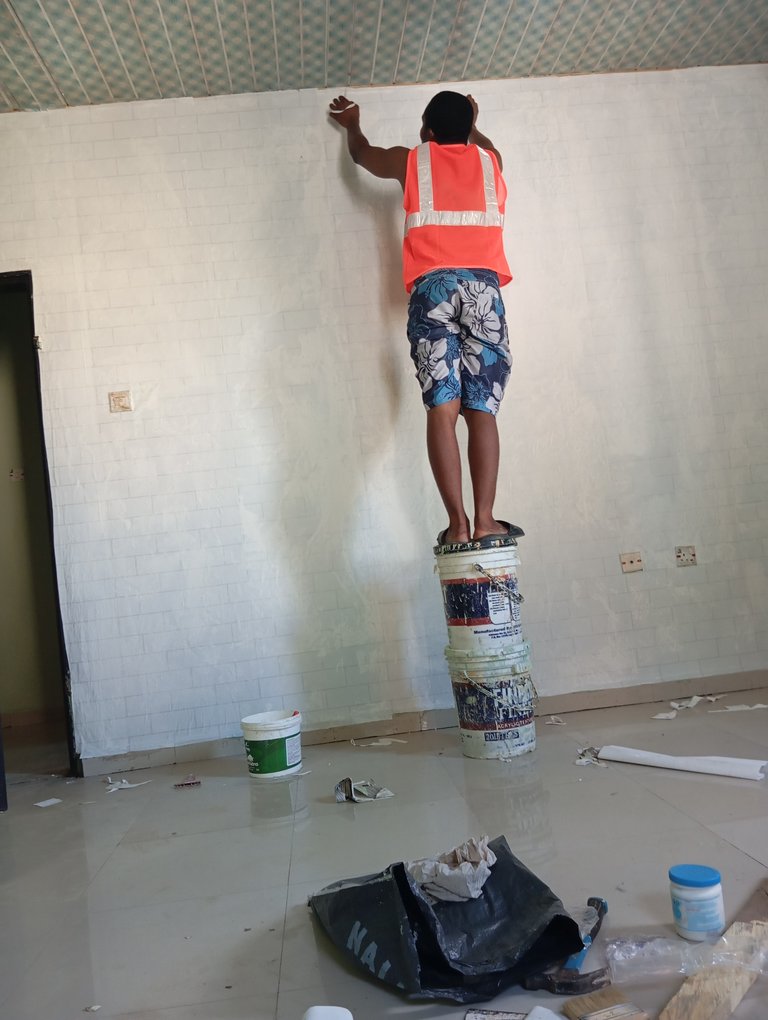
At this step we used the cutter and scissors, to trim and cut off wherever the wallpaper is in excess in order for it to be line (same height) as well as ensured that the edges sticked and had enough adhesive to keep it that way until the house owner decides to change it. Followed same process until we covered the part that of the room that required a wallpaper and the other part is to painted within the week.
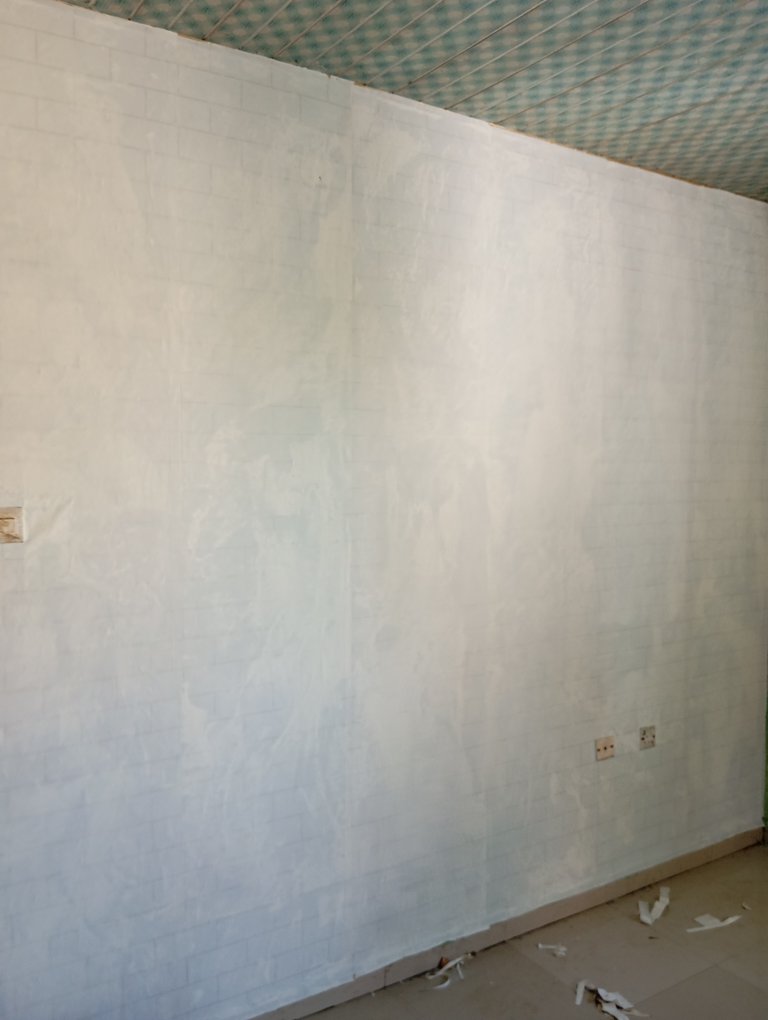
The new look on the wall after job done. All images used are mime amd were taken by me unless otherwise stated.


