Hello Everyone
How are you?
Welcome to my blog again. It's been a pleasure to share my work with you guys and seeing how much you appreciate my work has not only motivated me to keep going but sharing them on the hive and the rewards helped me a lot to get through some hard times in life. I'm really thankful to you all and that is mostly why I still share my work with you all. This has become kind of my regular habit to draw and scroll around the Splinterlands contest post's comments and look at the entries. So many great artists and so many unique ideas are generated every day. It never fails to amaze me.
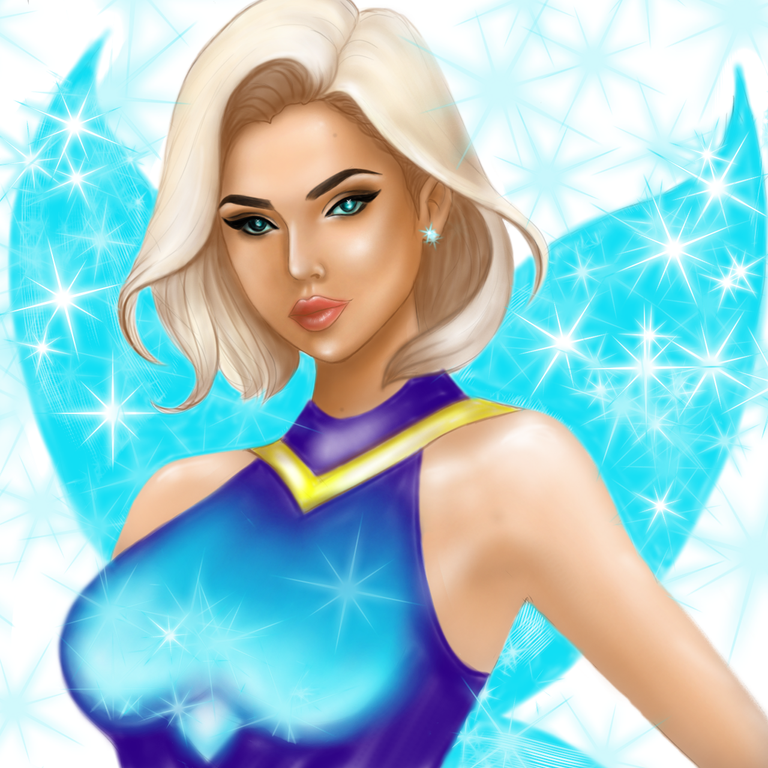
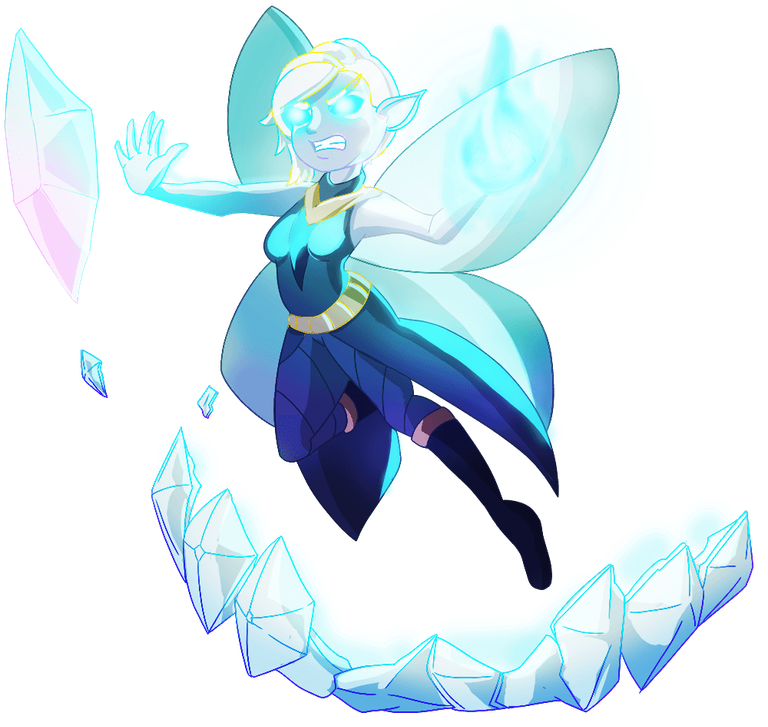
I try my best to find time to draw, practice to develop my skills further, and try creating my own versions of the cards from Splinterlands. And today I bring you another one of my artworks. This one is a fan-art version of the infamous Splinterlands monster named Ice Pixie. It's quite different from the original image. I tried to draw her just as I imagined her. I'll be sharing both my drawing and the original one below for you to judge. I'll be participating in the weekly art contest arranged by @splinterlands and I'll also put the link to that contest below. So, check it out if you're interested. I highly recommend it.
My Drawing
Original Image
To complete the drawing I used my laptop, graphics tablet, stylus touch pen, and a drawing software called ibis Paint. I'll walk you through the whole process step by step below. So, let's get started,
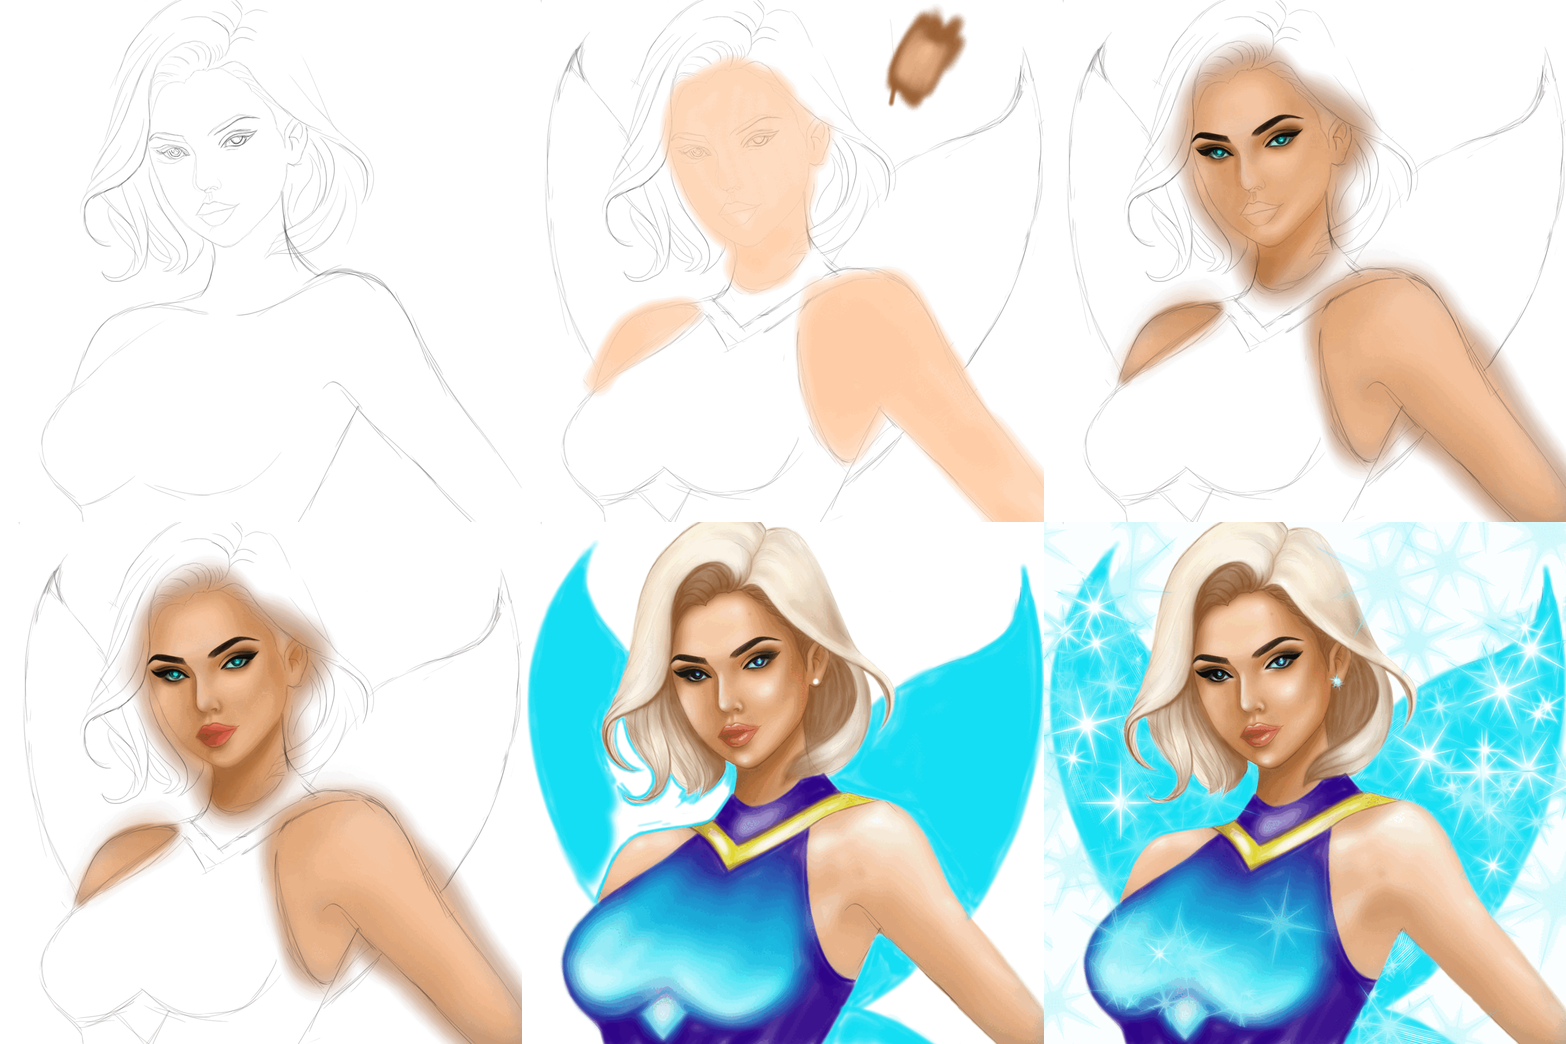
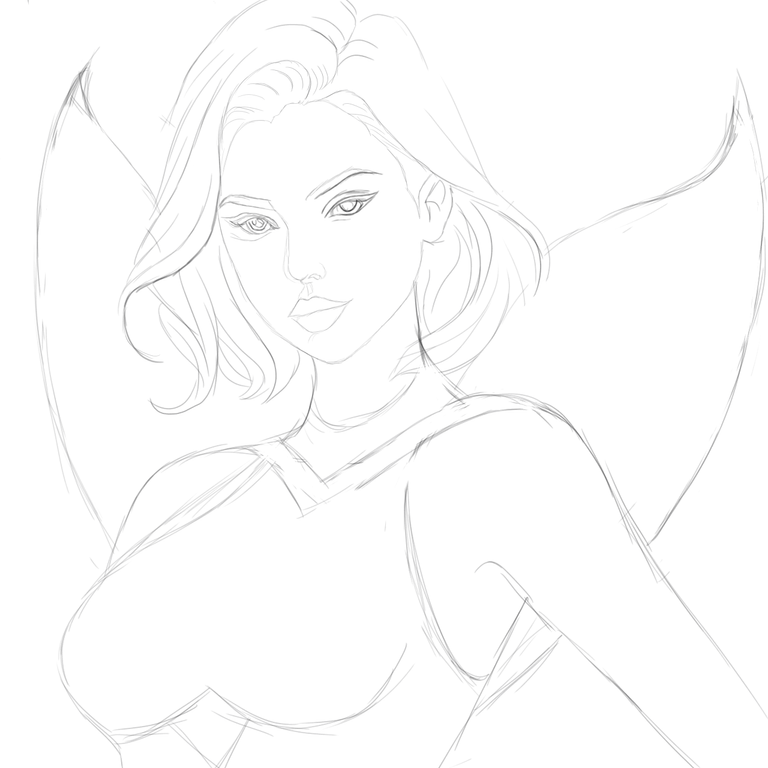
The process began with me drawing the border lines of her body. It's like how I did with my previous work that I shared. I skipped the figure study part directly. That might not be the proper way but my hands are more stable than before in digital drawings and because of so many practices I think I now have pretty good muscle memories too. After completing the main border lines of her body I focused on the details. It took me some time while working on her face and hair. I tried to give her a gorgeous look and I needed to make sure that her hair was also the same way that would suit her complete look. I also drew the baselines of her clothes and clothes too.

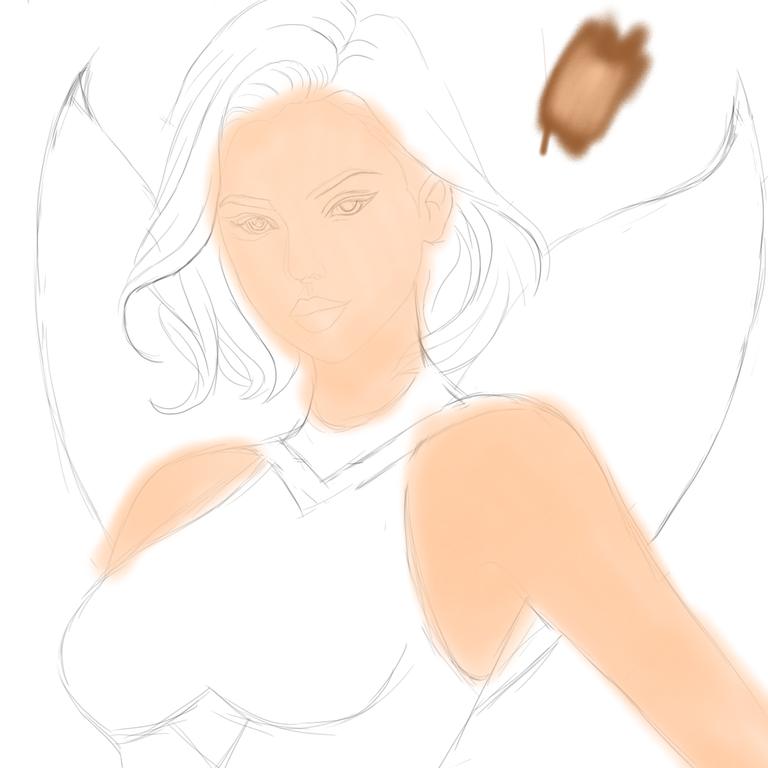
Now begins the coloring part. You may have noticed that I left out some detailing parts which I normally complete before beginning the coloring process. But, the character and the theme of the drawing requires glowing details that can only be added using colors and that's why I decided to finish those part when I give the final touch of the colors. In this process, I put the primary color on her skin tone. You can see I also did some color mixup on the top to figure out the ratio for the skin tone I want. I then put some shades on her shoulder and face too and began working with her eyes. This took me some more time than I expected. As I mentioned before, I wanted to make her look gorgeous, and to bring out that look I needed to draw every single part of her body that way and the eyes are a crucial part of that.

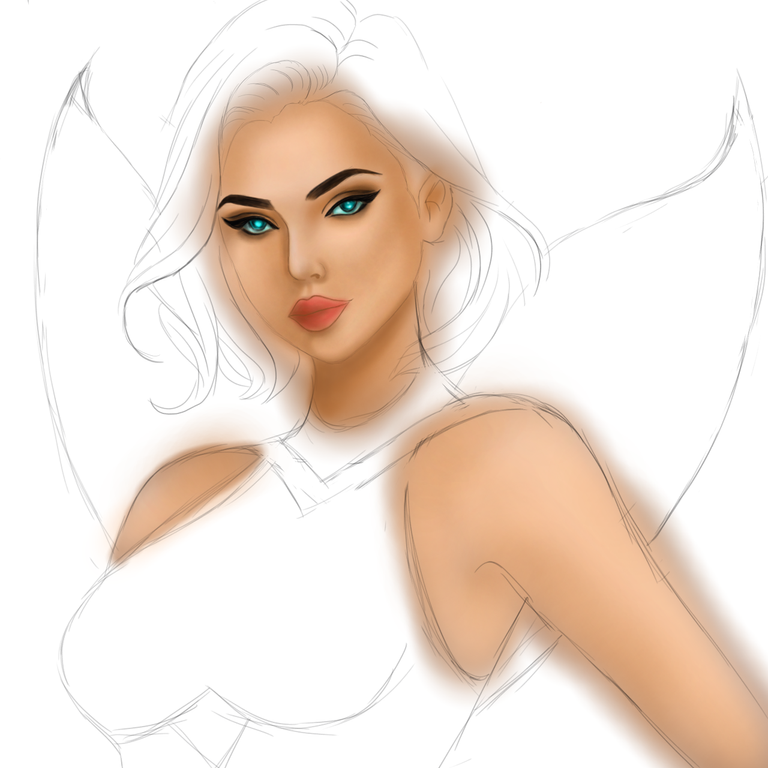
Now begins the interesting part. This is the step when all the visualizations begin to reveal. I started with adding the color shades on her face first and her neck too. Took me a while to bring out that glossy-realistic vibe on her face's skin. After I was done too with her lips too I started working on her hair. This is where you see the color details part I was talking about. I added all those details while I was adding multiple color layers to her hair part.
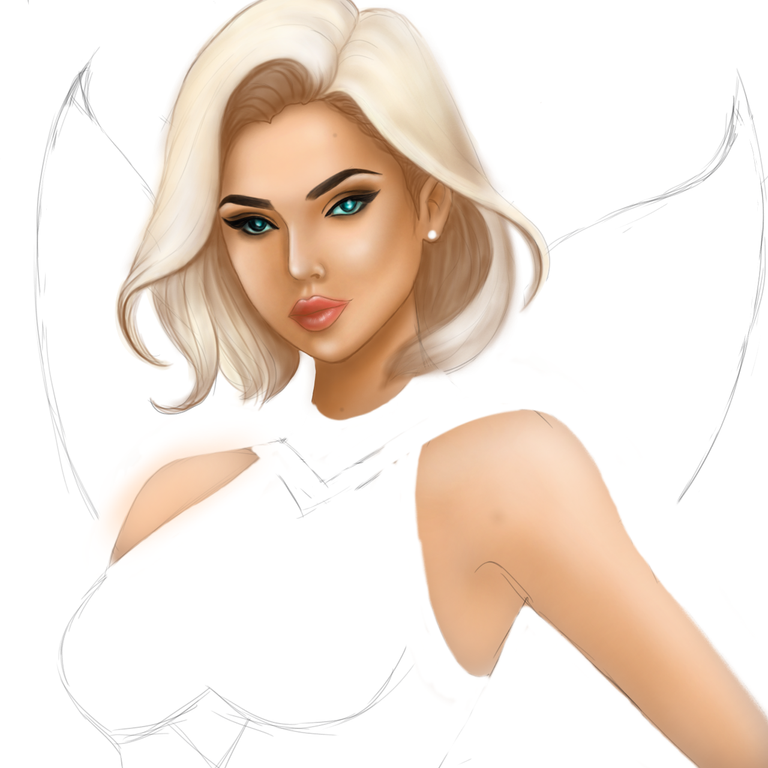
Now that I had completed the main detailing part, it was time to finish coloring the remaining part. So, I started by giving one final touch to the skin of her body and then started working on her dress. I also added some glowing parts on her dress but it wasn't as challenging as her face. Only took 3 layers of colors. However, after I was done with her body part, it was time to draw her wings. And I needed to be careful on her hair part. I didn't want to mess up while drawing and damage the beautiful hair color. You'll notice it in the image.
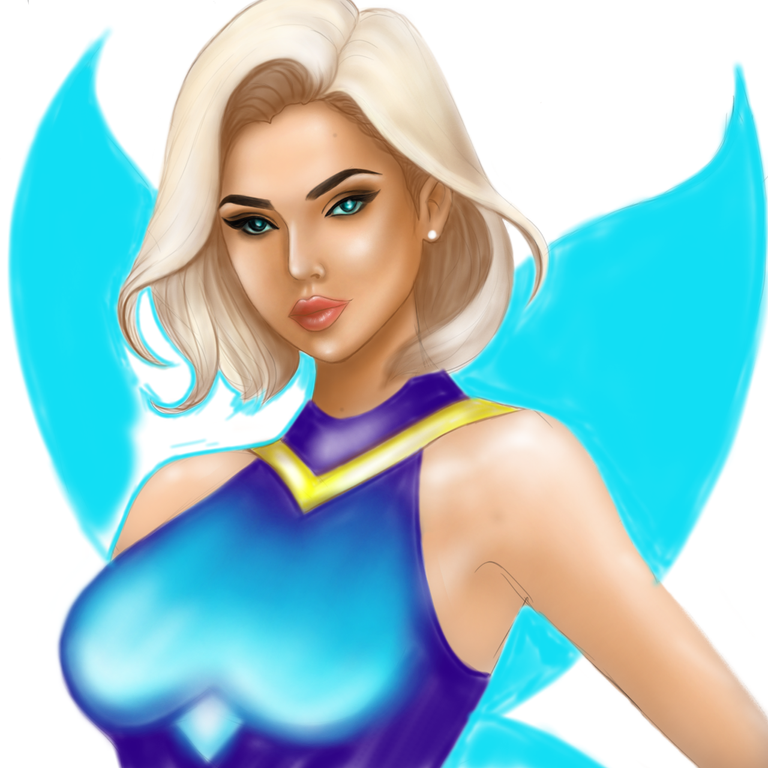

Final Image
Now, with some stars to represent the shining theme of the Ice Pixie my drawing was done. It goes with the theme "Heavenly Ice Glowing at A Moonlit Night". And no, I didn't draw all of those starts. There's an option on the software from where you can add various types of elements to your work. I added those changed the transparency from the blending option and also adjusted some of their color from white to sky-blue.

Well, I'm personally happy with my work and I loved to draw it (as always). Now, I hope you also like it. Let me know in the comments what your opinion is. I'm open to learning from any criticism or advice and please tell me your opinion on both my drawing and writing. And at last thanks to @splinterlands for arranging such an opportunity for artists like us.
This week's contest link:
https://peakd.com/hive-13323/@splinterlands/splinterlands-art-contest-week-268
