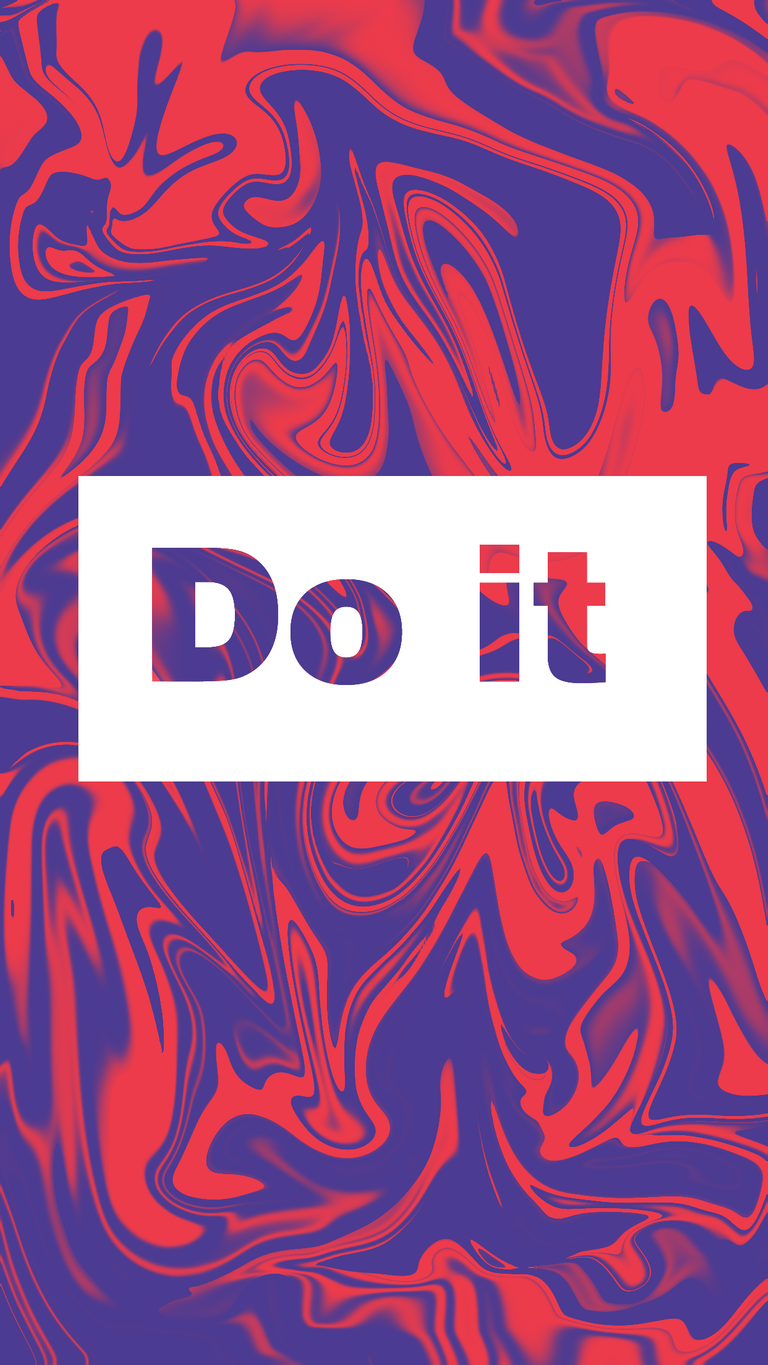
Hello friends!, I feel much better every time, so I am having the mood to do many things, well, besides, I have a lot of free time 😅 In my last post I said that I was going to show the effect that I applied to my image called "liquid effect", although the real name of this...Filter? Technique?, in short, its real name is "liquify", it feels great to get back in the mood to continue creating content, this is something that I really enjoy, being able to interact with others and teach what I know, I feel that I contribute something 😊 This technique is very simple, it really takes a few minutes to perform, I usually use it for backgrounds or to fill in letters or something that I like, I hope it will be useful to you too!
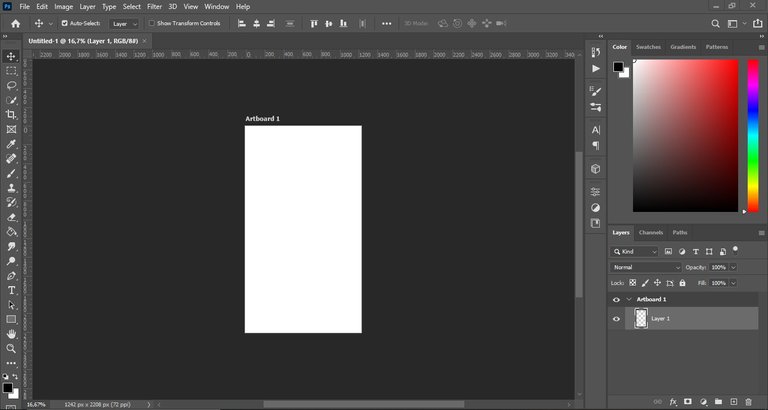
Step 1
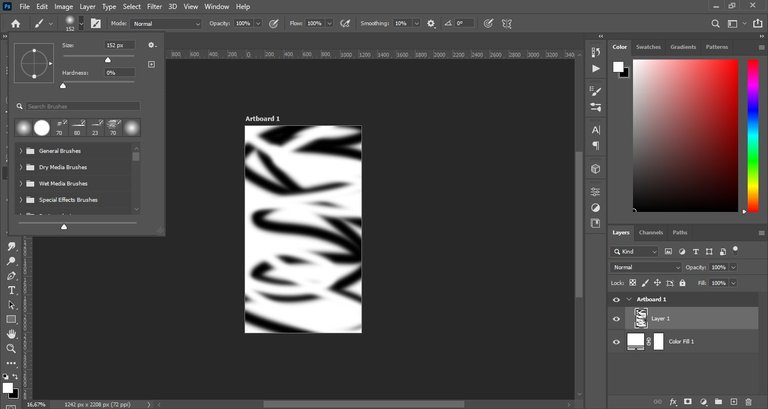
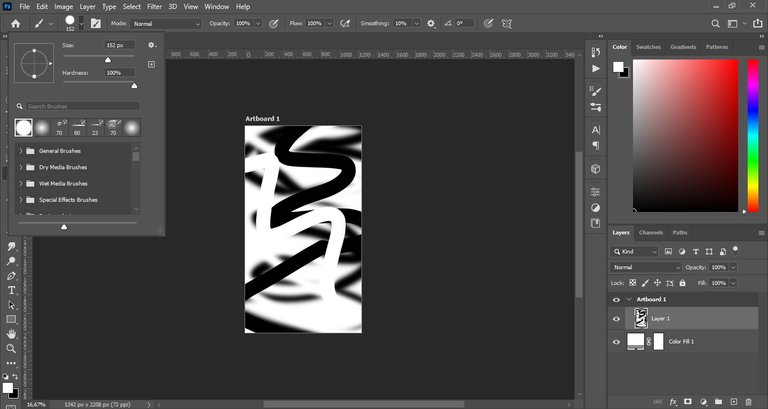
- Once we have our format that we are going to work on, we go to brushes and use the default ones (the hard brush and the soft brush), and we started passing lines everywhere.
Step 2
- Once our doodles are done, we go upstairs and click on "filter", we click where it says "liquify".
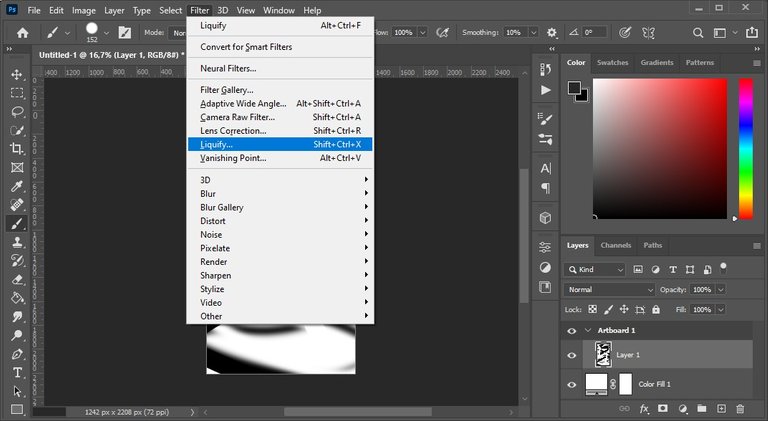
- Then a window will open with options to liquefy the image.
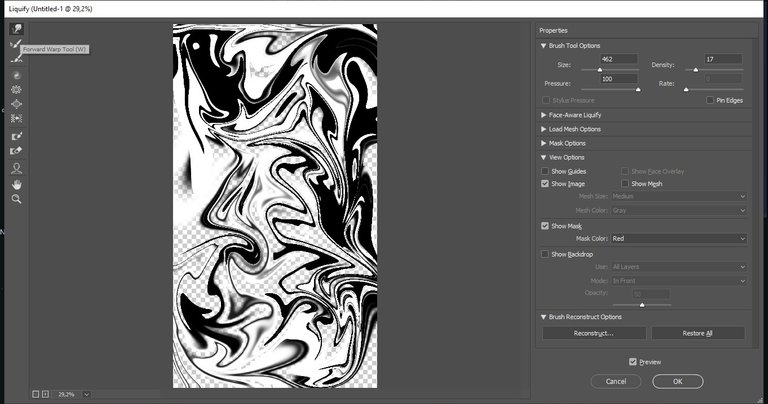
This option is using forward warp tool:
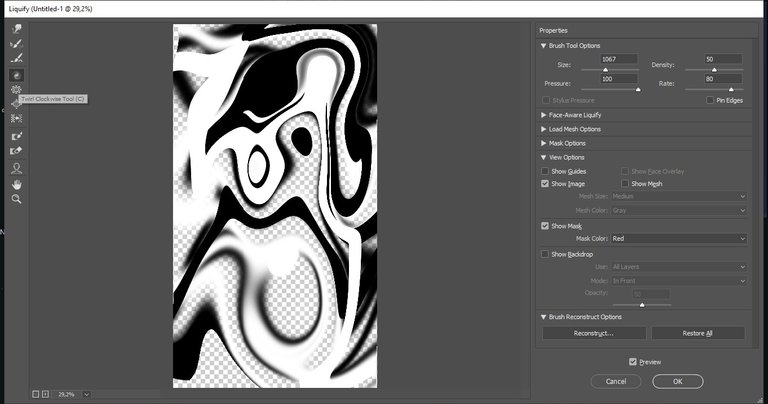
This option is for use twirl clock wise tool:
And I also used this push left tool:
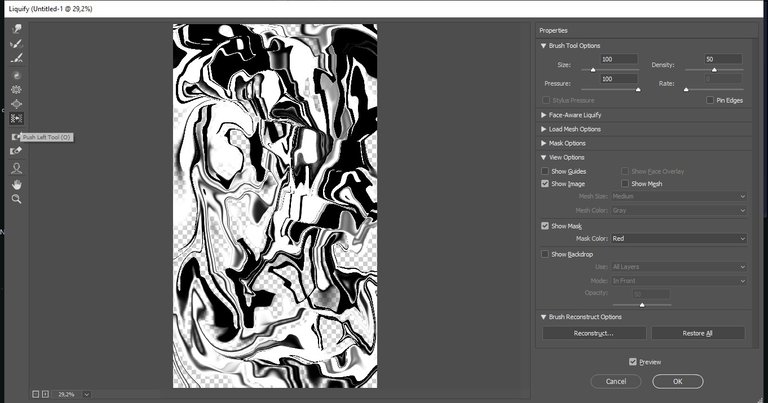
- You can use the option you want, I dedicate myself more to using the first ones that I showed you.
Step 3
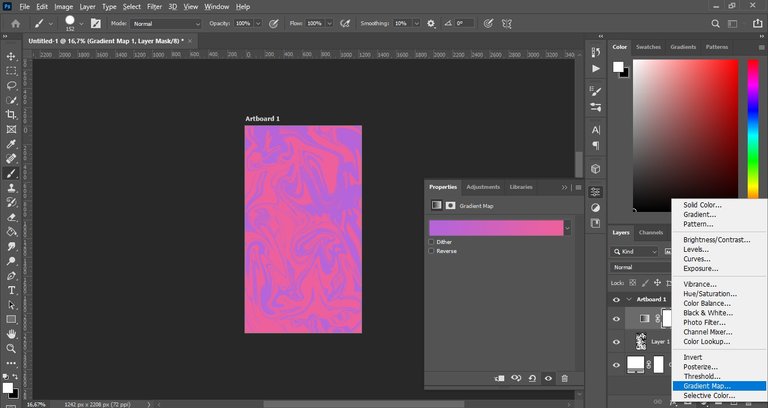
- Once we have the image as we want it, the last thing that remains is to choose a good color, for that we go to our panel and select "gradient map" and we choose the color that we like the most, we can also create our own gradient.
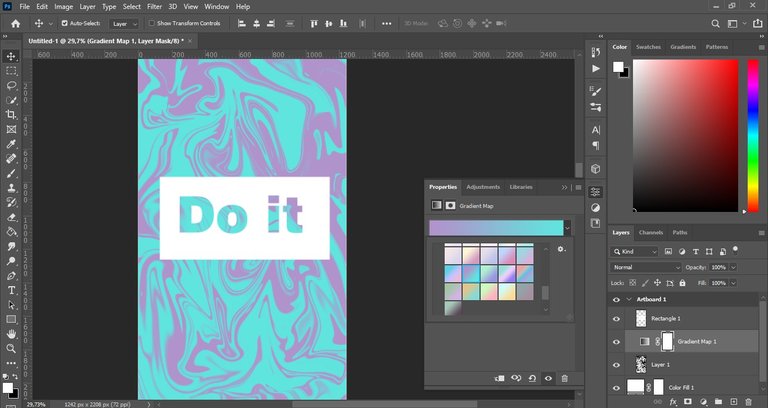
- I added the words for personal taste.
And that's it! It's pretty fast, isn't it? Here are some examples of the same image:
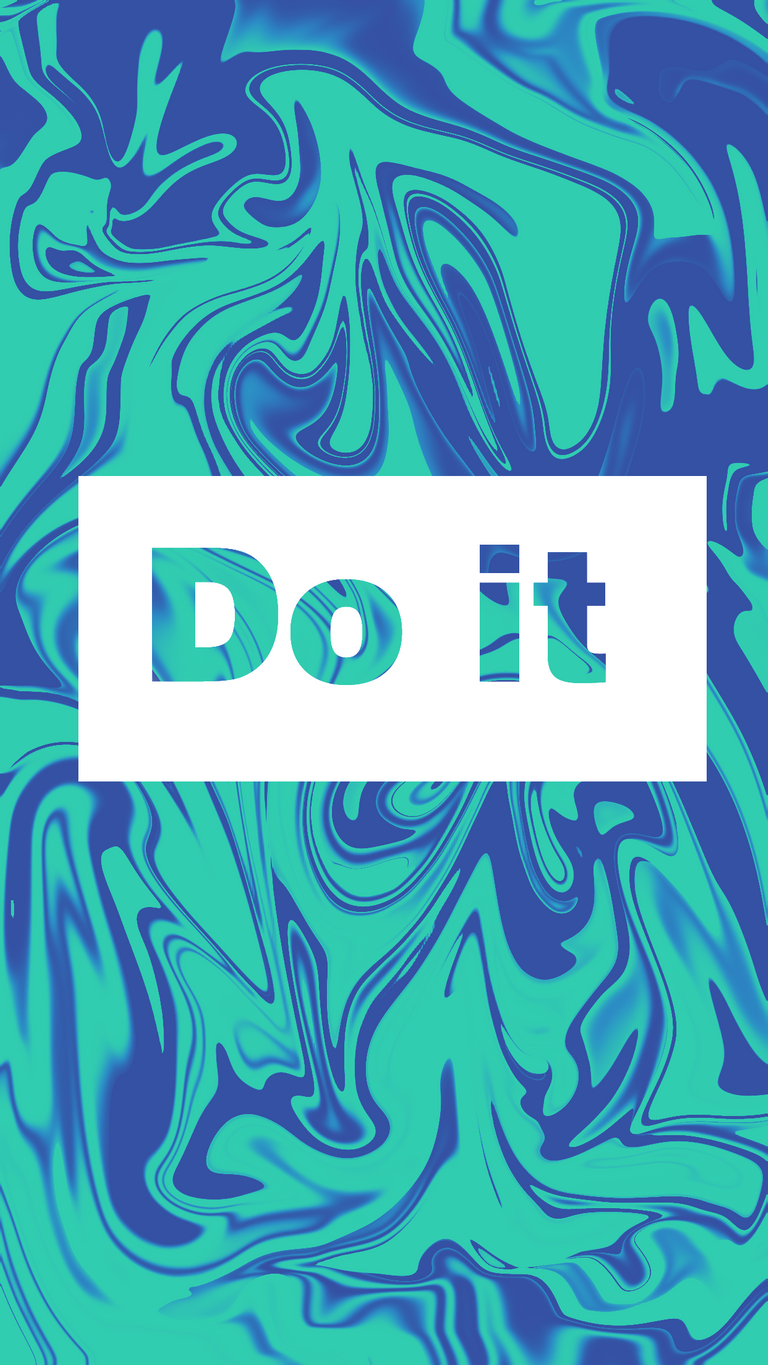
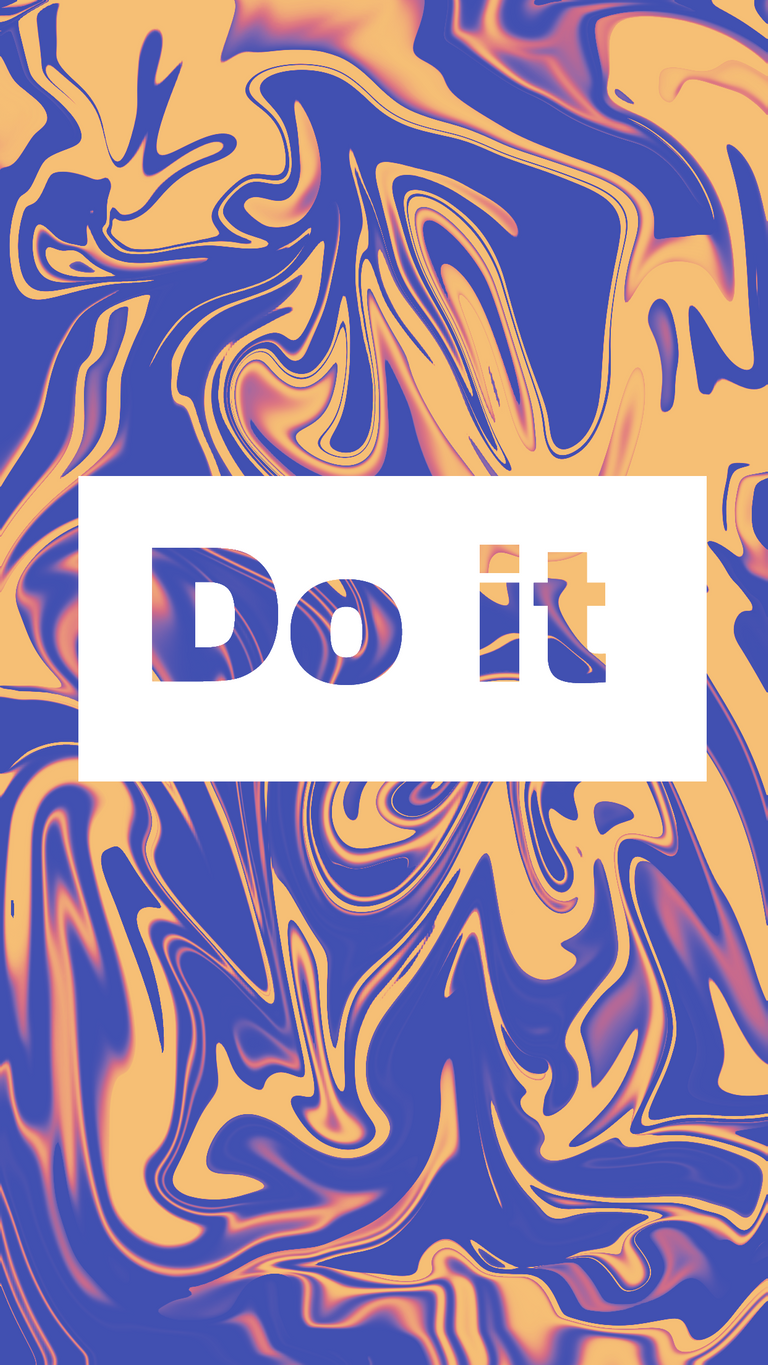
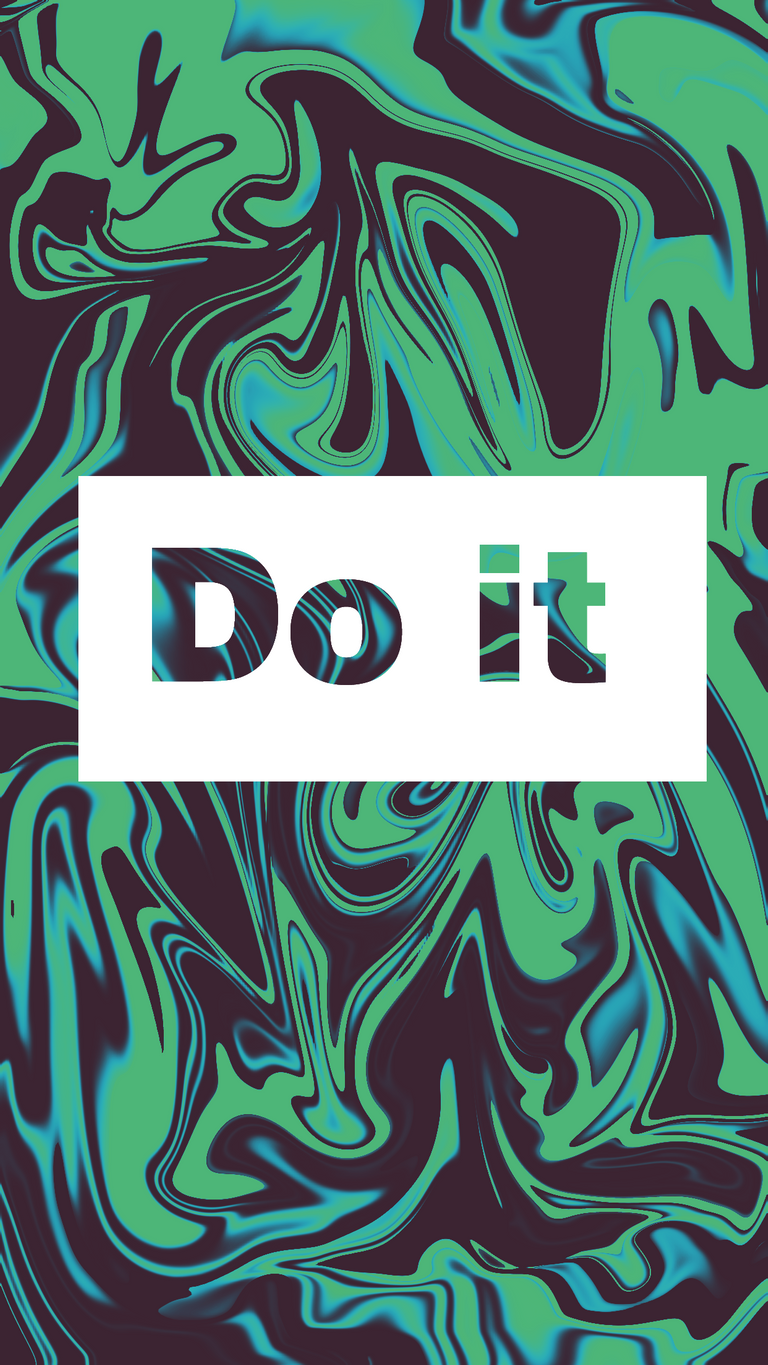
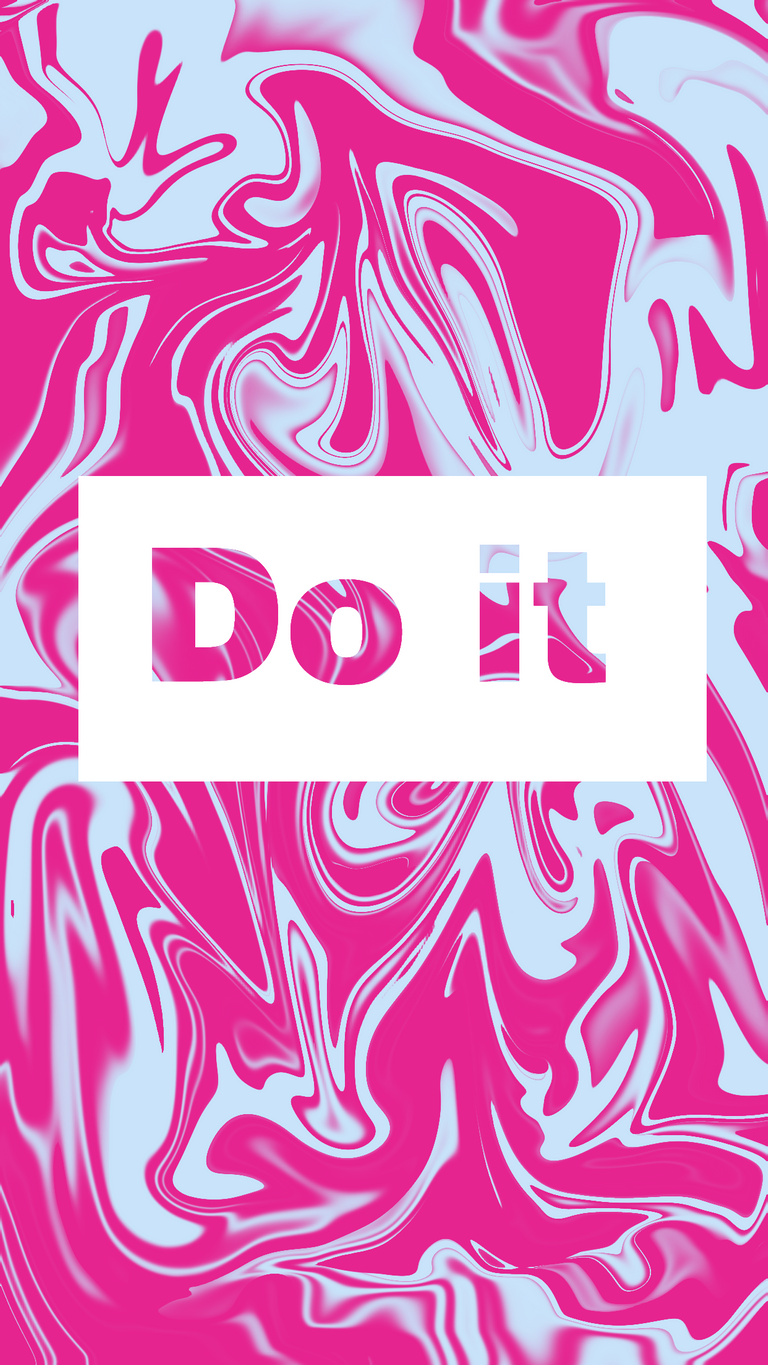
I think my favorite edition is green, although that's my favorite color, and what is your favorite color? 🤔😎 I hope you all have a great weekend, I send you all my best vibes 🍃
Thanks for your attention!
¡Hola amigos!, cada vez me siento mucho mejor, así que me estoy animando a hacer muchas cosas, pues además tengo mucho tiempo libre 😅 En mi último post dije que iba a mostrar el efecto que le apliqué a mi imagen llamada "Liquid effect", aunque el nombre real de este... ¿Filtro? ¿Técnica?, en fin, su verdadero nombre es "licuar", se siente genial volver a tener ganas de seguir creando contenido, esto es algo que disfruto mucho, poder interactuar con los demás y enseñar lo que sé, siento que aporta algo 😊 Esta técnica es muy sencilla, realmente toma unos minutos realizarla, yo suelo usarla para fondos o para rellenar letras o algo que me guste, ¡espero que a ustedes también les sirva!
Paso 1
- Una vez que tenemos nuestro formato en el que vamos a trabajar, vamos a los pinceles y usamos los predeterminados (el pincel duro y el pincel suave), y comenzamos a pasar líneas por todos lados.


Paso 2
- Una vez que nuestros garabatos estén hechos, subimos a la barra y hacemos clic en "filtro", hacemos clic donde dice "liquidar" (o tal vez dice "licuar", no estoy segura en el PS español).

- Luego se abrirá una ventana con opciones para licuar la imagen.
Esta opción está usando la herramienta de deformación hacia adelante:

Esta opción es para usar la herramienta de giro en el sentido de las agujas del reloj:

Y también usé esta herramienta empujar a la izquierda:

- Pueden usar la opción que quieran, yo me dedico más a usar las primeras que les mostré.
Paso 3
- Una vez que tenemos la imagen como la queremos, lo último que queda es elegir un buen color, para eso vamos a nuestro panel y seleccionamos "mapa de degradado" y elegimos el color que más nos guste, también podemos crear nuestro propio gradiente.

- Agregué las palabras por gusto personal.

¡Y eso es todo! Es bastante rápido, ¿no? Aquí hay algunos ejemplos de la misma imagen:


Creo que mi edición favorita es la verde, aunque ese es mi color favorito, ¿y cuál es tu color favorito? 🤔😎 Espero que todos tengan un gran fin de semana, les mando todas mis mejores vibras 🍃
¡Gracias por su atención!


