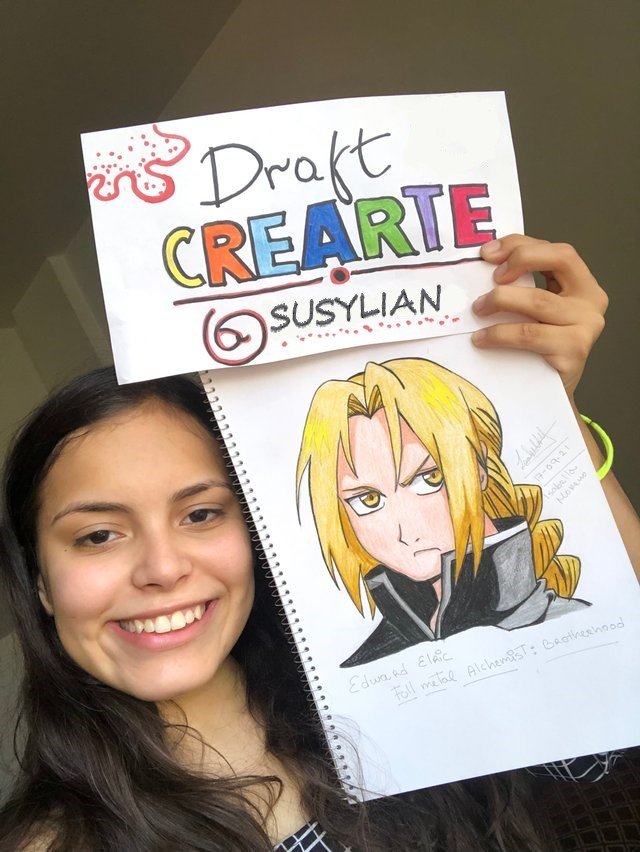
Greetings to everyone in this wonderful HIVE community; today I bring for you a simple tutorial on how to draw a face in anime style (Japanese animation), this character being Edward Elric from the Full Metal Alchemist: Brotherhood series. I hope you enjoy the tutorial and that you find it useful.
Drawing and photography of my property. SUSYLIAN.
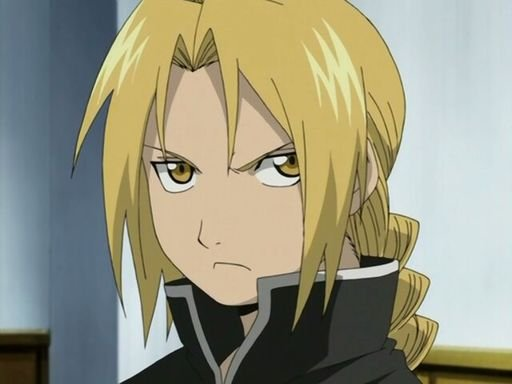
Reference image
Materials
- White cardboard.
- 2H graphite pencil.
- School colours.
- Pencil sharpener.
- Eraser.
Step by step
STEP 1: the sketch
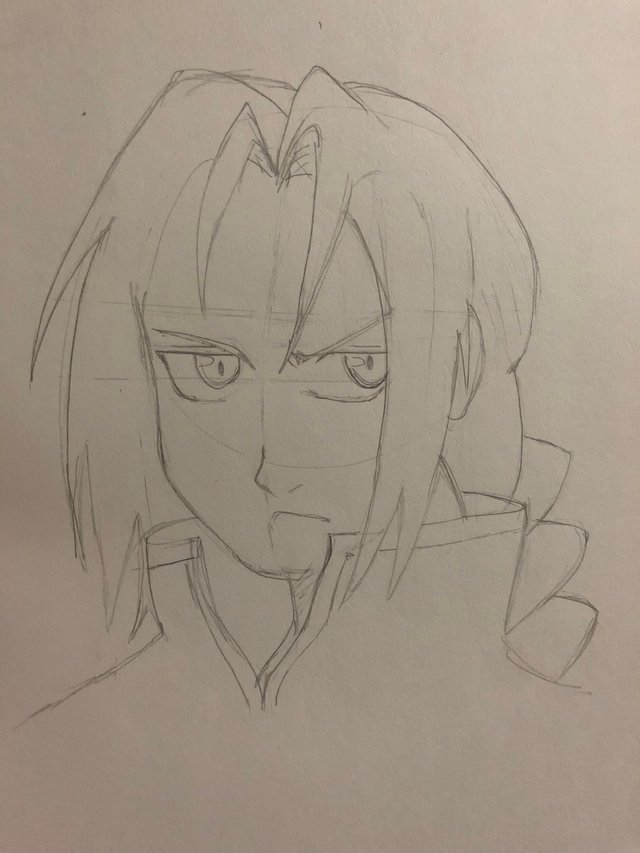
The sketch, the first image to which we put the human proportions, starts with a simple circle. As this face is in a 3/4 position, we make the centre line curved; we define the jaw and the neck with the reference of the initial circle.
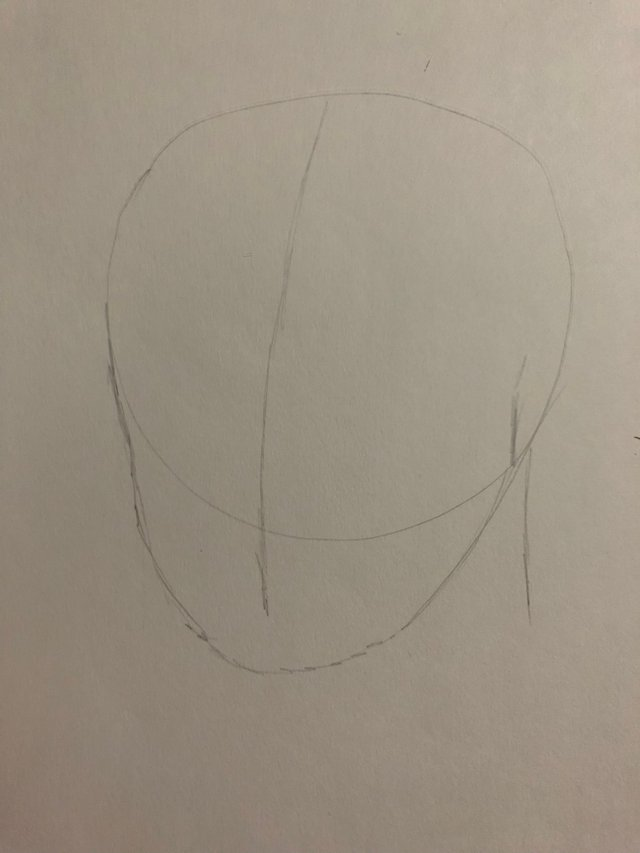
To this first sketch we add part of the hair and the costume. Then we mark the lines where the eyes and eyebrows will go; the nose will be at the lowest part of the first circle and the mouth one centimetre below it. Immediately we make the shape of the eyes, which are the centre of the drawing, and we define in more detail the first lines of the hairline.
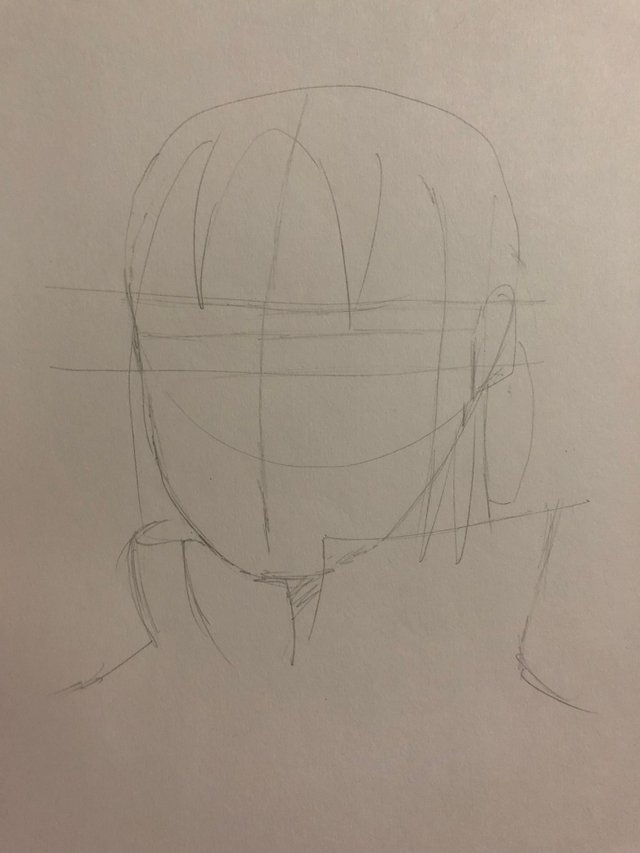
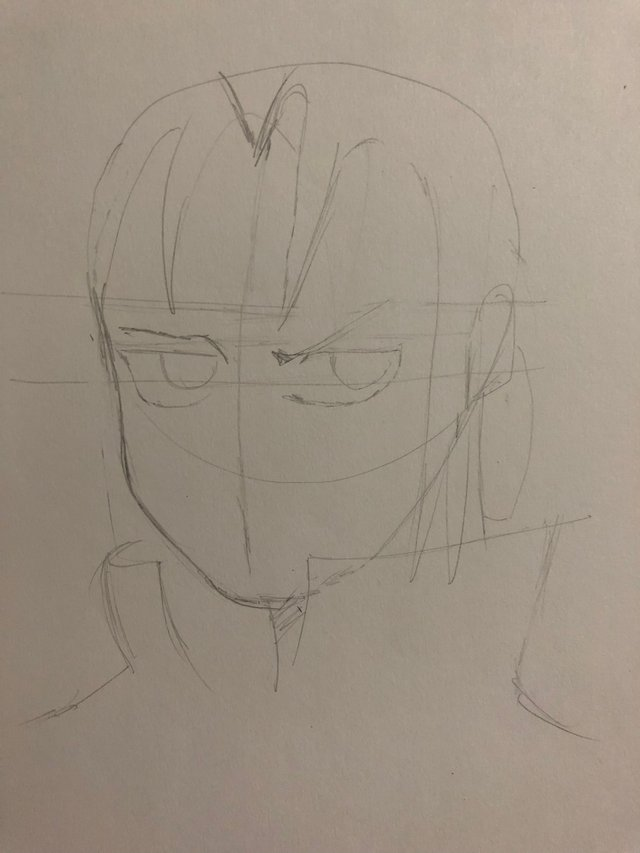
Next we continue to mark the shape of the hair very delicately. We continue working on the hair until we feel that it has enough definition; we add the braid with a lot of patience, making small squares, and we finish by securely marking the lines of the suit.
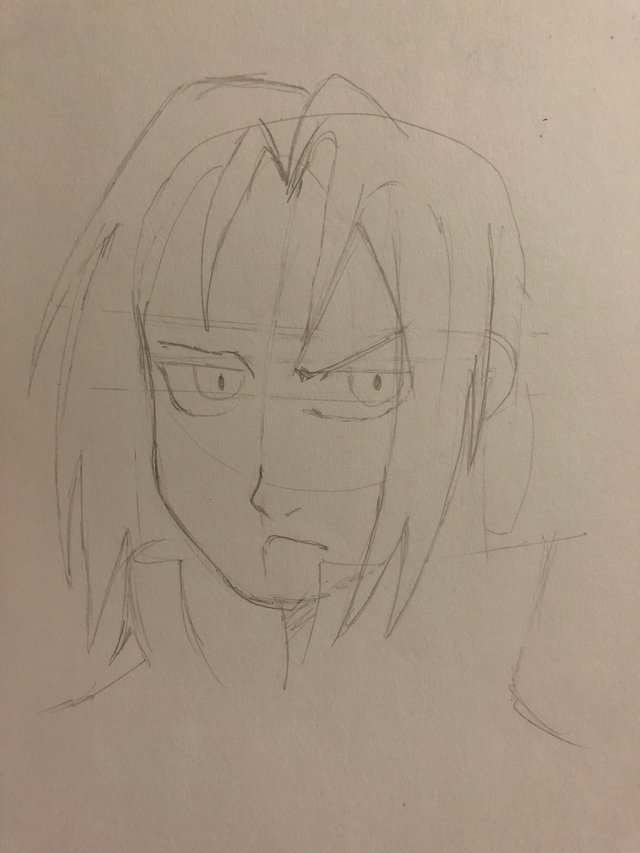
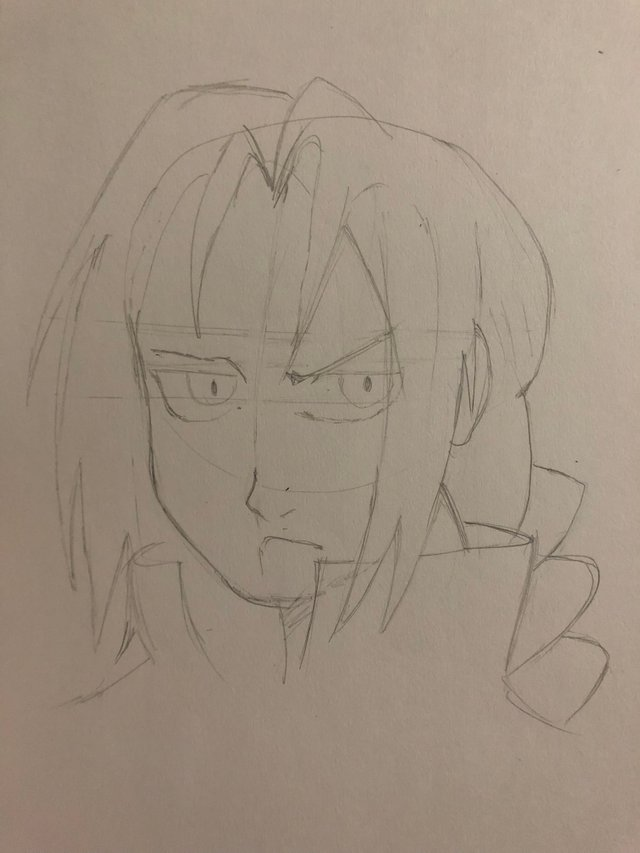
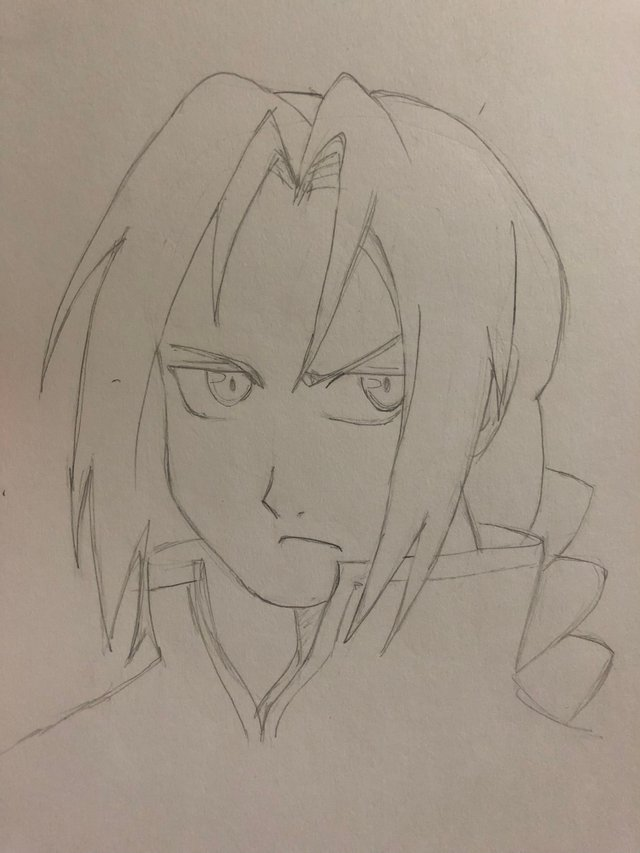
At this point the drawing takes on more impact. We fix and define the shape of the eyes better; we give them shape, reflections and shine. Thus, Edward begins to shine through in our drawing.
STEP 2:
clean and define with black
With the eraser of preference, we start to fix those lines that we are not happy with, remove the imperfections of our stroke and the few lines of the sketch that still show in the final drawing.
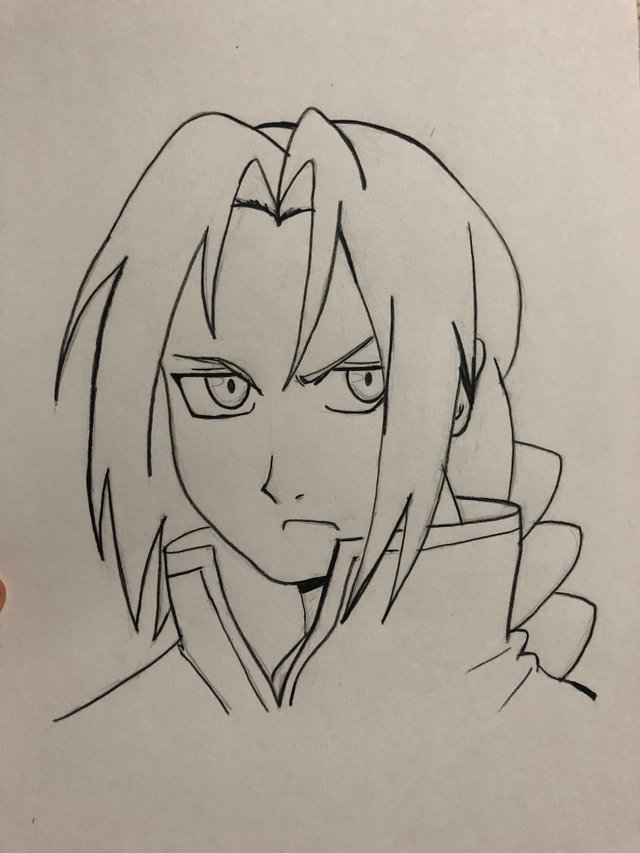
Once we have our drawing clean, we go over the lines with black as accurately as possible. This is to be sure of the parameter within which we will colour.
STEP 3:
Colouring the eyes
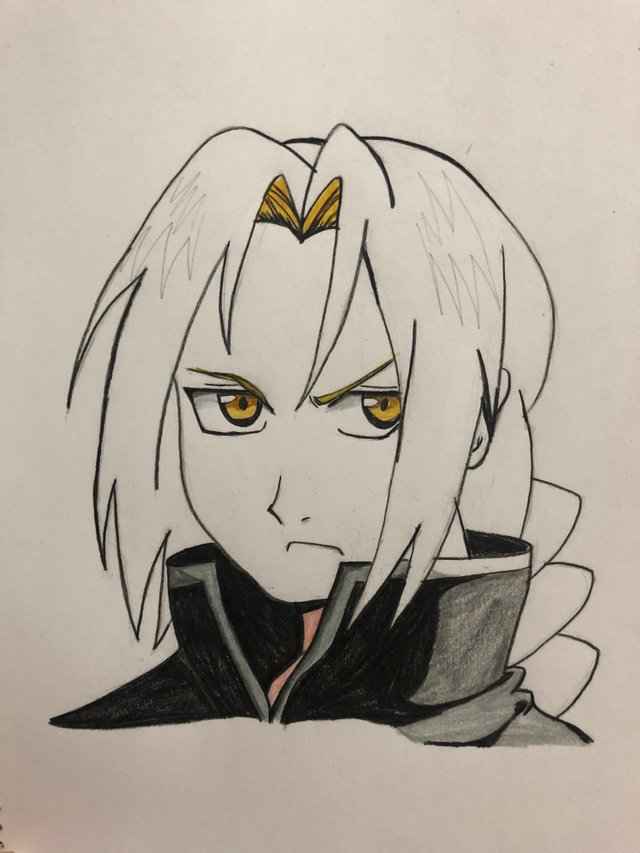
To colour the eyes we use three colours: mustard, light brown and black. In the flash part we simply leave an empty space; the contrast will do itself. In the upper part (shading) we use a light brown. In the lower part (light) we use mustard. Then we fill the whole outline of the pupil and the iris with black, making the ring more noticeable.
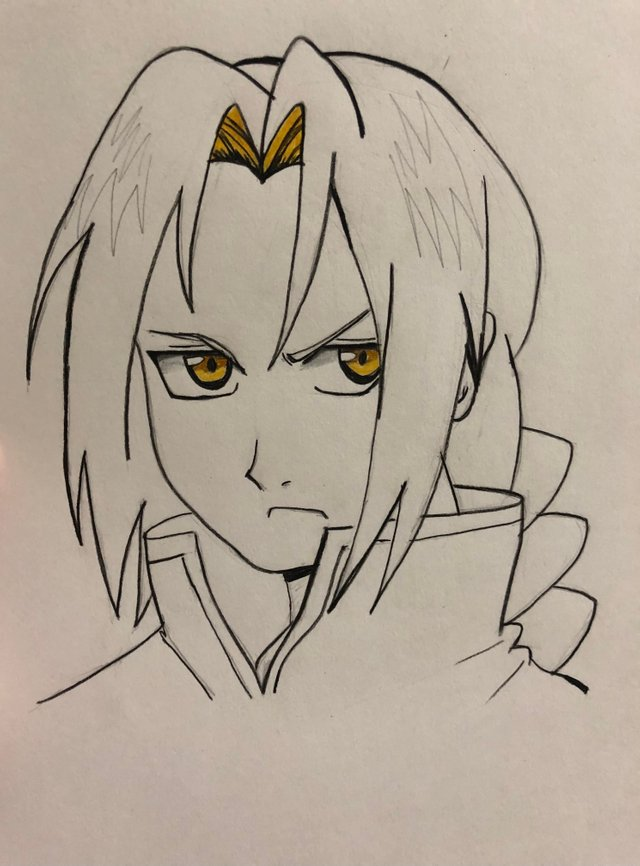
On the upper part, where the shadow goes, we use a light grey colour to define the depth. On the outside, we use black and outline as precisely as possible. We make sure to mark the crease above the eye and define the eyebrows.
STEP 5:
colour the suit
The suit is black, so we simply fill in. In the border area (which is originally white, but is shaded) we use light grey; where there is more depth (left side) we put some dark grey. Where there should be illumination (right side) we leave the border area white and the suit is marked with light grey. In this way we make shadows and highlights with colour.
STEP 6:
colouring the hair
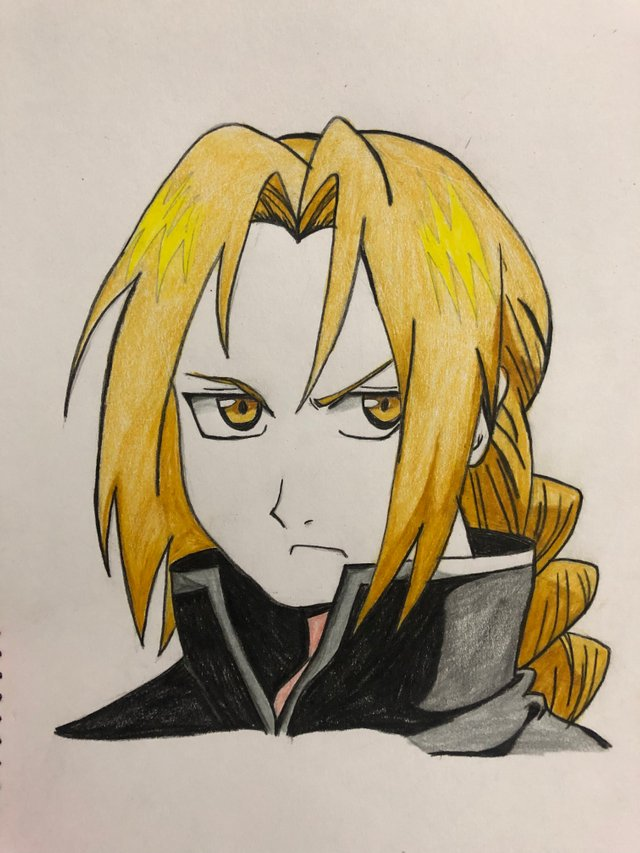
Hair is a longer process. Here we use three colours: chick (bright) yellow, mustard and brown. As we see in the reference image, Edward has two light halos at the top; there we use bright yellow. In the rest of the hair we fill in with mustard. In the areas where there is shadow (lower parts) we intensify the mustard colour with light brown.
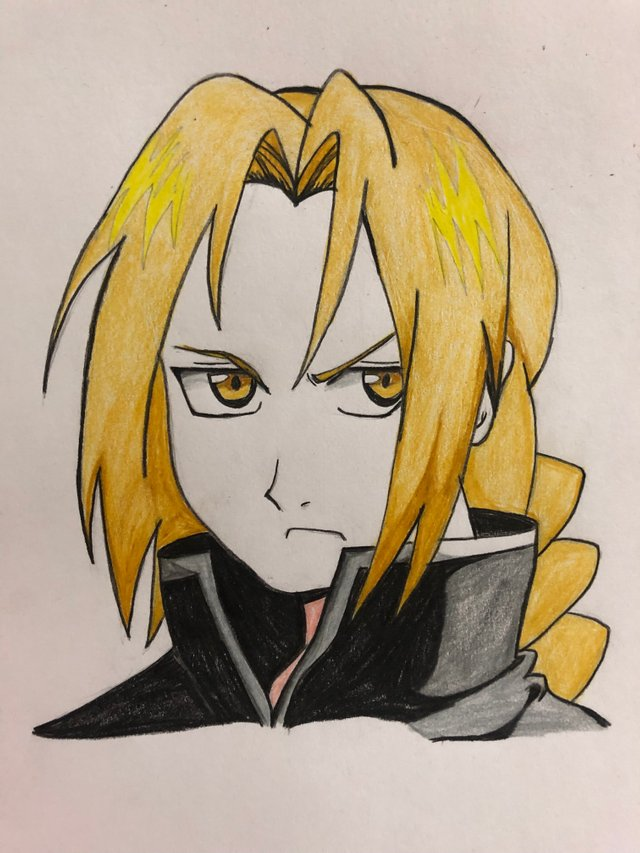
For the braids, we make small, thin lines that follow the direction of the hair. The shadows, which give the hair more shape, are done with light brown (as with the rest of the hair).
STEP 7:
Colouring the skin
For the skin, we use light pink. With this colour we fill in the skin as subtly as possible. We make sure to include the neck and the ear.
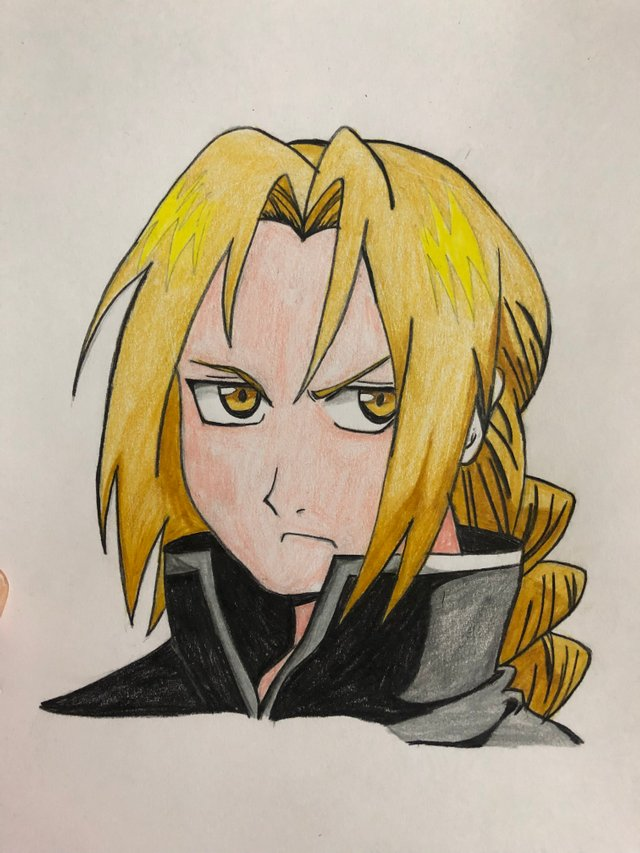
We will use the same pink colour for the shadows, but we will use it a bit darker (softening).

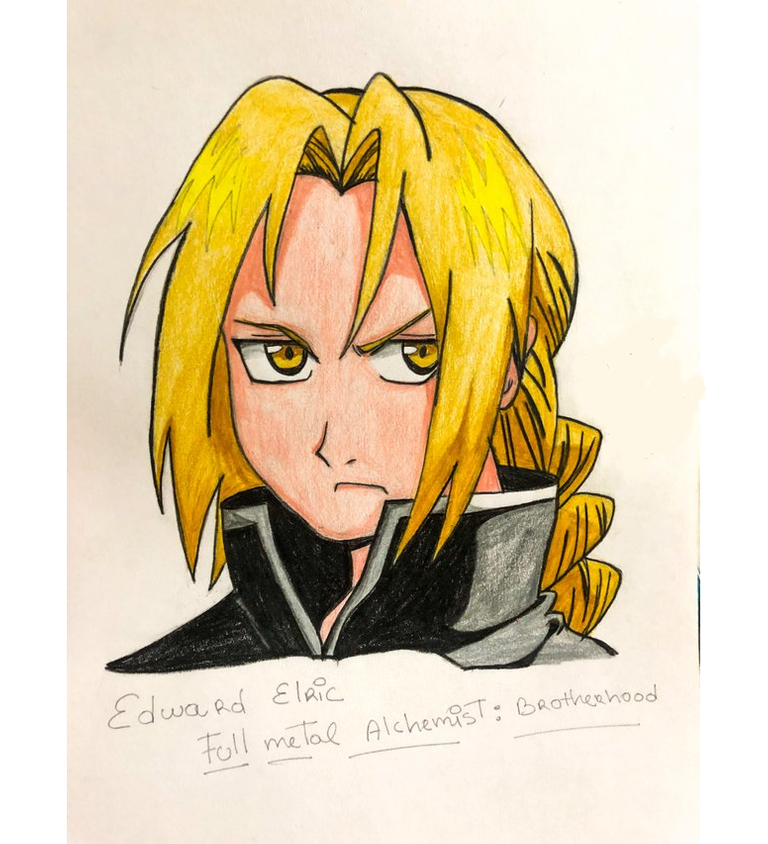
We now have the final result of our Edward Elric.
Happy with the result. Photo of my property.
Pictures taken with my iPhone X exclusively for this post.
I hope you found the tutorial useful. Remember that in my profile you can find more drawings and similar works, see you next time!
