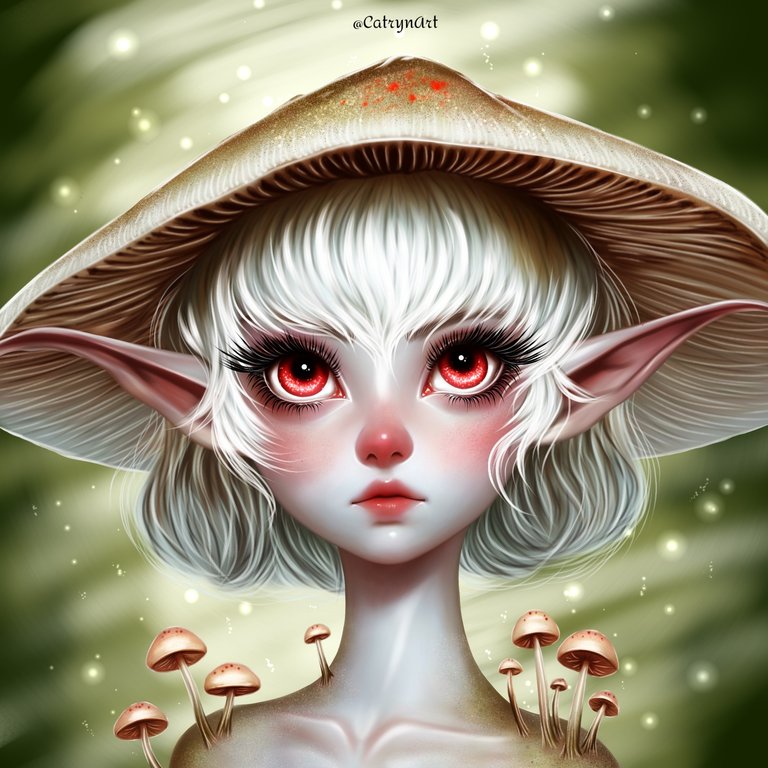

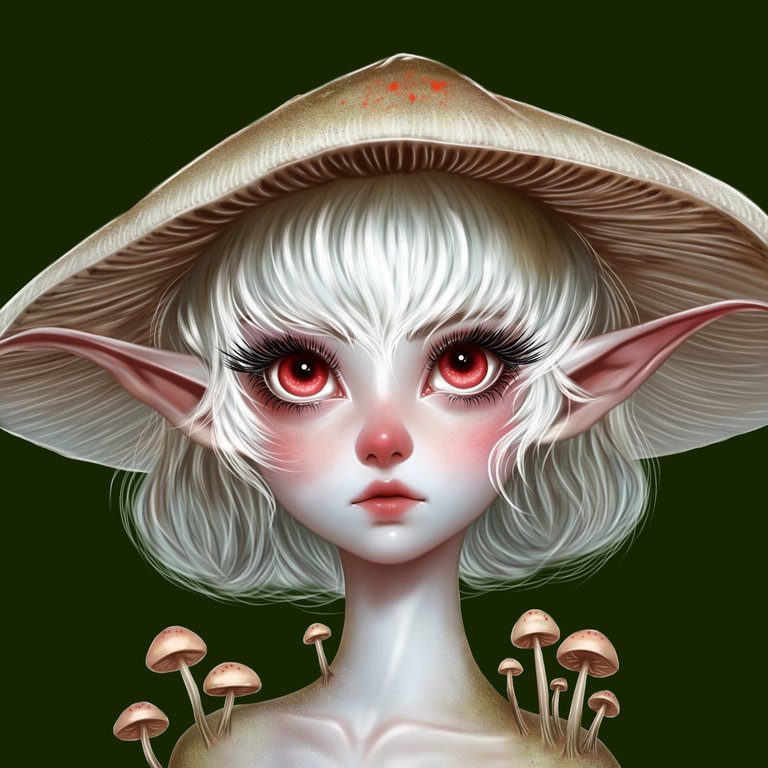
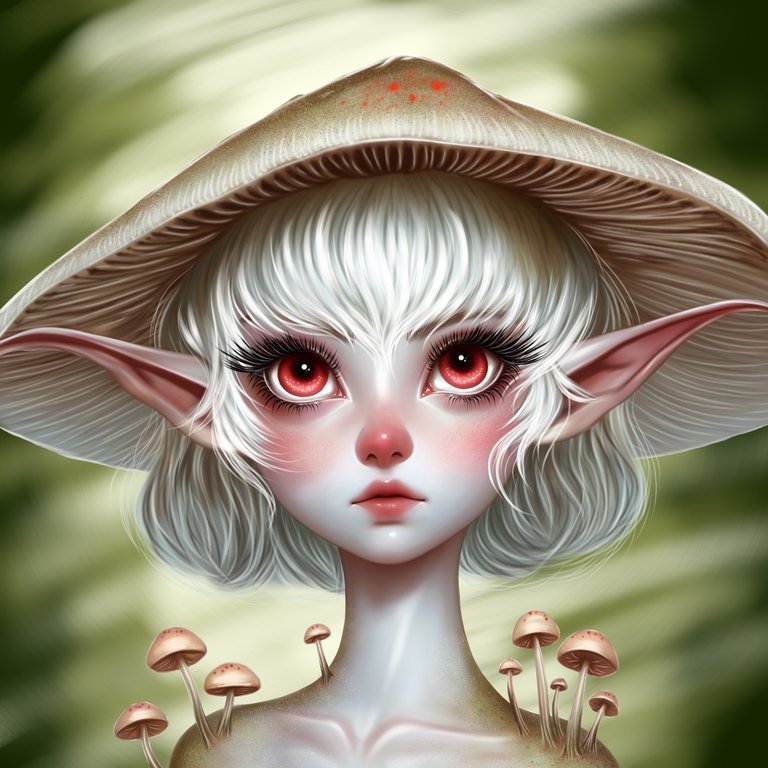
Muy buenas noches a todos! Espero se encuentren excelente, en está noche después de algunos largos días puedo volver a participar en el concurso de la semana de @Splinterlands y mi entrada tiene que ver con la carta de FUNGUS FLINGER un terrible y apestoso hongo con una apariencia bastante desagradable ya que se alimenta de descompuestos orgánicos, realmente terrible pero que sería del planeta sin estos hongos que ayudan a un equilibrio en la naturaleza 🍄🟫 🍄🟫. Me encantó mucho está carta para representarla en un retrato con una versión humanizada con características fantásticas y delicadas usando también tonos tenues y claros, con saturación, no estaba muy a gusto con los tonos claros pero los tonos verde y rosas con suaves saturaciones hicieron una linda armonía para esta pequeña y linda Fungus Flinger. Espero les guste!
Good evening everyone! I hope you are feeling great, tonight after some long days I can participate again in the @Splinterlands contest of the week and my entry has to do with the FUNGUS FLINGER card, a terrible and stinky fungus with a rather unpleasant appearance as it feeds on organic decomposites, really terrible but what would be of the planet without these fungi that help to balance nature 🍄🟫 🍄🟫. I really loved this letter to represent it in a portrait with a humanized version with fantastic and delicate features using also subdued and light tones, with saturation, I was not very comfortable with light tones but green and pink tones with soft saturations made a nice harmony for this cute little Fungus Flinger. I hope you like it!
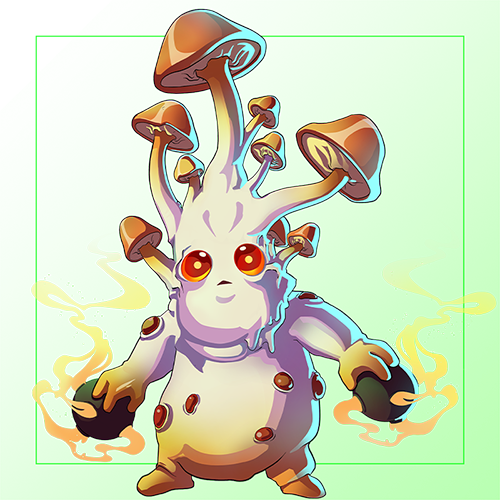
Link de la Imagen de Referencia/Reference Image Link

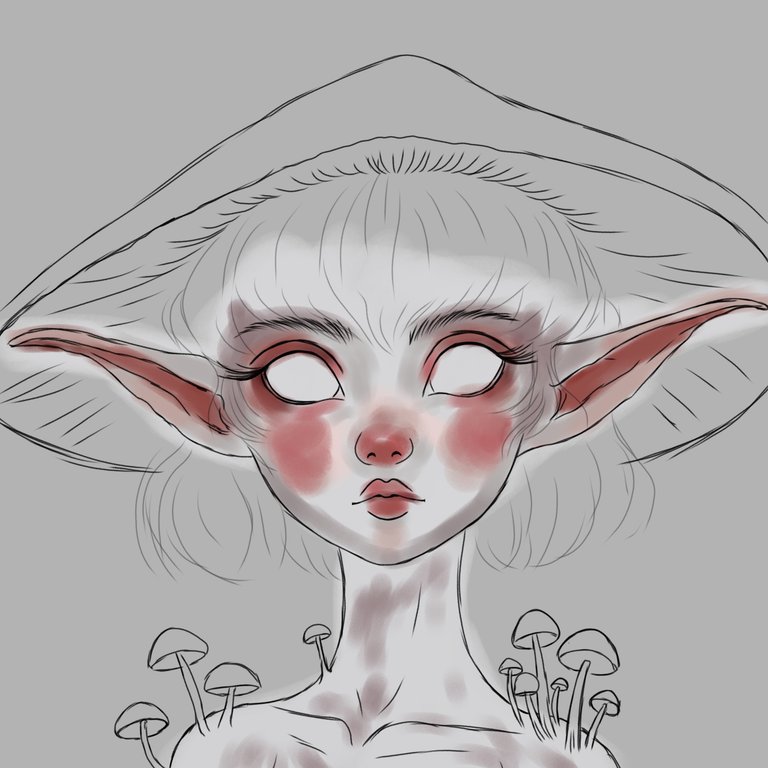
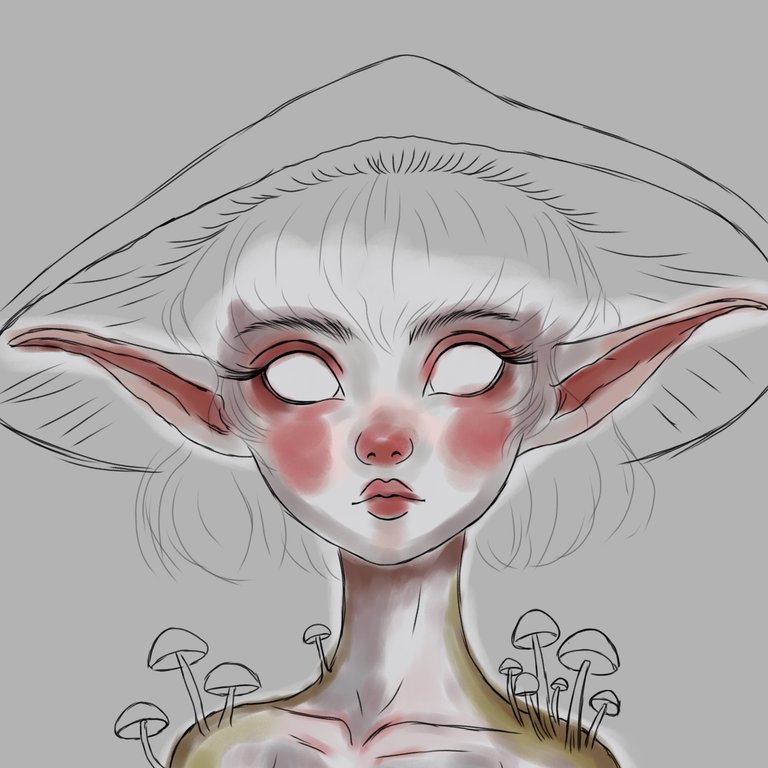
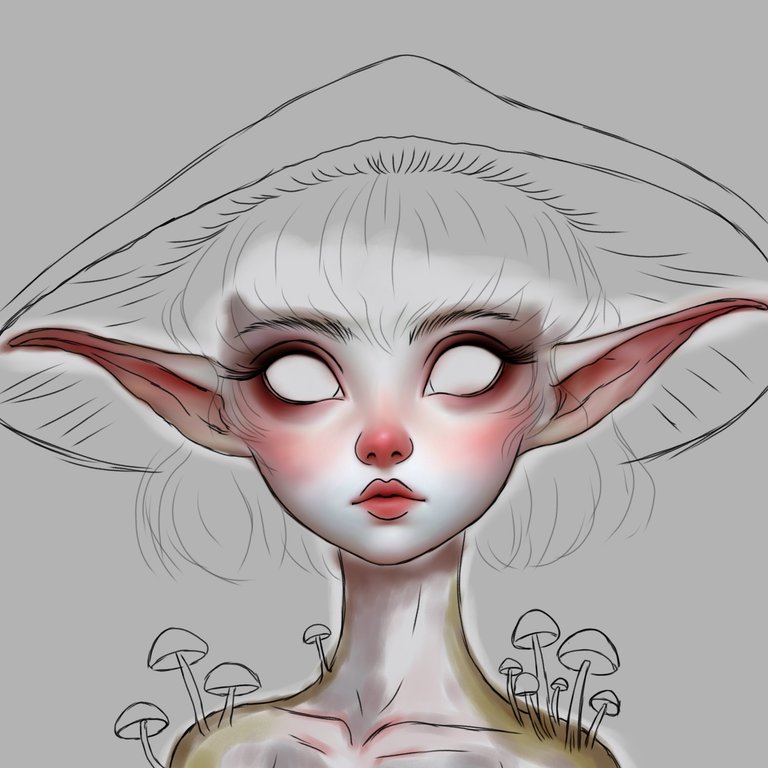
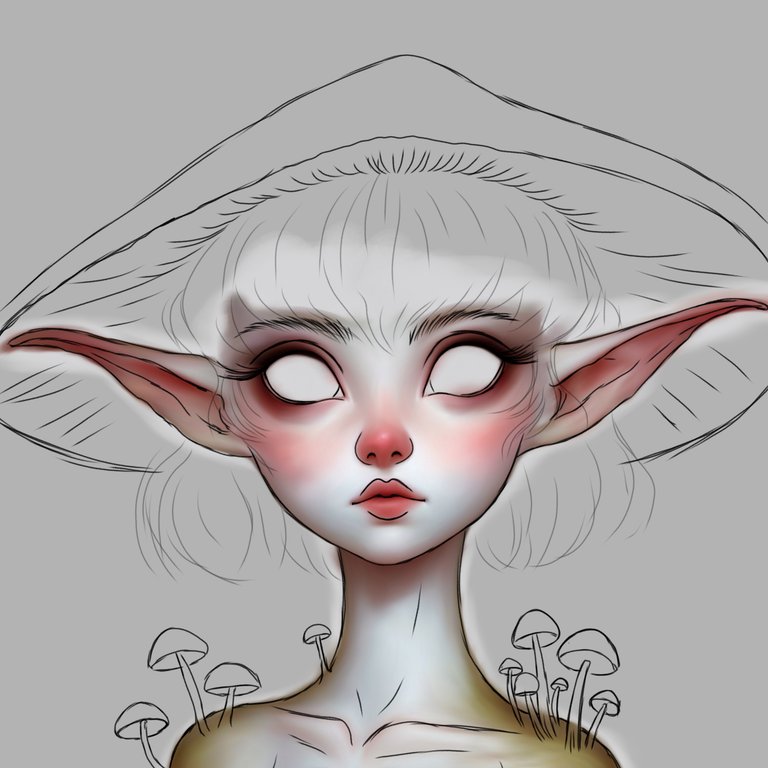
Etapas del Dibujo/Drawing Stages
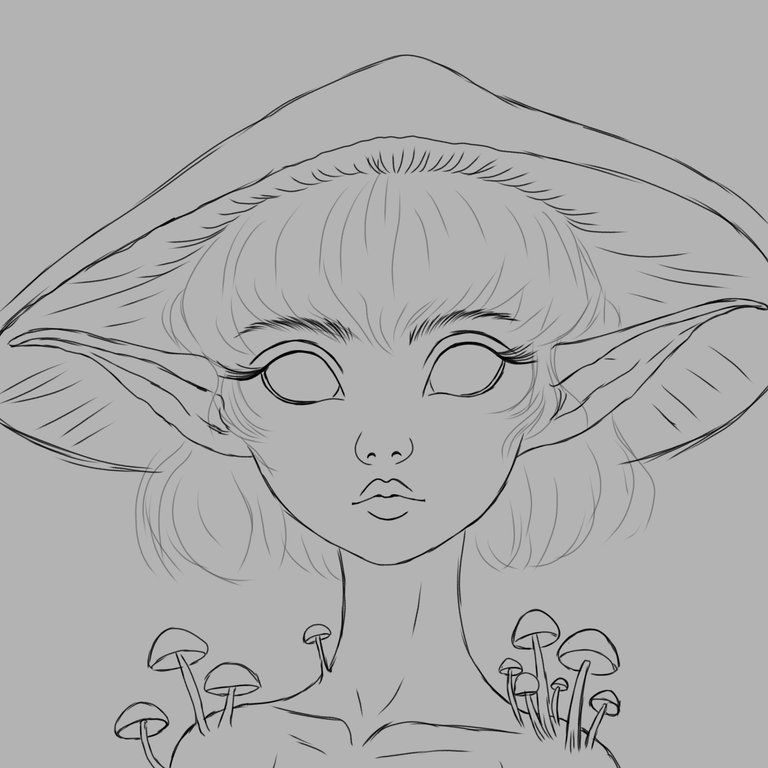
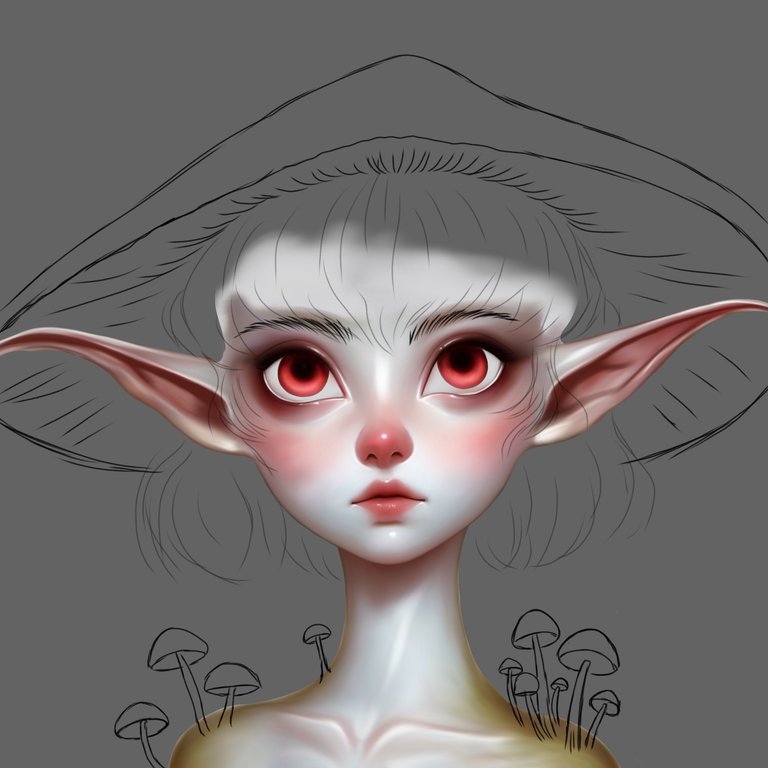
Aplique el pincel tipo lápiz para el boceto en limpio abriendo nueva capa para agregar un color base claro, para después ir aplicando con una brocha suave y con método normal los tonos saturados primeros, luego ubicando las sombras y el verde. Trabaje varias capas usando el difuminó y uniendo capa, fui defiendo en varias capas las sombras y en otras capas la iluminación enfocándome más en esta última con la ayuda de una brocha suave y con el difuminó para integrar y mezclar bien.
I applied the pencil brush for the clean sketch opening a new layer to add a light base color, then I applied with a soft brush and with a normal method the first saturated tones, then placing the shadows and the green. I worked several layers using the blur and blending layer, I was defending in several layers the shadows and in other layers the lighting focusing more on the latter with the help of a soft brush and with the blur to integrate and blend well.
 |  |  |
 |  |  |
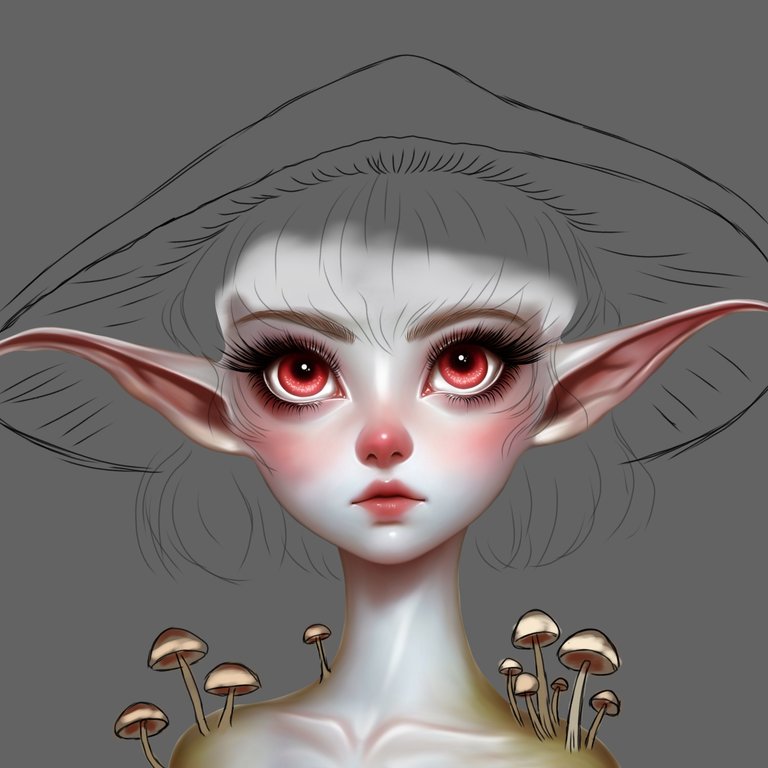
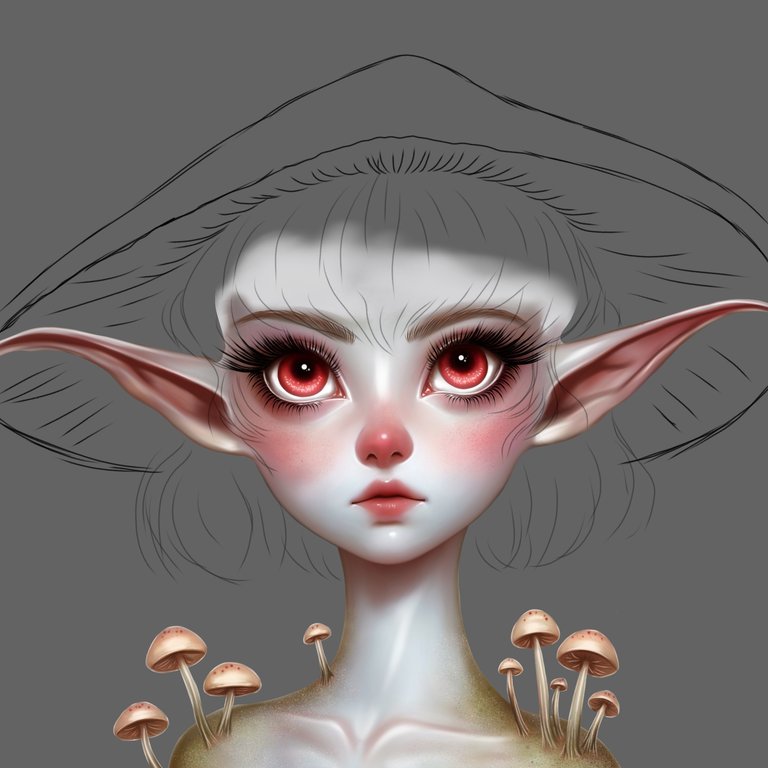
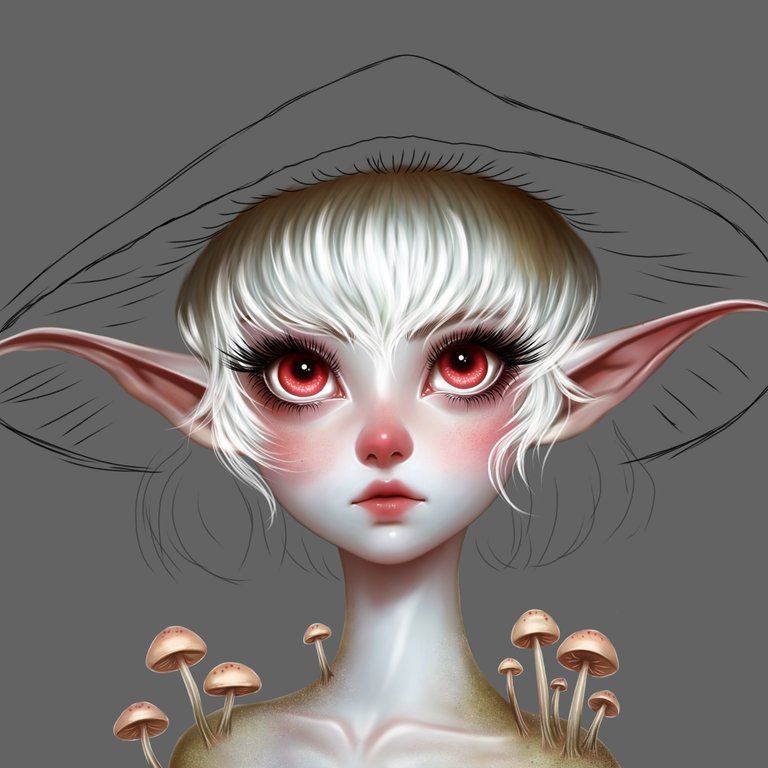
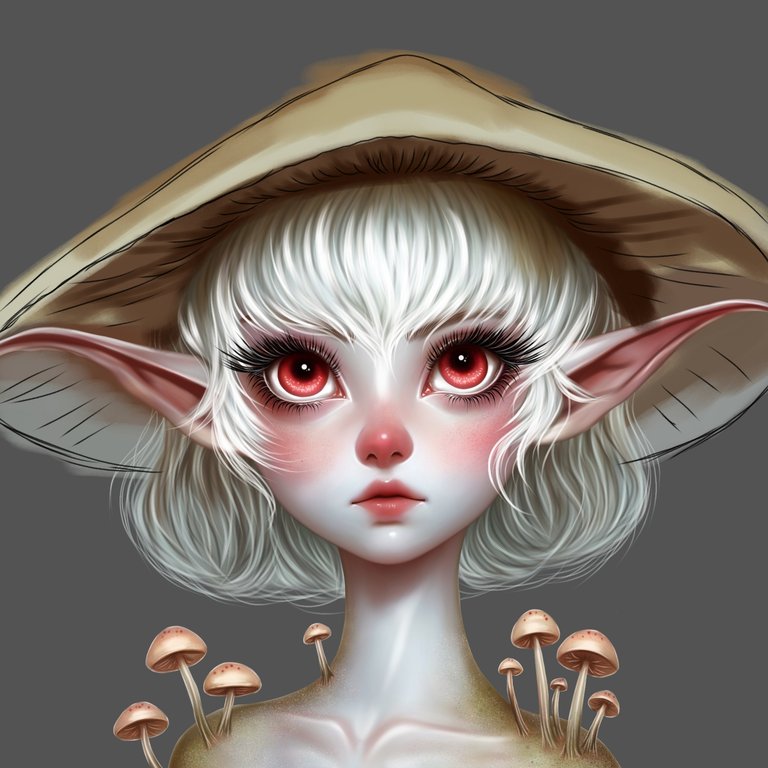
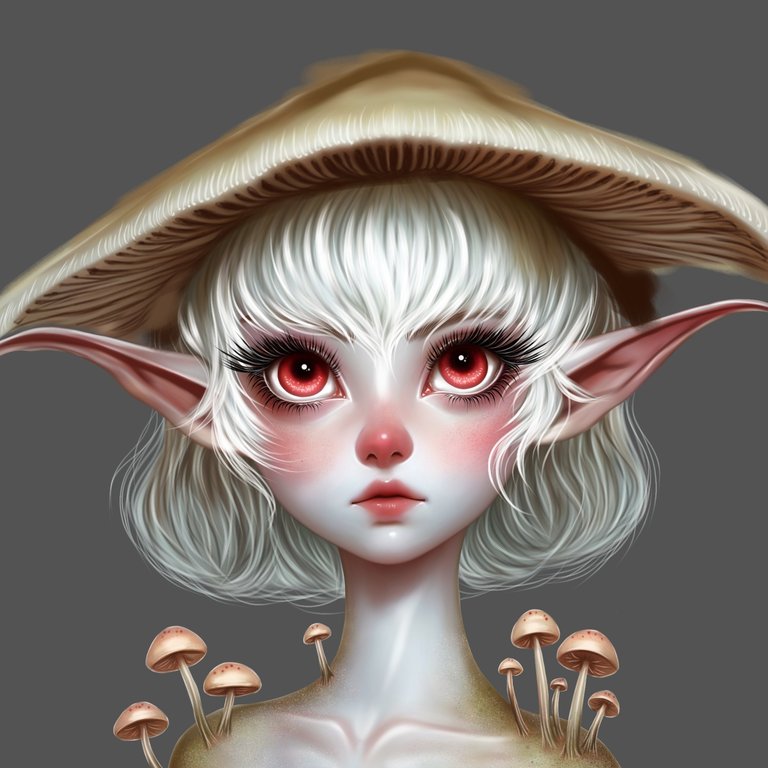
Fui definiendo sus ojos empezando por el iris y pupila usando nuevas capas y con el pincel suave y gausseano para mezclar y suavizar, usando el borrador para definir aún más los contornos. Use después una brocha tipo pelo para definir sus pestañas y cejas con un grosor mínimo. Seguí luego con los hongos que sobresalen de sus hombros usando una nueva capa con método normal y la misma brocha suave en grosor mínimo para evitar difuminar demasiado, agregue textura con otras brochas de pulverizador y puntillismo en opacidad baja. Luego, en una nueva capa agregue base de color verde y un blanco algo oscuro para empezar a definir con la brocha tipo pelo usando gausseano para suavizar e integrar, usando tonos oscuros en una capa y blanco en otra con opacidad también baja. Con su sombrero de hongo 🍄 fui aplicando tonos base para definir con la brocha suave en grosor mínimo, usando después gausseano en porcentaje bajo. A los ojos les agregué puntos de brillos con la misma brocha suave.
I defined her eyes starting with the iris and pupil using new layers and with the soft Gaussian brush to blend and soften, using the eraser to further define the contours. Then use a hair type brush to define your lashes and brows with minimal thickness. I then followed with the mushrooms protruding from her shoulders using a new layer with normal method and the same soft brush at minimum thickness to avoid blurring too much, add texture with other spray brushes and stippling at low opacity. Then in a new layer add green base and a somewhat dark white to start defining with the hair type brush using gaussian to soften and integrate, using dark tones in one layer and white in another with opacity also low. With his mushroom hat 🍄 I was applying base tones to define with the soft brush in minimum thickness, then using gaussane in low percentage. To the eyes I added shimmer dots with the same soft brush.
 |  |  |
 |  | 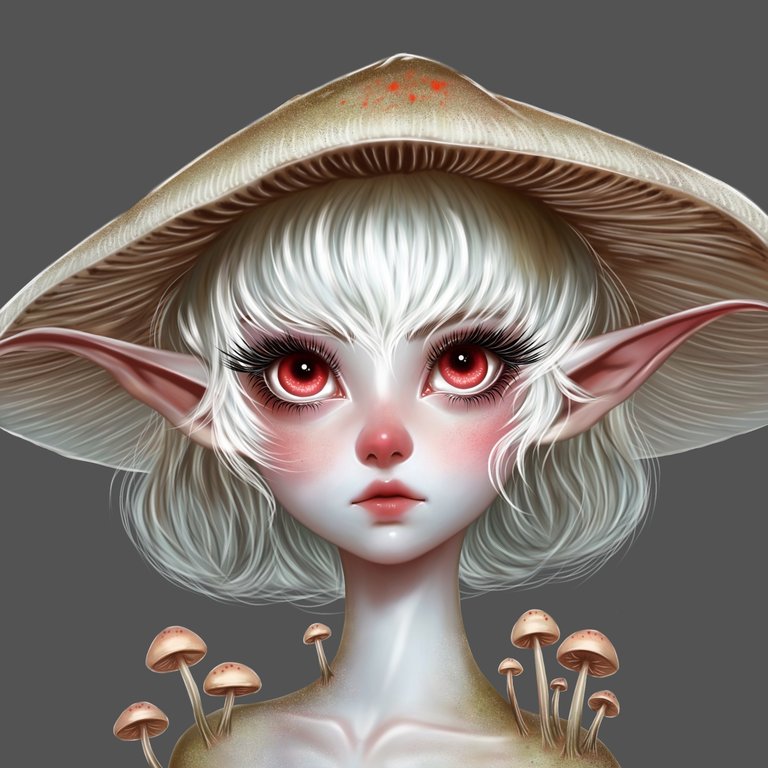 |
Definí con capas nuevas para darles puntos de iluminación más que todo en contornos. Para finalizar y complementar cambie el tono del fondo a un verde oscuro para pincelar tonos más claros sobre, usando una brocha suave y después gausseano para lograr la profundidad. Pase después a saturar con luz suave algunas capas, y con superposición sature un poco más los ojos, labios y nariz con opacidad baja. Y con una capa de añadir agregué algunos puntos de brillos y destellos.
I defined with new layers to give them highlights mostly in contours. To finish and complement, I changed the background tone to a dark green to brush lighter tones over, using a soft brush and then gaussian to achieve depth. Then saturate with soft light saturation on some layers, and with overlay saturate a little more the eyes, lips and nose with low opacity. And with an add layer I added some highlights and sparkles.
 |  |  |


