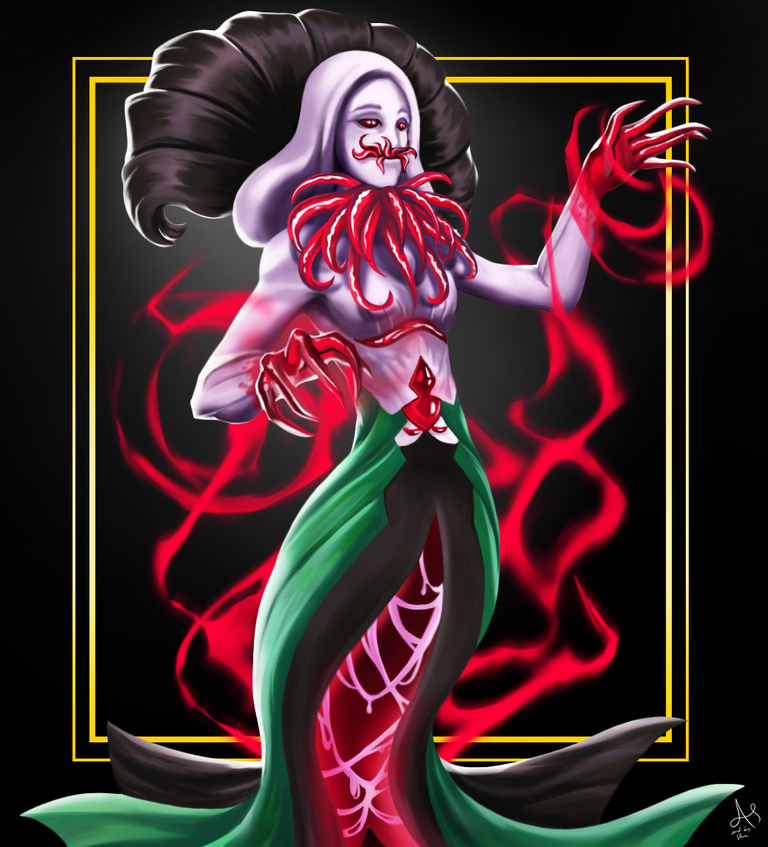
Legendary Earth Splinter Queen Mycelia. Fan art submission to Splinterlands Art Contest.

The Creation of Queen Mycelia Artwork
Greetings everyone! It is me again Steven.
I would like to share to you my Art entry of the weekly contest in Splinterlands. You could join the Contest by clicking this LINK HERE.
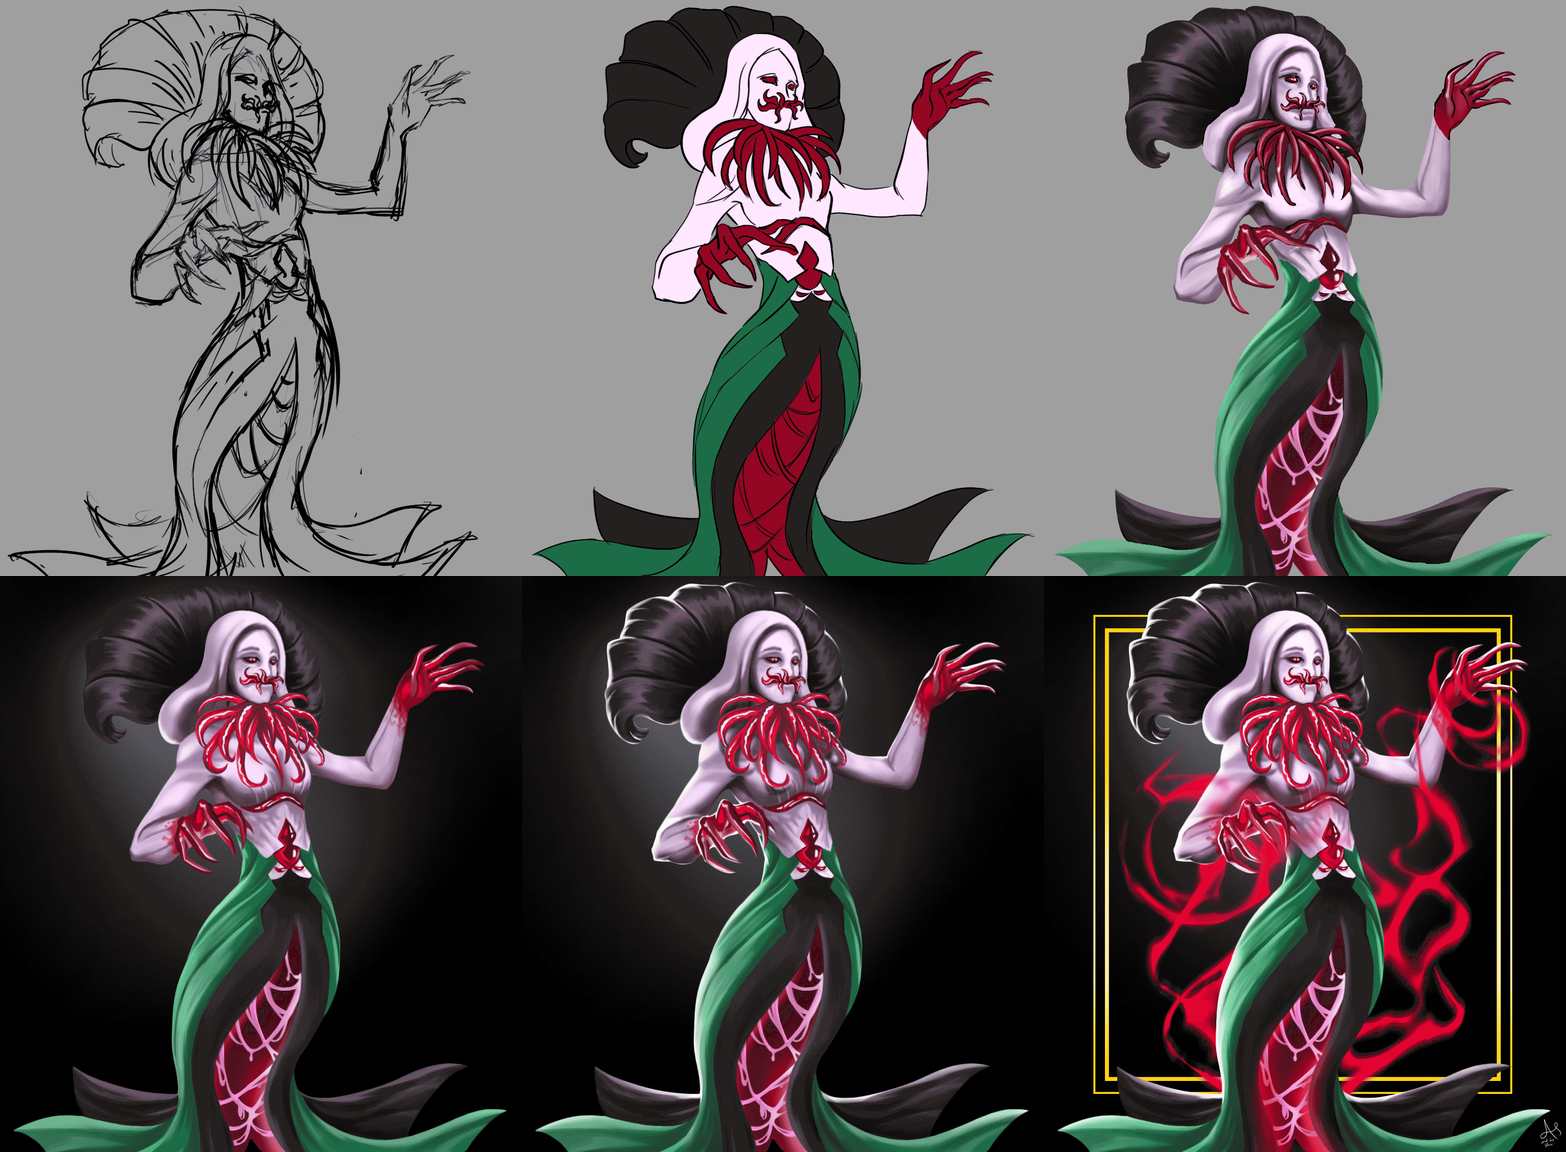
Today I created a fan-art of Queen Mycelia. Join me walk through the process of creation and hope you have fun as the art progress from the start to finish.

Materials and Software
Adobe Photoshop
HUION H640P graphic tablet
ASUS X415 Laptop

Card Reference:
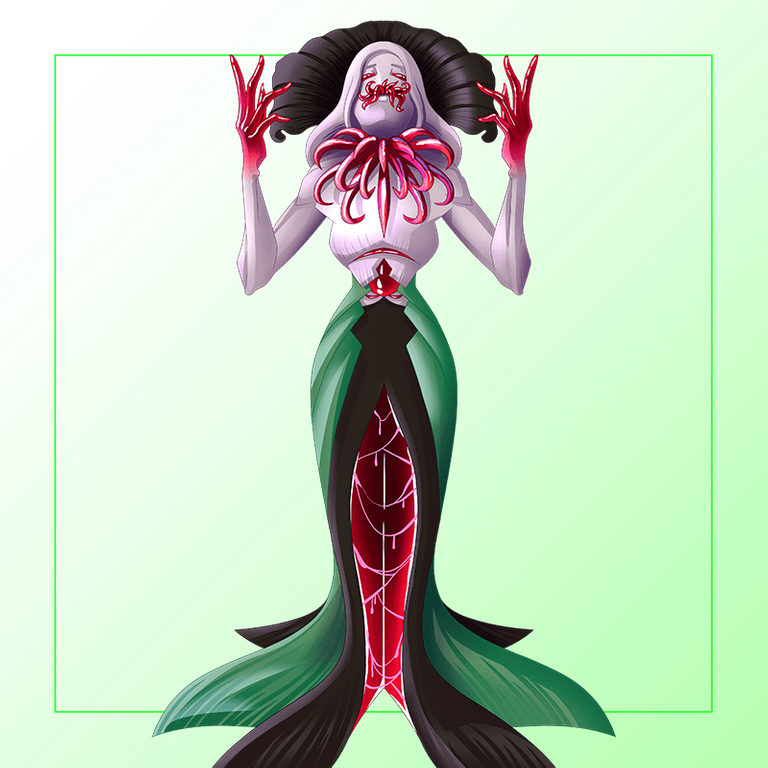

Digital Art Creation Process
STEP 1
Sketching
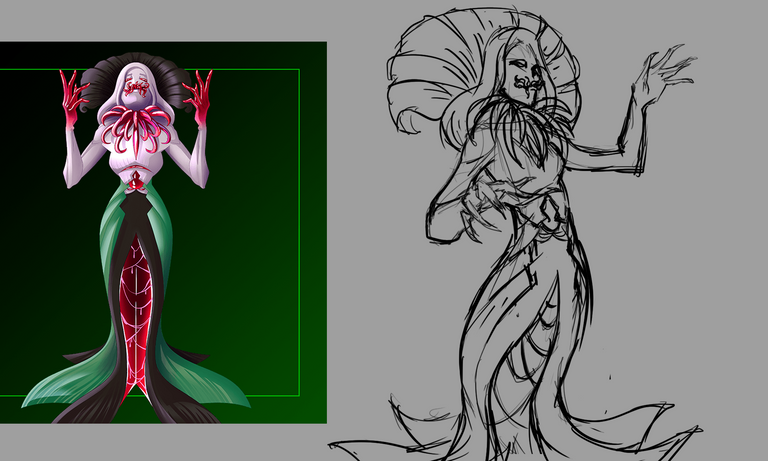
In the beginning, I set aside the card reference and start sketching the pose of the character. Just let it loose while sketching and just have fun with it. Here is the outcome below as you could see it's still rough so let's clean that up.
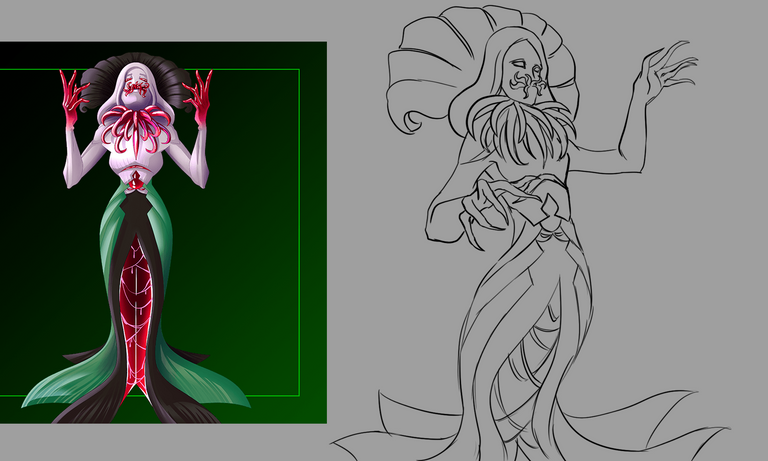
I cleaned that rough sketch that I made. Still not very strong lines because I might get rid of it throughout the process.
STEP 2
Coloring Stage
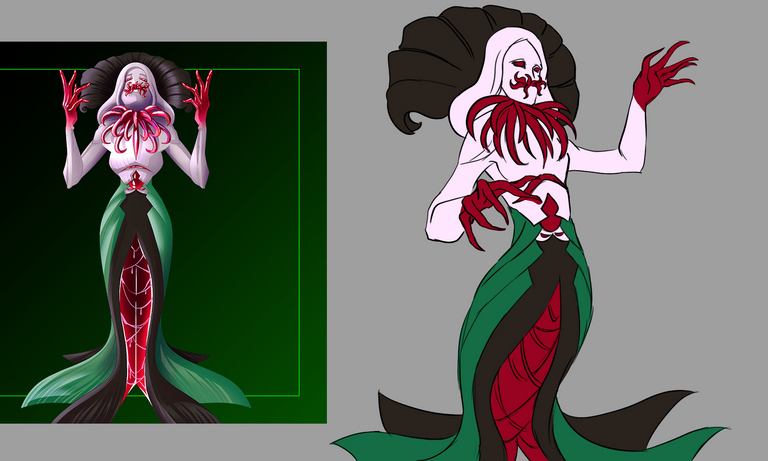
In coloring, I just add a layer below my Sketch lines and started coloring the base/flat colors. This is how it looks like. And I find loving the work that I have done already even if I still don't know the end point of this artwork. Sometimes the process works sometimes not, you feel you're artwork is not getting to what you want to be. But don't think too hard about it just let the process go and enjoy it, that's the fun with creating artworks.
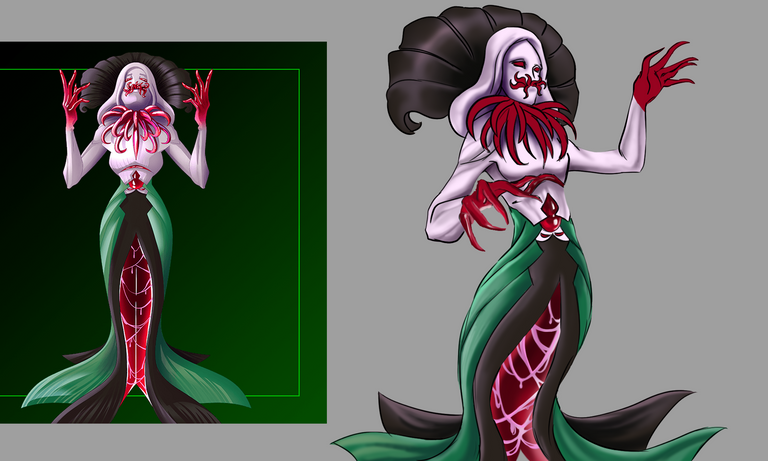
After I set the base color, I then add another layer on top and add some shadow and highlights. Subtle but you can now see that the forms and shapes of the character are define.
Hope you having fun with the process so far XD
This time I want to get rid of the sketch lines, so I add another layer but on top of the sketch lines. Try to define some more details and here's what it looks like.
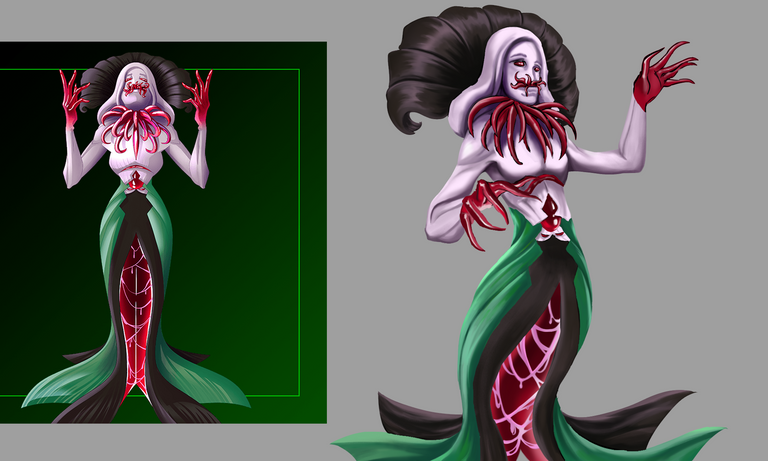
The beauty of doing digital art is you could used the tools like cheats. I have noticed that the face part of the character isn't really looking the way it should be. So I used the liquify tool here in Photoshop to fix it. Also I separate the design in her neck part. I want to resketch it because I find it so messy and it needs a lot of time to correct.
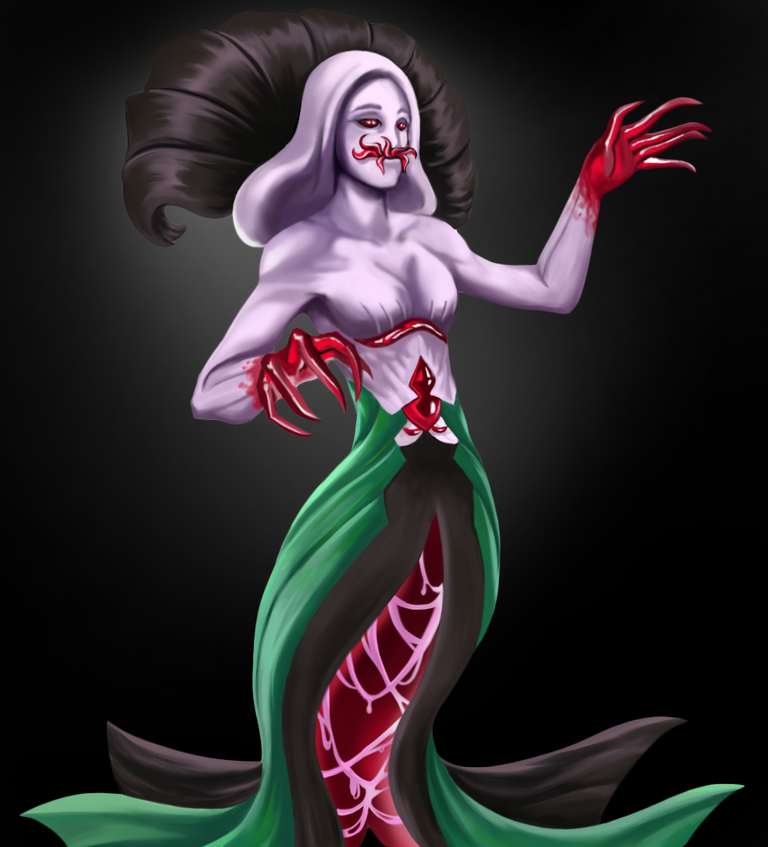
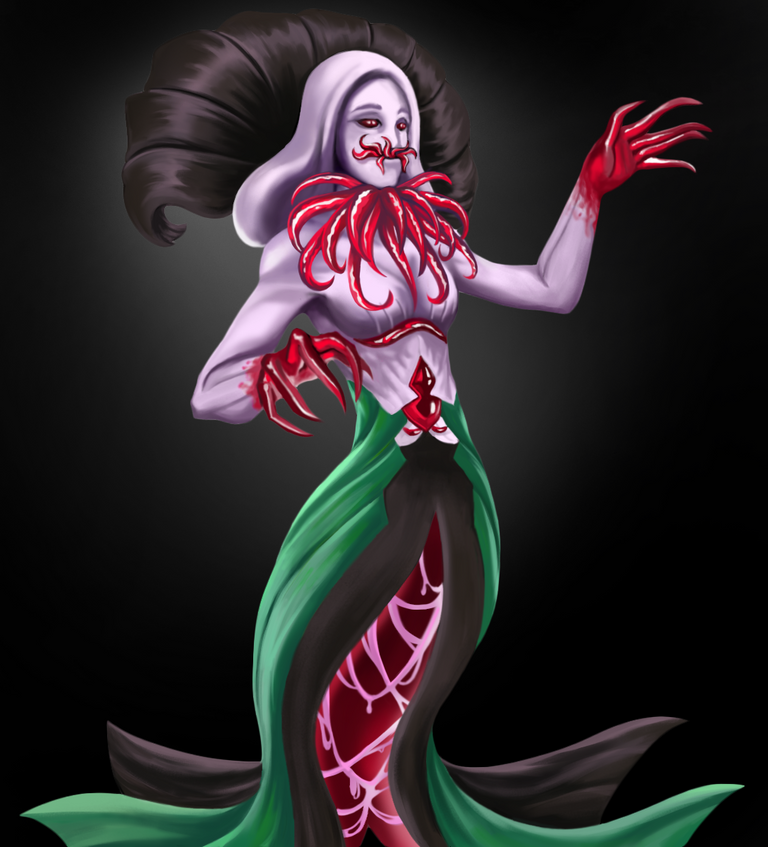
Resketch that part a bit. You know if there's something you want to change in your artwork go change it. We are not married unto something. And eraser is made to correct used it. May our artwork look good maybe not and other times we encounter happy accidents. These are all part of the process.
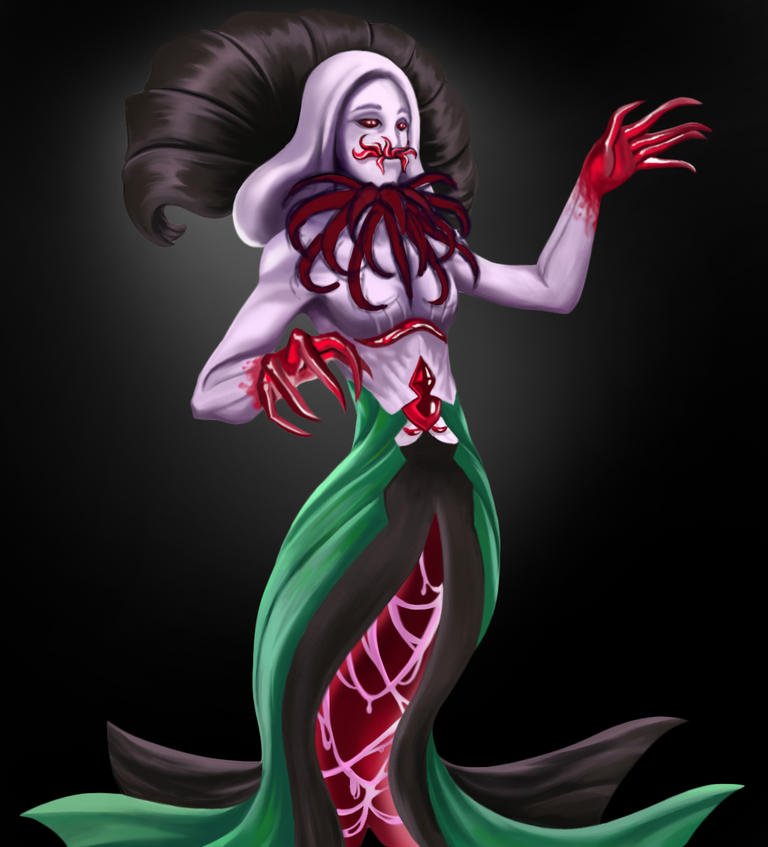
I'm satisfied and happy with the change I did. We are now getting close to finish here.

STEP 3
Final Touch and Render
We are now at the end of the Stage/Process. It's a very little but helpful to look the character good, I added these lights hitting the character also some shadows and I think she looks gorgeous.
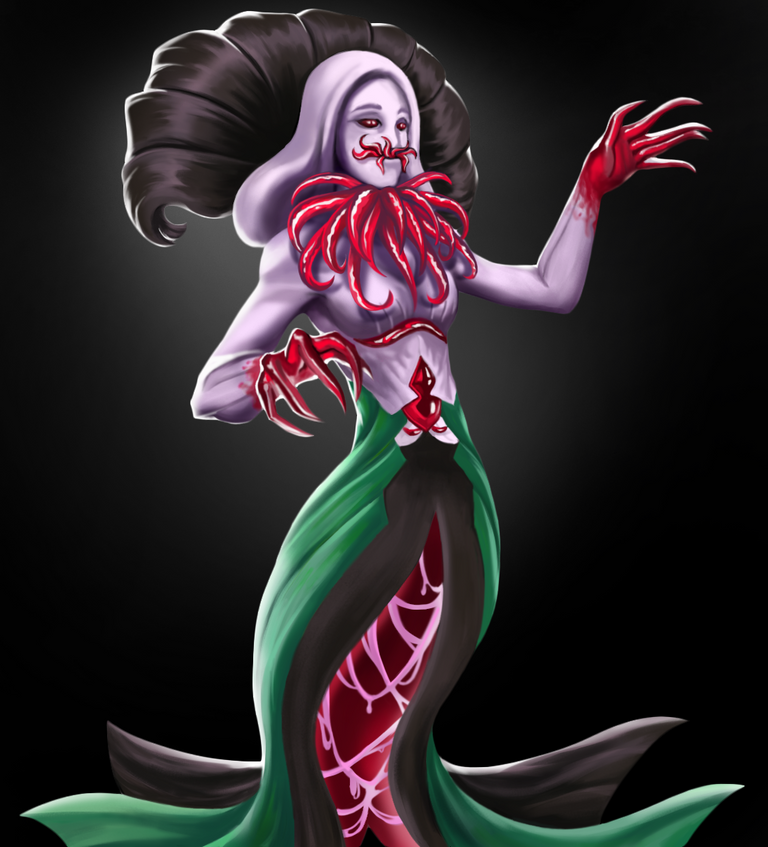
I like to add some magical powers flowing over here. I just find it cool to do so hahaha.
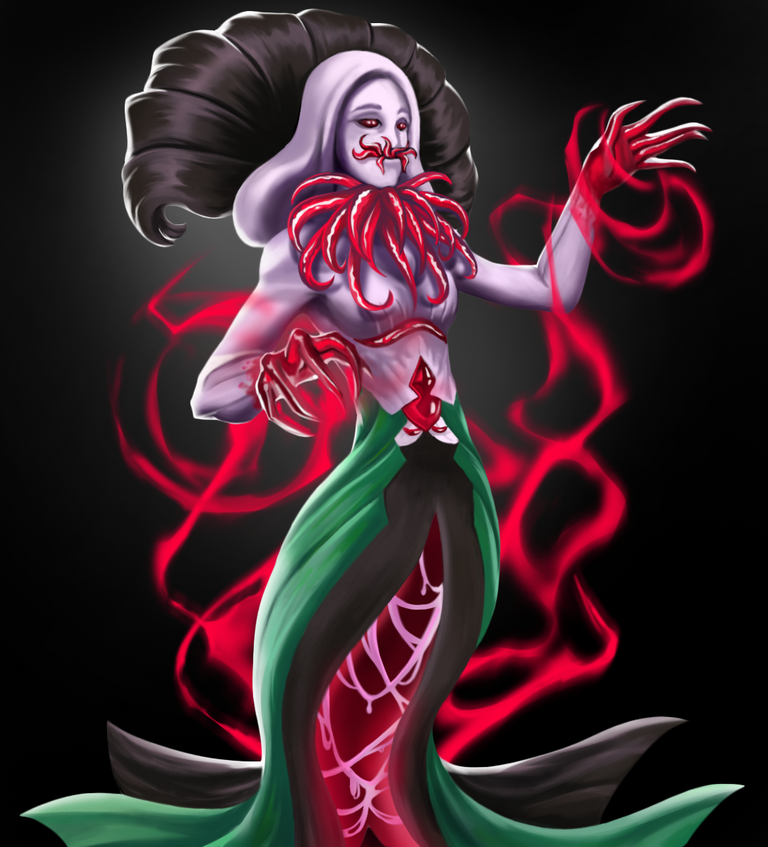
For the final touch I added these rectangular shapes in the background. To make the eyes view at the center it serves as a framing device. Also color it golden because Queen Mycelia is legendary right! And that's it we're done!


Have some time to appreciate this
GIF PROCESS
Not playing Splinterlands? Come and join us! Referral Link

If you want to know about these cool Text Formatting please visit Cartel Post Framework I know you would love this guide as much as I do.

Hoooo! that was fun. You made it to the end of this post. I really appreciate your time and attention and I hope you have a very great day.
'Till the next post see yah!
Thank you very much!
Join the Discord to learned more about Oneup and the Cartel


