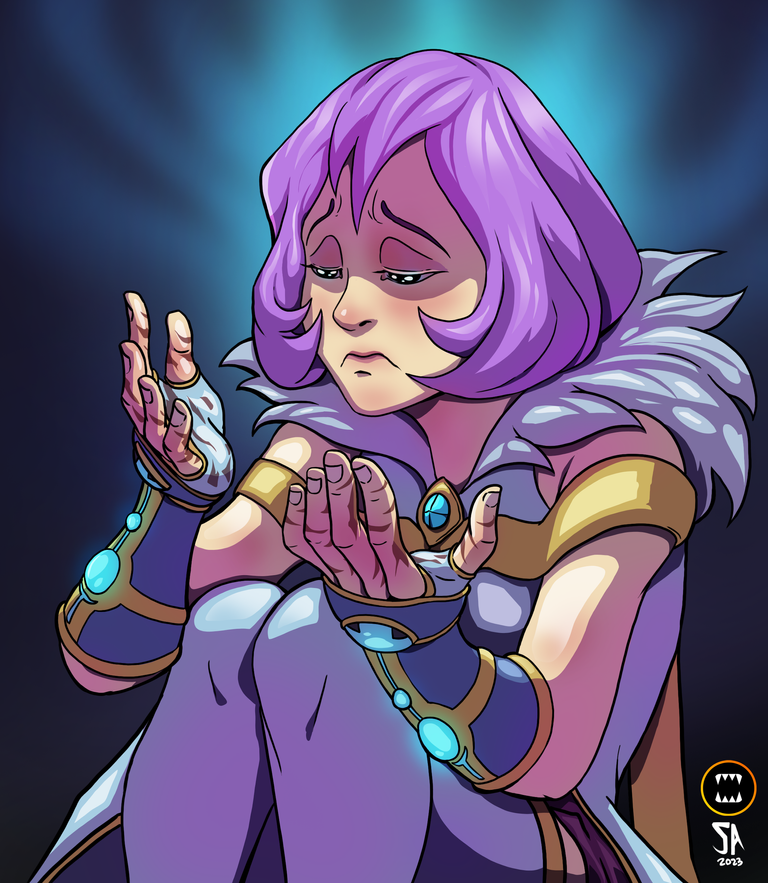
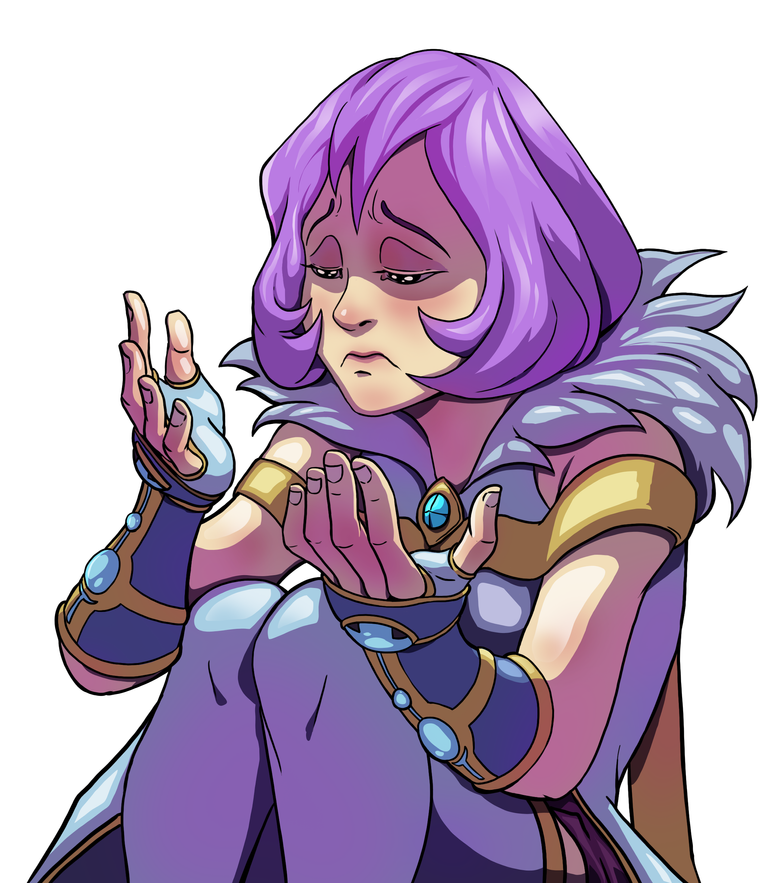
Gwen stared at her hands, which were burnt and scarred from trying to protect the people of her city.
It was all for nothing, she thought. I should be dead alongside them.
You can read the rest of the lore here Card Lore
Hello everyone and friends😁
How's life going? Hope you have a productive day.
I'd like to share to you my Art entry of the weekly contest in Splinterlands. You could join the Contest by clicking this LINK HERE
For this week I choose to do a fan art of Gwen Stormsong also known as the Water Caller.
I was reading the lore and this one had a very touching moments in her life. And so I decided to do an art interpretation about the lines in the lore. Where she is in a boat sitting and looking at her hands which were burnt and scarred from trying to protect the people of her city.
I hope you like it😌
Tools I use:
1. Laptop
2. Photoshop
3. XP-PEN drawing tablet
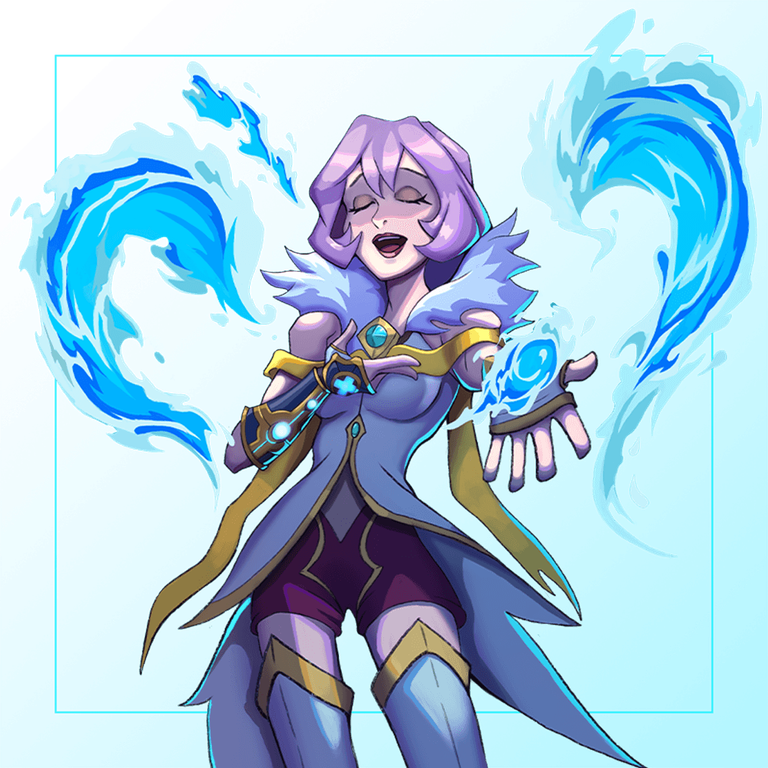
Card Reference:

Digital Art Creation Process
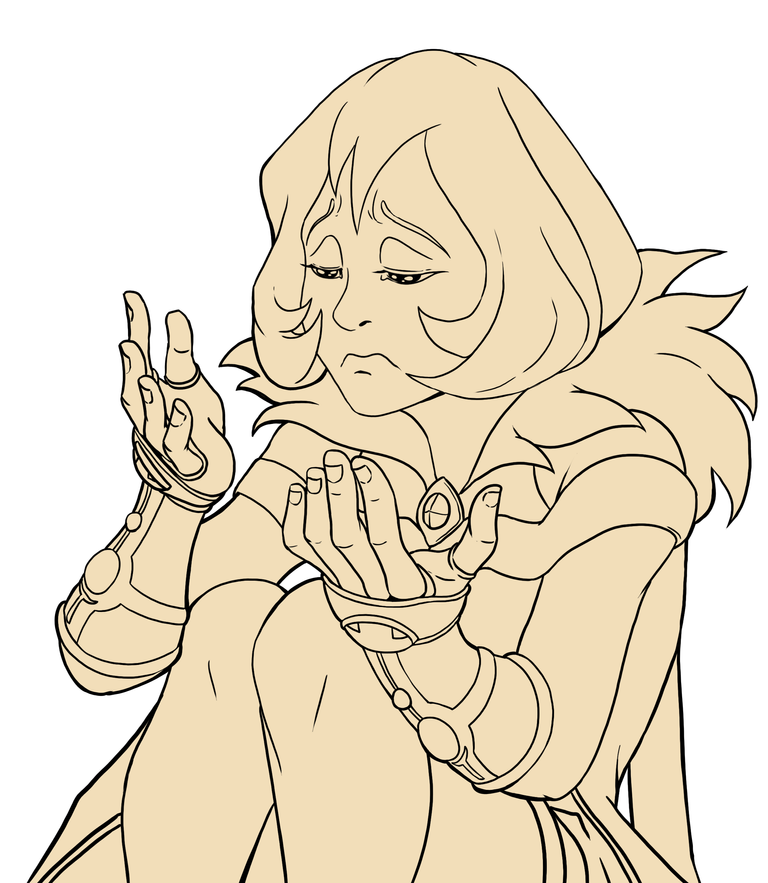
STEP 1
Sketching > Lines

At the start of the process, I did a very rough sketch for the pose and the idea that I will be creating.
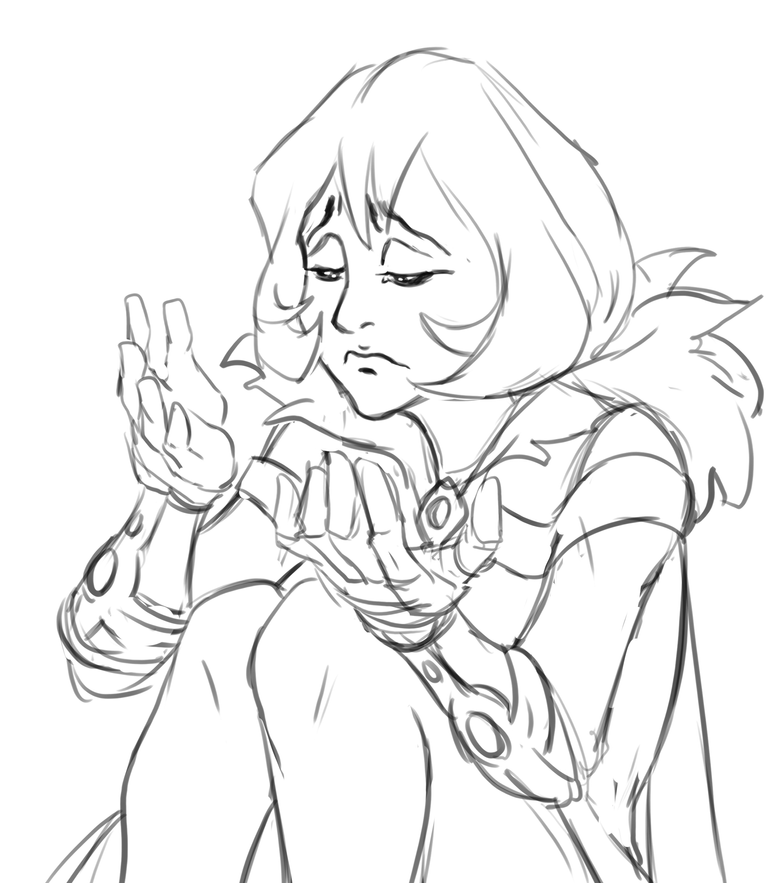
From there, I sketch the forms and shapes of the character which is Gwen giving it a bit sad face and I wanna input that mood that she is about to cry.
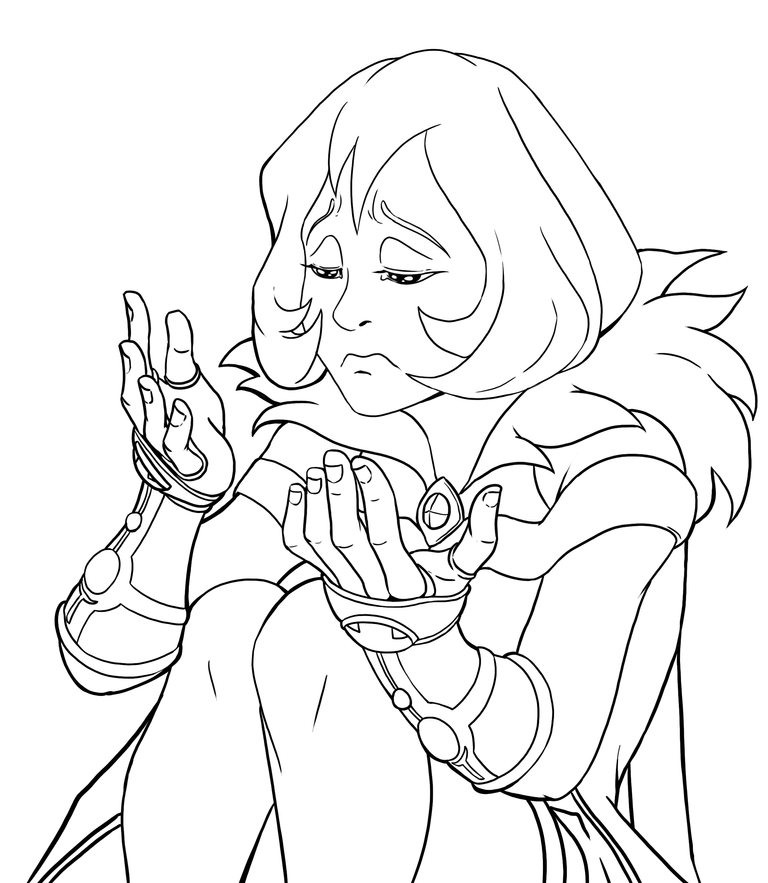
Then, clean up those lines to have a clear readability.
STEP 2
Coloring
At the start of coloring I fill it in with the color of her skin. And lock those pixels.
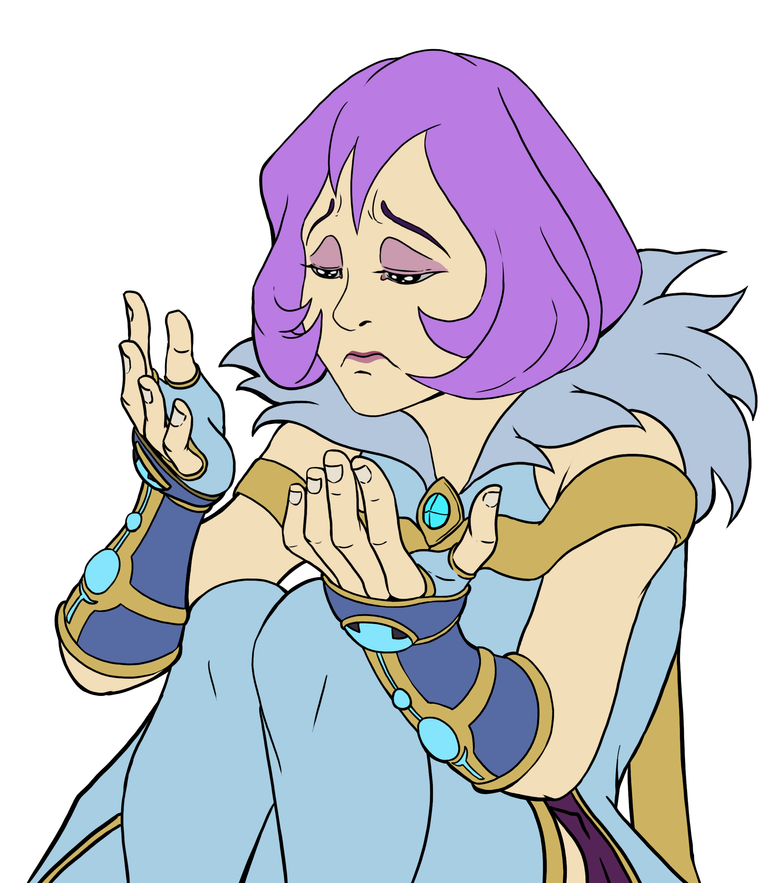
A way to do it from big to small. After giving it a skin color, add the other color for the different parts of the body and materials.

Time to add in the shadows. Pick a grayish color and set the layer to multiply, brush through the parts where the shadows will be.
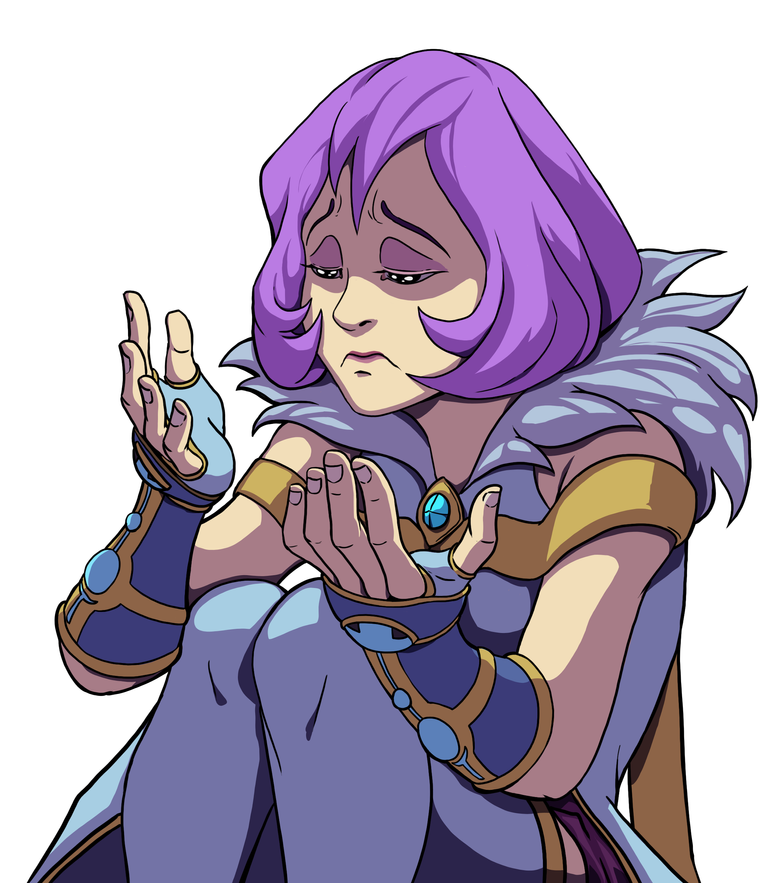
Next, add the occlusion shadows. These are the darker shadow parts. Pick a darker gray color and set that layer to multiply.
Then, add our highlights. These are the brightest part of the object that is hit by the light. Pick color white and set it to overlay mode.
Here I add some color variations. With a normal layer brush in some reds cause human have these blood running through skin.
In here I add the texture and glowing effects. Texture for the hands that is burnt and scarred. Glowing for these circle magical thing around her bracers.
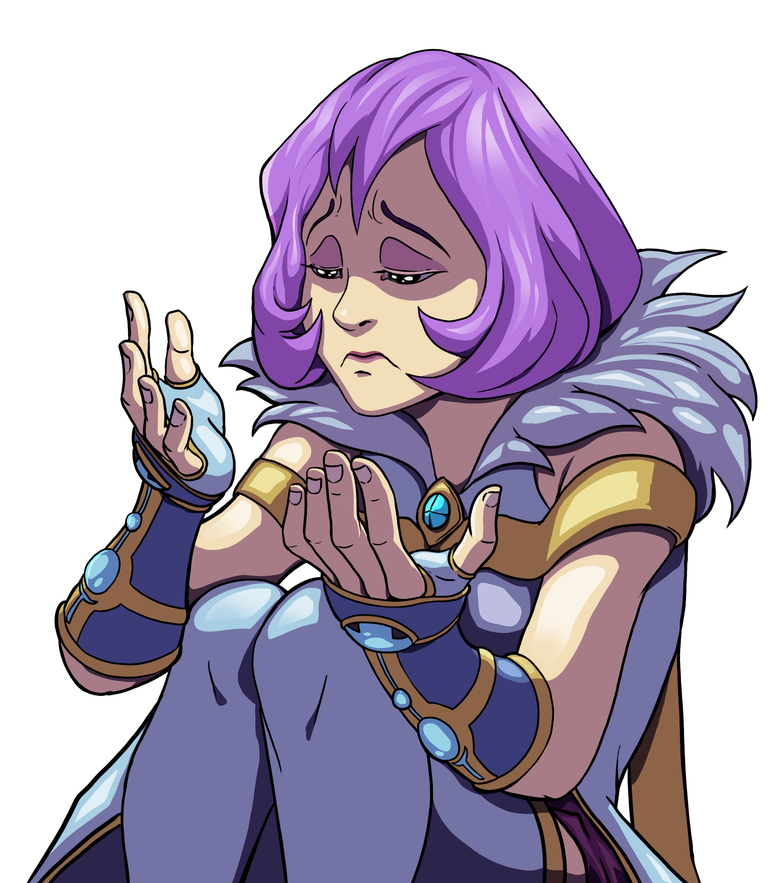
Finally add the background.
That's it we're done!
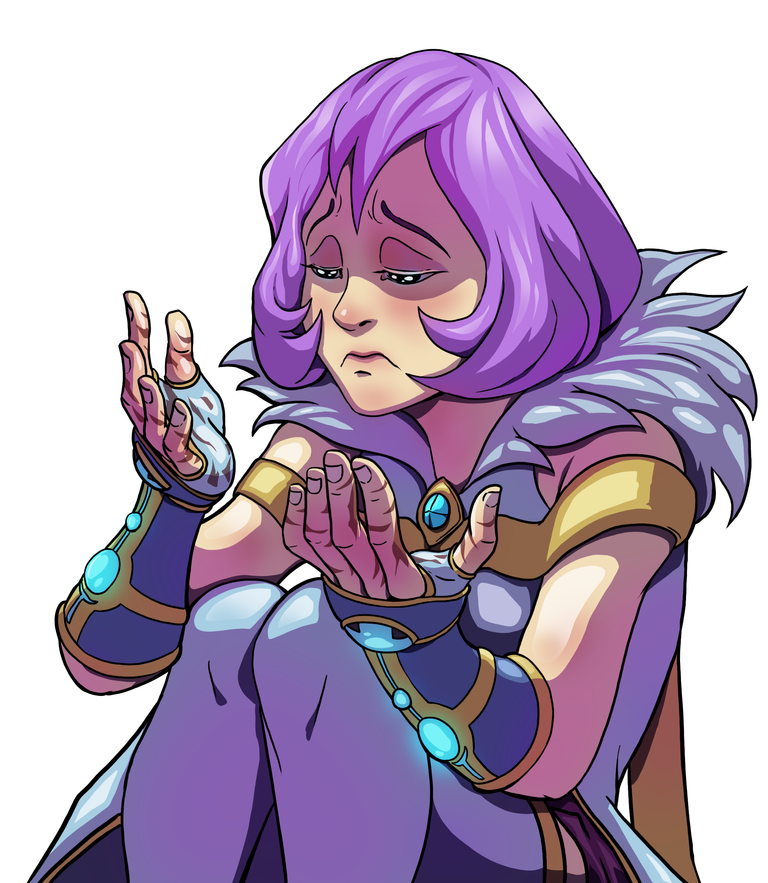
GIF PROCESS

You made it to the end of this post. I really appreciate your time and attention. Keep up the good work and have fun! Until next art illustration stay tuned😁
Thank you very much!
I'm starting to compile my artworks here. Feel free to view link below.
https://www.artstation.com/japex