Happy Friyay! I had an off work today but still updating some reports on my computer. Also, this is my chance to stock up blogs while I can, right? :D So I planned to make two blogs for today, one for the SPL entry, and one draft. Earlier I went out because I craved milktea. Gosh, it was so damn hot. Err, sorry, back to the topic. :D
If you are interested in the contest, click here!
Here is my chosen character in my art style!
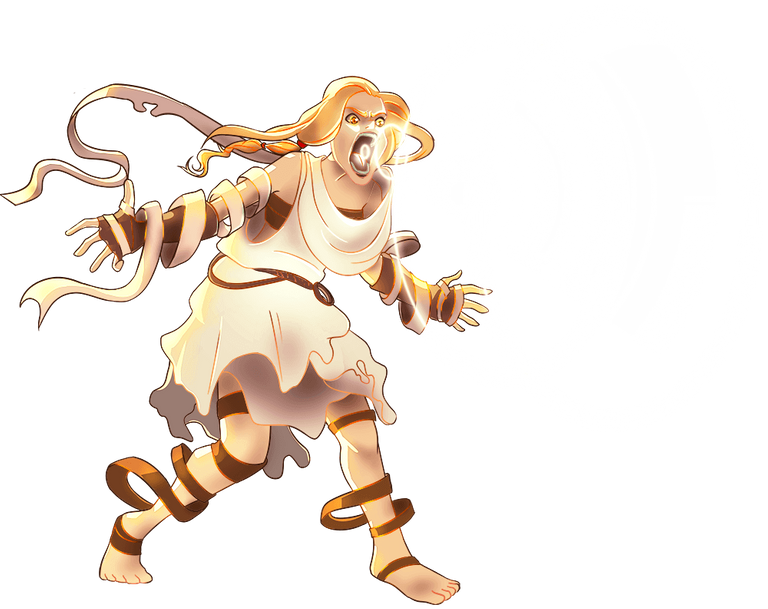
Sketch and concept
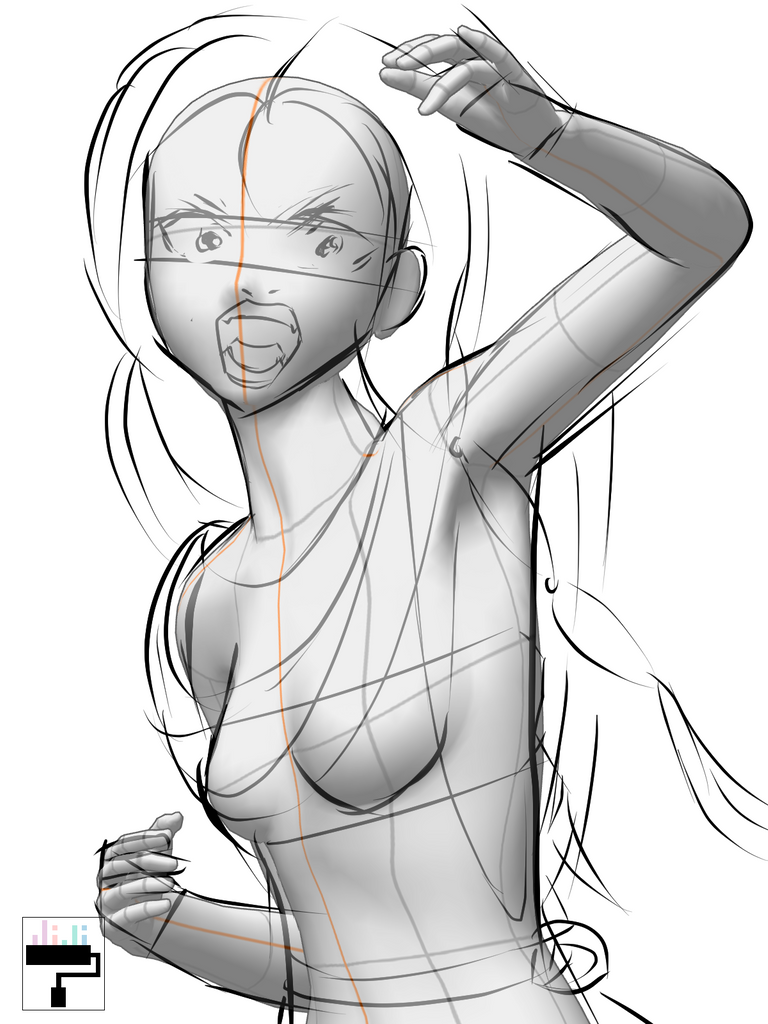
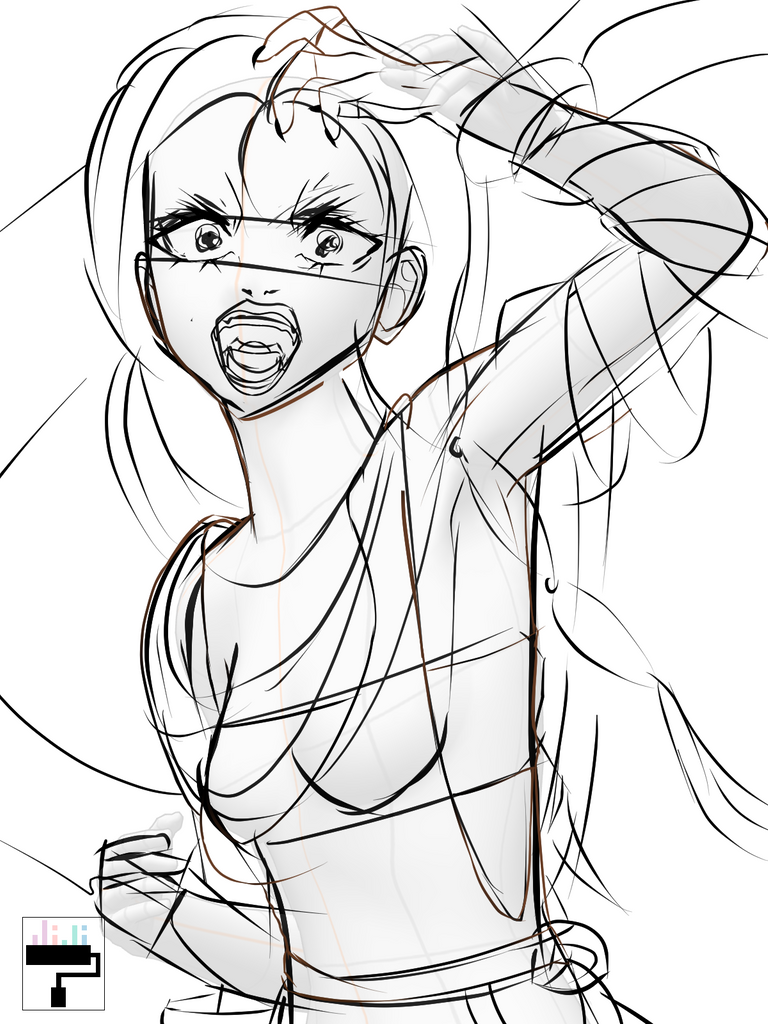
I think this is my first time using a 3D model for an SPL entry. This 3D model is perfect when drawing complicated poses or positions. Clip Studio has this feature pre-downloaded and you can download more on their community asset. This is one of the reasons why I bought Clip Studio Paint Pro! 😄 Also, you ca customize the body size and gender.
Aside from the 3D model I also used this reference for the hands and expression. The facial expression and the hand position are the big challenges for me.
Flat colors and shading
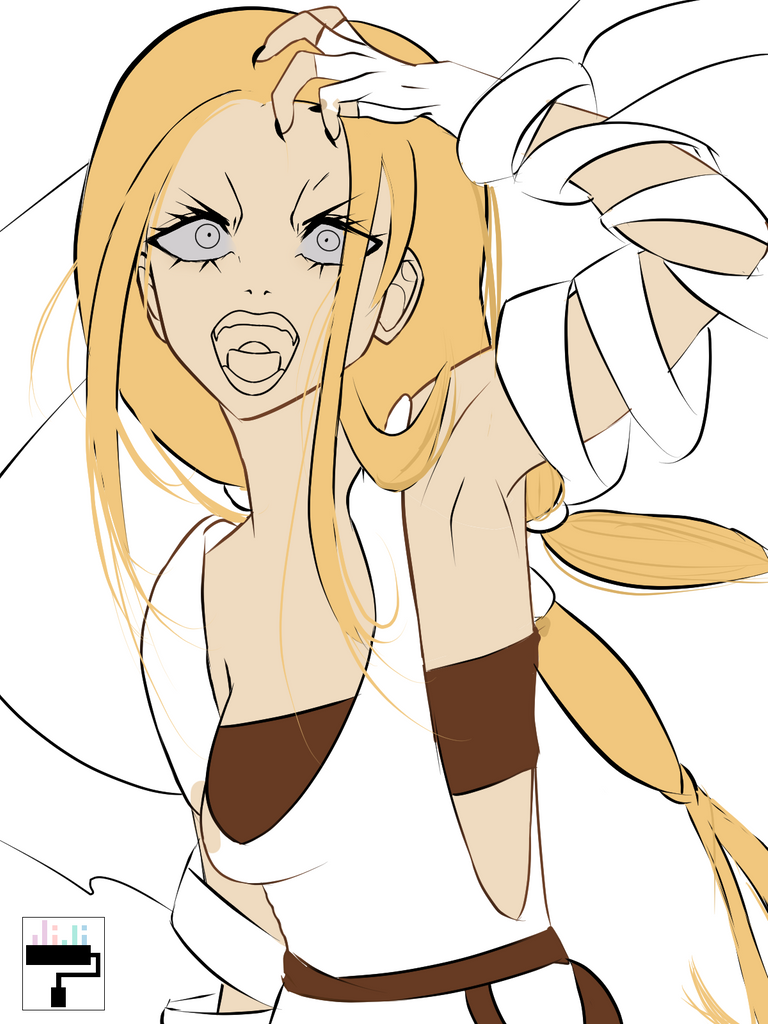
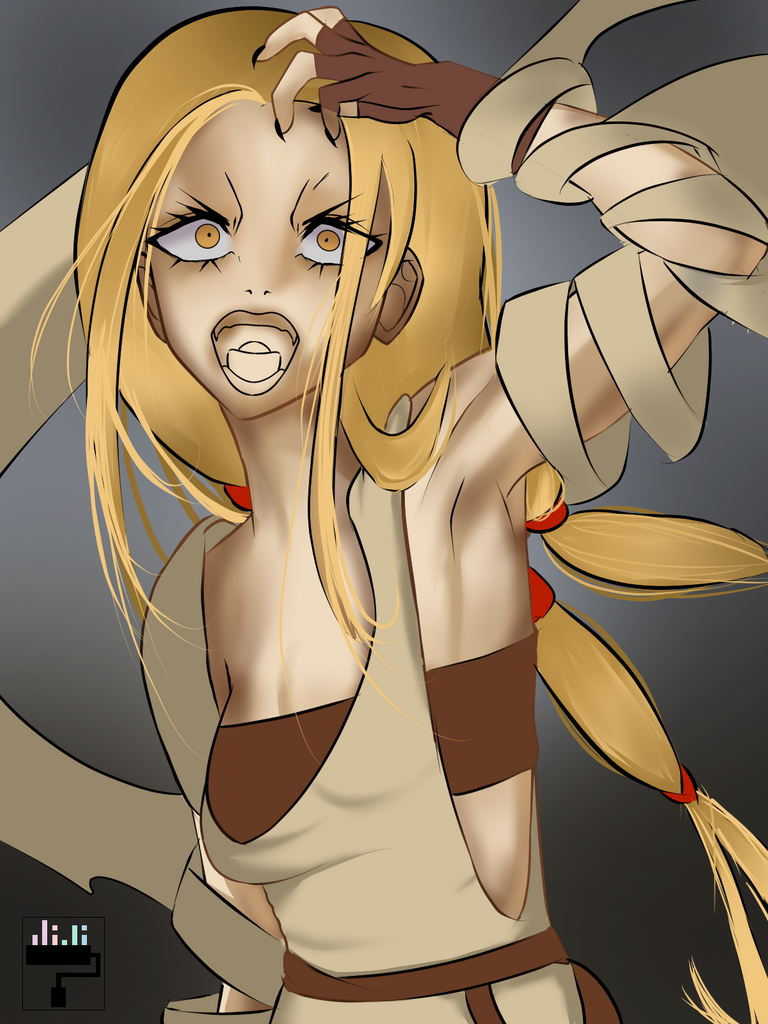
The picture became clear once the lineart is done! The hands are a bit small but do not worry coz I am going to fix them later via liquify. The colors are just color-picked from the original art. If I cannot copy the exact color that reflects from the original art, I just manually find the closest shade on the color wheel.
The character looks like Winry Rockbell of Fullmetal Alchemist. The hair and the eyes resemble the anime character. Though Evangelist is fiercer.
I first shaded the skin color. I just picked a color below the base color. A little darker for the most cornered parts.
Shading and details
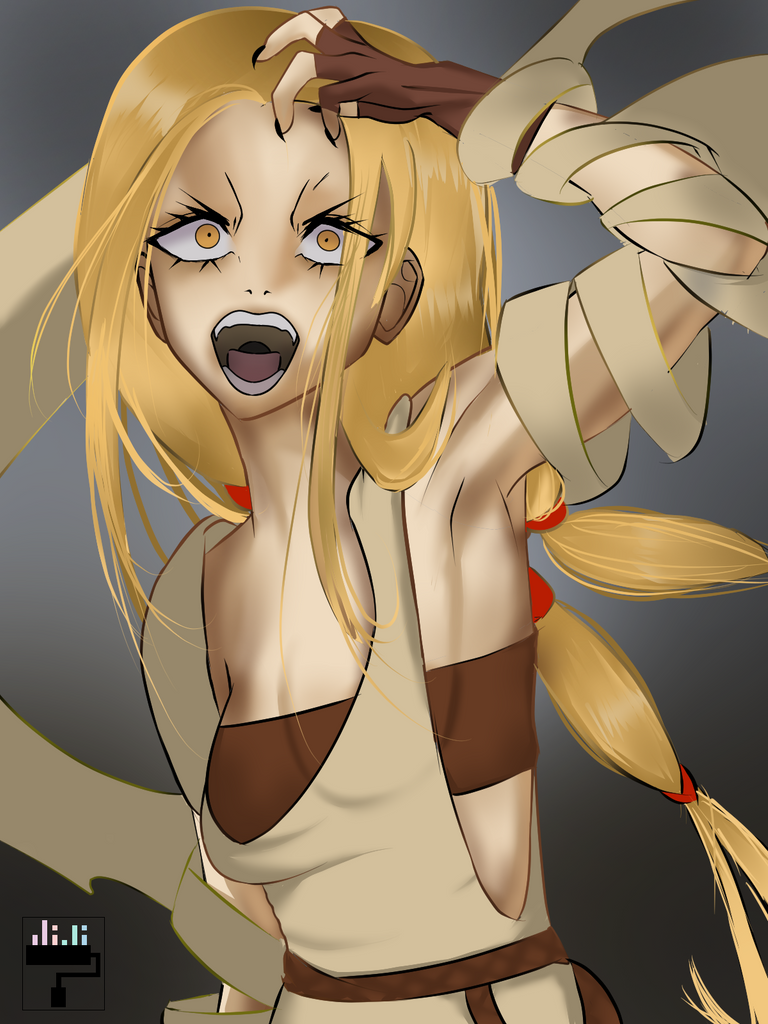
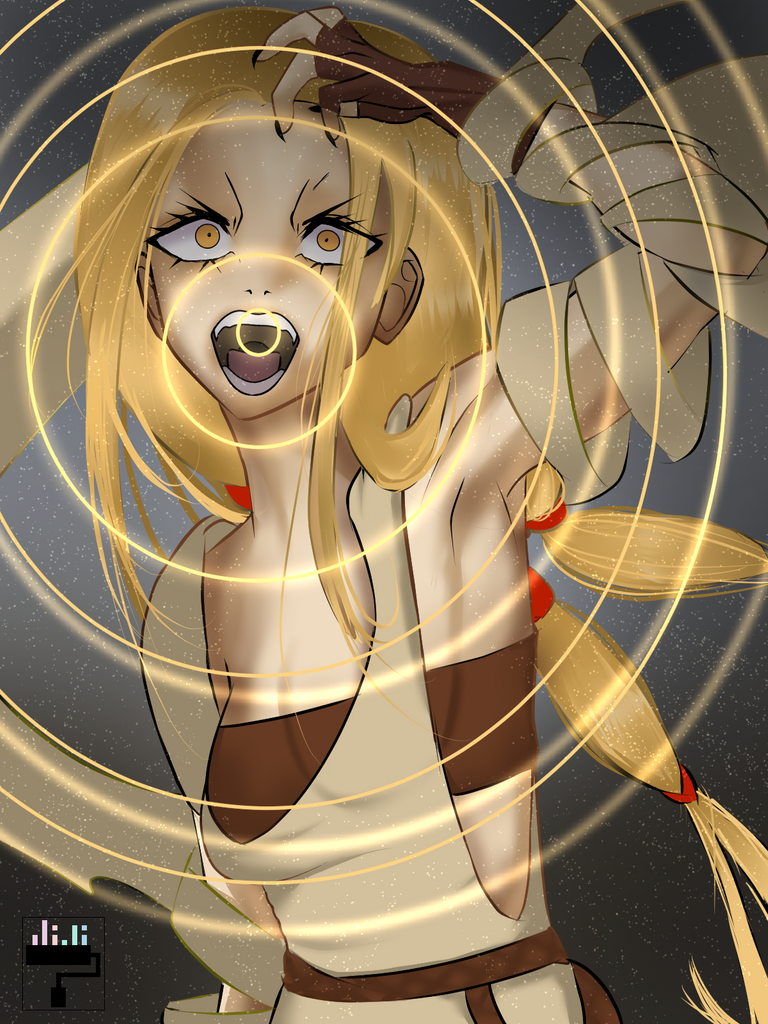
See, I added the mouth here already. It is so hard to make an intense expression because it is not what I used to. Usually, I just draw a smile, grin, or tounge out. Thank God for reference, or else I will lose mah sanity for this expression, HAHA!
On the second picture, I used the shape tool to make circles. I put them in separate layers to adjust the spacings after. I merged them all in just one layer. I then copy that merged layer and blurred it out. It may be unnoticeable but I put some dust around the circle, hehe.
Final Art
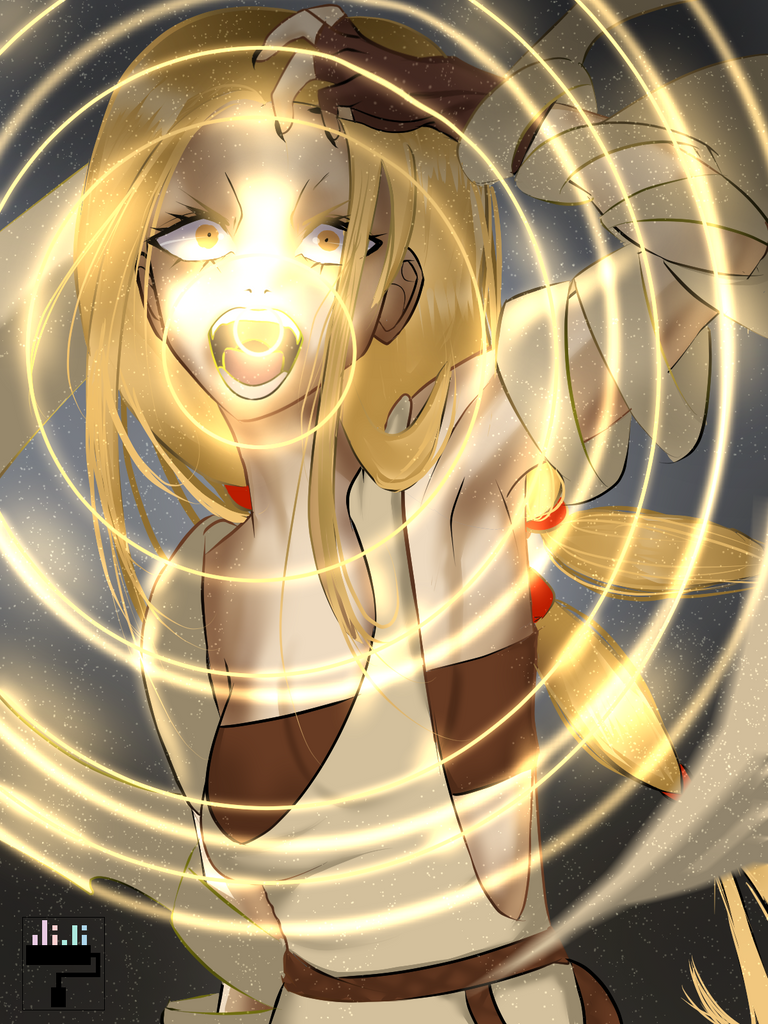
Now time to put the magic glow to make this picture come to life! I used another layer on top of the rings and set it to Add Glow. I picked a yellow color close to the color white. I used the airbrush tool with 80 percent opacity. Brush it to the t-zone, cheek, and mouth. More glows are added to the rings. I also drew a blurred lace on the lower right.
For the final touch, I use the magic liquify tool to adjust the proportions. In this case, I liquified the hands and the eyes.
Tadddaaaa~ Evangelist in my art style!
I really enjoyed using the 3D model. This is a big help for me in terms of perspective, poses, and proportions. I am still learning how to use it because I keep messing up. If I keep using the 3D model, probably will get used to the tool.
Software: Clip Studio Paint Pro
That is it for this art blog. I will see you at the next one!
📸 All photos are owned and taken by me, otherwise credited.
©️jijisaurart
👾 NFT Showroom: nftshowroom.com/jijisaurart
🥰 Open for commissions!
All of my NFTs are 1/1 non-generative, hand-drawn art, 1 by 1 produced!!


