Hello, How are you? A lot of things happened to me today, but I have still the energy to make this blog to prove to myself that I can do it. My friend's baby's birthday and christening today and I have never been this tired in my life LOL The heat is one to blame. Finally, I am free.
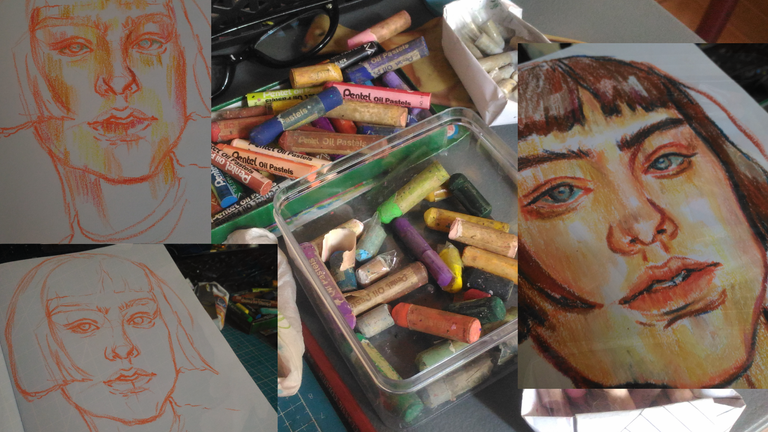
Back to the topic. I was looking at my photo gallery when I thought I only took photos of the first oil pastel process I drew, but luckily I photo-documented the second portrait I drew. I only took a few photos of it but it is still blog worth it.
Materials:
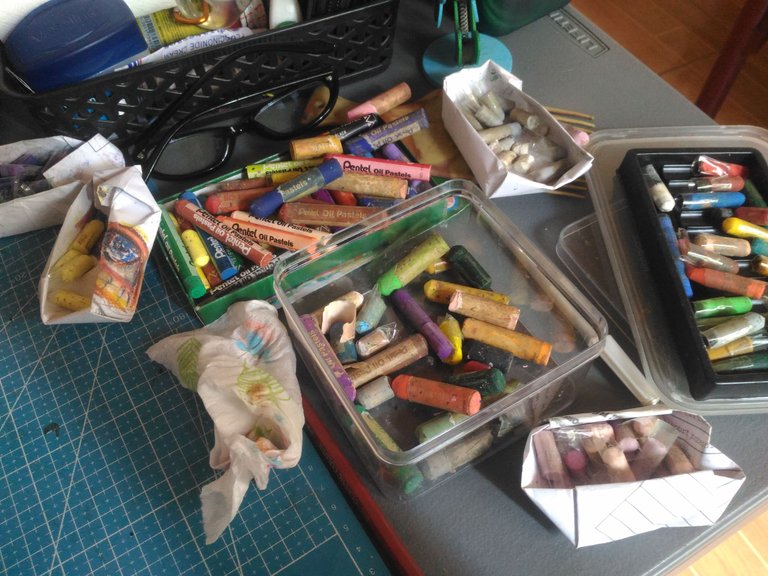
- Oil pastel
- Drawing Paper or Oil pastel paper
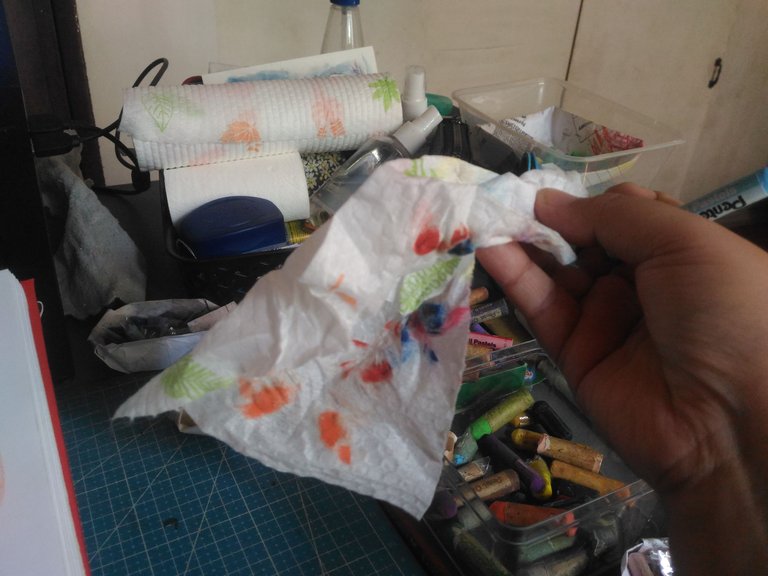
- Tissue
The Process
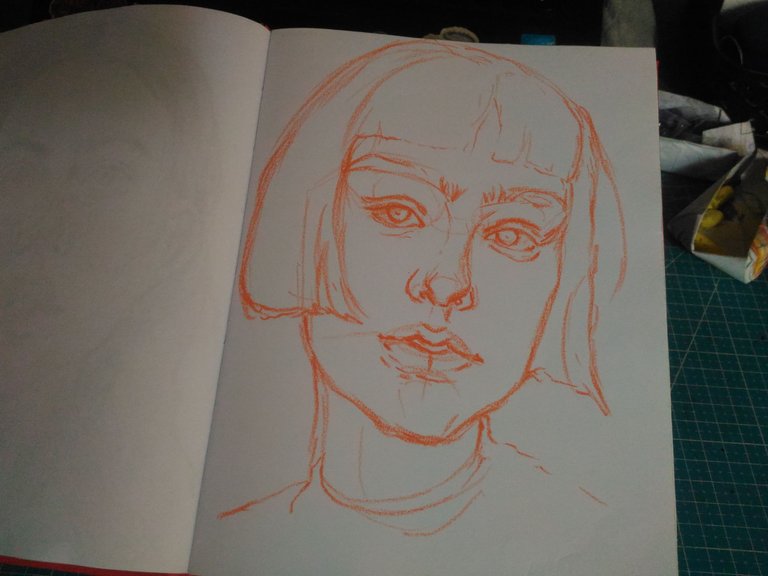
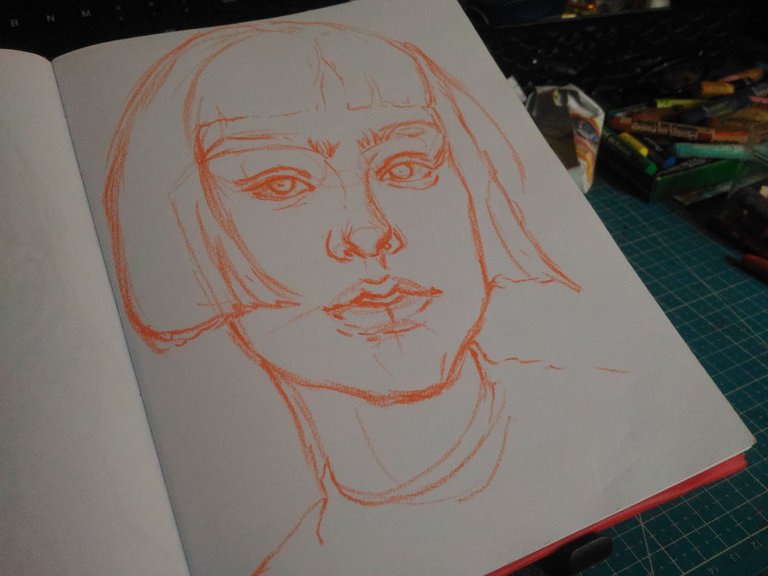
After gathering all the materials I need to choose a Reference with clear details that you are comfortable working with. I chose this reference because it is simple and easy to work with. You can use pencil for the line art first, but I used the oil pastel directly.
I use yellow-orange as the line art color, if I use dark color the blending of the oil pastel will be muddy.
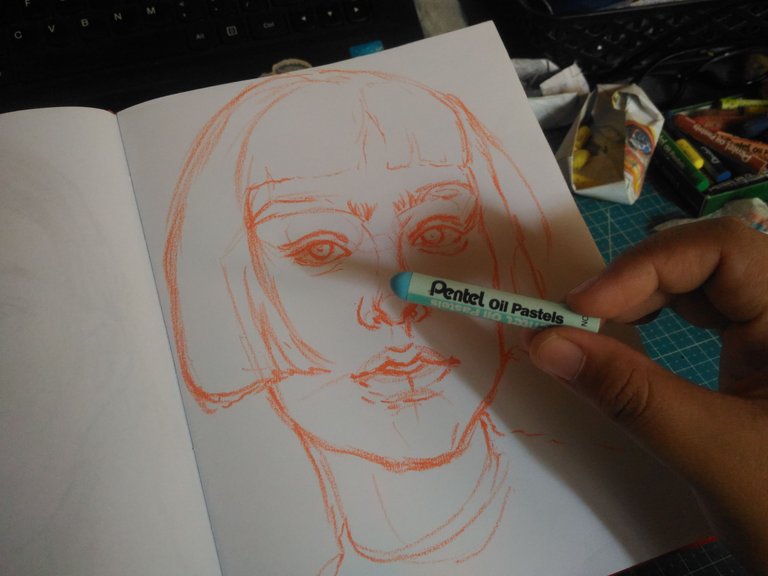
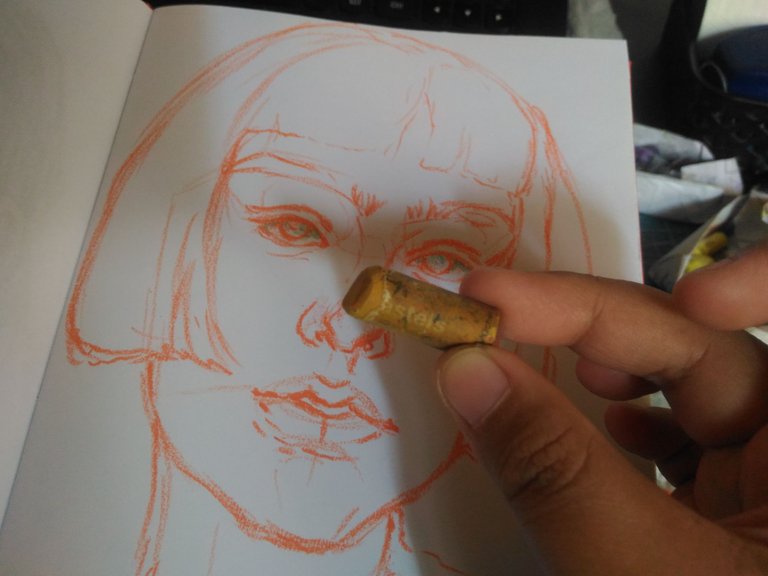
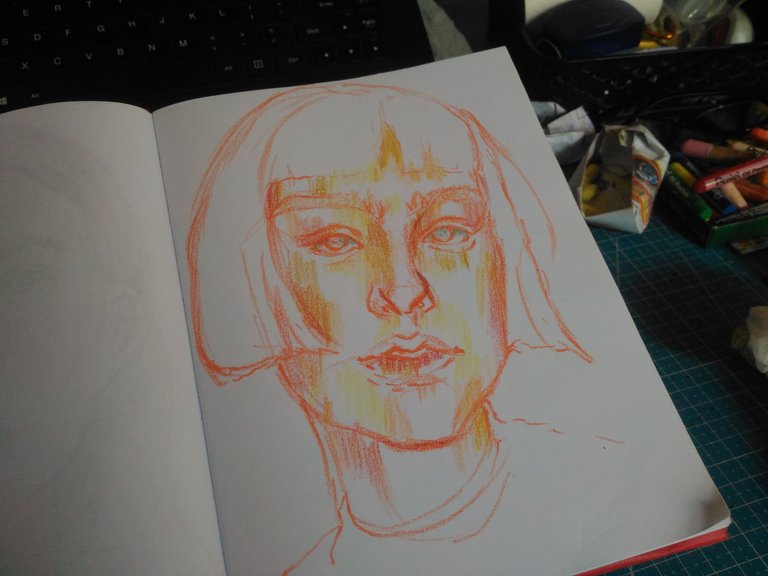
I use pale blue for the eyes white and yellow ochre and orange-yellow for the skin. I used the hatching method of the skin. I do the hatching as lightly as possible to build up the color softly.
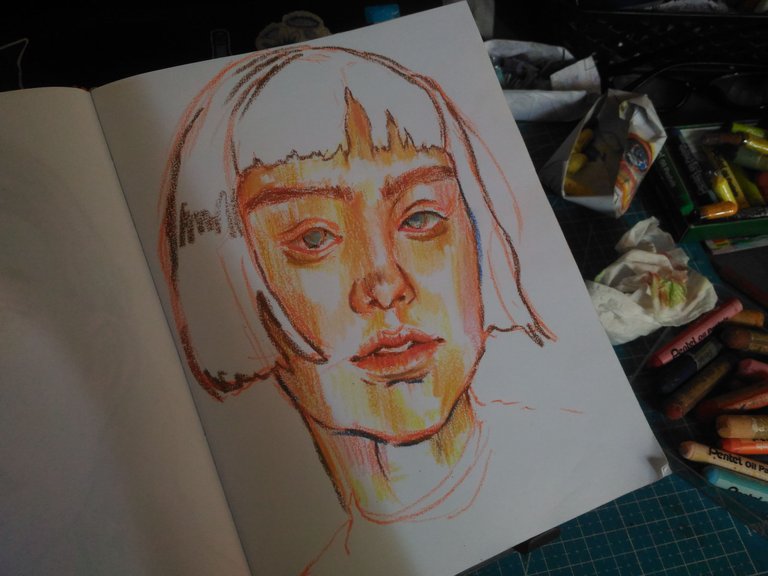
After adding all the base colors of oil pastel. I added an outline to the line art I used Vandyk brown for the hair.
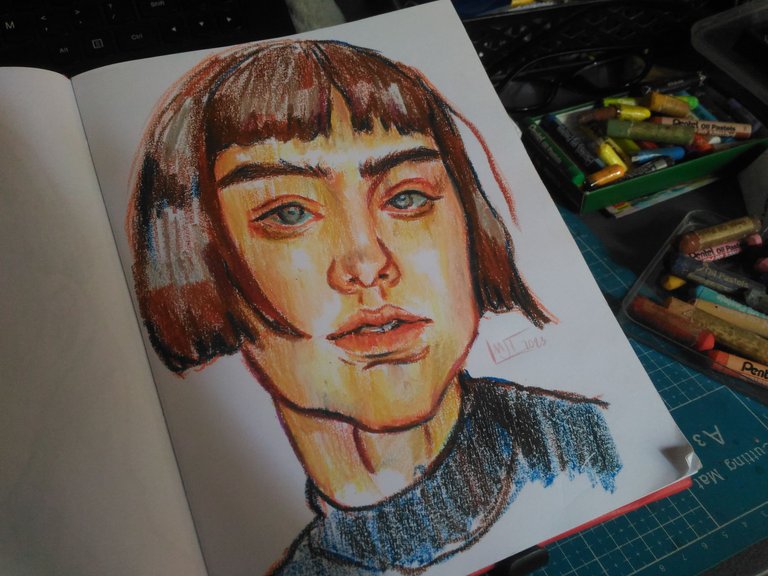
After that, I fill in the hair with more Vandyk brown and burnt sienna to make the brown oil pastel pop out I layer it with black this step should be final because If you layer the black with a light color the pastel will be muddy.
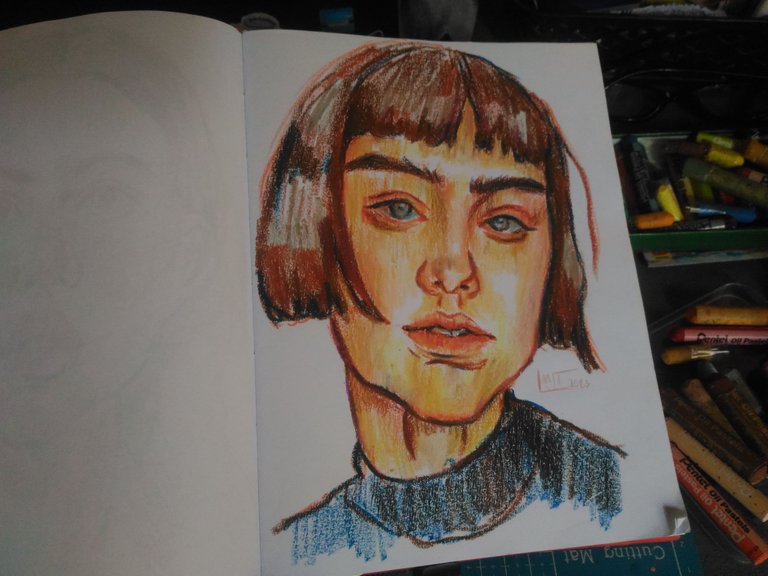
Oil pastels always have a place in my heart.
Thank you for stopping by. See you on my next blog.
