Hello Readers,
Since the launch of the Moonkarts game on Hive, which is developed by @ArcadeColony (www.arcadecolony.com), I have been engaging with this game on a daily basis. I really liked the 3D eye-catching graphics and gameplay mechanics of this game. I was so impressed with how the developers dedicatedly developed this game, which runs smoothly despite being run on a blockchain. I am still learning about all the basics of this game and spent a few dollars to make myself a basic level kart setup and now saving money to pour in, so that I can upgrade my cards and become competitive in the multiplayer arena.
Recently, the official Moonkarts community has launched an Infographics content which is live until 4th March. I stumbled upon this Infographics contest just yesterday and though I have never created an infographics before, I was excited to find this contest and wanted to give it a try.
Moonkarts Infographics Content Official Post Link
Though I have rarely any knowledge about graphics design apart from the lazy thumbnails that I create in Canva for my Hive blogs, I decided to take this chance as an opportunity to try creating infographics and test myself out. So as thought, I started the quest today morning and sat in front of my desktop with a fresh mind. Now, I had zero knowledge about infographics, so I started looking into infographics entry posts created by other users and not to mention, some amazing level entries caught my eye. So inspired by some of these designs, I started creating one by myself.
Now without any further ado, let me share my entry image for this awesome infographic content. So, roll the drums…
Idea, Tool Used and Steps
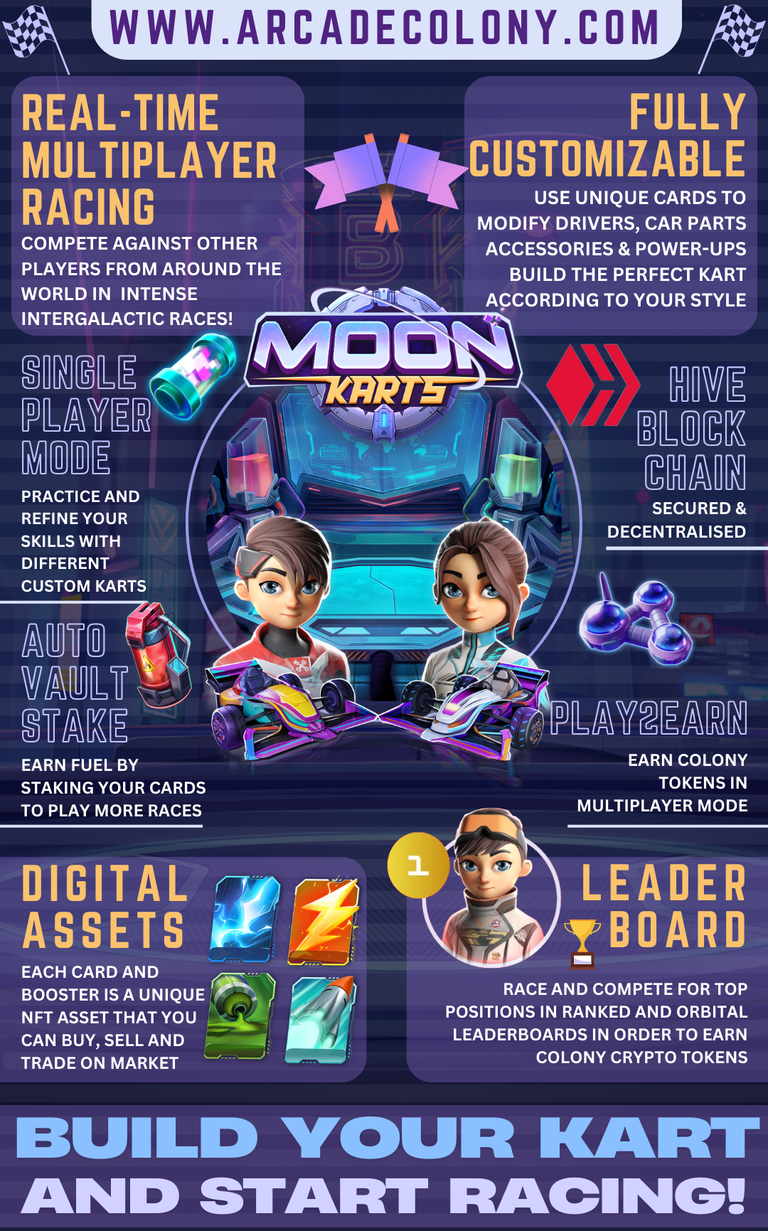
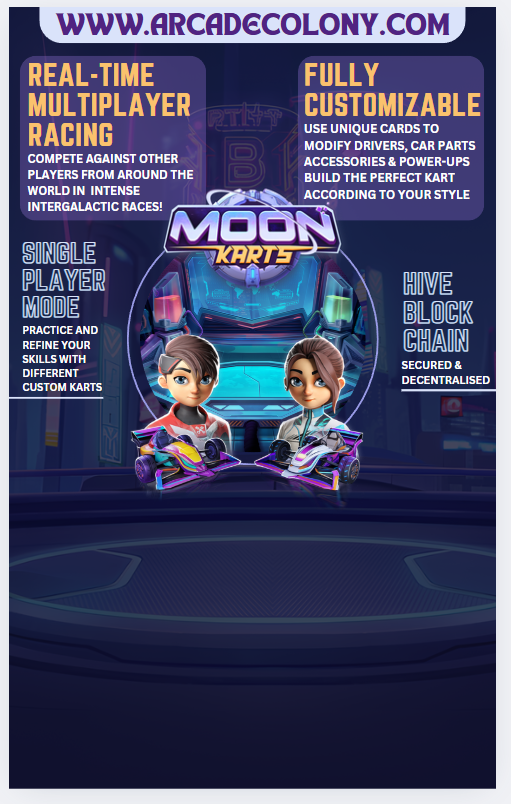
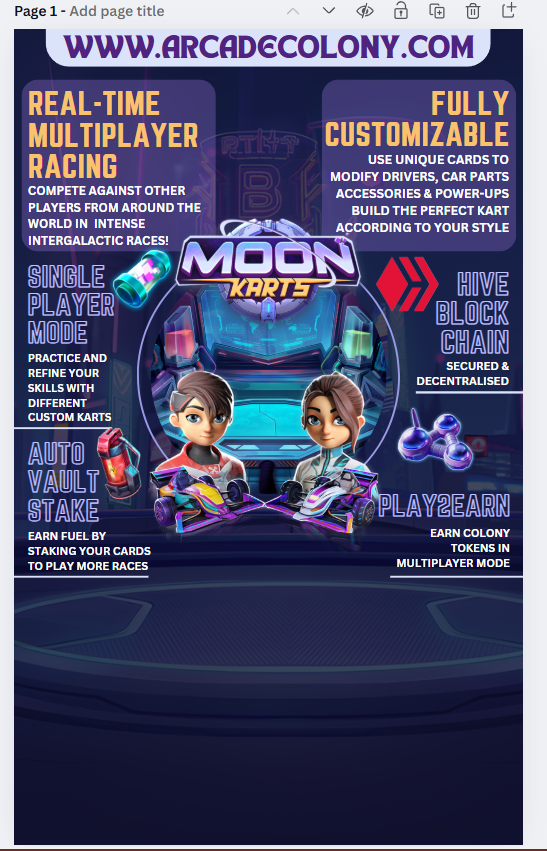
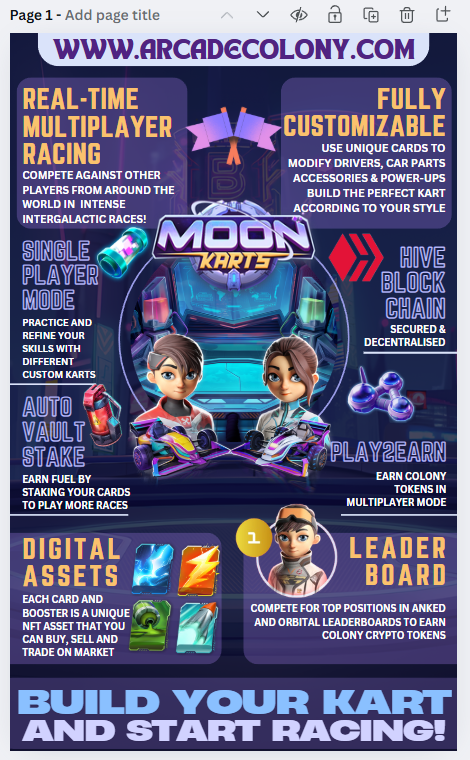
As usual, I used the Canva online graphics design tool, the same one that I use on a daily basis to create my post thumbnails. I use the free version and if you also use this web-based graphics design tool, you know that in the free version, Canva only gives the basics tools and also, a lot of features are either locked or not available in this tool. But it is a free-to-use, web-based tool and easily accessible and the only resource within my reach, so without wasting any more time I started creating my piece. For resources, I used the PNG images shared in the official content post and some in-built free graphics in Canva to create the infographics. In the image, I tried to cover all the features that Moonkarts offers to its players - like Single-player and multi-player modes, different types of cards and power-ups in the game and the customise features, Hive blockchain, Auto Vault staking, Play2Earn feature, Digital NFT assets, Leaderboard and crypto rewards in form of colony tokens etc to cover all the basics and features that this game offers along with cool png images of karts, drivers and other in-game items so attract the viewers. I hope if a new user looks at it, at least he gets a decent idea about the game in a single picture to help him understand and maybe spark a little bit of interest in him to try the game out.
Anyway, I have shared all the steps that I followed to create the infographics and to be honest, though it took a long time for me to finish creating the infographics, I really enjoyed it and every minute that I spent was worth it. Now, let’s follow the steps...
Step 1
First of all, I created a blank portrait image with 1080 X 1731 pixels dimension. This will be my canvas to create the infographics.
Step 2
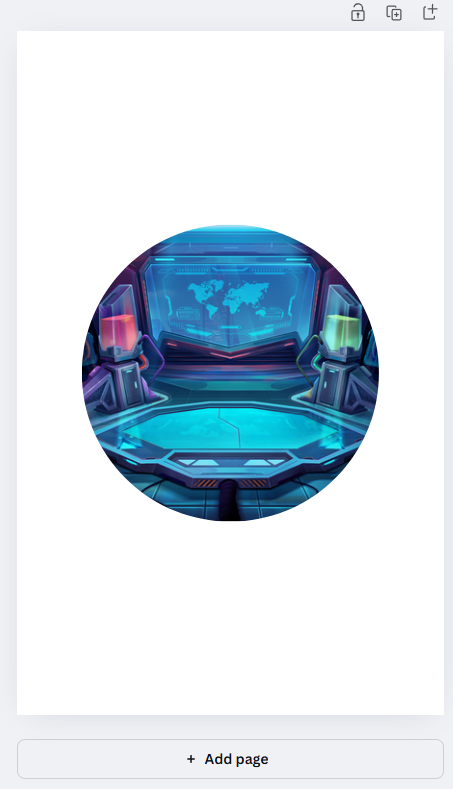
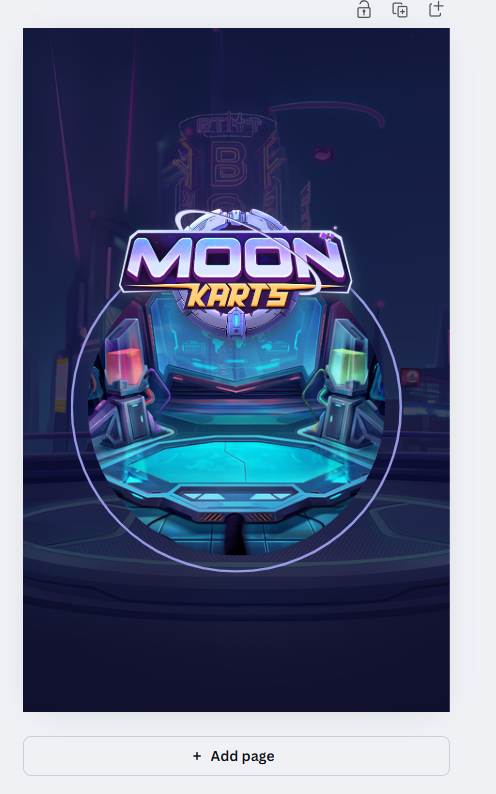
I wanted to create eye-catching graphics at the centre and then display information regarding the game around it. So, first I selected a circle frame and inserted a moonkarts image inside it.
Step 3
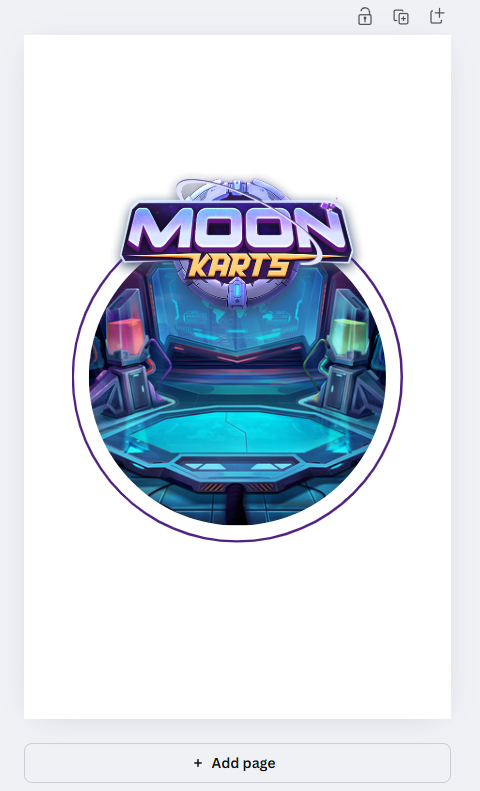
Next, I carefully placed the Moonkarts logo on the upper side of the circle and made the logo a bit bigger than the circle edge, giving it a pop-out feeling. Then I added an outer circle which gave it a more detailed look.
Step 4
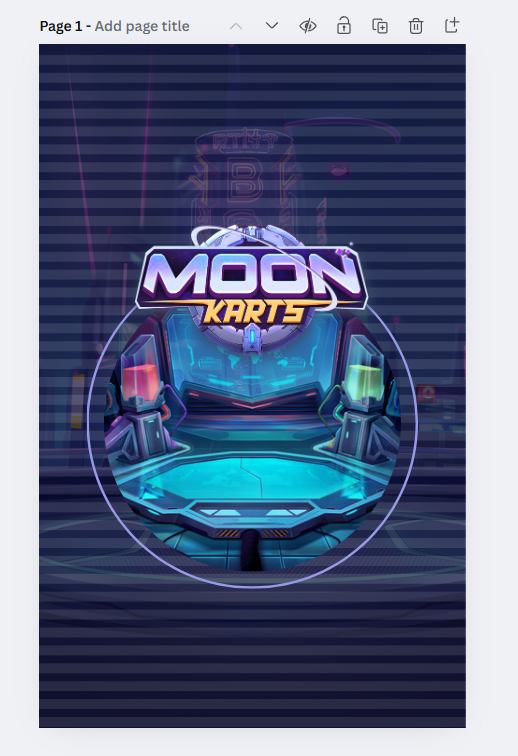
Then, I selected another Moonkarts image and put it as the background image of my graphics. Before that, I will paint my background a dark blue colour. Then I changed the transparency of the background image to 24 and here is the output.
Step 5
I wanted to make the output a bit more detailed and richer, so I used transparent horizontal thick lines to fill the background as shown in image above.
Step 6
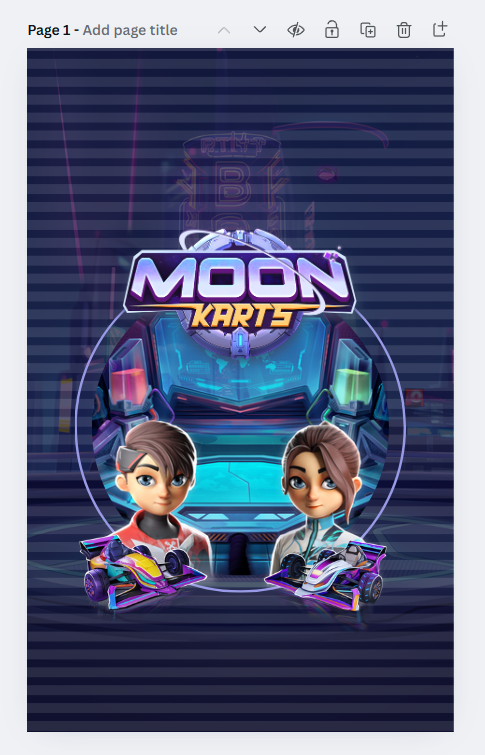
Next, I added 2 Driver PNG images at the lower side of the circle and added 2 Kart PNGs just below them. After some adjustment, I finally liked this output and decided it go on with it.
Step 7
Now, it is time to add the information to the graphics. So first, I created a rectangle with rounded corners at the header part to include the main website. The 2 chose another 2 more rectangles with the same rounded corners and wrote 2 of the main features of the game and made these 2 rectangles transparent. Next, I again added 2 more features but without the rectangle boxes and with different colours to make them pop out and added 2 horizontal lines below them at last. At this point, the transparent horizontal lines were giving me a hard time while aligning, so I removed those and decided to add them at the final stage.
Step 8
Next, I followed the same process and added 2 more features of the game with the same style. Then, I added related PNG images beside them to make them more interesting and relatable. I carefully played with the positions and put them uniformly at the same height and it was now looking more professional.
Step 9
Now, while adding 2 more important features of the game, I went with the same transparent rectangles that I used on the upper side. For the Driver graphics with number 1 showing his rank in the leaderboard box, I made some extra efforts and used remove.bg to erase the extra part coming out the lower side of the circle, but the result was looking awesome. For the last step, I added another transparent rectangle and wrote the quote seen in the lower part and the image was finally ready.
Final Touch
Now, I spent some more time resizing, repositioning and adding some more PNGs to enrich the image and have more details to it and got the final product at last. Hope you like it!
Important Links
PNG resources were taken from MoonKarts in-game, Moonkarts Discord and Arcade Colony Website.
I hope you liked watching my Infographic and the steps I followed to create the graphics. Let me know if you are also participating in this amazing Infographic content and if not, I would like to encourage you to take part and stand a chance to win juicy liquid hives or votes as rewards. That's it for today readers and I will be seeing you all in my next post.
Posted Using INLEO