Hello Everyone
How are you?
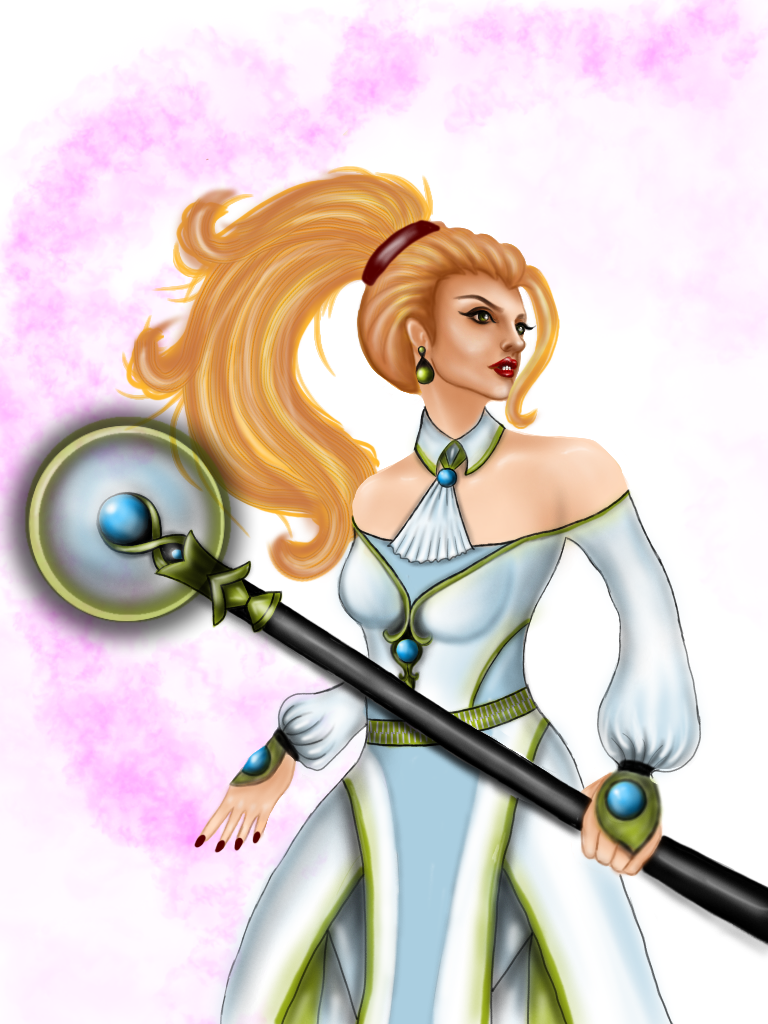
I hope you're doing well and leading a sound life. I bring you another one of my artwork today. This one is also a digital drawing fan art of a monster of Splinterlands. I drew this one to participate in the weekly art contest arranged by @splinterlands. I'll add the link to the contest at the end. Check it out if you feel interested. I'll be sharing the process of my drawing in this post. About my tools and how I drew a fan art version of the original card that is quite different from the original. I hope you like my version. And I didn't use the main character as a reference as always this time. I searched on Google and found a fan art of this character drawn by @hamst and using this one as a reference which you will also notice in the screenshots.
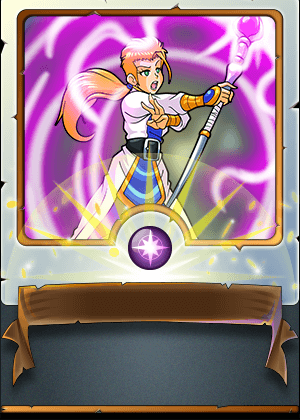
The monster I drew today is named Divine Sorceress. I used my laptop, graphics tablet, stylus drawing touch pen, and a drawing software named ibis Paint. I'll attach both my drawing and the original image below and you can check it out. I'll also add the link to the contest at the end of my post. So, let's get started:-
My Drawing
Original Image
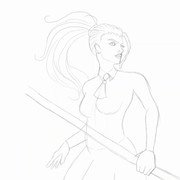
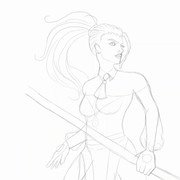
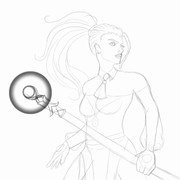
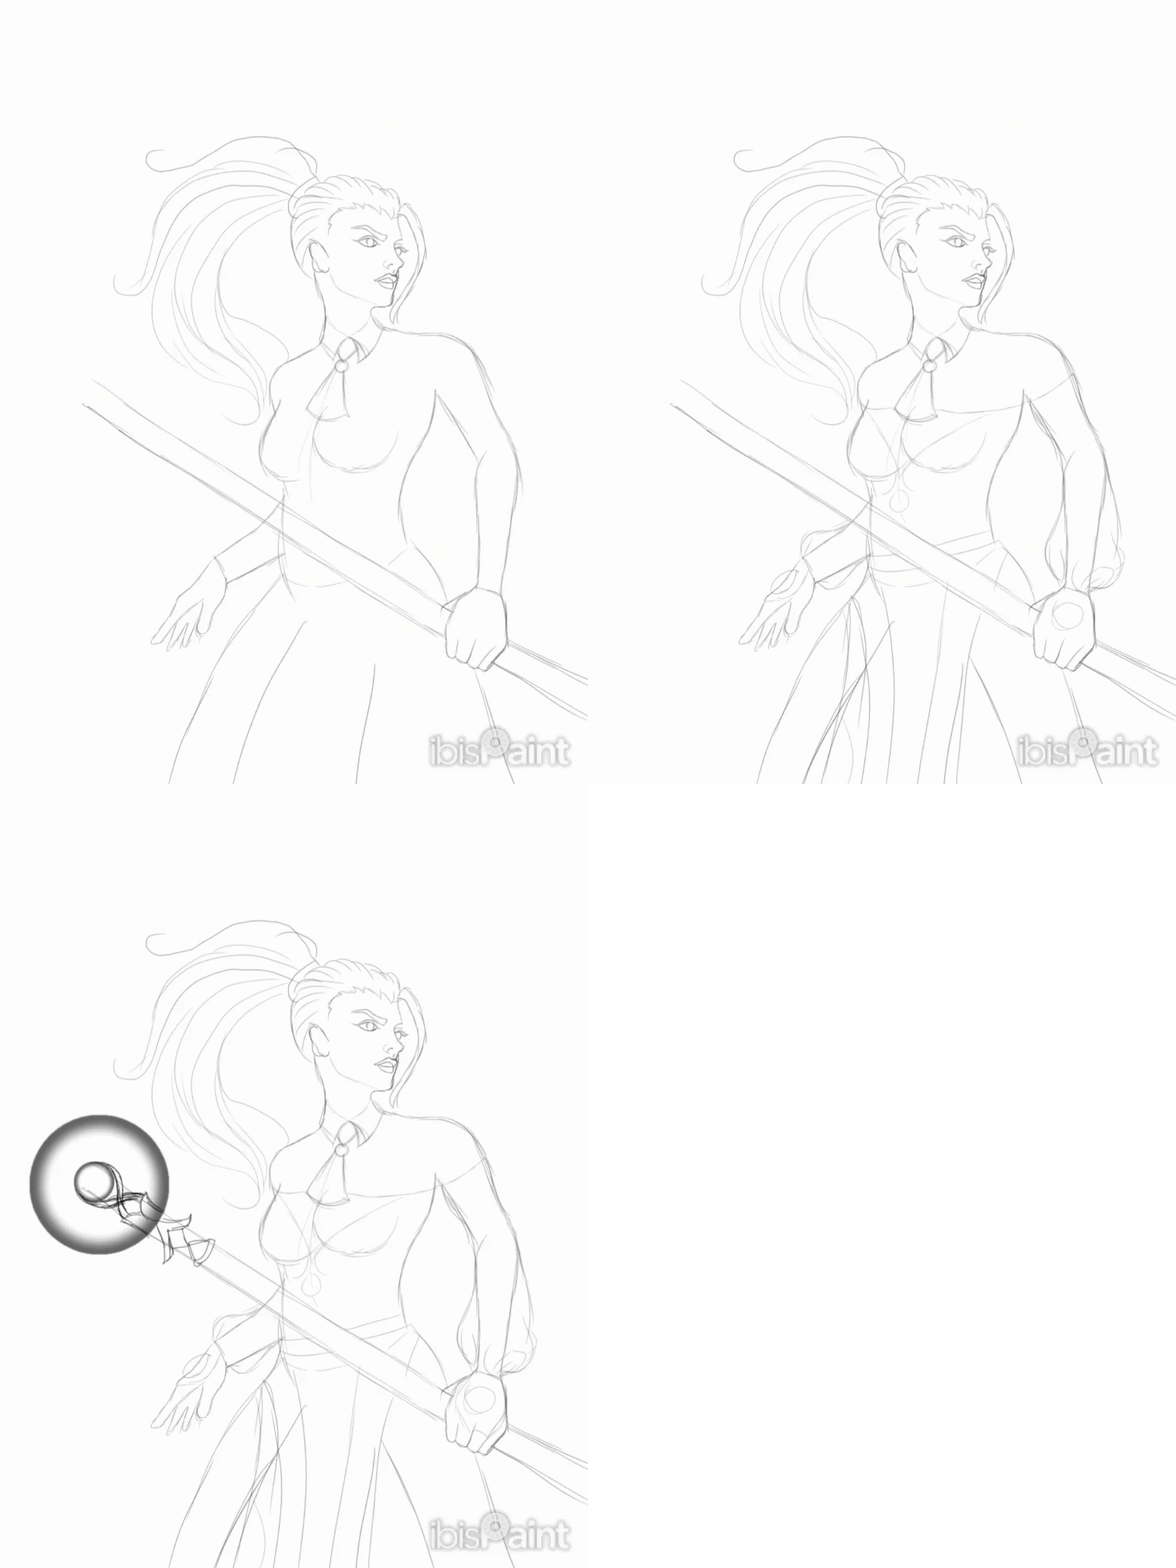
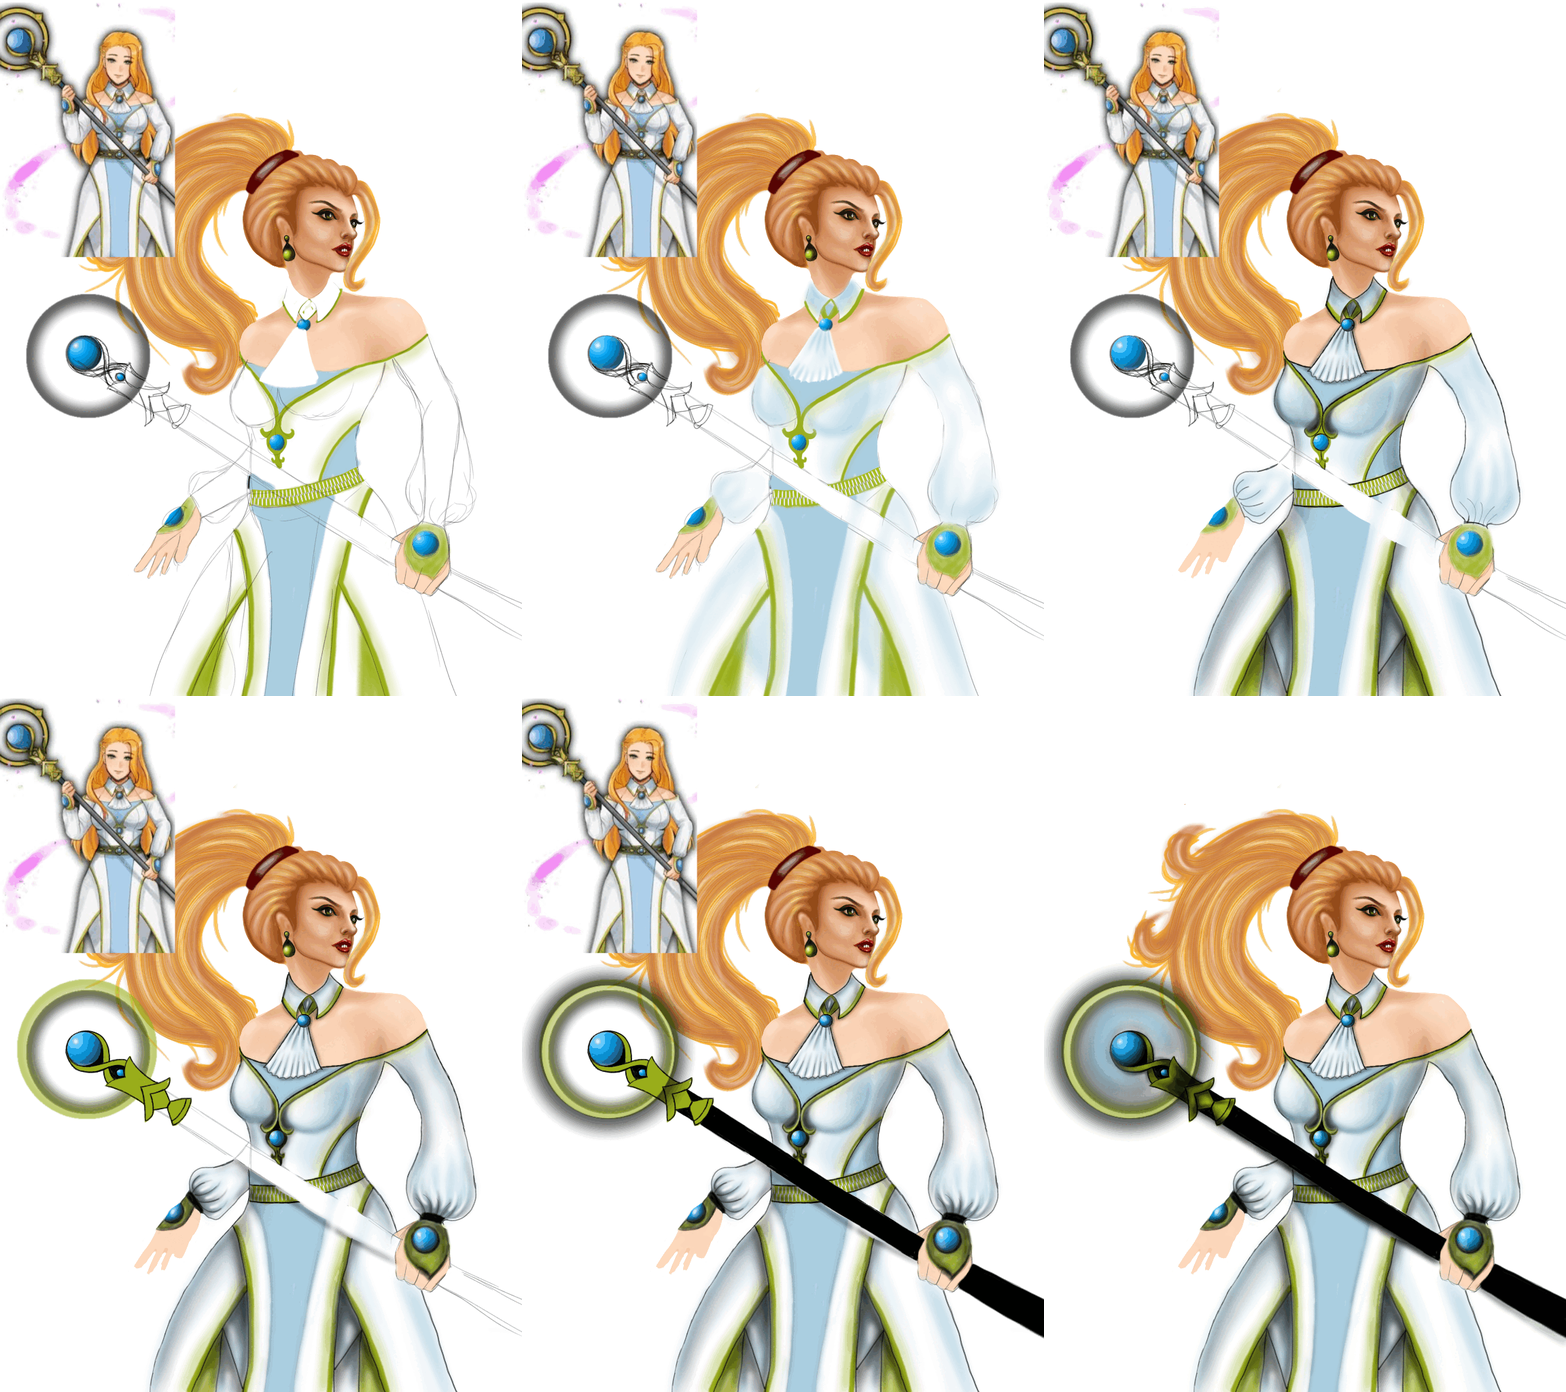
I started by drawing the sketch of the primary structure. This is a very important part, I need to be fully concentrated the whole time and do the measuring calculations before I start the drawing. This is because this thing is like the blue-print for a building. The whole outcome of the work depends on the sketch. I began by drawing a sketch of her plain body. And then added her detailed body parts and her hair too. After that, I focused on her jewels and items of clothing. I also added her magical wand at the end.

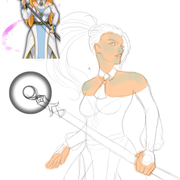
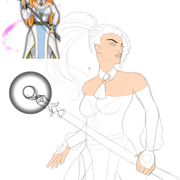
After that, the coloring process begins. I began by adding the primary color and some extra color layers on top of it. Those extra layers will help me in my future steps to blend in the colors for the shades and the curves. And then I started to add the deeper color layers using an oil brush tool to visualize the curves on her face. I then drew her eyebrows, eyes, lips, and her earrings. And with that the coloring of her upper body part is complete.
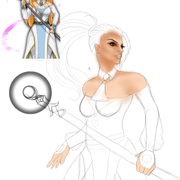
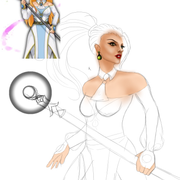
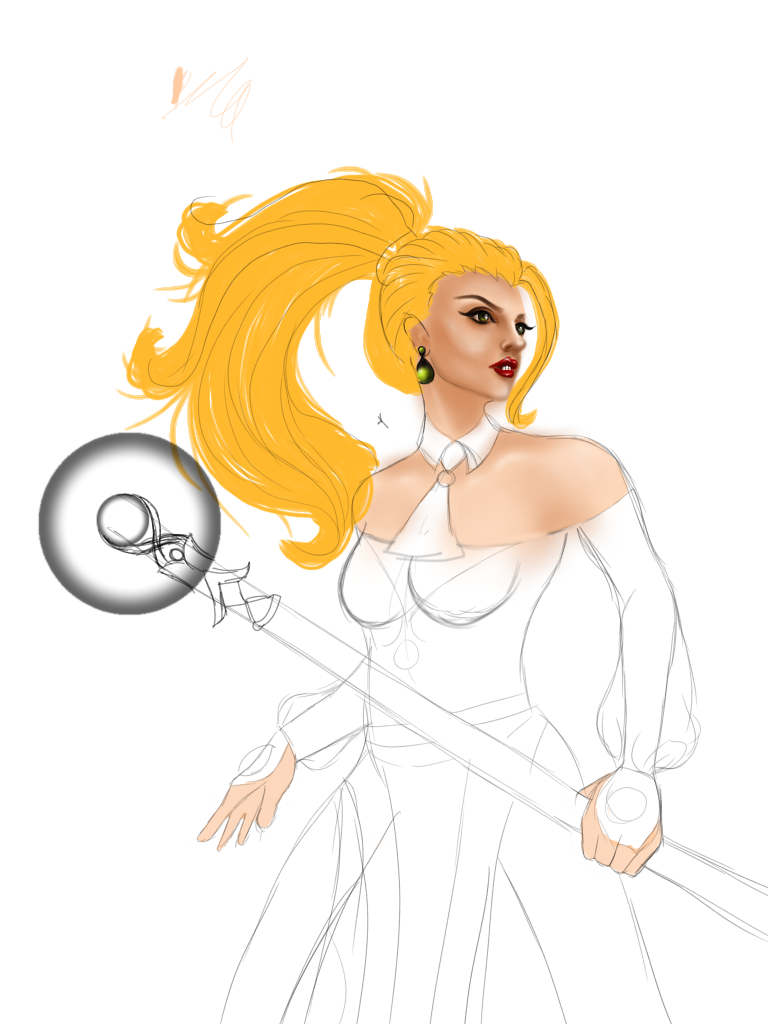
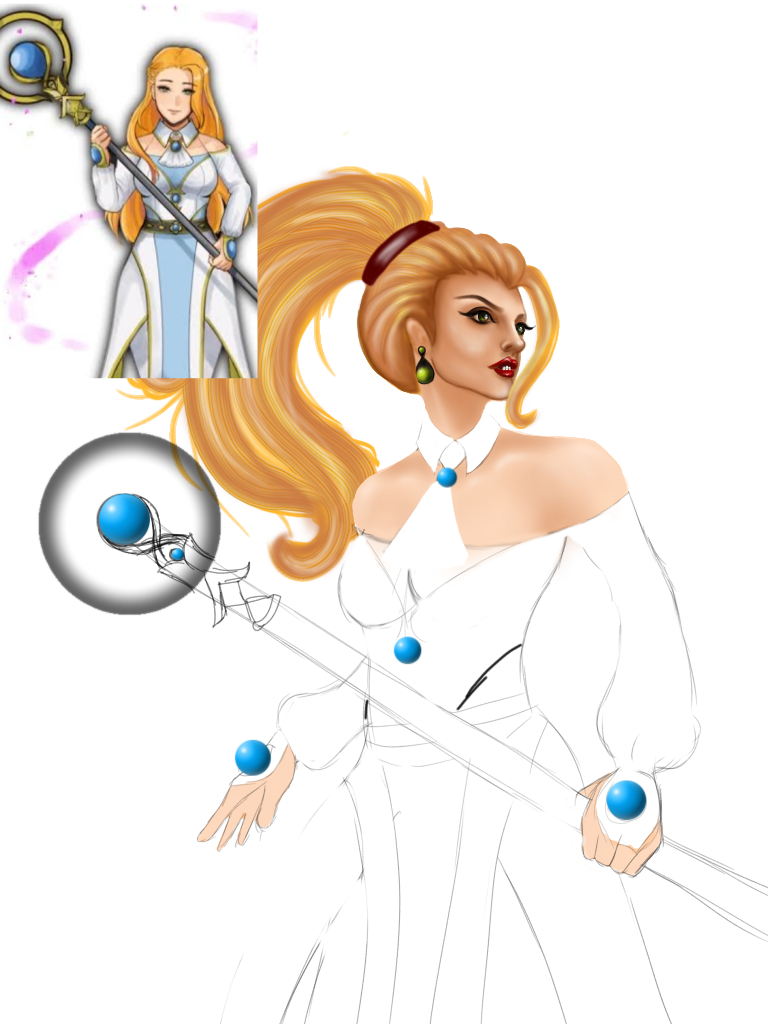
And then in this step, I completed coloring her hair and the orbs on the drawing. I first added the primary color of her hair according to the sketch and then added color strokes with coloring pens to make sharp and thin lines. I used several deep brown colors above my primary color to bring out the final result.

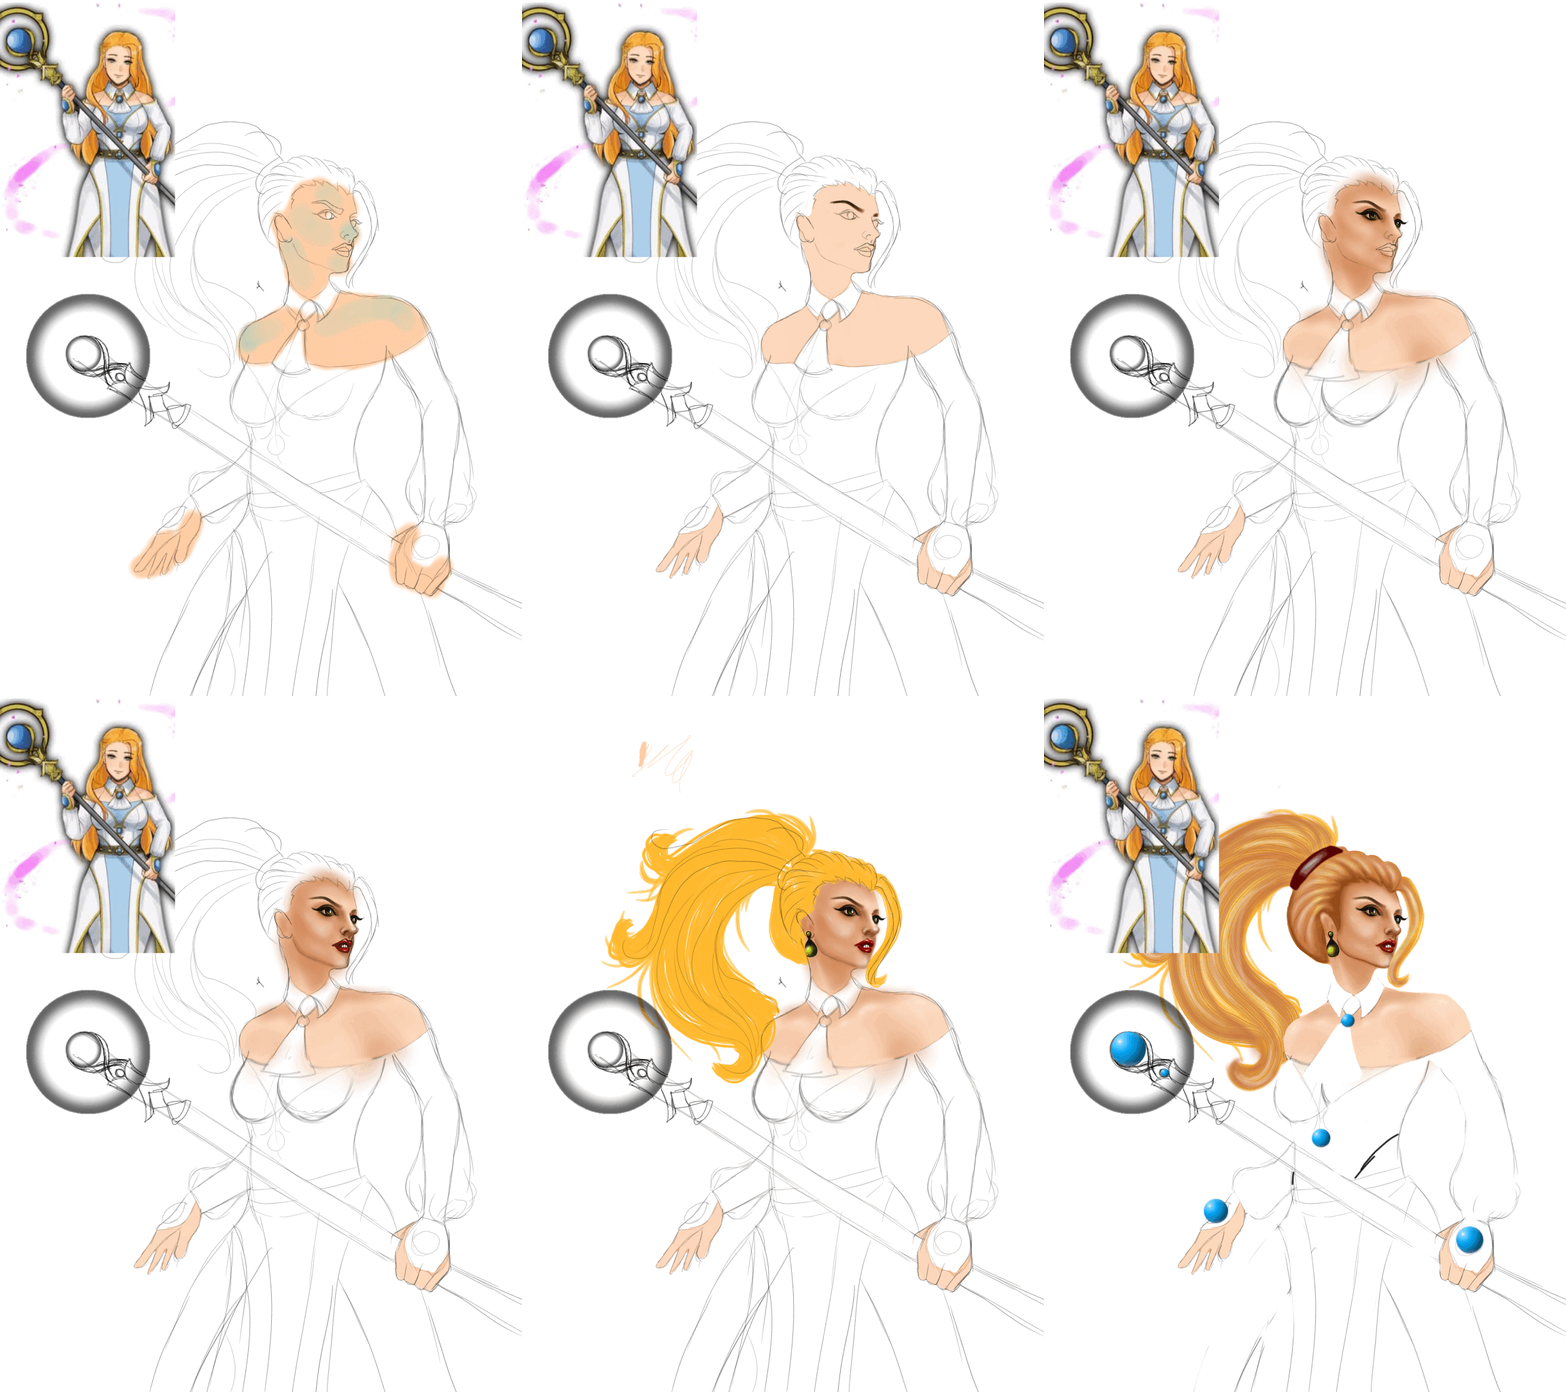
Then I started to draw her clothes. I began by adding the primary colors to the colored parts cause her dress has some light-colored parts, I left them blank in the first step. Then I started to add some light colors with a smooth watercolor brush at 40% transparency for the lighter areas of her dress. And then I added several color layers on the colored parts of her dress and some strokes on the lighter color parts of her dress. And as you can see, after adding those color layers, the drawing is now finished.
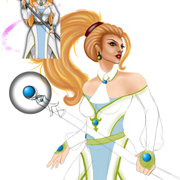
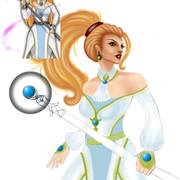
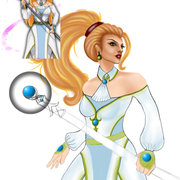
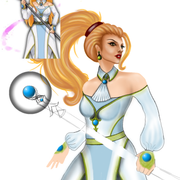
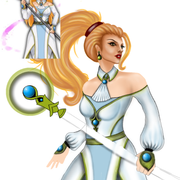
And then I started to draw her weapon. I began with the circle and the stick's primary color. After that, I added some lighter color layers with low transparency to make it look like the circle was glowing. And then added another transparent color in between to make it whole. I also added some dark color layers on the edge of the stick to complete the design.
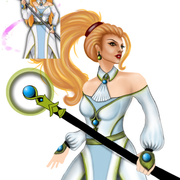
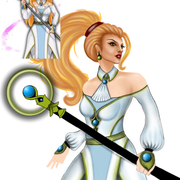
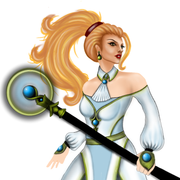

Final Image
I didn't want to add anything that'd make it look messy or too many objects. I wanted to keep it simple and that's what I did. And adding this simple background, here's my final drawing:-

I hope you liked my work. I'd love to hear your thoughts about my work in the comment section. Your suggestions and criticisms help me to improve my skills. Also, you can follow my profile for more if you like my work.
Link to the contest:
https://peakd.com/hive-13323/@splinterlands/splinterlands-art-contest-week-279


