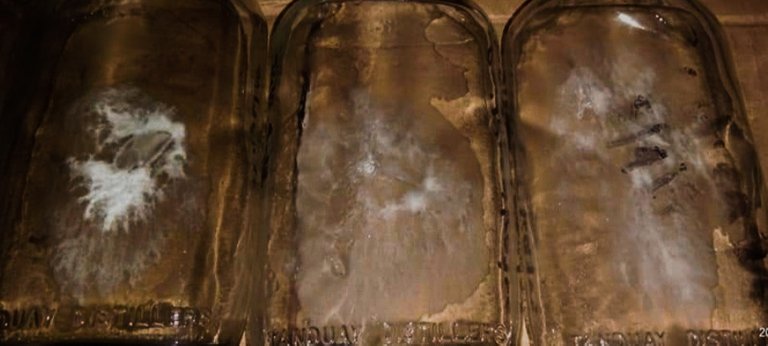
Have you thought, what if mushroom you have seen you could have your own in your home? Have you been interested in planting mushrooms but don't know to start, or don't know yet how to make some? Well, eunoia is here for you, giving you insights into how you could make a spawn, your spawn, even if you are not in the expensive laboratory or just in your home.
To understand what spawn is…
A spawn is a group of mycelium, mycelia are a group of spores, and a spore is a seed of a mushroom. Not scientifically as seed, but spore is the reproductive features, where one single spore could replicate its own. When they form a group, they become mycelia, and this is a white web-like fungus phase that wants to eat what they could encounter. Spawn is an active mycelium that grows in the seed medium.
In terms of business, mushroom spawn covers 50% of your expenditure, so when you master making your own, you will also lessen the input by 50%. But still challenge because it's a very brilliant job, a task that not everyone can do, but in my case, I do my own. As of now, I will share with you how.
In the Philippines, you could buy some mushrooms with 100 grams of spawn for 100 pesos or $2. A kilo is worth 1000 pesos or $20, quite expensive. So better to make your own.
ISOLATION
I am doing the "Agar isolation technique" the idea is that brings the nutrient mycelia need in jelly "agar-agar" I make my own by adding two agar-agar bars (transparent color), one litter of distilled water, 20 grams of plant-based dextrose powder.
Steps:
- One liter of distilled water must boil. After the boiling, place the agar-agar bar and dextrose powder and stir well until they dissolve.
- Place the solution into the bottle. A small amount could so. One litter of liquid could have 20 bottles or more. The more battle, the more success you have.
- Cover the bottle with cotton balls and bring it to the pressure cooker(autoclave) for exactly 30 minutes. The count must start when the pressure weasels.
- Place the hot bottles immediately in the chamber and avoid touching them with your bare hands. Then wait until it cools down..
SPORE TRAPPING
This is the stage where you must clean yourself before doing the course. Everything must be clean from your head to toe, fingernails must be cut and removed the dirt, hair must be tied up, the facemask is a must, and plastic gloves must be in the proper position. You are like a doctor who will open up wounds; even single debris might cause severity and contaminations in your spawnings.
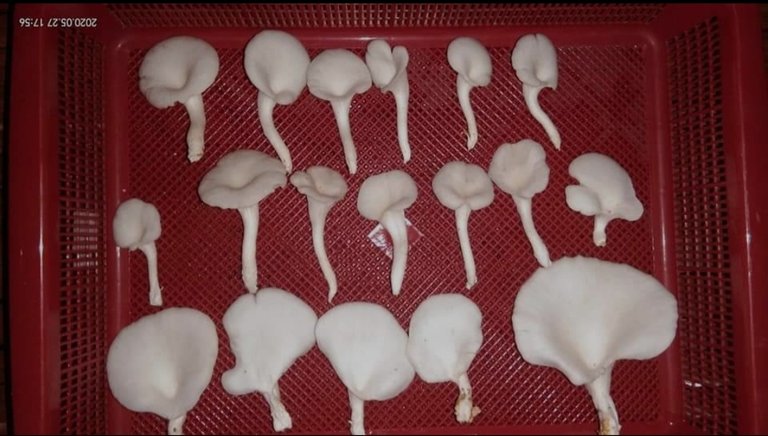
The first and primary stage is to look for healthy specimens, not more than one day, and not be exposed to or touched by humans and insects. Carefully remove them from the substrate you have already been sanitized with rubbing alcohol and place them to cover them to avoid more contaminations. After looking for a candidate mushroom, please do not touch it frequently unless you sanitize your hands before and after doing so.
To trap the mushroom spore, split it in half, and from the center of the tail and gills, use a blade or scalp that has been sanitized to get a trim and tiny piece of mushroom flesh. Immediately place it on the agar mixture.
Carefully place the flesh and bring it to the center of the bottle. You can also use a petri dish if you are working in a laboratory, but I am making my own with my DIY, not forgetting the science behind it. So even a bottle could be used just that we must disinfect and cleans several times.
This will be what the mushroom looks like within 24 hours of trapping its spore. As the nutrient from the agar-base jelly is absorbed, they will release a spore, and as soon as they form in mycelia in the following hours.
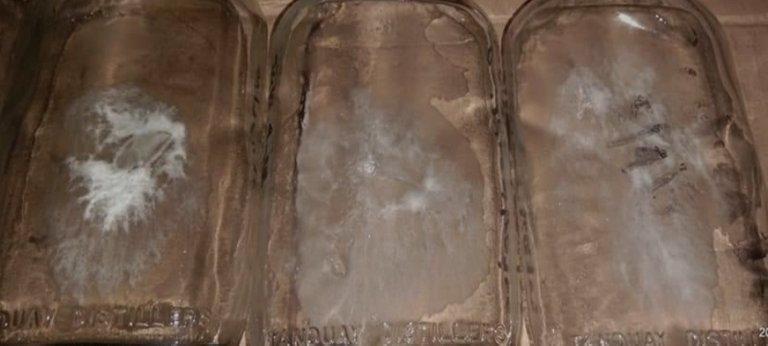
This is what we called Mycelia after three weeks of trapping. They will build a colony of spores as we could preserve them in the manner of years or centuries to come. I have a lot of this as I stored and sleeping soon I shall wake them up when the mood comes. But I have been a bit inspired as I wanted to blog. Maybe I will also make a blog and what was progress daily for you to figure out.
SPAWN
After waiting a month to trap the spores and build the mycelia, it's time to make a spawn.
Mushroom spawn is made using grains such as wheat, barley, and sorghum but is quite expensive, so I looked for alternatives and built my technology and style in preparing it. I am using rice grains, corn, and seeds. Rice and corn are abundant here, and I might get it free.
Steps:
- Cleaning the grains several times, ten times is what I am doing. Drain the water and air dry until reaching a 40% water content when you use corn grits and 60% in rice grains. That is what I discovered in my trials and self-research.
- After air drying, applies a concentrated lime, not an agricultural line. Concentrated is the higher form of calcium that will maintain the pH level of the grain.
- Then place it in the bag or bottle and sterile it using a pressure cooker or autoclave for about 30 minutes.
- Then place it in the incubation chamber.
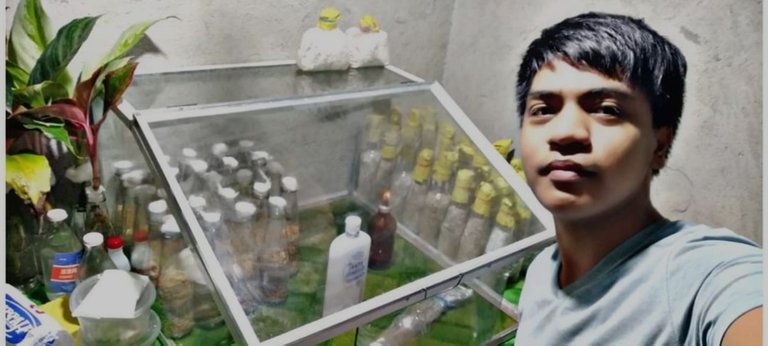
The incubation chamber helps to minimize the affecting foreign fungi while doing the task, as some of the contamination is in the air. An incubation chamber is highly needed and increases the chances for a successful grain of mushrooms.
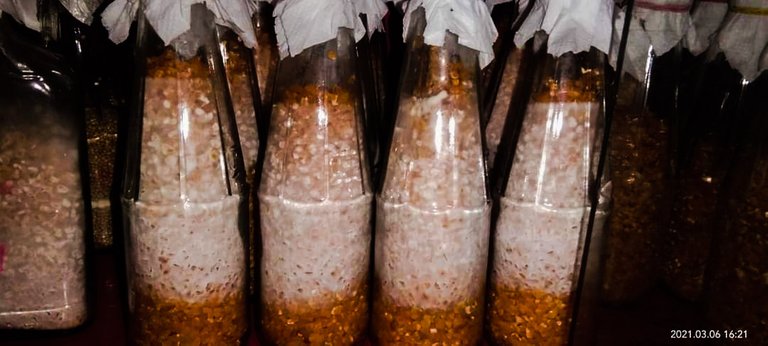
Here is what it looks like when you successfully make a grain spawn. It was created by corn crits and is about three weeks old.
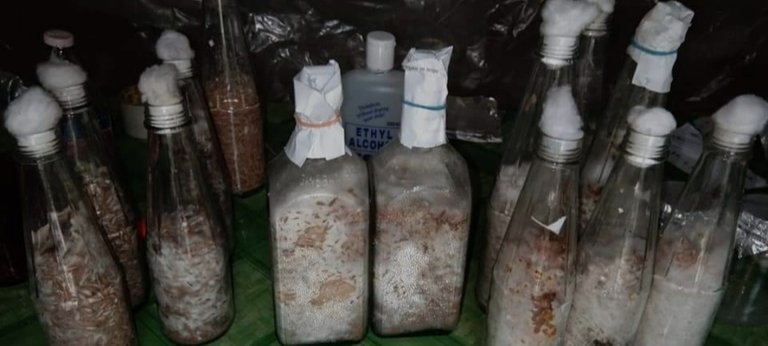
And here are the rejected spawns, which are contaminated, using contaminated spawns resulting mush in some problems. It might not be the fungi or mushrooms you planted that will come, so I don't use contaminated spawn. It's waste, but it's part of the process.
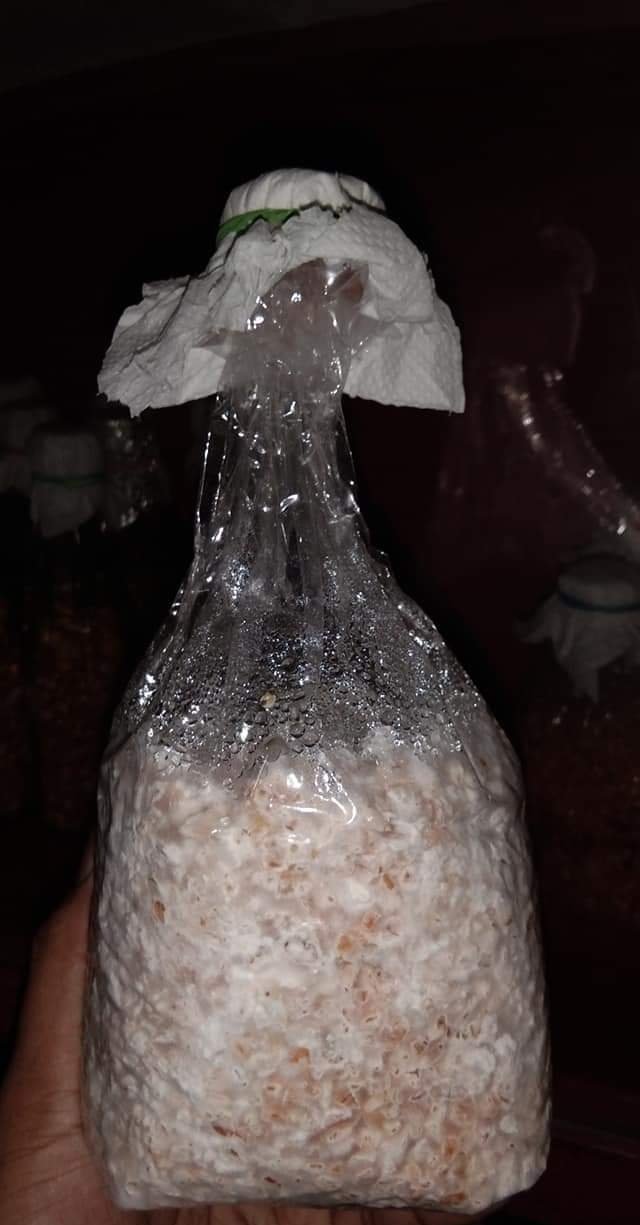
This is ready-to-use spawn, a healthy and no other color that signifies success in culturing your mushroom.
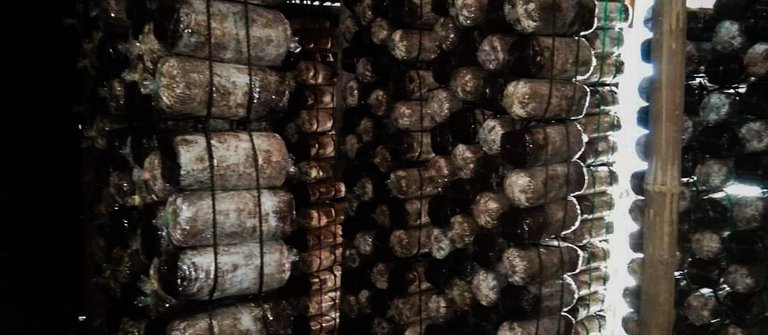
As I said, mushroom spawn is also available in the market. However, due to the hard-to-make one, price still varies in different names such as F0 (Filial Zero or the PDA generation), F1 (Filial One- First generation), until F10. But doing my own and your own will decrease your expenditure but takes time to master.
Next week we will discuss the materials you need to have in mushroom cultivation. Lets's talk about the edible mushroom. Thanks for reading…
ALL PHOTOS OWNED BY @eunoia101

