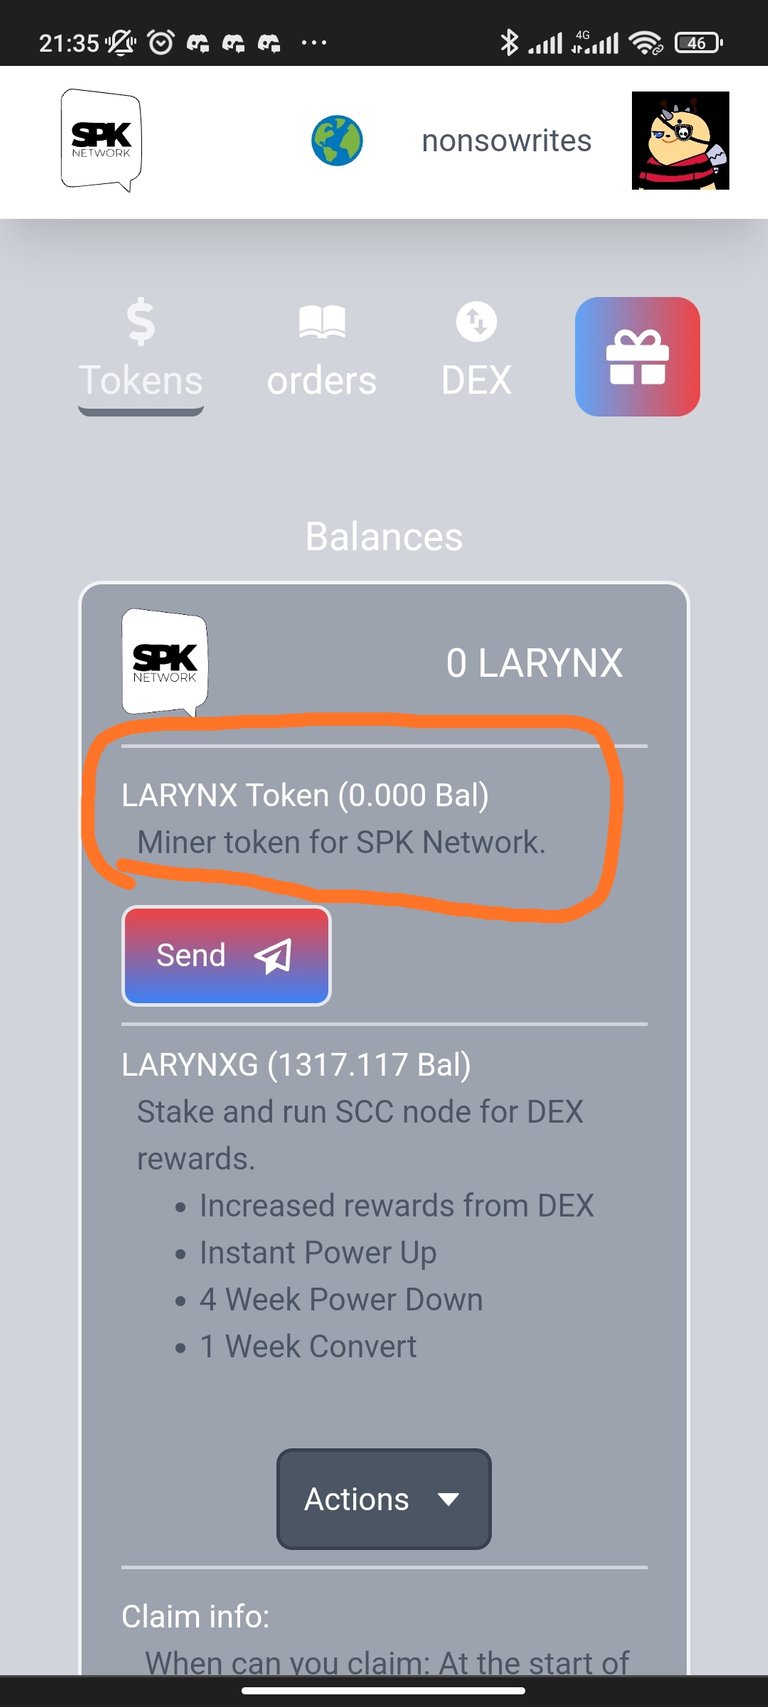
So this is a follow-up post to my previous article, Trying To Run a Spknetwork Node. It took about 12 hours to figure things out (because I am not so tech-savvy and I did not receive the feedback I wanted). Running a spknetwork is straightforward–sort of, however, the tutorial available is not as comprehensive as I would have loved. If you followed Diresgard word for word, you might encounter a few problems.
Before I go into this, I will highlight some of the basic things you need to run a spknetwork node.
- A Virtual Server.
- A domain name
- 100 HP
- Your hive active Key
- An active key pairing
I will be referring to the video tutorial by @disregardfiat to clarify a few grey areas in the video. I will recommend you watch the video while reading this post to set up your node.
Step 1: Purchase your virtual server on Privex
- Visit Privex.
- Select ‘virtual sever’,
- Select 'Netherland'
- Choose the $5 monthly plan with 25GB SSD storage
VIDEO 3:14 - 4:15
While filling out your purchase form on Privex you will be required to generate a SHH KEY. Load your terminal and type ssh keygen. On windows, you will be required to create a new passcode for the shh keys. Afterwards, a folder will be created on your computer containing your private and public shh keys. Open the public key file, copy the key and paste it into the SSH KEYS section of the Privex form. OR You can follow Disregard’s steps if you don’t find it confusing
Afterwards, proceed to make payment in Hive/HBD.
On your payment receipt, you will find important details like your IPv4 address which you will use to point your domain name to your server. This took me hours to figure out as I was using Disregard's IP address and domain name which resulted in a DNS problem.
PURCHASING A DOMAIN NAME
Visit NameCheap to purchase a domain name. It cost me about $2. When you are done with your purchase, follow the following steps:
- Visit your dashboard (your will find your domain name)
- Beside your domain name is an option tagged ‘manage’, click on it
- On the next page click ‘advance DNS'
- Add a new record.
Type: Type A
Host: @
Value: Your IPv4 address from your Privex Receipt
GENERATE AN ACTIVE KEY PAIR
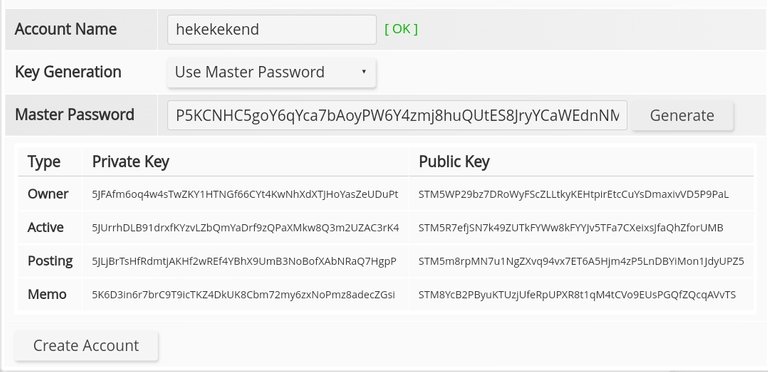
Head over to HiveTask to create an account and generate keys. You should have something like this:

If you have gotten this far, everything should be straightforward from this point. All You need do is watch the video tutorial by disregardfiat and input those lines of code. I will address some grey areas in the video that might confuse people like myself
VIDEO 12:00 - 12:23
Load your terminal and input the following code: ssh -i ['Your SSH KEY FILE NAME’] ubuntu@[Your IPv4 Address]
It should look something like this: ssh -i “MyKey” ubuntu@120.23.34.0
Follow the instruction and you will have access to your server.
After connecting to your server follow the instructions here https://github.com/disregardfiat/honeycomb/blob/master/docs/SETUP.md
VIDEO 32:00 CREATE AN ENV FILE
Disregard did this later in the video but i think you should do this first before creating dependencies. I had a few problems with this so I will like to address it here in case other people experience the same. So this is the data you need to input:
account="hiveaccount" active=5JactivePrivateKey msowner=5KadditionalPrivateKey mspublic=STMpublickey
Account refers to your hive account;
Active refers to your hive active key;
Msowner and mspublic are the private and public keys you created on HiveTask.
Example:
account="nonsowrites" active=5JwgVA4pcPpRqBZM7Za83HrMzc7ifn1UUU4Q6iF2DiRRjhzz4oZ msowner=5KCWayqquGqAnUieYsPUJitxsWYTpdRBrhY6QcxtmfNB9NNruoE mspublic=STM6z1btmFbdHoD9neSeXEH9tiqTmoDrb5iA8GxwU7k3ant5pV8uP
For some awkward reason, I spent a lot of time figuring this out.
VIDEO 25:00 - 32:00
Disregard tries to get his DNS set. This might confuse some people. Here he simply opened up another terminal and loaded his server ssh -i [Your SSH KEY FILE NAME’] ubuntu[Your IPv4 Address]. He followed up by installing dependencies by input this in his terminal sudo apt install nginx certbot python3-certbot-nginx
He took a detour to create a domain name to which he pointed his IP (you can find this in your Privex receipt)…You can watch how to do this here on Youtube.
After setting his domain name, he imputed the following: sudo nano /etc/nginx/sites-available/default. A new page pops up where he inputs the following:
server{
server_name location.yourdomain.io;
    location / {
            proxy_pass http://127.0.0.1:3001;
            proxy_http_version 1.1;
            proxy_set_header Upgrade $http_upgrade;
            proxy_set_header Connection 'upgrade';
            proxy_set_header Host $host;
    }
}
My domain name is spktoken.xyz, so this is what mine looks like;
server{
server_name location.spktoke.xyz;
    location / {
            proxy_pass http://127.0.0.1:3001;
            proxy_http_version 1.1;
            proxy_set_header Upgrade $http_upgrade;
            proxy_set_header Connection 'upgrade';
            proxy_set_header Host $host;
    }
}
Every other thing is straightforward at this point. I have not experienced any difficulty running the spknetwork node. It doesn't demand a lot of your PC, so anyone can run.
I hope you find this useful. Cheers!

About the SPK Network: Check out the SPK Network Light Paper Website: https://spk.network/ Telegram Group: https://t.me/spknetwork Discord Server: https://discord.gg/JbhQ7dREsP Posted Using LeoFinance Beta
The SPK Network is a decentralized Web 3.0 protocol that rewards value creators and infrastructure providers appropriately and autonomously by distributing reward tokens in such a way that every user, creator, and platform, will be able to earn rewards on a level playing field.

