
Today we continue having a look at the developer tools from browsers, in this case, remember we are using FIREFOX.
Reminder: Right-click on browser / Inspect.
To start with I want to take you to the Network Tab:
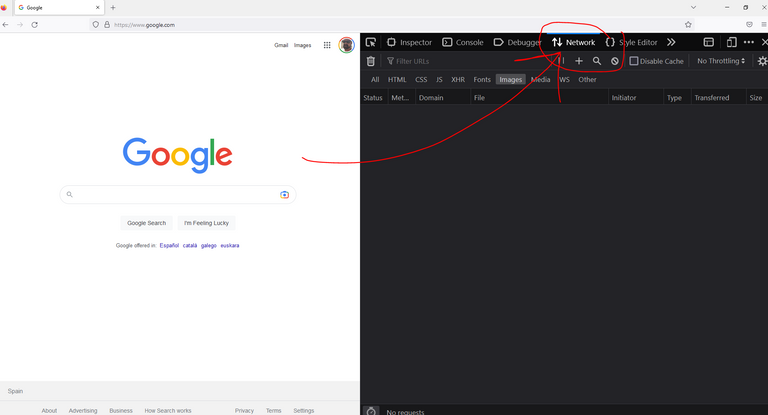
This is something you will use a lot later on.
You start getting some activity in here when you refresh the page:
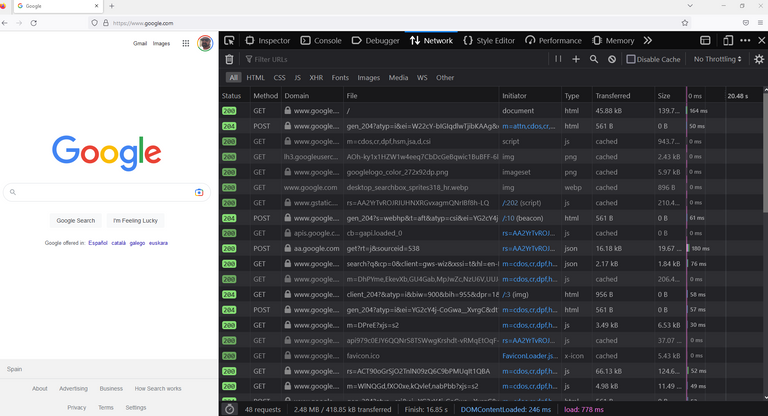
What you see here are all the resources that are transferred to this page. In this case for example we see Google servers sending resources to be displayed in the browser.
For example, we can find the image for the logo Google in Images Tab:
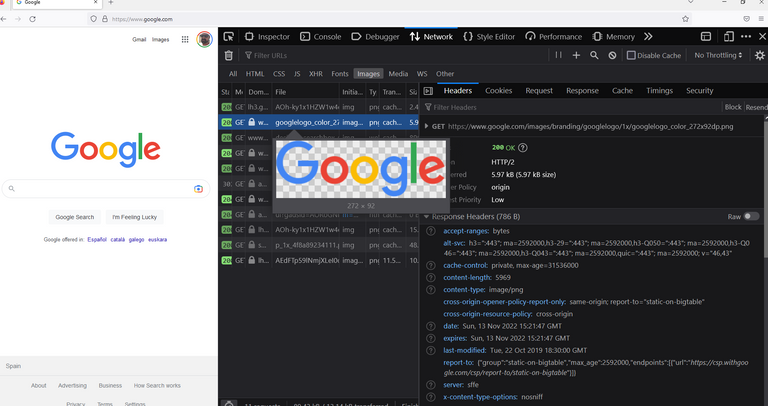
And as you can see you get all the properties and info about them.. Very useful for when needed working as a developer.
The next Tab we should talk about is Storage, another really important one:
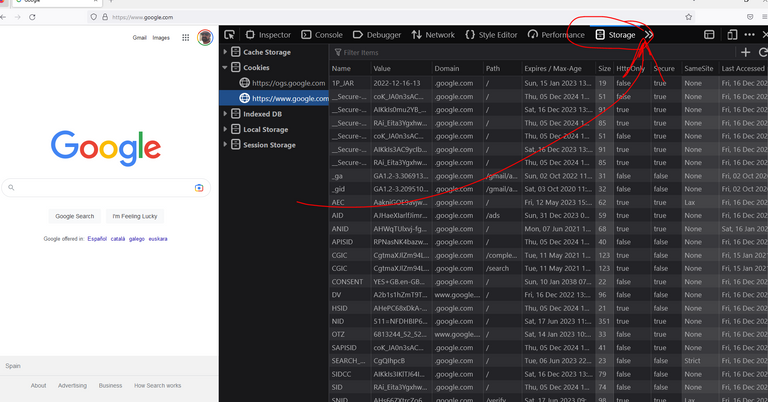
As you can see here is where things like cookies are being stored. Users data, authentification info, etc...
Now for the rest, they are not as important as the once we just had a look at.
Alrighty! Having explain this let's do another fun exercise to get a bit of practice and show you some of the things you can do and will explain more in detail in the future with the DOM manipulations, in this case using the browser console TAB again.

Let's do something so every time we click on the google search page we change the background color. LET'S HAVE SOME FUN GUYS!
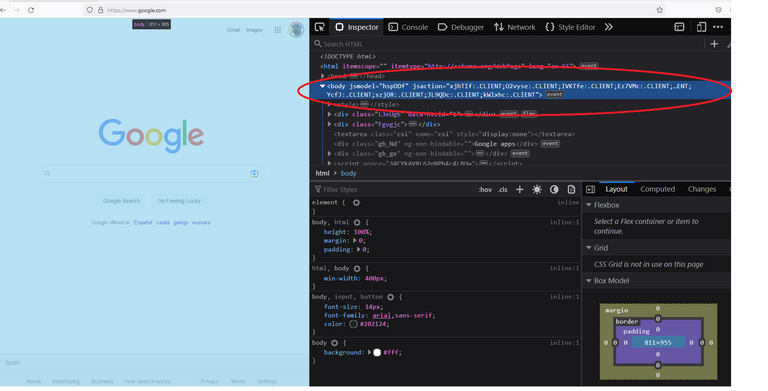
First of all, we will need to save into a variable the body HTML tag.
You know which one I am talking about right? If you remember the second day we explained a tiny bit of the HTML we see when we inspect the browser:
Remember when you hover with your mouse over the lines of HTML, the part of the browser corresponding to that HTML will be highlighted.
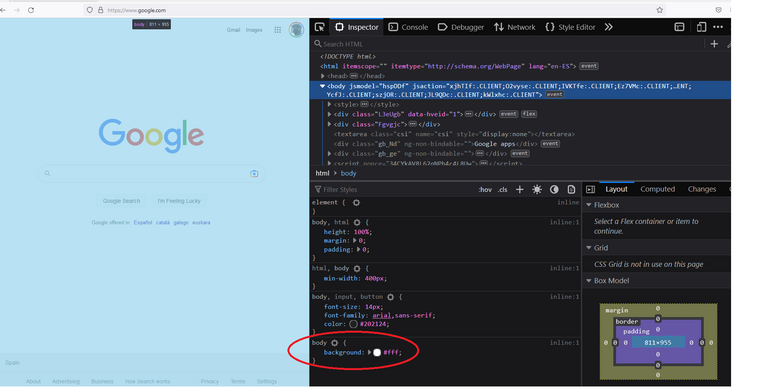
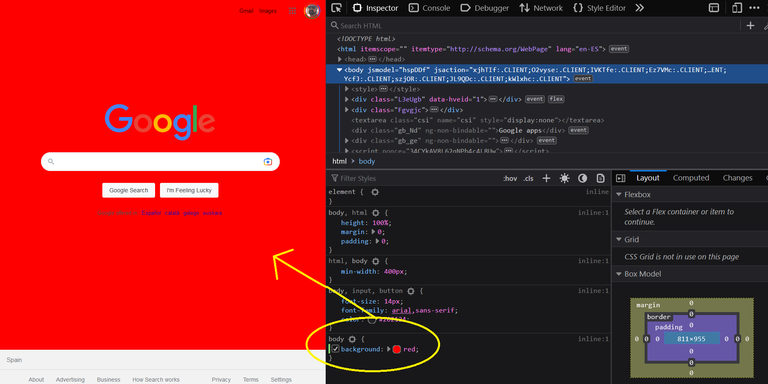
First of all, I want to show you how we could directly hardcode the color change from the CSS, just changing the background color to any other one:
So now let's try and do it with JavaScript so the color changes every time we CLICK. Go to your console TAB and follow along to start with the magic.
Let's create a variable and pass the body HTML element tag into it like this:
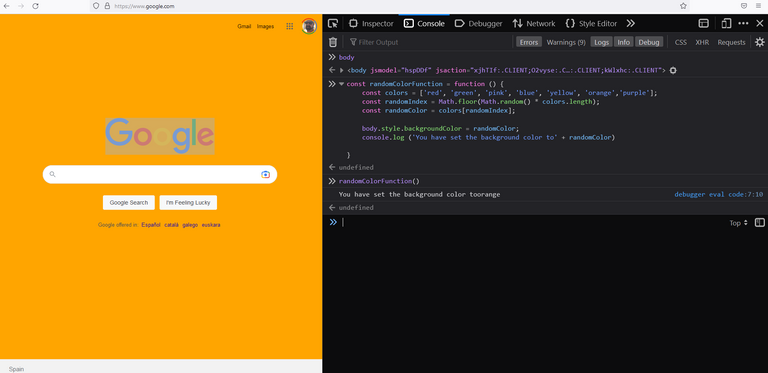
const body = document.querySelector('body');
Once you have defined the variable body, you can print that out and see we get the html line corresponding to the body element:

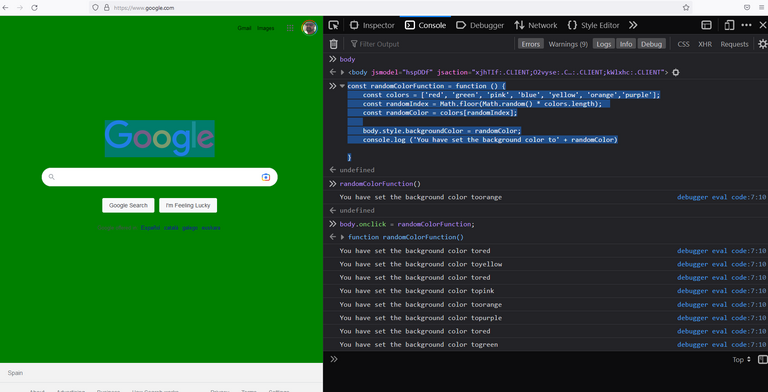
From here we will create our first FUNCTION:
const randomColorFunction = function () {
    const colors = ['red', 'green', 'pink', 'blue', 'yellow', 'orange','purple'];
    const randomIndex = Math.floor(Math.random() * colors.length);
    const randomColor = colors[randomIndex];

    body.style.backgroundColor = randomColor;
    console.log ('You have set the background color to ' + randomColor)

}
We declare a function called randomColorFunction. Inside this function we create an array of several colors. We declare randomIndex which will calculate a random Index number from our array and will assign that index number to the array colors and declare a variable called randomColor with it.
Lastly we will style the body div which we selected before with querySelector with our randomColor variable and will console log the result.
When we call the function the background color should change:
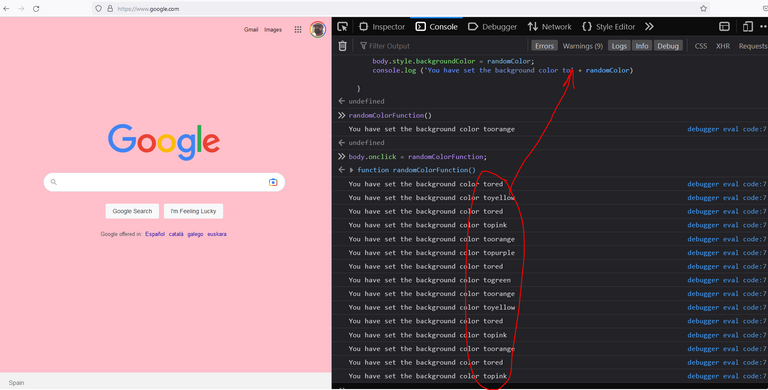
Remember to leave a space at the end of your console log string message so you don't get this:

But we actually want it to change with a click... so let's get that now:
body.onclick = randomColorFunction;
And Boom!! You have this amazing and fun functionality:
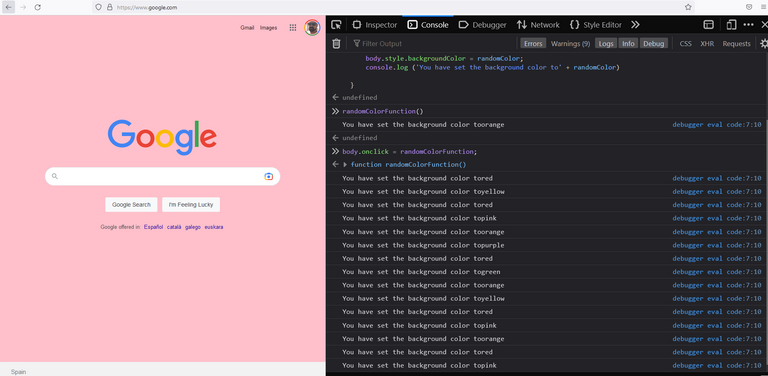
Everytime you click you get a new color and message on the console.
Again remember to not do this mistake I did and remember to leave a space inside the end of the string:
console.log ('You have set the background color to ' + randomColor)
That's it for today. I know there are a few new things like functions and event listeners which we haven't seen before yet. But I wanted to give you a preview of you can do in just few lines of code.
Don't worry we will go through everything in more detail in the coming days.

Please if you found it useful vote, comment with any questions or thoughts and it will motive me to keep doing more tutorials and get to the 100 days of coding!


