Last Christmas my dad got me these four books, each contains a model that I never got a chance to make, until today.
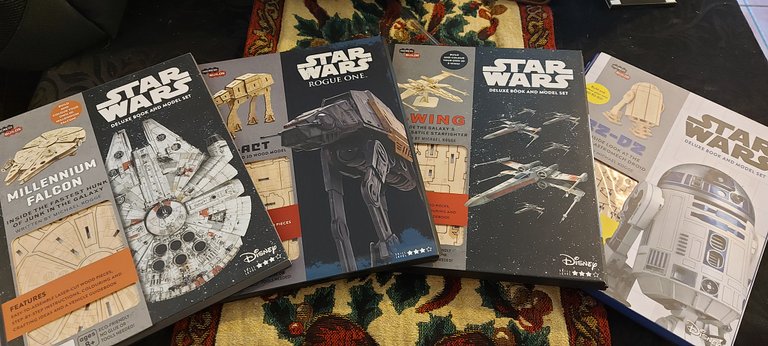
I have four of them in total, but I think there are more of them to collect which I'm going to look into when I finish the last one.
I wasn't sure which one to go for, I was tempted to make R2-D2 but opted to go for the X-Wing.
The AT-AT and Millennium Falcon look cool too, but I didn't want to go for one that was too complicated since I've never attempted one of these types of models before.
The Contents

When you open it up, you're able to take the model pouch away and check out the book. Each book seems to come with these cool Lore details about the different pilots throughout the Star Wars series, which is a nice touch.
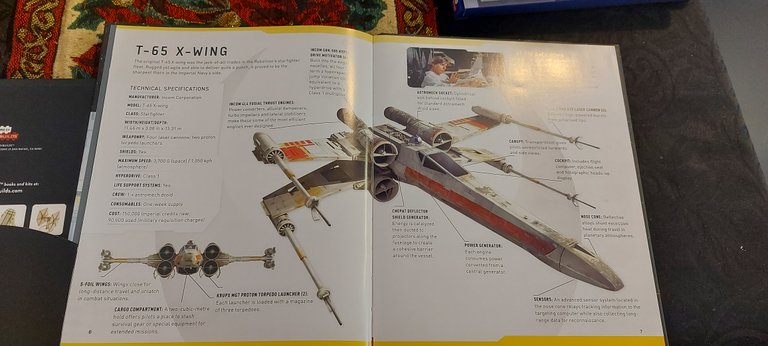
I love stuff like this. I actually have a book of all the different ships and vehicles which has detailed rundowns of what they are, and how they work. It doesn't go as in-depth as the one I already have, but it's nice to see it added in here.
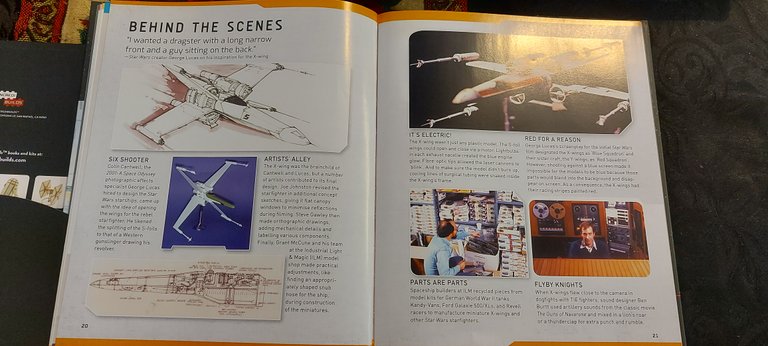
I have watched so many making of/ behind the scenes content of the Star Wars films, and have always been fascinated hearing the model makers discuss their ideas and how they came up with these now iconic ships.
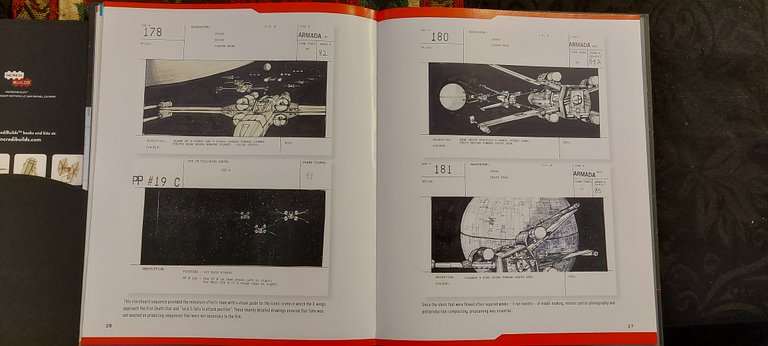
Here are a few of the storyboard slides from the original film that were made after the ideas for the ships were nailed down and the creators were working on - not only making the ships but also - creating the camera equipment they needed to film these scenes.
It's amazing to think of the innovations made for the film industry that were started by a bunch of misfit model makers and tech heads. Almost every common aspect of film and special effects we know now can be attributed to the original Star Wars film, and even if you're not a big fan of the movies, everyone has to tip their hat to the men and women behind it.
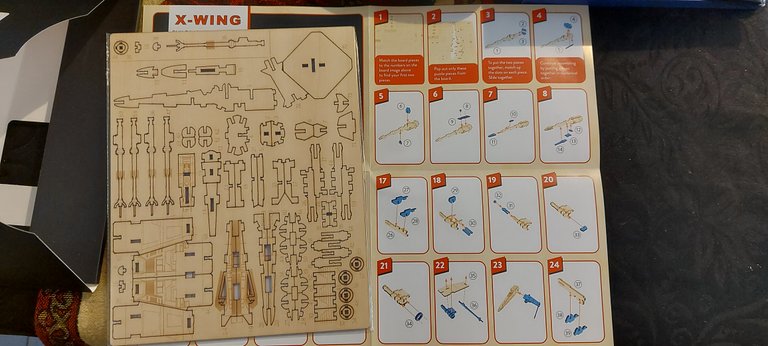
This is the main reason anyone would be buying this book. While there may be some cool information in there, I'm sure there isn't much in there that the average fan wouldn't already know.
As you can see in this photo, you get the instructions - which are a must - and a sheet of thin wood with all of the individual elements of the ship.
The instructions themselves are only 1 double-sided large sheet, so while it may look a bit mind-boggling, it isn't too hard of a task to achieve.
The Build
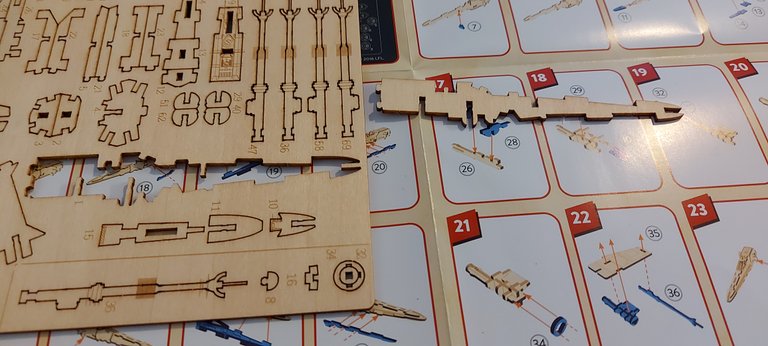
I popped out this part here, which is the main structural beam of the ship itself, and by this stage, I thought it was smaller than I initially imagined it would be.

I got started by sticking in some of the initial pieces, and in this photo, you can see the board itself in a bit more detail.
The pieces pop out very easily, but I was trying to be as careful as I could when popping them out. I also noticed that while removing one piece, I often almost popped other pieces out of place.

I was only on stage 4 when I tried to place one of the pieces and it snapped in half. You do have to use a bit of strength when placing everything, and I applied a bit too much. I didn't have glue, but did have some sellotape so that had to do.
I was actually able to remove the sellotape because it got in the way, but because of the stickiness of the tap, the piece actually stuck back together long enough to secure into its position.

I continued on a bit so I could concentrate on making some progress rather than constantly stopping to take photos. By this stage, it was starting to take shape.
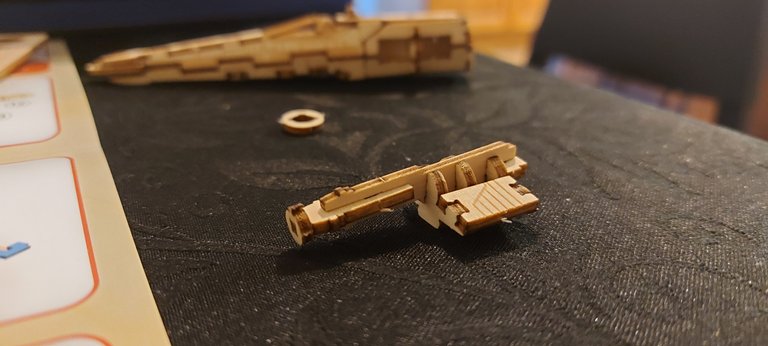
Initially, you place all the pieces on one side and then move to the other side to do the exact same thing. But, this is the first piece of the first wing after being assembled.
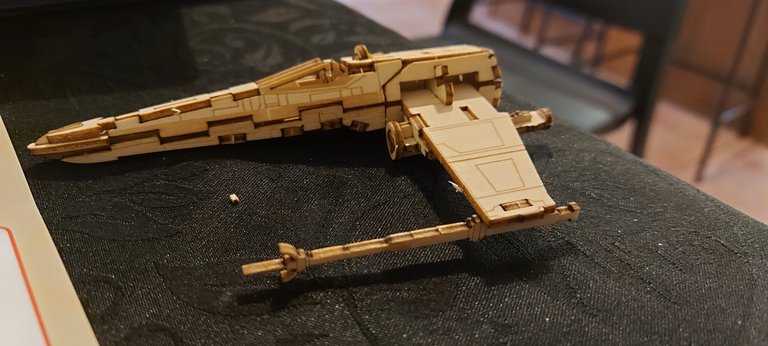
By this stage, I had the first wing attached, and it really started to look cool and it also bulked up a good bit making the model look larger than it initially seemed.
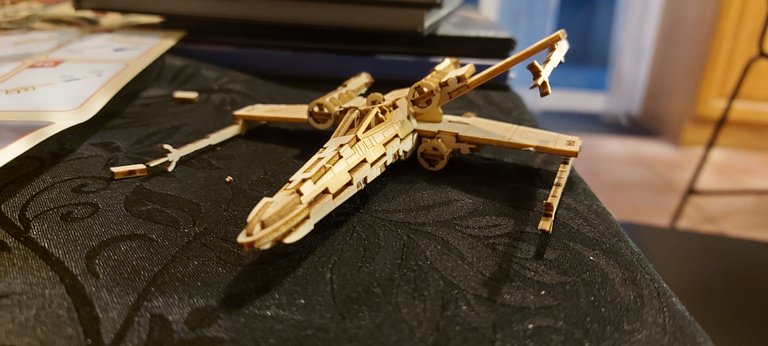
The wings were easy to get into the rhythm of making, and by the time I reached the fourth wing I was flying. This is it just before it was completed.
It looks kind of like Luke's X-Wing after he crash-landed on Dagobah.

Let's play a little game of 'spot the issue' and take a good look at the model. What seems to be wrong with it?
There are these little slats at the top of the wing, and they're meant to be on the far side of the body, but sure enough, I put them on wrong on one side of the ship, so had to remove the wings and swap two of them around.
I was so afraid of breaking it, luckily though, I didn't.
The Finished Model
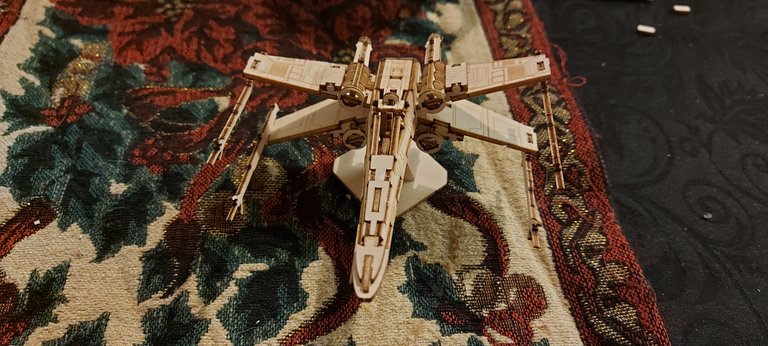
This is the completed model - with the wings fixed - and I'm really happy with how it turned out.

Here it is from another angel. The ship itself, with the wood look, it actually reminds me of the concept art/ models the creators made originally before working out the kinds and painting them and I think that's the look and style the people who made these books were going for.
This took me about an hour to make, so it wasn't too time-consuming, although, I'm sure the other ones might take a little bit more time.
I had a nice little Sunday project anyway, and the hour or so of concentrating helped me stave off the hangover from last night.
It's funny, whenever I'm hungover I tend to gravitate toward Star Wars so I can relax and let my head settle.
When I was in my early - mid 20's, me and my mates would sometimes go pretty wild on the weekend, que Sunday, and there would be a bunch of us panned out in the sitting room barely speaking, so I'd just throw on some behind-the-scenes videos of Star Wars and everyone would just zone out listening to them all speak about how they came up with their ideas for the ships and aliens.
There's a great documentary called 'Empire of Dreams' which is so good and was a go-to for me. It's nearly 2 hours long and is mainly about the model makers. It's on YouTube, and Disney+ I think.


