"Sometimes when I need a miracle, I look into my daughter's eyes and realize I've already created one."
~ The Greenspring Home

Hello, everyone!
Here's another glimpse of my life in a palette that I am so delighted to share with you. It's a very long weekend for almost most of us here in the Philippines and since I cannot go home to the province to spend the vacation with my family, and with no impromptu out-of-the-town-near-the-Metro getaway either, I might as well make the most out of it by indulging myself with the artistic cells that merge fortunately with my hand (so thankful sluggishness and procrastination did not get in the way, Lol).
This time, I tried doing it with a medium that is definitely not my hand's cup of tea - graphite also known as charcoal painting. It's been two decades since I tried doing artwork with this medium. It was way back in 2003, during my first year in college when we were required to submit a portrait using charcoal pencil as a school project for that semester. And yeah, it's literally been ages.
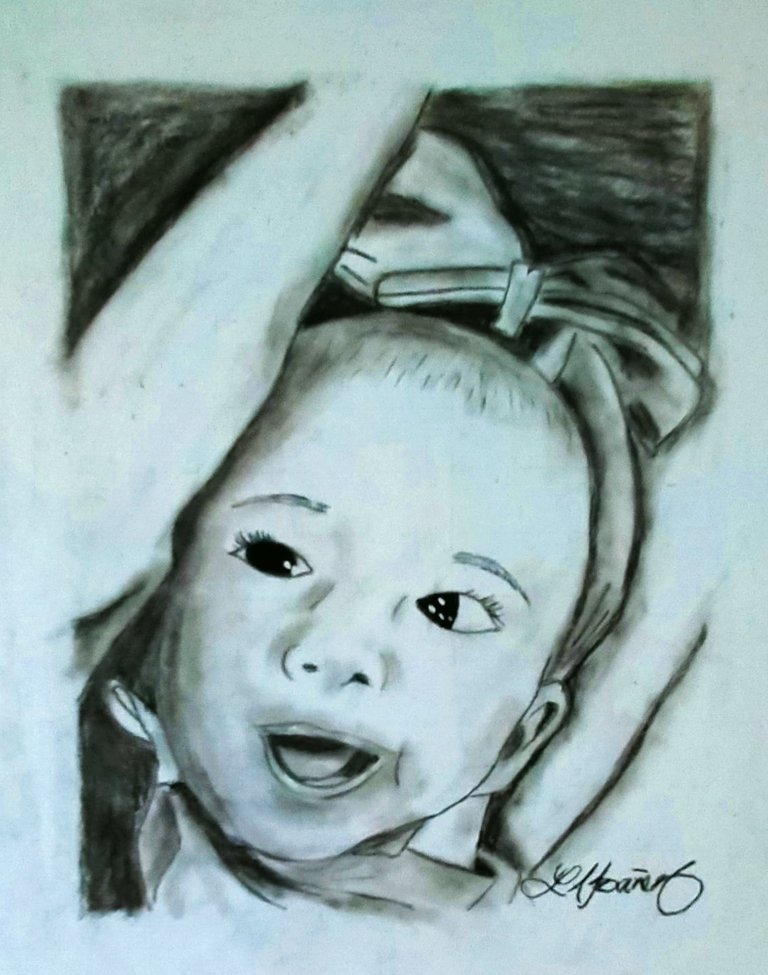
And so without further ado, let me share with you this portrait that's carved out from the-mother-in-me this time.
"Akong Hayag nga Bituon"
(My Bright Star)
The first subject I had in mind when I was planning to try again doing the charcoal portrait is my daughter - Star.
She was five months old in this picture and I decided to choose this one as my reference since I so love how it conveys a profound sense of happiness while staring at me. And a few years from now, I'll be so glad to show her this (hopefully it'll make her happy) - how Mama painted the distance between us with the vibrant shades of black and white.
Now, let me share with you the "bright" process of this "grey-colored" portrait.
Materials used:
- White vellum paper
- Black charcoal pencil
- Kneaded eraser
- White acrylic paint
- Q-tip/cotton buds
The process:
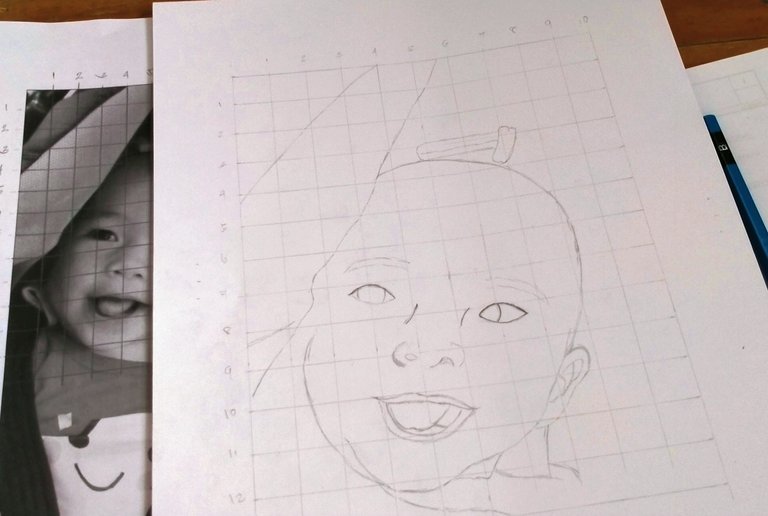
🔸Step 1First, I started with the lines as my reference using a pencil. I am relying on the grid method since I am not really that accurate in drawing a person's face. And here's the reference photo, printed in black and white, by the way.

🔸Step 2
And then, after lay-outing the vertical and horizontal lines on the vellum paper, I started drawing the image of my daughter's face.

🔸Step 3
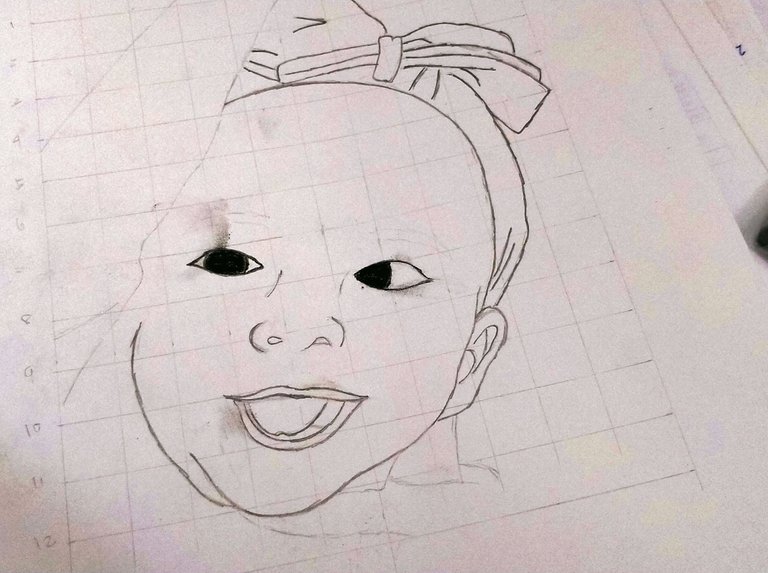
Next, I started to emphasize or thicken the lines showing the layout of my baby's face using a charcoal pencil.

🔸Step 5
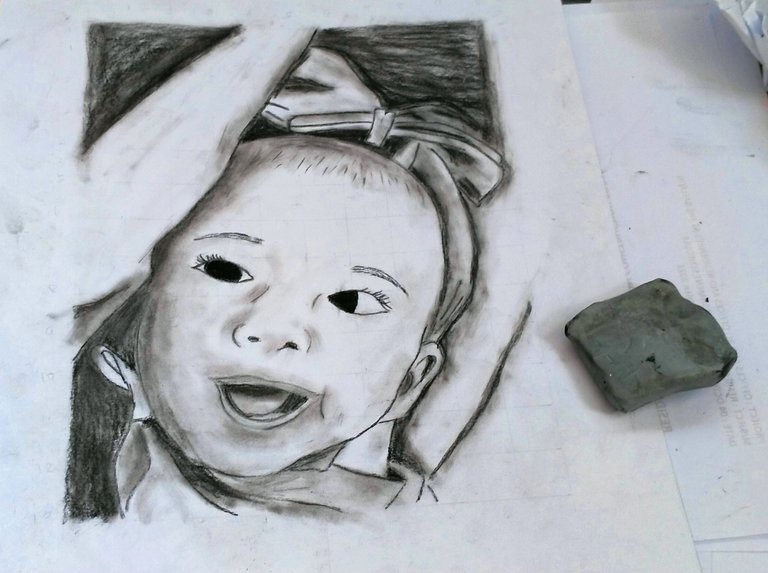
Then, came the most challenging yet exciting part for me, the shading. With this, I used kneaded eraser and Q-tips/cotton buds to distribute the charcoal, emphasizing the lights and shadows. I admit there's so much improvement to be done here and I am looking forward to my next portraits (hopefully).

🔸Step 5
And then, I shaded the background to somehow highlight my lovely daughter's smiling face and to complete the portrait as well.

🔸Step 6
And for the final touch, I added the white highlights to her eyes using white acrylic paint. And then, my favorite part, I signed it with my signature, and tadaaaaa...I'm calling it done!

Miracle...it's indeed a miracle seeing her genuinely smile this way. And what adds magic to this smile? It's the fact that I was able to frame the magical moment in an A4 size of paper - sealing it for eternity, all wrapped up with a mother's unquestioning love for her daughter.
I am not a perfect mother and so is this portrait of my daughter. But I will try my best, with all the vibrant hues and shadows of my life's palette and brushes, to be a better (if not the best) painter who will create a bright masterpiece of the future waiting ahead of my daughter, ang akong hayag bituon (my bright Star).
