ENG
¡Hi! ¡Hiver friend!
It's a pleasure to know you're stopping by! This is my first post in this community and I hope you enjoy it a lot!
Today I will tell you a little bit about this assignment that came to me recently.
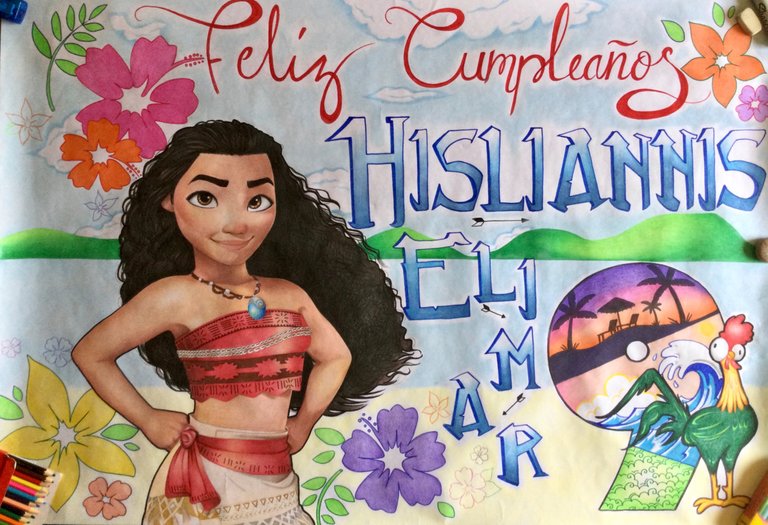
This was a request that came to me from a regular customer, this customer usually contacts me to order 1 or 2 jobs per year so it was not a big enigma to know what she was writing me for.
Her daughter's 9th birthday was coming up and the theme this time was apparently Moana.
He explained how he wanted it and sent me a couple of references from the internet, once everything was clear I waited a couple of days to start working.
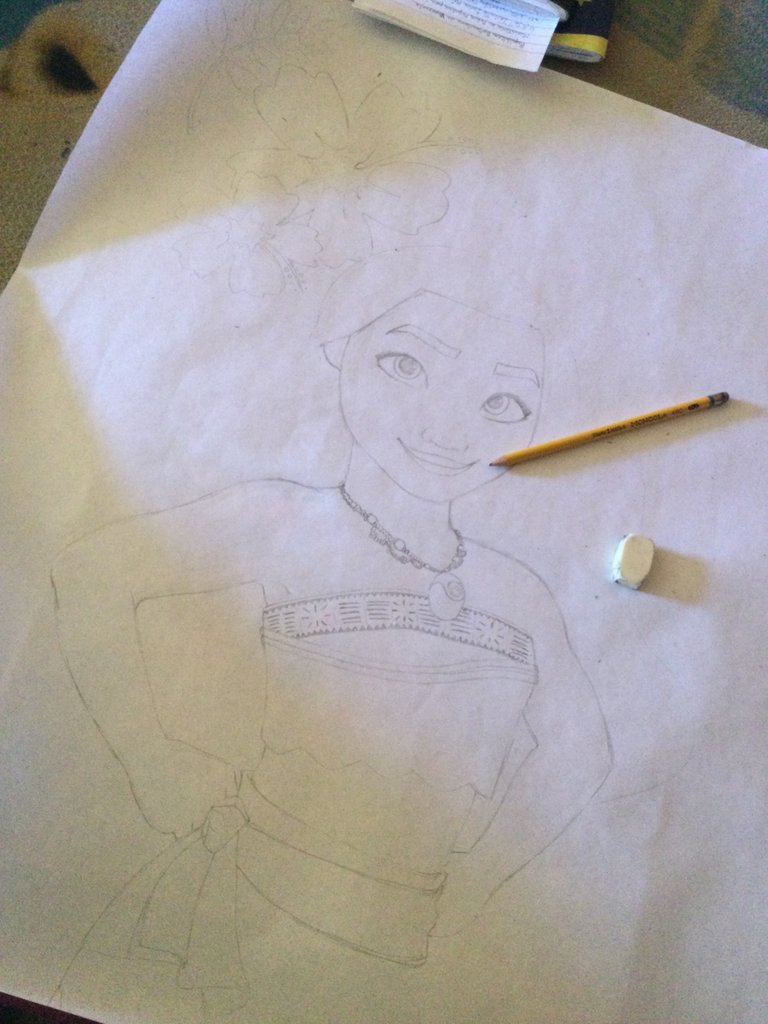
I looked for an image of the original Moana to guide me, and after delimiting a clear space I began to trace it, it is not something very common for me to copy as much as possible a Disney style, however I did what I could and I was very satisfied.
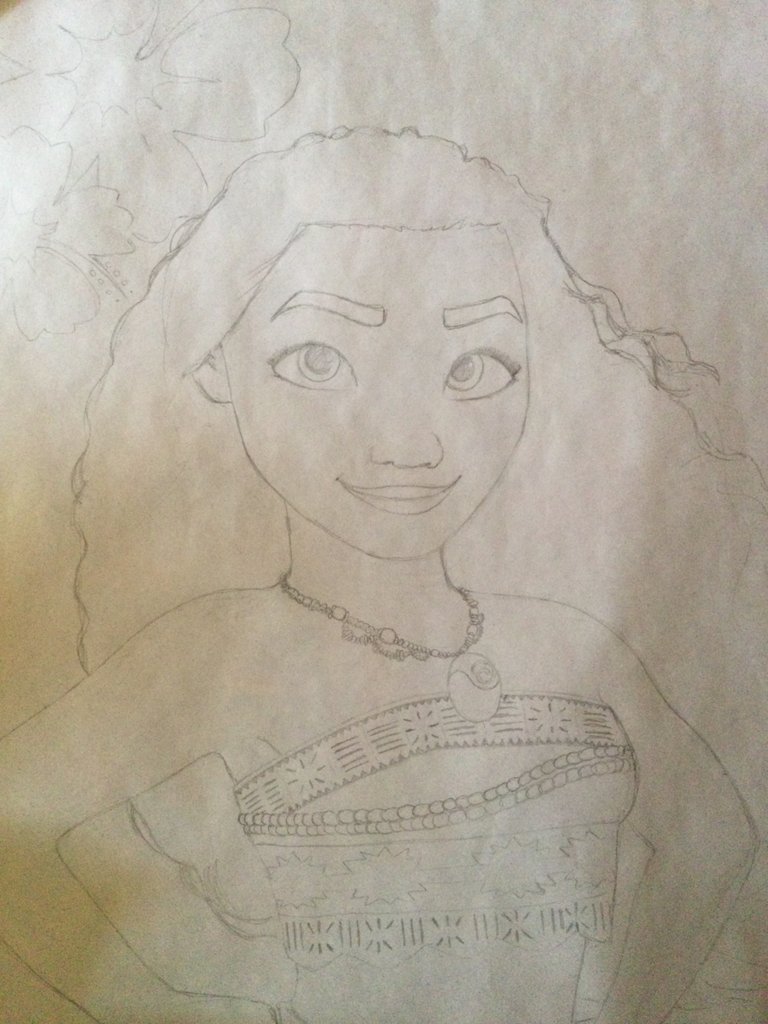
The only thing left to do is to give it some life with color...
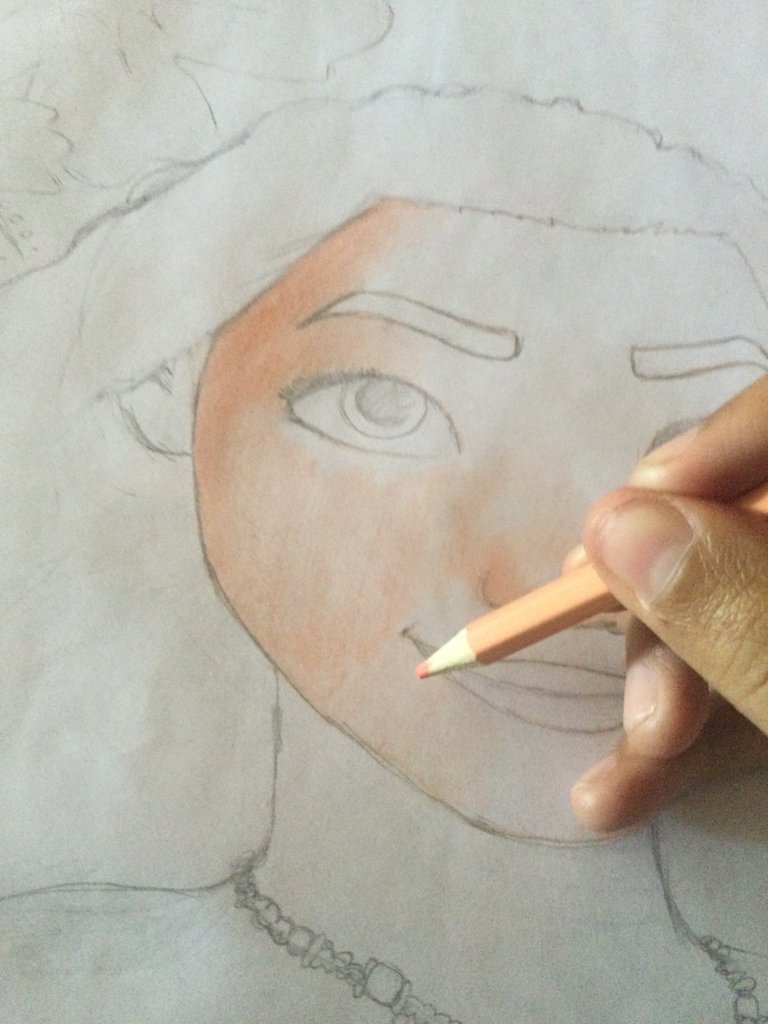
I'm going to be very honest from here on, I'm not very good at coloring dark skin tones, even less having so little variety of colors, some boxes even have a null variety counting only with cream and brown. Sometimes not even that...
I don't know why they sometimes seem to want us to color people yellow and pink.
This is the reason why I didn't want to venture to use brown at the first instance and preferred to give it a lighter base color that would darken progressively just to be on the safe side.
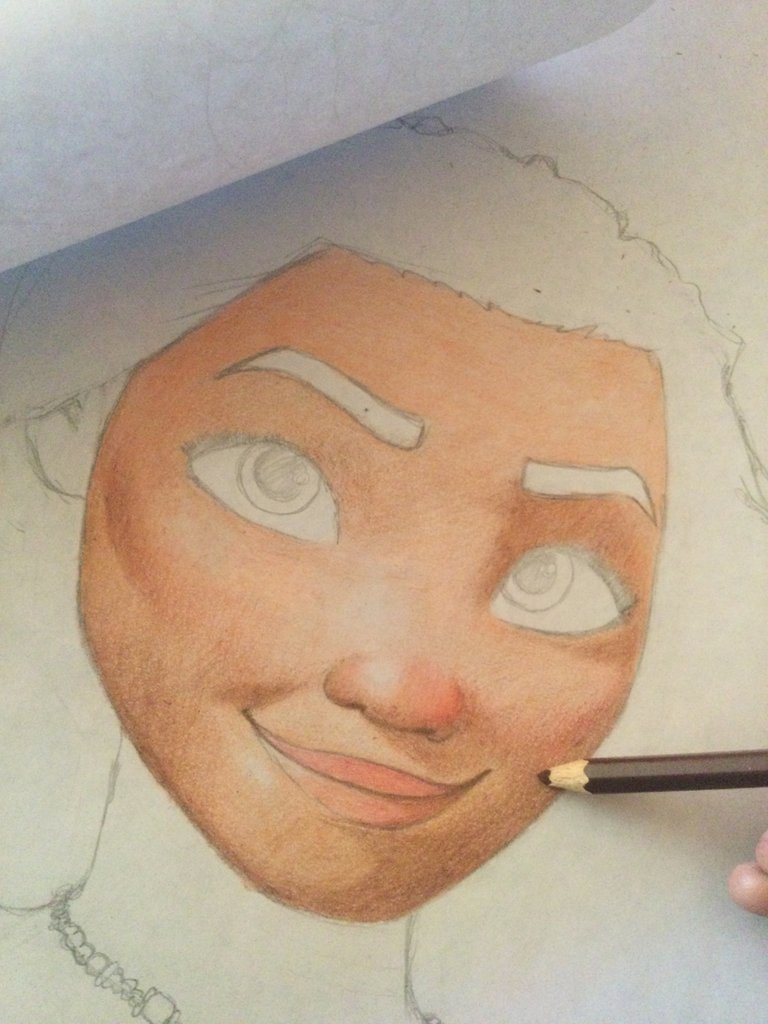
Everything called facial features was too difficult for me, I had to erase and redraw constantly as their shape or proportion did not fit, but after trial and error I was finally satisfied.
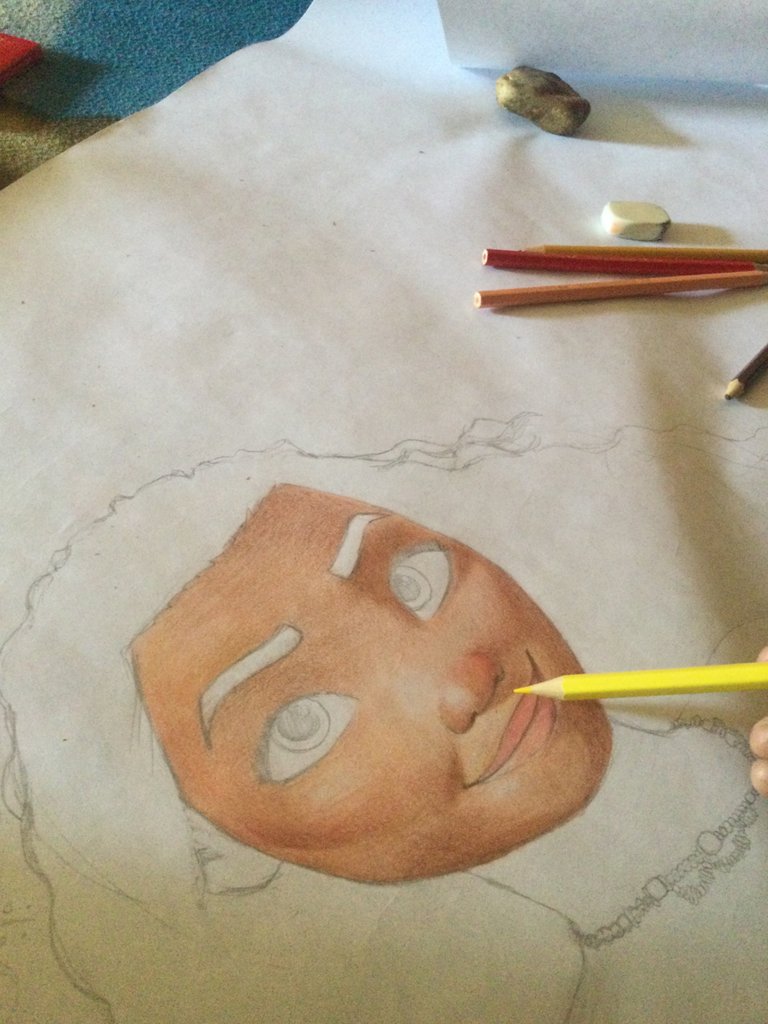
Use a bit of yellow to brighten and mattify a bit more after you are done with the shadows and blushes.
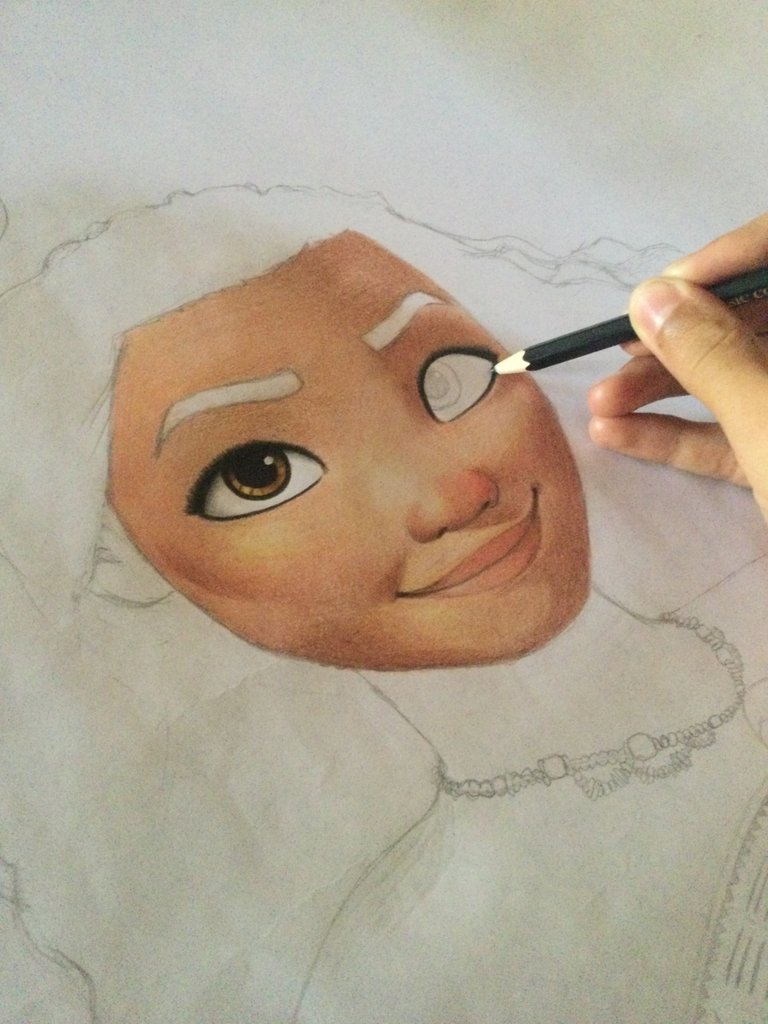
Is this every draftsman's nightmare or just mine? Drawing the other eye...
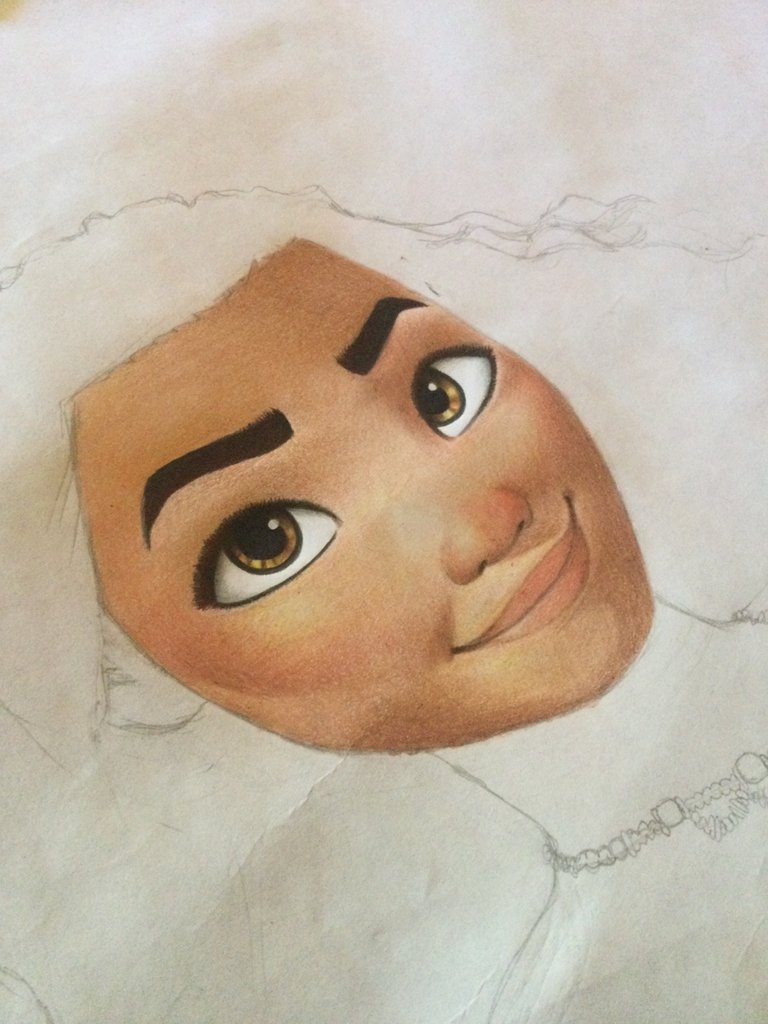
But they both turned out pretty flirty~.
And that yes, I loved doing those eyebrows.
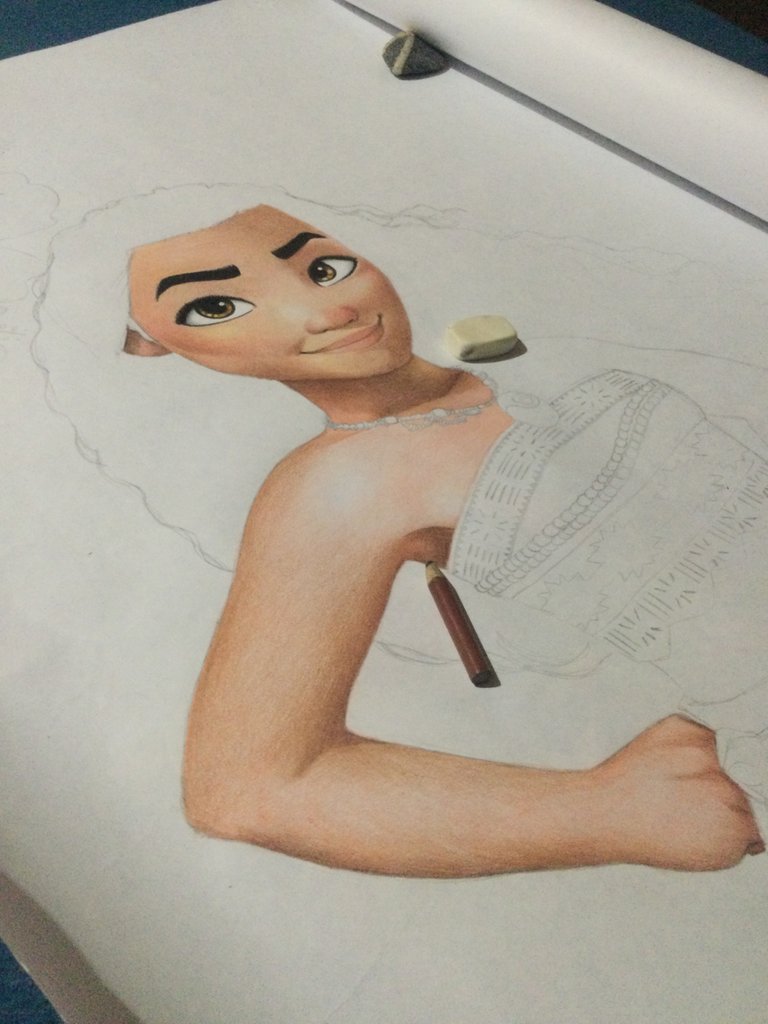
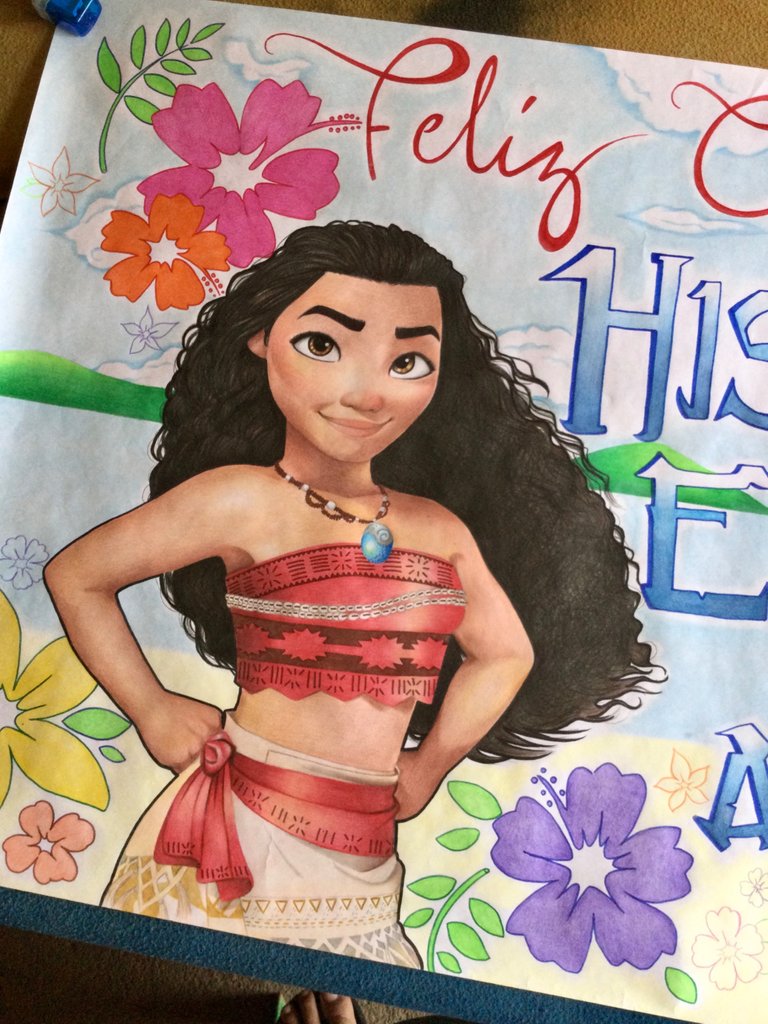
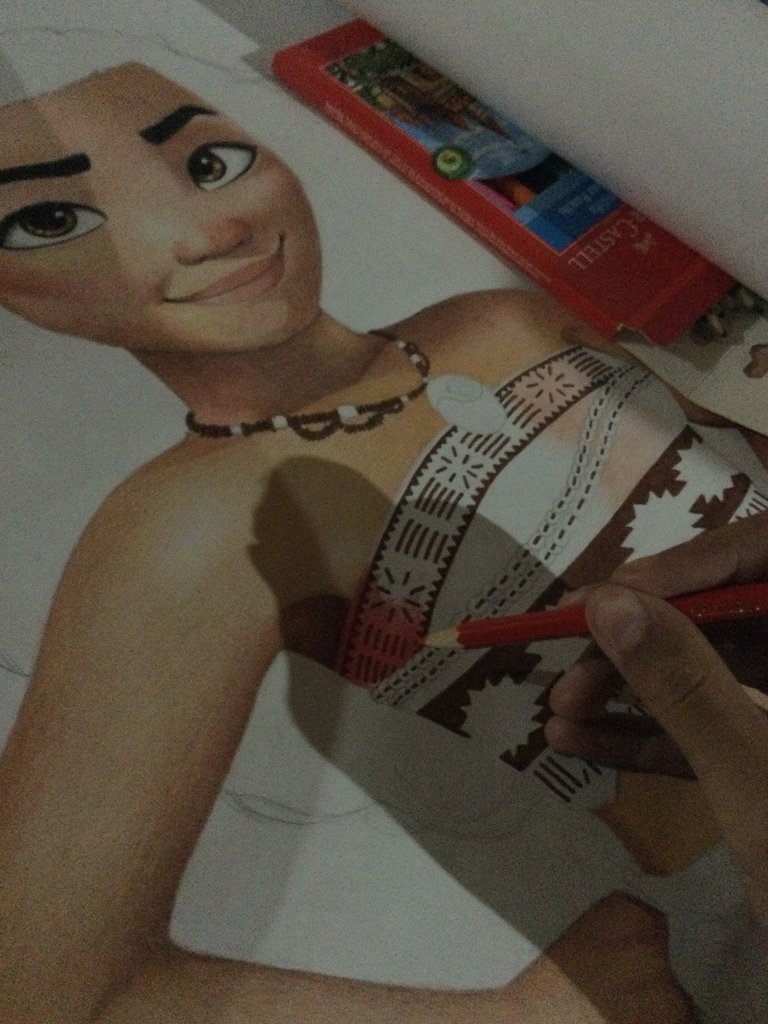
Once the face was ready I could dedicate myself to finish the rest of the skin, for which I also had to take care and took the opportunity to paint with marker part of the necklace so that it would not be confused with the rest of the neck.
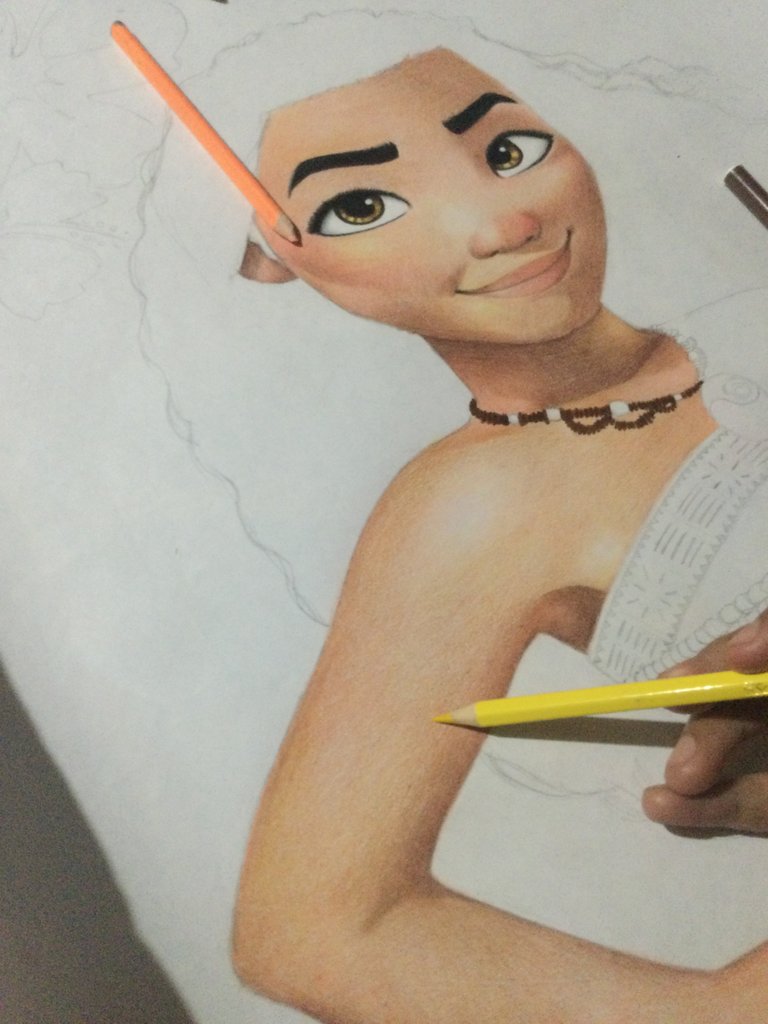
Once the skin was finished, I focused on the top, more precisely on the top patterns, which were a joy to make; with marker of course, I'm sure making them with color would have been tedious....
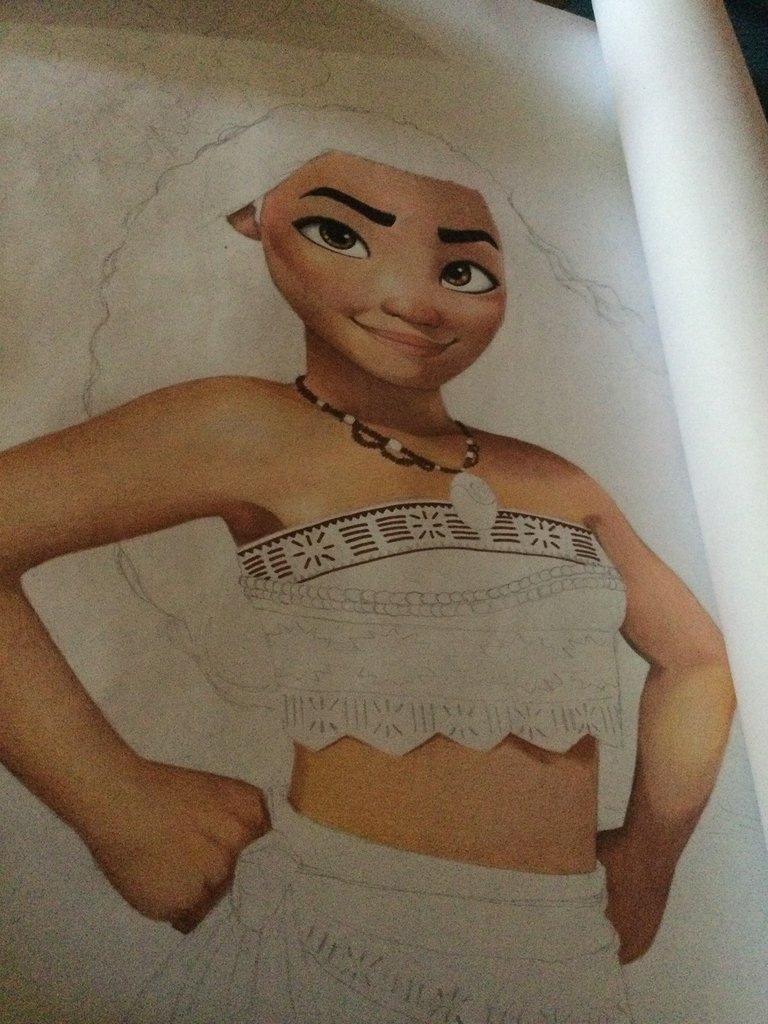
After the patterns followed the red color, in the 3D model this part did not have much shadow; not to say null, but texture, however I put some shadow to the red with coffee and illumination with cream and yellow.
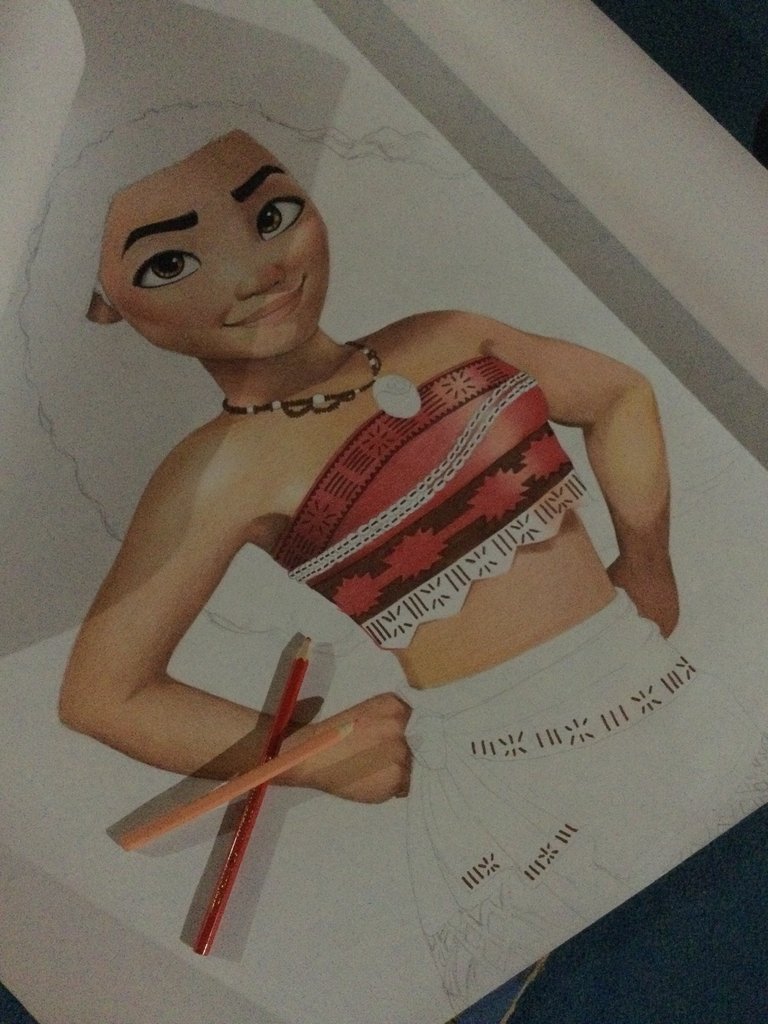
Once I finished the top and her belt, I turned my attention to her hair, which would be an interesting challenge...
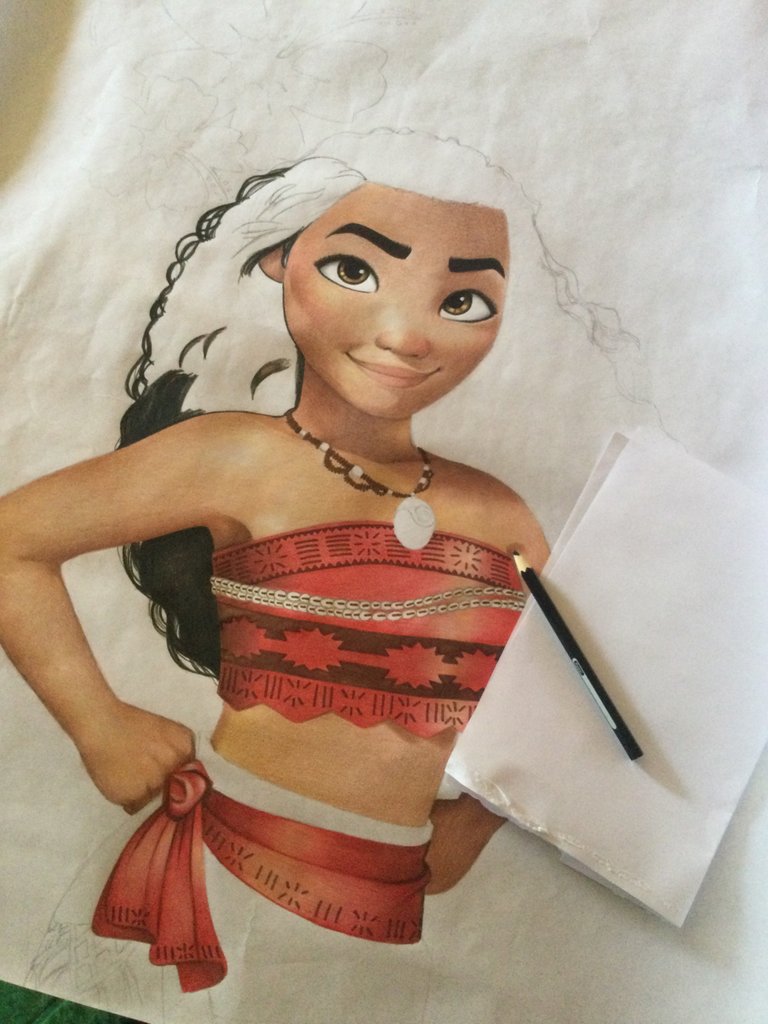
In the lower part I didn't detail much the inner part, but the outer part adding those curly hairs that made it stand out much more, however in the rest of the hair I added more texture.
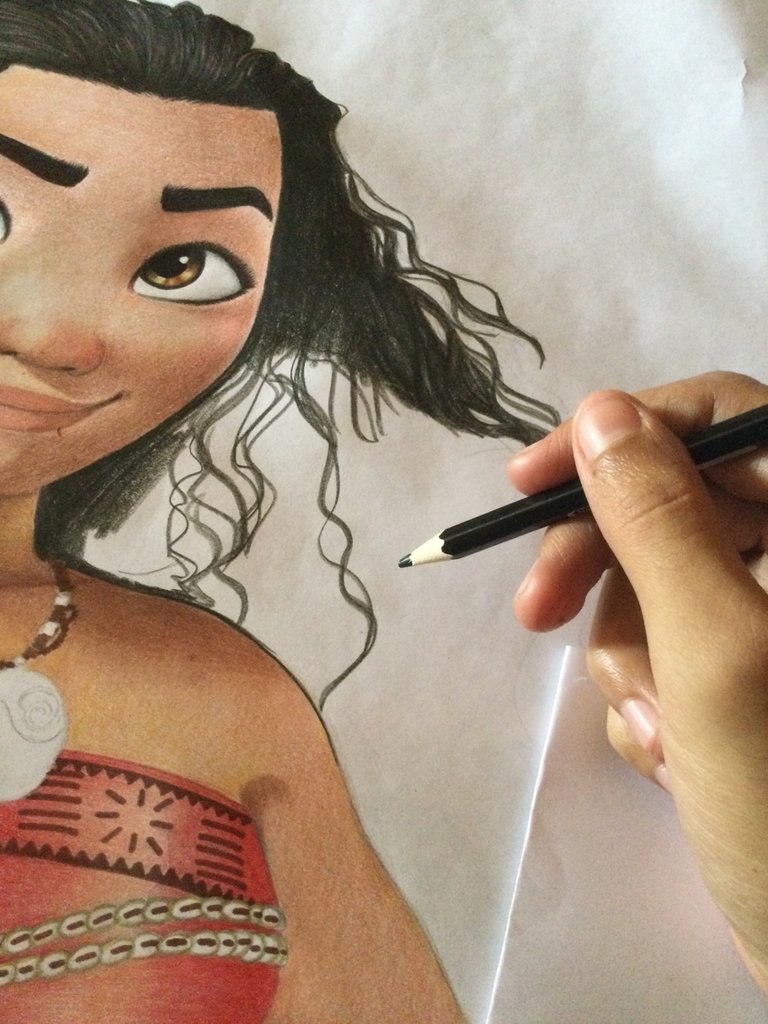
I added some brown in a few parts between the black and made meandering strokes to make the undulations lighter, plus some strands that moved in the imaginary breeze.
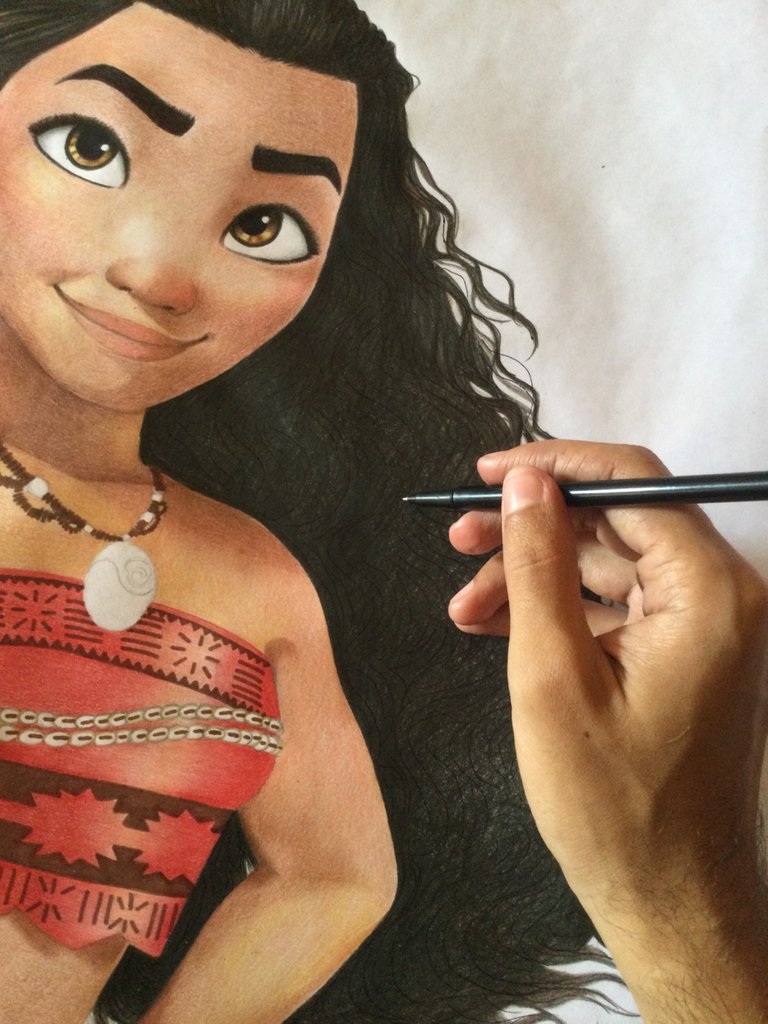
With a ballpoint pen I added a few extra touches to the hair.
Once the Disney princess was almost ready, I went on to draw the rest of the elements belonging to the banner, from "Happy Birthday" to the birthday girl's name, flowers and so on.
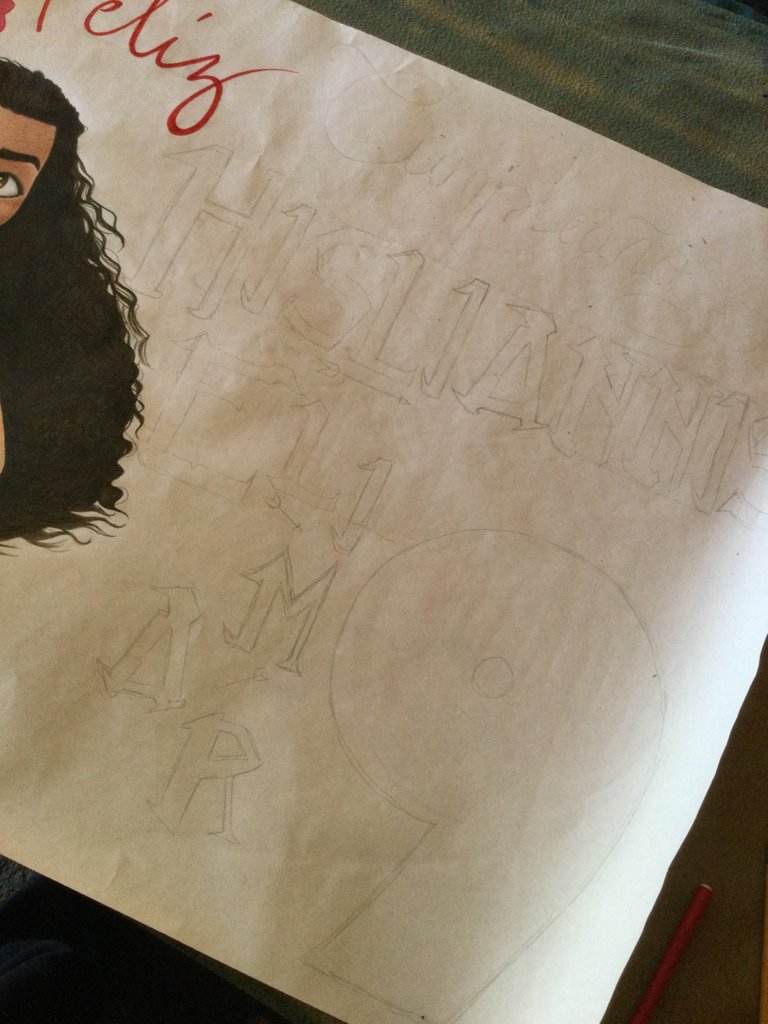
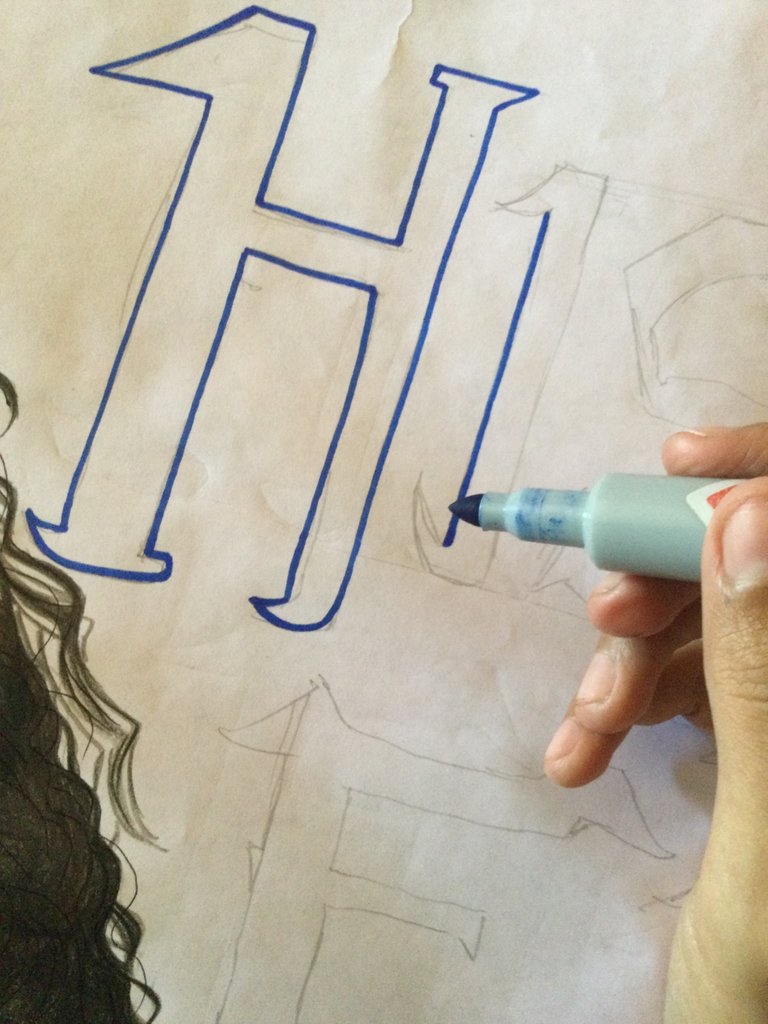
I started outlining the letters with blue marker, letters I'm not used to but my client wanted that typography so I adapted.
Once the letters are outlined, continue filling them with light blue color.
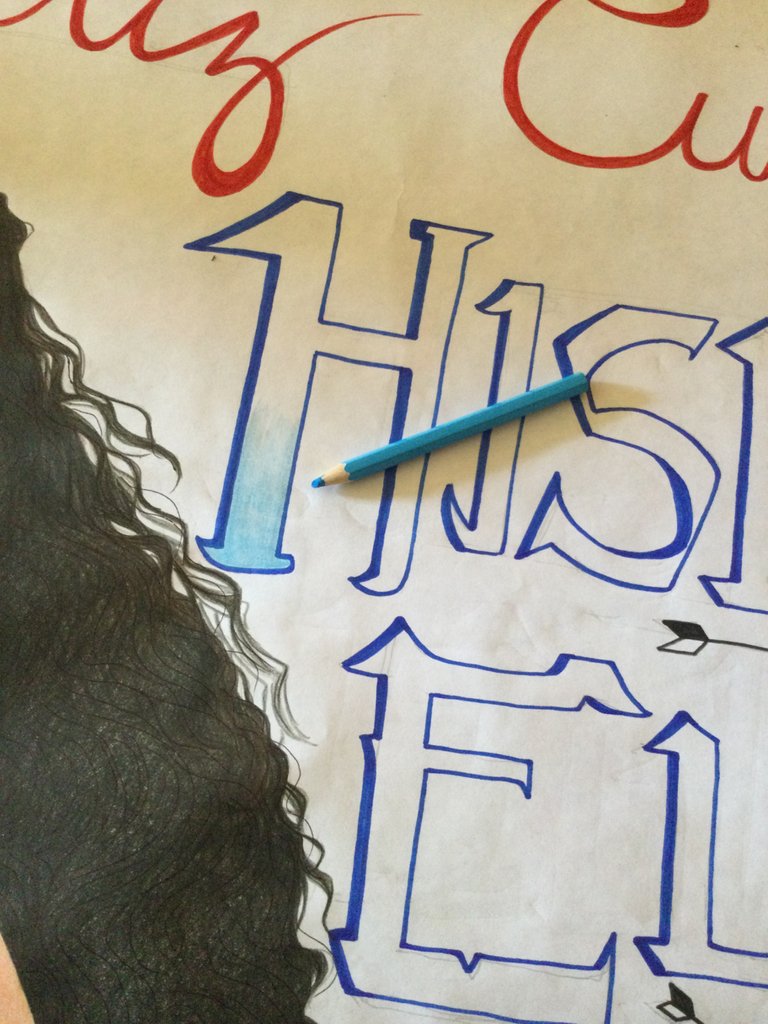
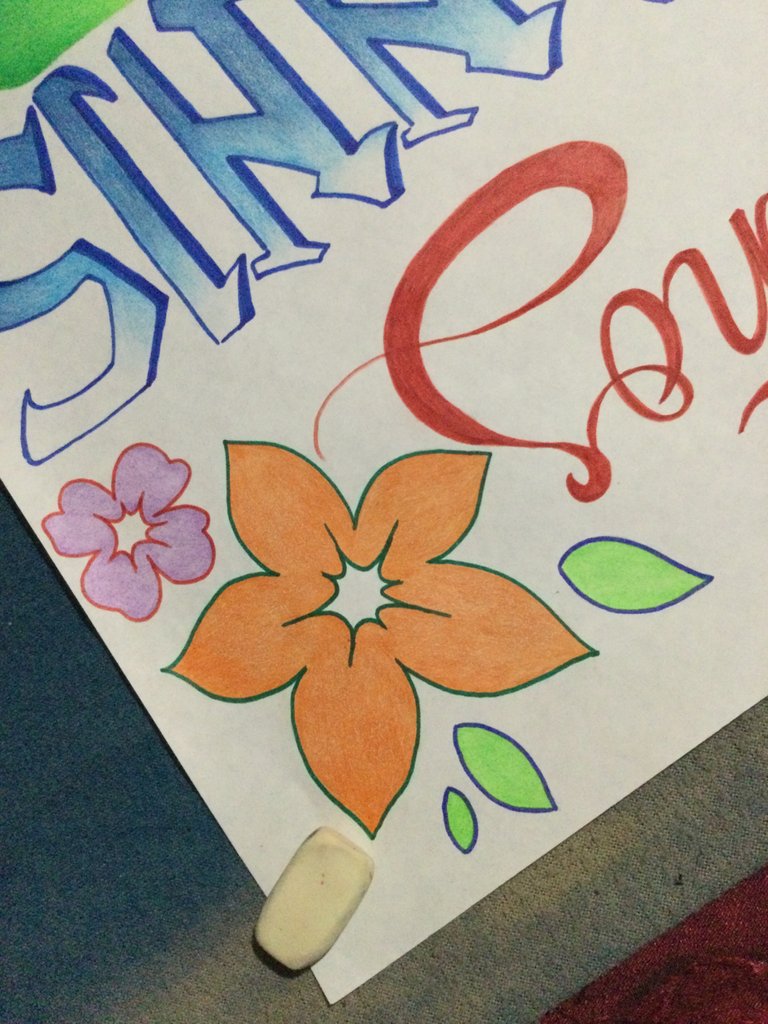
With this ready as the "Happy Birthday" outlined in red, I moved on to the flowers....
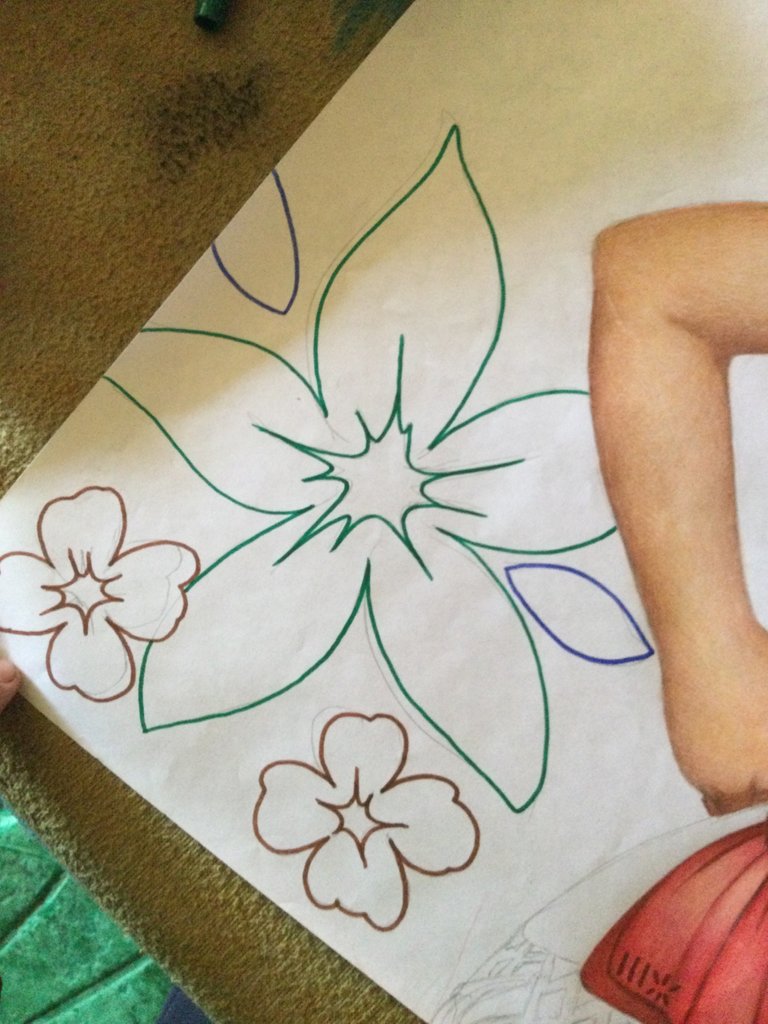
They were just flowers painted in a flat color, so it didn't take me too long.
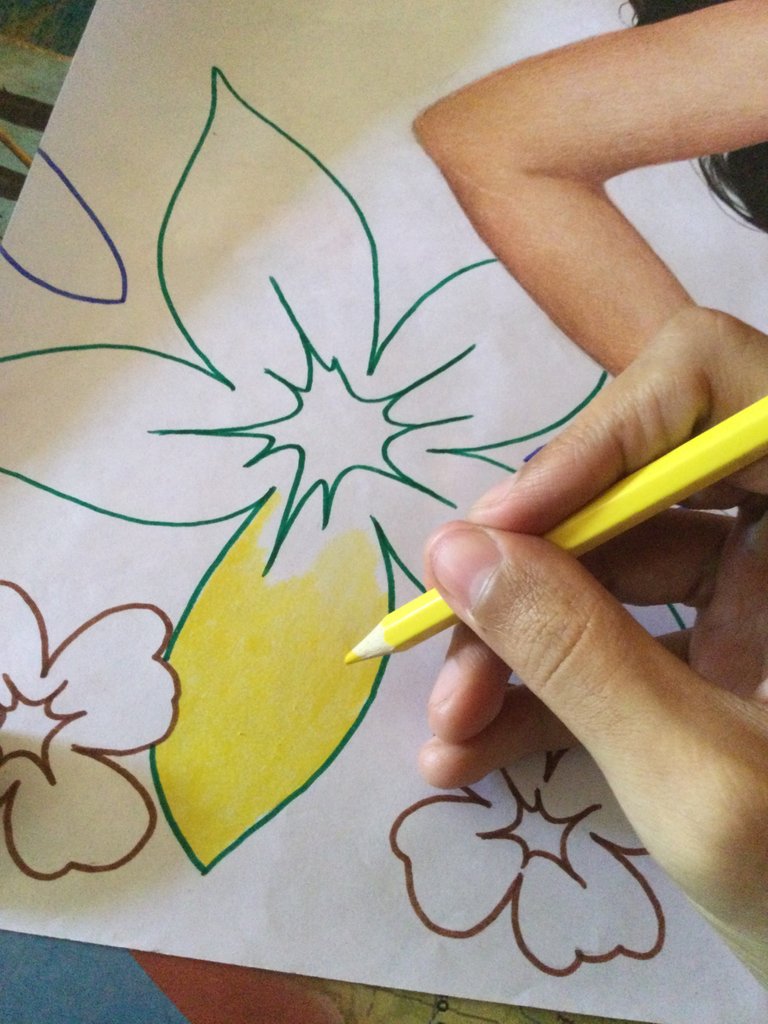
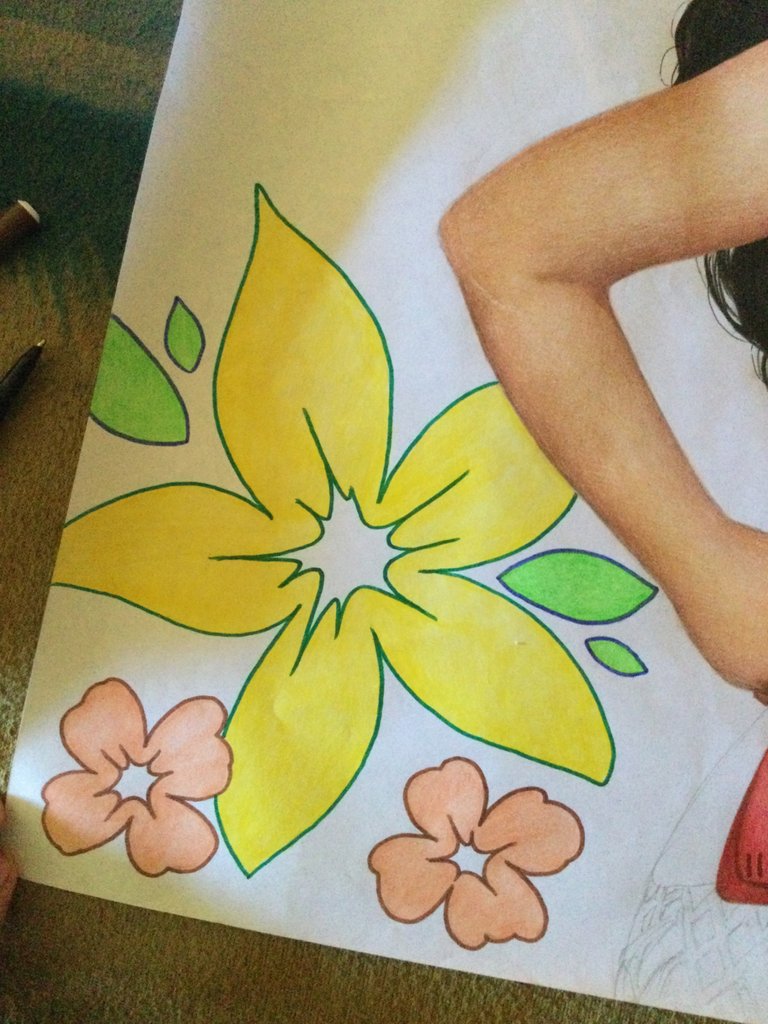
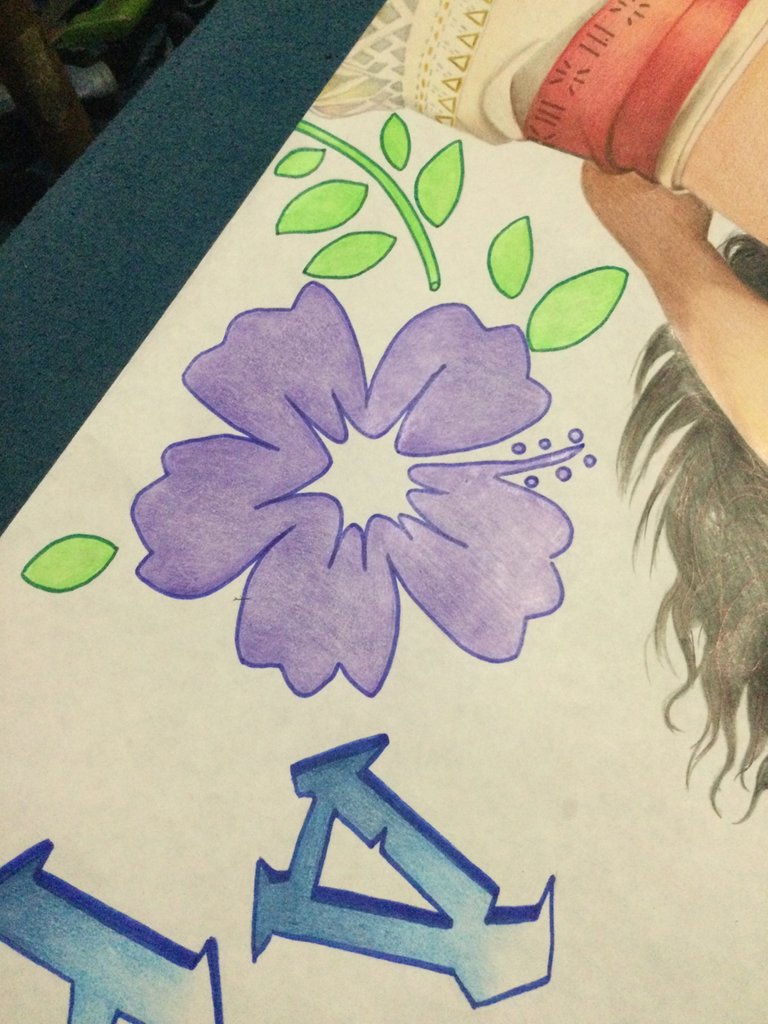
Here is an example of the others.
This was also an important detail, the rooster and the number 9.
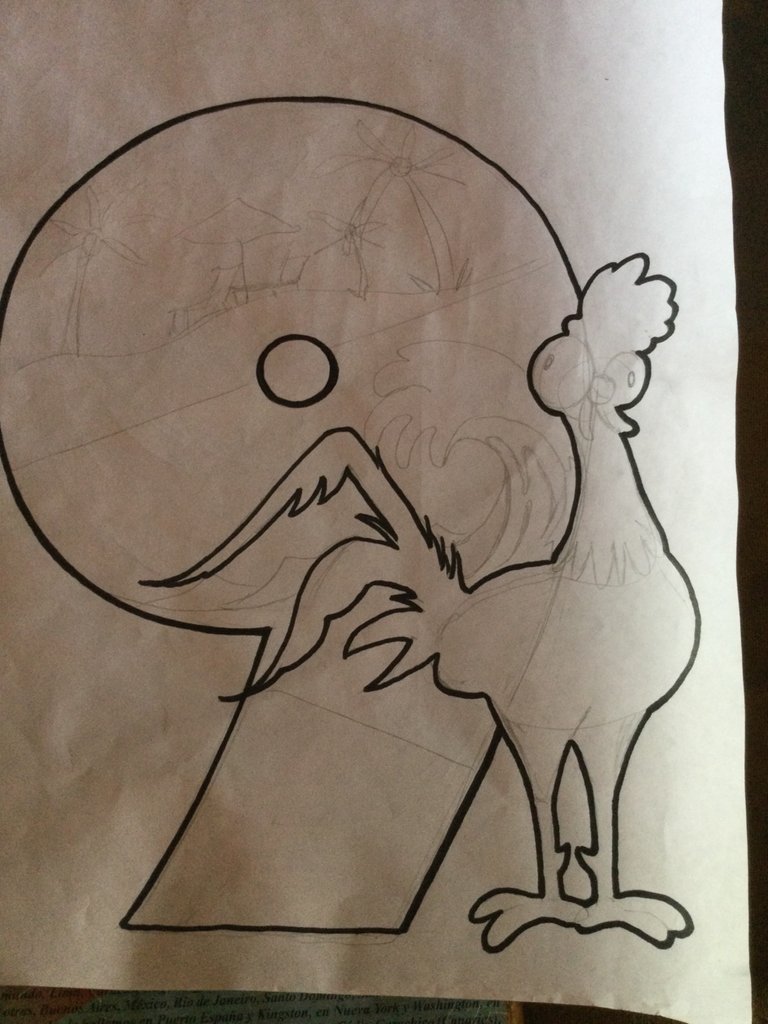
After outlining it and having finished coloring the rooster, I went on to define what I would do with the 9, which obviously had to stand out.
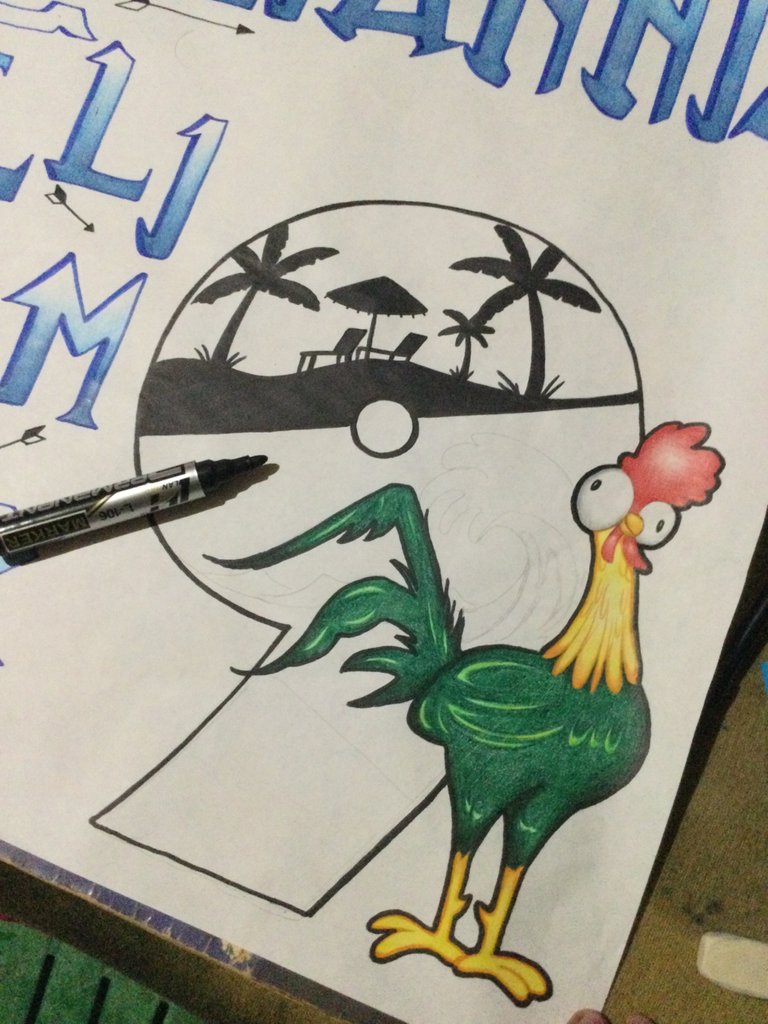
I ended up deciding that I would divide the number into 3 quadrants, the top one would be a thank you on the beach, the middle one a wave and the third one... I hadn't defined it at the time but I ended up making some oriental style clouds with green color.
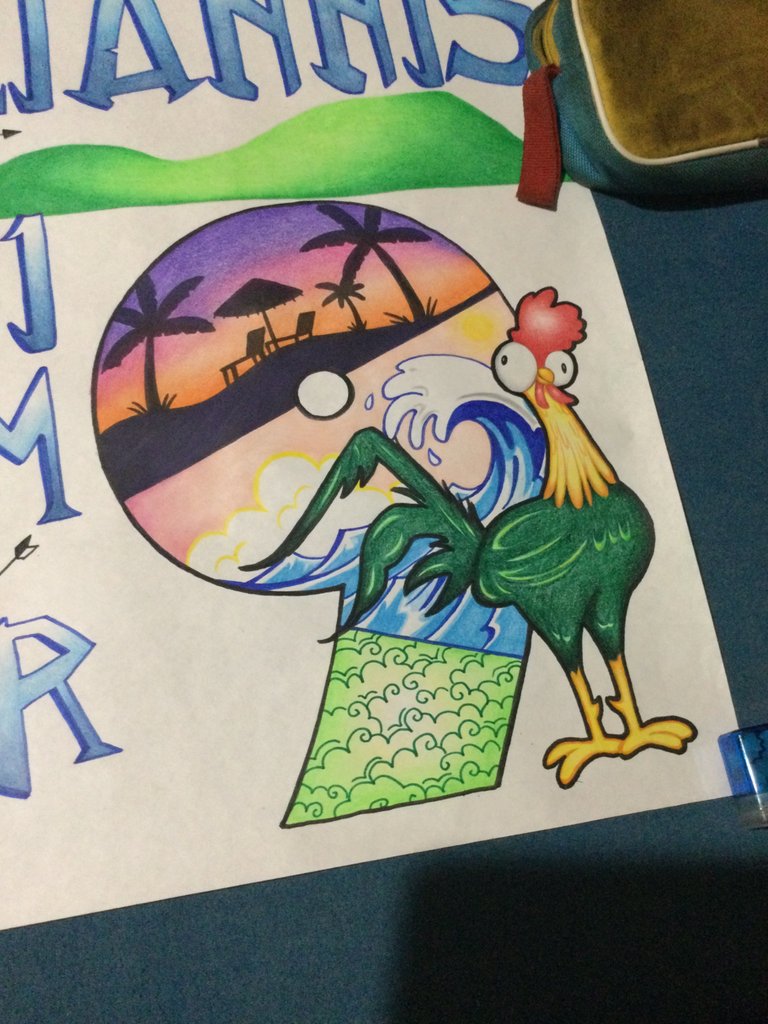
*Plot twist: The client did not like the 9 but her daughter did.
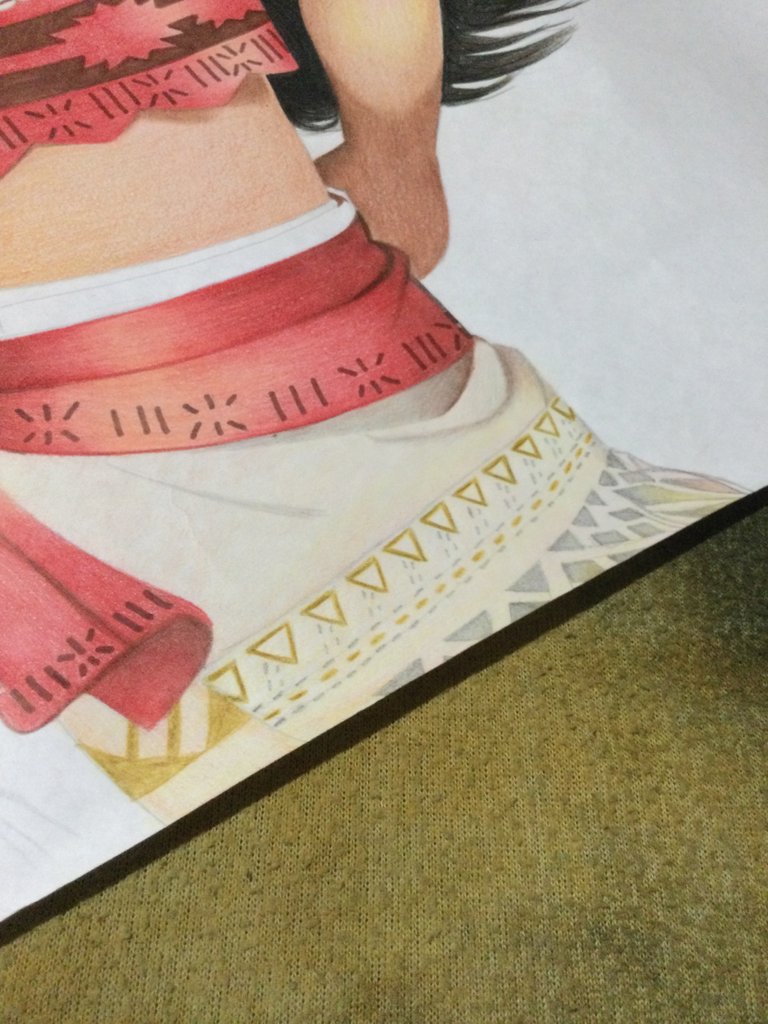
I went back to Motunui's princess and set about finishing her, coloring her skirt which was the last thing.

I combined cream and yellow for the base, shading with gray, gold and brown.
I also made some details in gold.
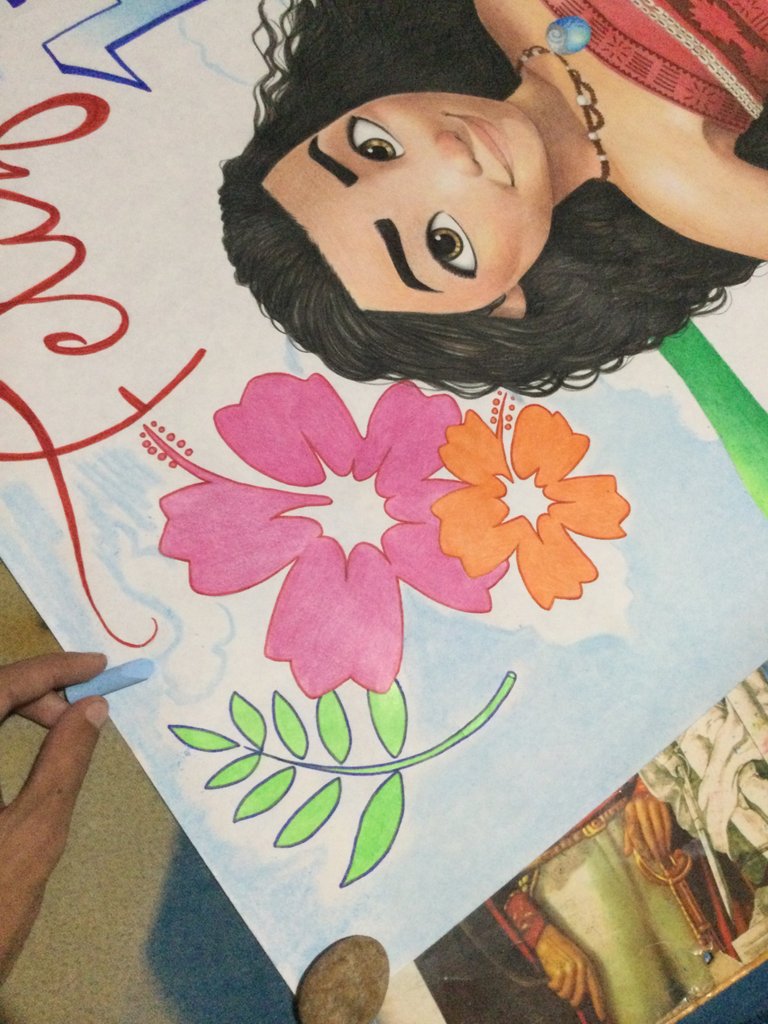
The last thing left was to make the background, which was mostly chalk which I detailed slightly with color, a sky with some clouds, under this sky an island done in color, the sea and the sand of the beach in a faint pastel chalk color.
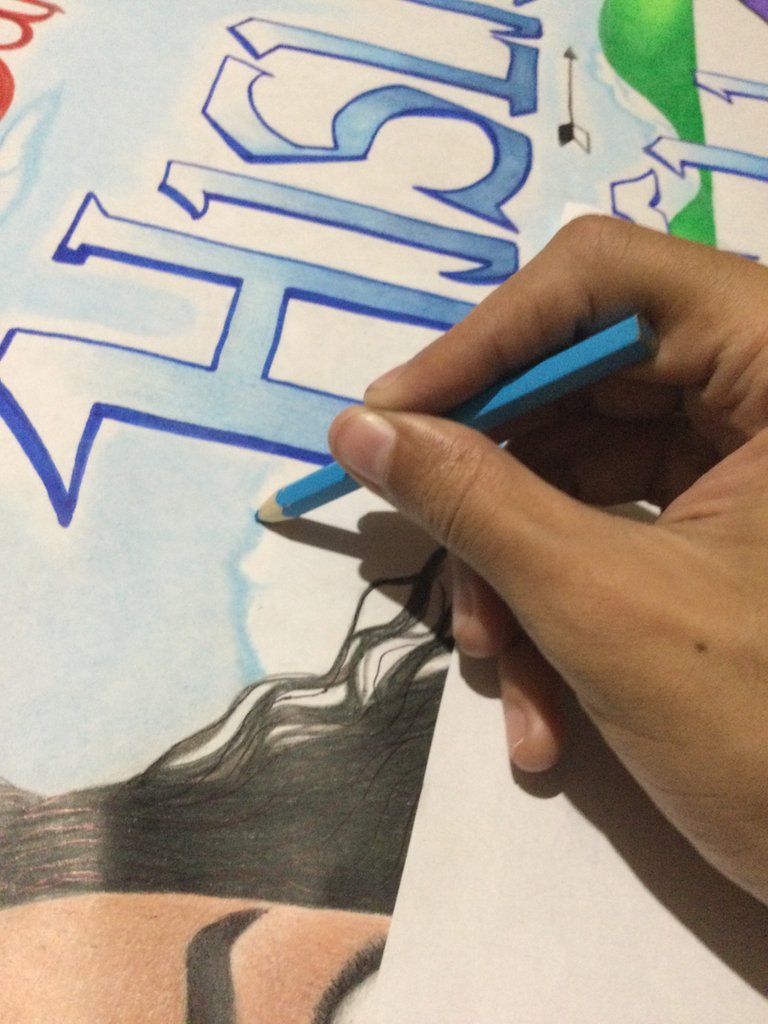
With the background done, I finished the job.

Thank you for reading this, see you in my next post where I will be able to share with you some more of my illustrations.
Content Created by me
Translated with Deepl.com
©Nemite_me 2022

SPA
¡Hola! ¡Amigo hiver!
¡Es un placer saber que te pasas por aquí! ¡Esta es mi primer publicación en esta comunidad y espero disfrutes mucho de ella!
Hoy les contaré un poco acerca de este encargo que llegó a mi hace poco.
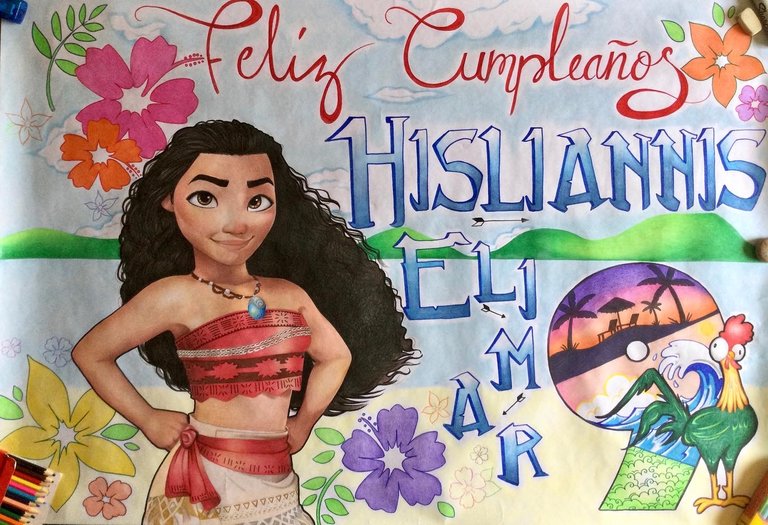
Este fue un pedido que llegó a mi por parte de una habitual clienta, esta clienta suele contactar conmigo para encargarme 1 o 2 trabajos por año por lo que no era un gran enigma saber para qué me escribía.
Se acercaba el cumpleaños número 9 de su hija y la temática esta vez era; aparentemente, de Moana.
Me explicó como lo quería y me envió un par de referencias sacadas de internet, una vez con todo claro espere un par de días para poder comenzar a trabajar.

Busque una imagen de la Moana original de la cual guiarme, y tras delimitar un espacio claro comencé a trazarla, no es algo muy común para mí copiar lo más posible un estilo Disney, sin embargo hice lo que pude y quede muy conforme.

Solo quedaría darle algo de vida con el color…

Voy a ser muy sincero a partir de aquí, no soy muy bueno coloreando tonos de piel oscura, menos teniendo tan poca variedad de colores, algunas cajas incluso tienen una nula variedad contando solo con color crema y café. A veces incluso ni eso…
No se porque a veces pareciera que quieren que coloreemos gente amarilla y rosa.
Esta es la razón por la que no quise aventurarme a usar el café a la primera instancia y preferí darle un color base más claro que oscurecería progresivamente solo para estar seguros.

Todo lo llamado rasgos faciales se me dificultó demasiado, tenía que borrar y re dibujar constantemente ya que su forma o proporción no se adecuaba, pero tras intento y error pude quedar satisfecho finalmente.

Use un poco de amarillo para iluminar y matizar un poco más tras haber terminado con las sombras y los sonrojos.

¿Esta es la pesadilla de todo dibujante o solo la mía? Dibujar el otro ojo…

Pero al final ambos quedaron bien coquetos~
Y eso si, amé hacer esas cejas.

Una vez con el rostro listo pude dedicarme a terminar el resto de la piel, por la que me tuve que esmerar también y aprovechando de pintar con marcador parte del collar para que no se confundiera con el resto del cuello.

Una vez con la piel terminada pase a enfocarme en el top, más precisamente en los patrones de este, los cuales fueron un agasajo de hacer; con marcador por supuesto, seguro hacerlos con color hubiera sido tedioso…

Tras los patrones siguió el color rojo, en el modelo 3D esta parte no tenía mucha sombra; por no decir nula, pero si textura, sin embargo yo le coloqué algo de sombra al rojo con café e iluminación con color crema y amarillo.


Una vez terminado el top y su cinturón pase a enfocarme en su cabello, el cual sería un interesante desafío…

En la parte inferior no detallé mucho la parte interna, pero si la externa añadiendo aquellos cabello rizados que hacían resaltar mucho más, sin embargo en el resto del cabello agregué más textura.

Agregué algo de marrón en unas partes entre el negro e hice trazos serpenteantes para que las ondulaciones fueran más claras, además de algunos mechones que se movían con la brisa imaginaria.

Con bolígrafo di algunos toques extra en el cabello.
Una vez con la princesa de Disney casi lista, pasé a dibujar el resto de elementos pertenecientes a la pancarta, desde el “Feliz cumpleaños” hasta el nombre de la cumpleañera, flores y demás.

Empecé delineando las letras con marcador azul, unas letras a las que no estoy acostumbrado pero mi clienta quería esa tipografía así que me adapté.

Una vez con las letras delineadas siguió rellenarlas con color celeste.

Con esto listo como el “Feliz cumpleaños” delineado en rojo, pasé ahora con las flores…

Solo eran flores pintadas en color plano, por lo que no me tarde en demasía.


Aquí ejemplo de las demás.


Este también era un detalle importante, el gallo y el número 9.

Tras haberlo delineado y habiendo terminado de colorear al gallo, pasé a definir que haría con el 9, el cual obviamente debía de resaltar.

Acabé decidiendo que dividiría el número en 3 cuadrantes, el superior sería una agradecer en la playa, el de en medio una ola y el tercero… No lo había definido en ese momento pero terminé haciendo unas nubes de estilo oriental con color verde.

Plot twist: A la clienta no le gustó el 9 pero a su hija si.

Volví con la princesa de Motunui y me dispuse a terminarla, coloreando su falda que era lo último.

Combiné color crema y amarillo para la base, sombreando con gris, dorado y marrón.
Además de hacer algunos detalles en dorado.

Lo último que quedaba era hacer el fondo, que en su mayor parte era tiza la cual detalle ligeramente con color, un cielo con algunas nubes, bajo este cielo una isla hecha a color, el mar y la arena de la playa en un tenue color de tiza pastel.

Ya con el fondo hecho di por terminado el trabajo.

Agradezco hayas leído esto, nos vemos en mi próximo post donde podré compartirles un poco mas de mis ilustraciones.
Contenido creado por mi
Traducido con Deepl.com
©Nemite_me 2022

