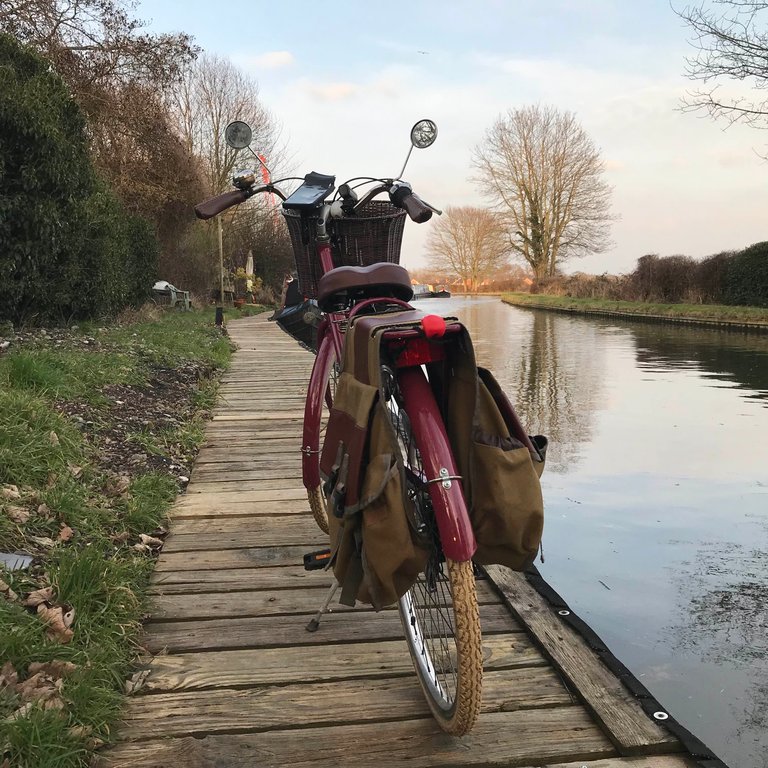
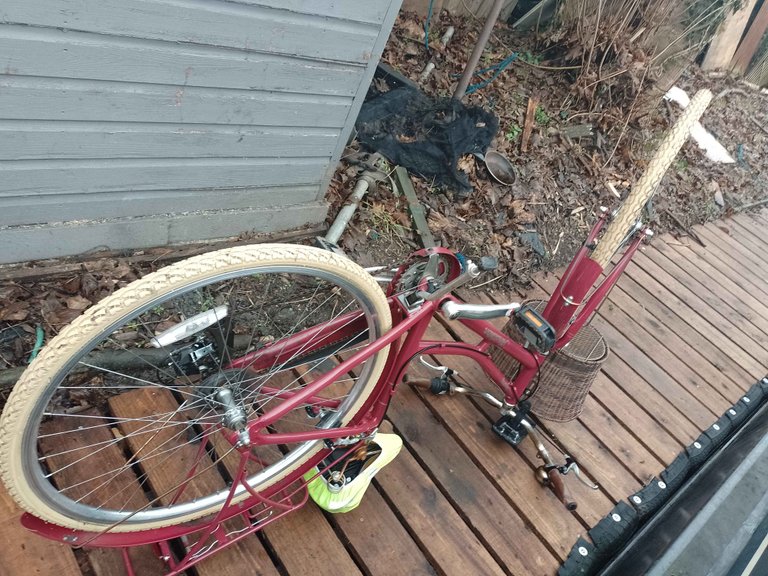
The weather is never too bad for cycling, right? That's what I tell myself as I head out for my 2-hour (sometimes 4 hours) afternoon jolly ride around the town. This leaves me feeling good, and I got used to this bike and enjoy shifting gears more, which makes ascending hilly areas a breeze. Icy roads have been a little tricky to ride on, but reducing the pressure in my tyres just a little bit gives me more traction with less skidding.
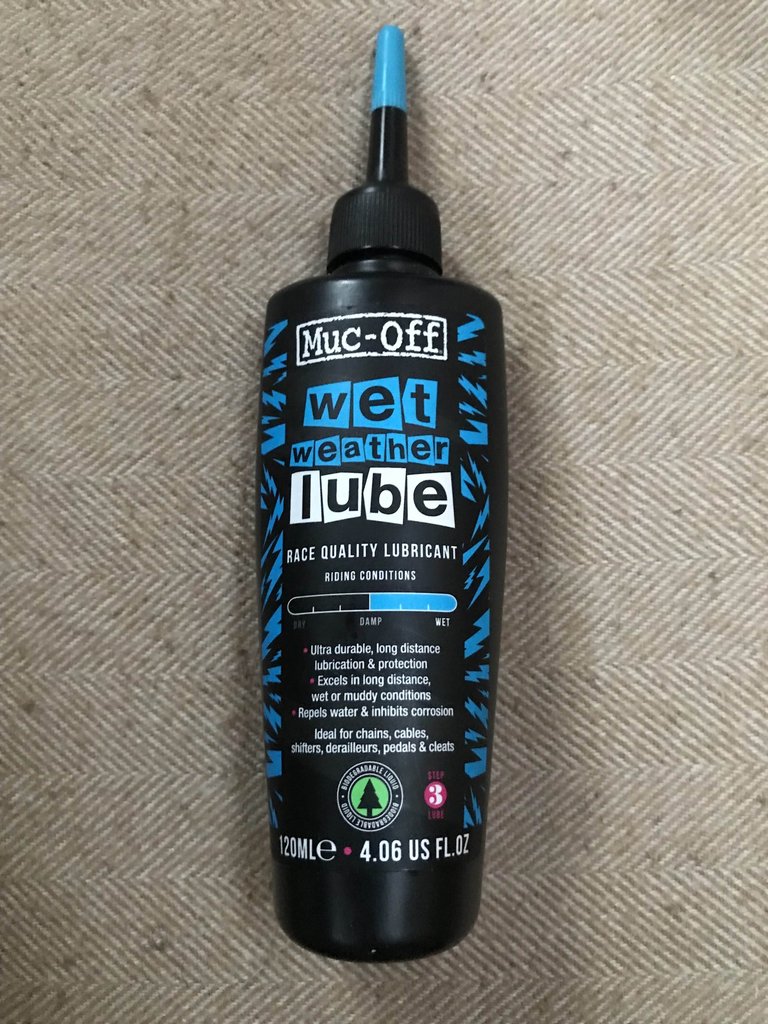
Lubes are needed for a more pleasurable ride!
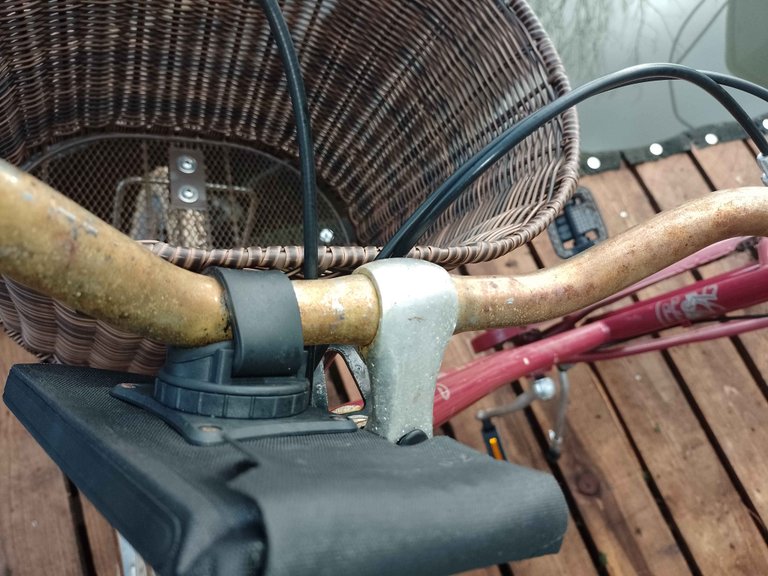
It's frightening to see how fast my shiny 'new' bike could look like an old jalopy if neglected in this climate, and not only are the squeaks annoying, but rusty, stiff parts decrease my bike's performance.
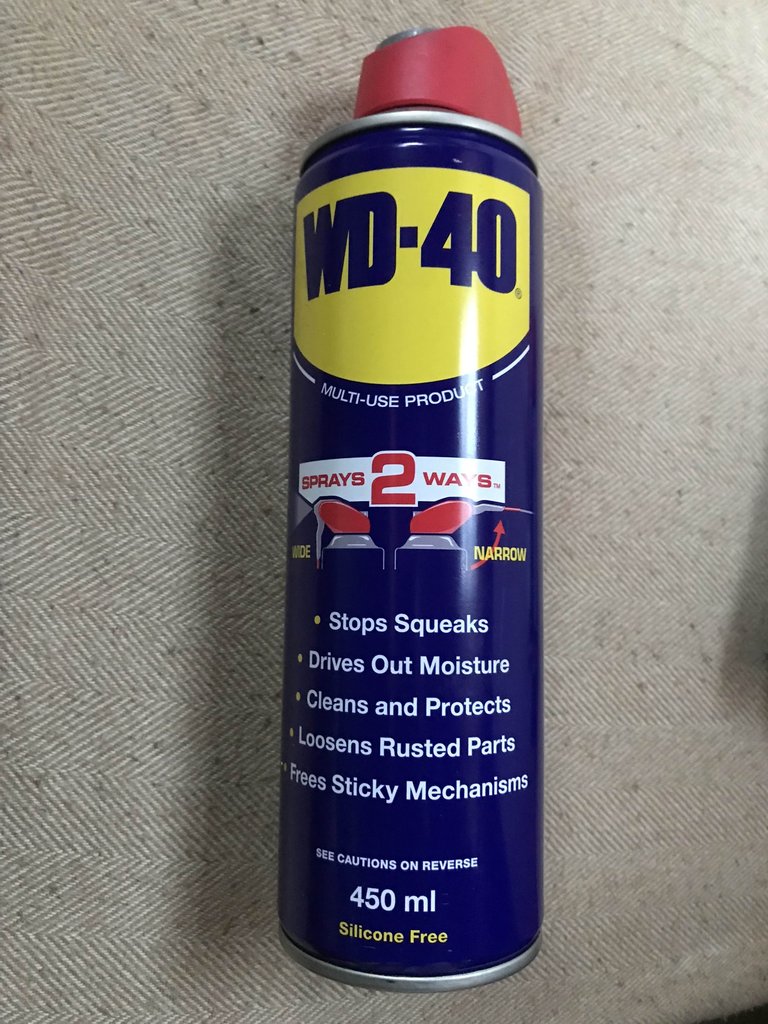 WD-40 does the trick for removing and preventing rust on the handlebars and mirrors, but with the state seen in the photo above, I needed a mixture of baking soda, lemon juice, and vinegar to restore the mirrors and handlebar.
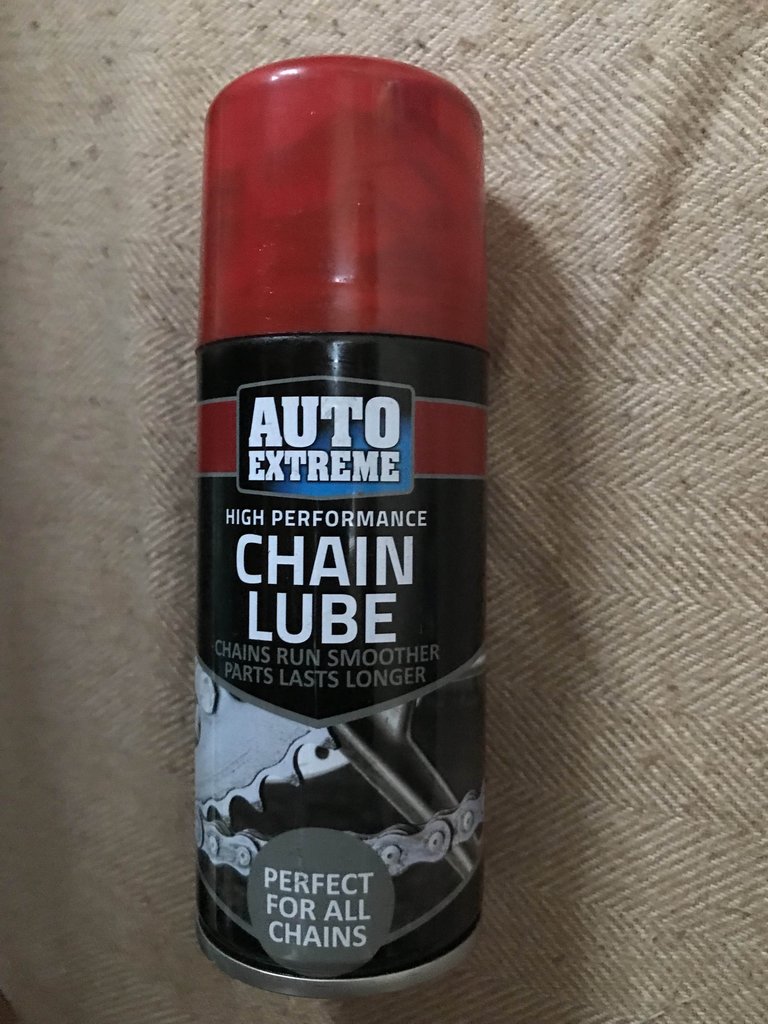
This chain oil that I got from the corner hardware store works well on my chain.
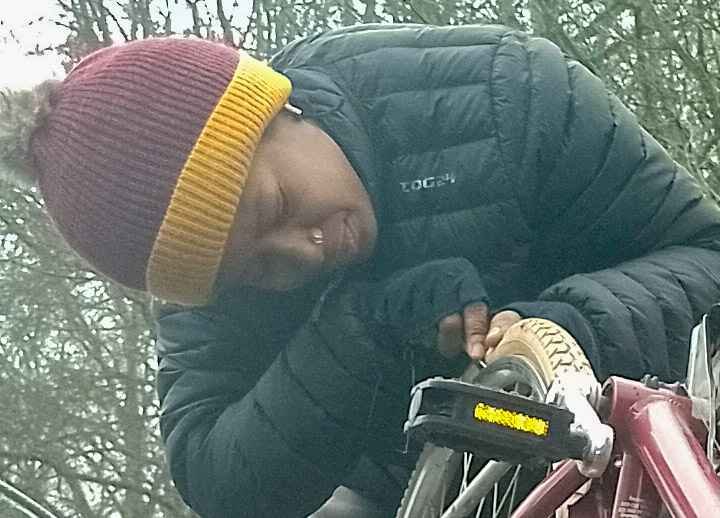
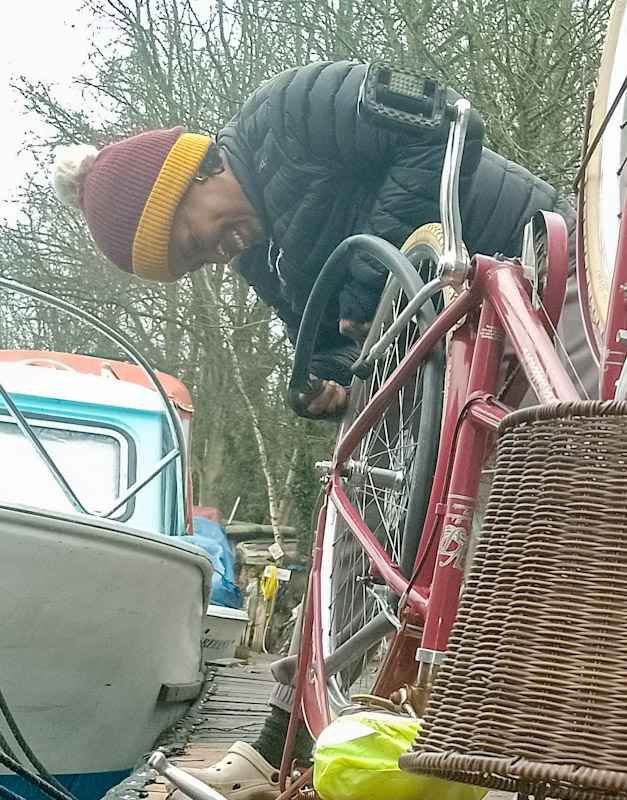
Despite being clueless about carrying out real repairs, I'm always tinkering with my bike, and sometimes I see my neighbours looking curious to see if my bike is broken or if I'm just being idle. It's just an old childhood habit that I can't seem to let go of.
There's never a good time for a flat tyre, and recently I was left stranded with a back wheel puncture. My first instinct was to dig out my receipt and ask for my money back, but I really love the bike and am eager to learn to carry out minor repairs, so I was frantically browsing YouTube tutorials.
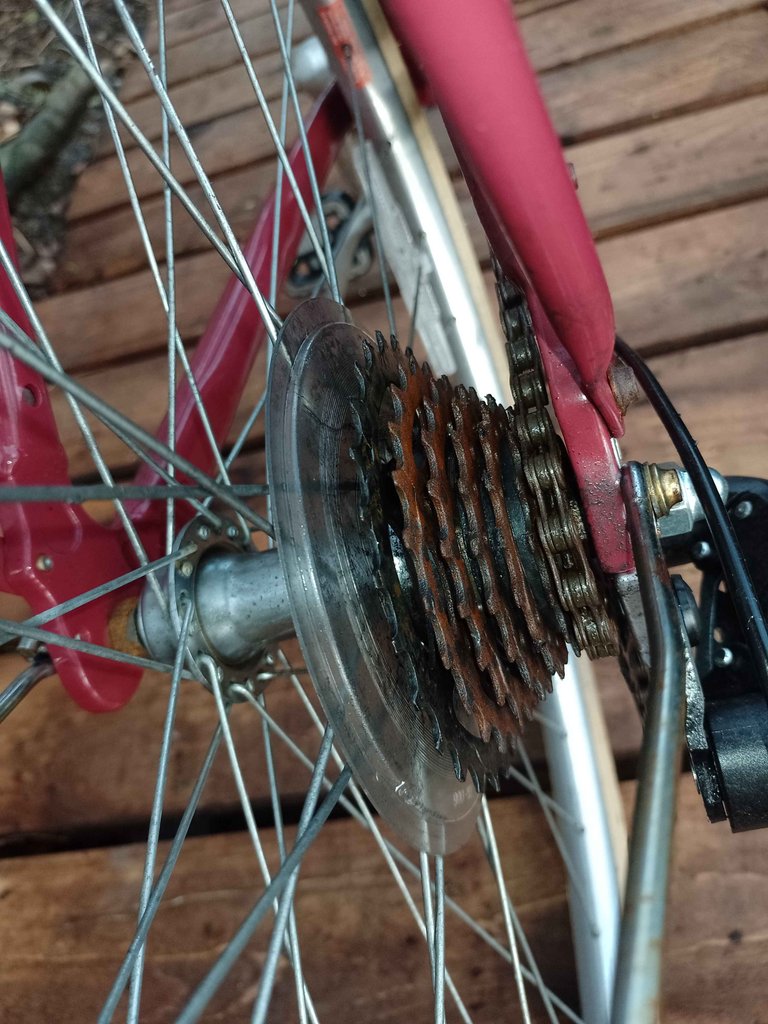
This cogwheel was my biggest challenge in repairing my flat tyre because I didn't trust myself to re-install it afterwards, and at that moment I regretted not buying a quick-release back wheel.
Still, my pragmatic purchase of this secured cogwheel makes me less likely to have my back wheel stolen, so this was a great idea.
YouTube was useful, but I found the information too general, as I needed "an idiot's guide." So I contacted cyclist @nanixxx, with the hope that she'd have some rudimentary hacks on repairing the puncture without removing the wheel.
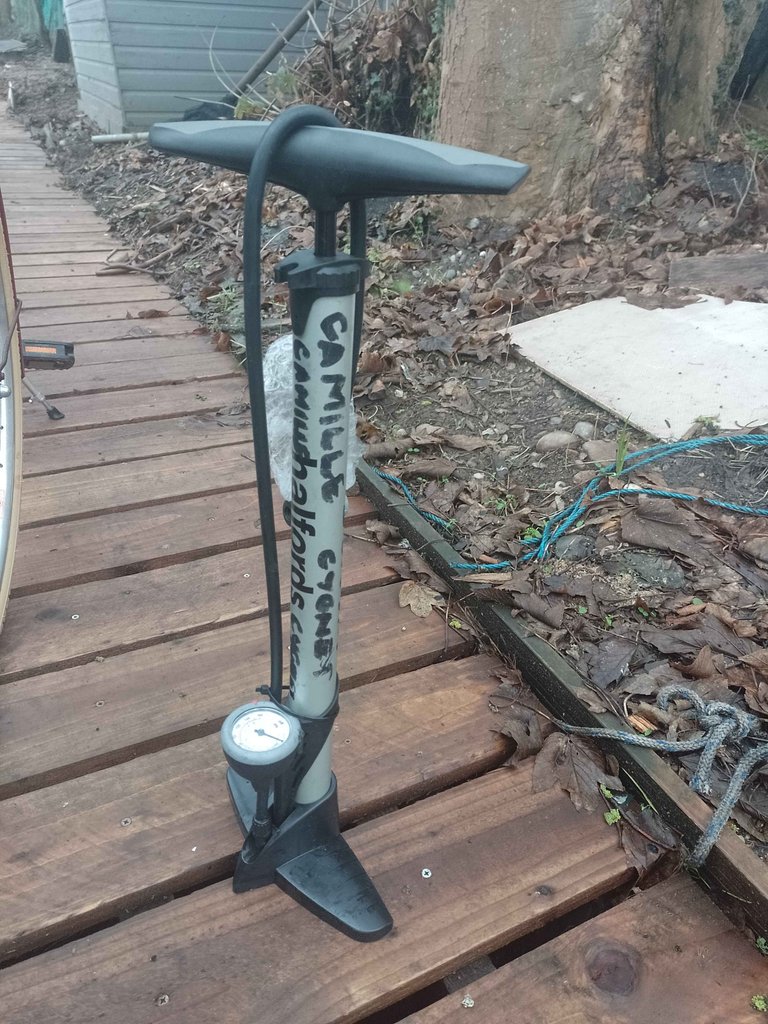
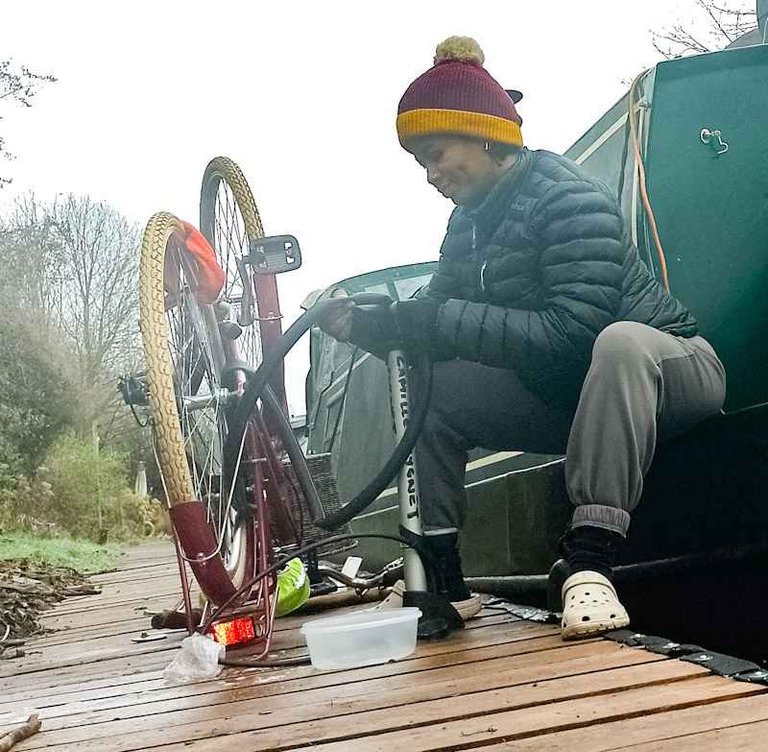
I'd highly recommend a foot pump over a handheld one because they are easier to use and come with a gauge, making it easier to inflate the tyre with the accurate psi as indicated required.
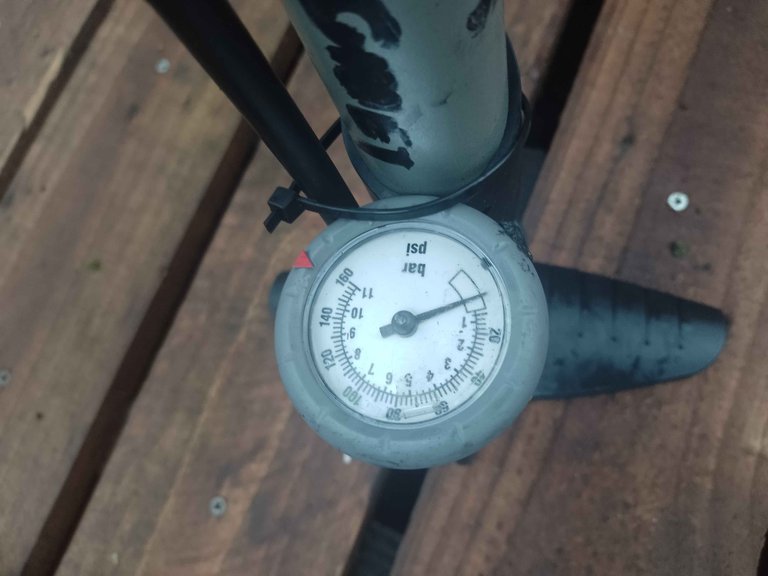
The cause of the puncture was not visible, so I got the tyre pumped up hard and was fooled into thinking that my problems were solved. But before I knew it, the wheel was slowly deflating and my confidence eroded.
I felt deflated without my bike for a few days because it was too bloody freezing, and I could not face standing outside, and it was pointless trying to work with numb fingers.
With little progress and feeling stuck, I rang the bike company, but I only got the automated service with a high quotation for puncture repairs.
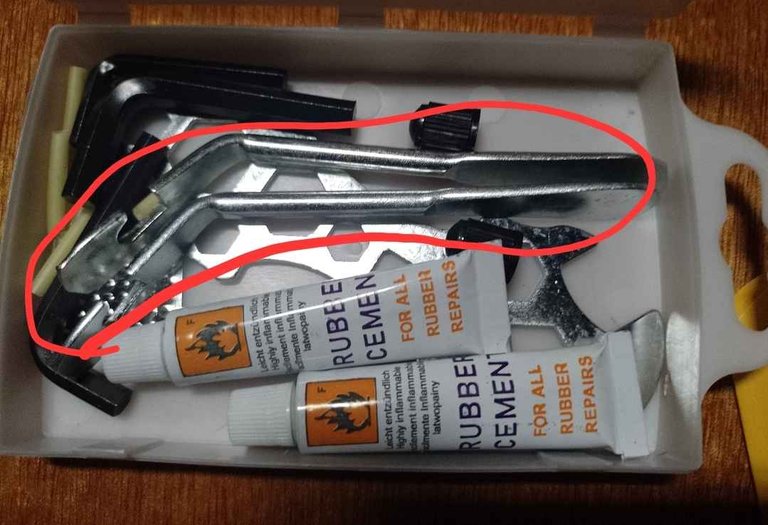
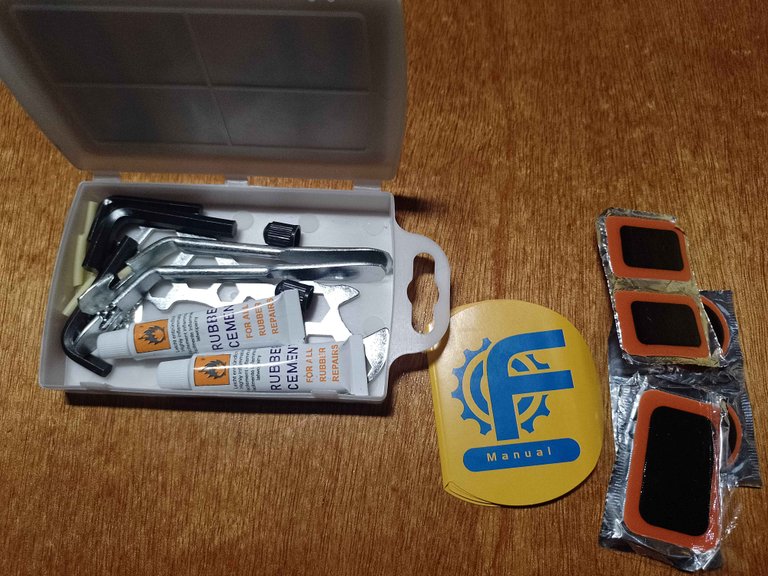
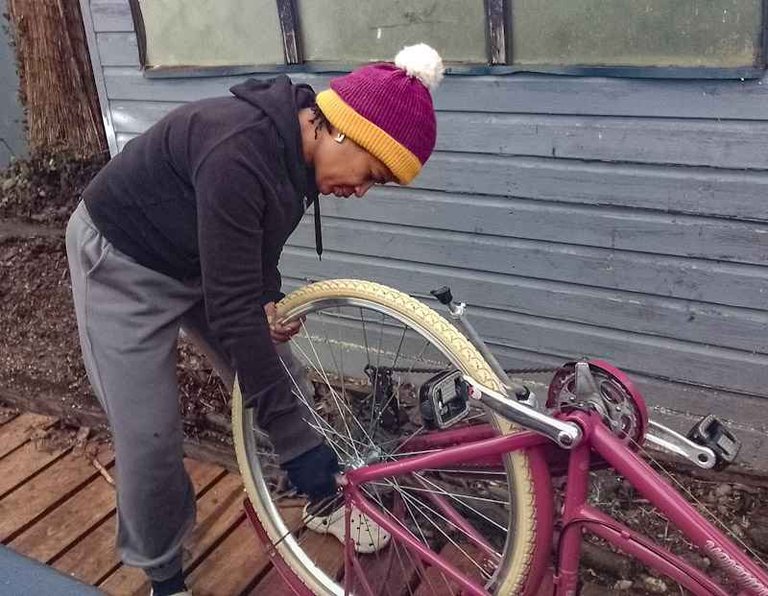
So, I reached out for further expertise to the Cyclist community man himself, @friendlymoose, who restored my confidence by reassuring me that I could indeed repair the puncture without taking off the entire wheel by using the tyre lifter to gently ease the tyre away to get the tube out without removing the wheel.
When repairing a tyre in this shortcut method, it's important not to damage the tube with the tool, so I was diligent while applying a bit of pressure in grabbing the tyre away from the bike rim.
 First step. Success, I thought!
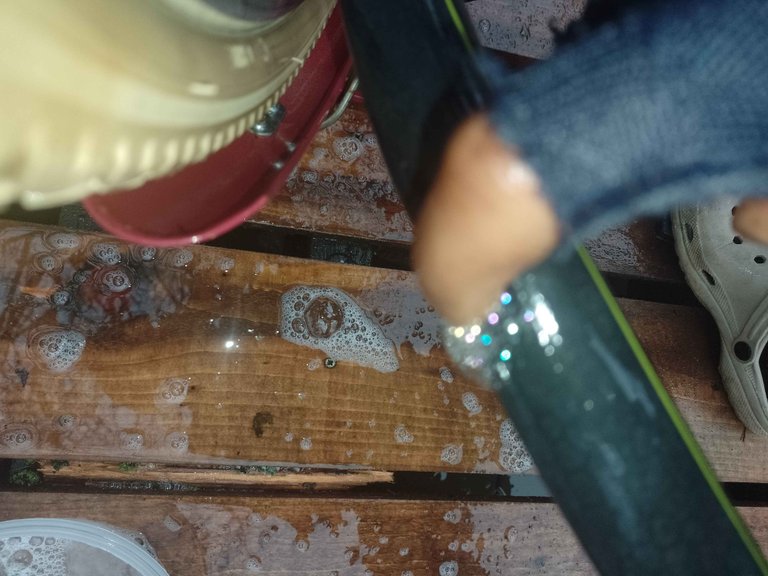
This common trick of testing the tube in soap water to find the leak was easy and familiar to me. Finding the hole can be challenging, but using the soapy water forms bubbles wherever the leak is.
https://youtube.com/shorts/vtBjFzslstw?feature=share
I kept my eyes keen on the hole and dried the tube off.
There's normally chalk in the repair kit for you to mark the hole and I did a guessing job at sanding down the area around the hole, to facilitate the absorption of the cement for the patch.
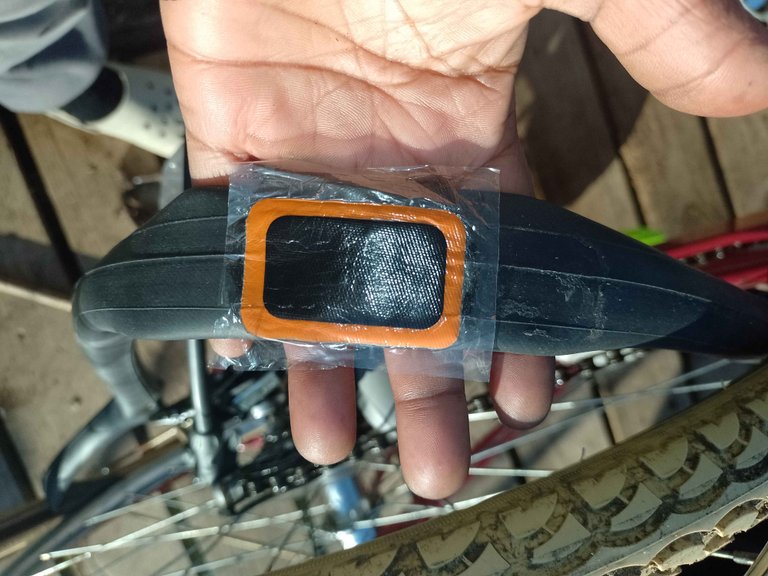
I was anxious, so I left this to dry for about 20 minutes before removing the extra plastic after the patch appeared set enough.
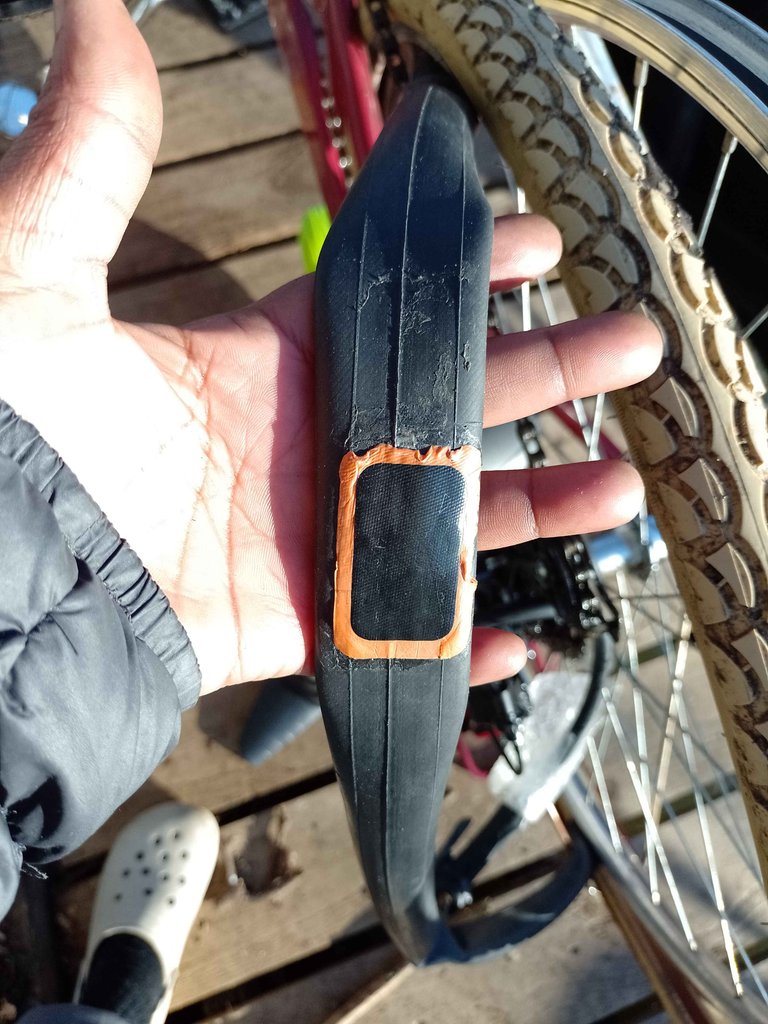
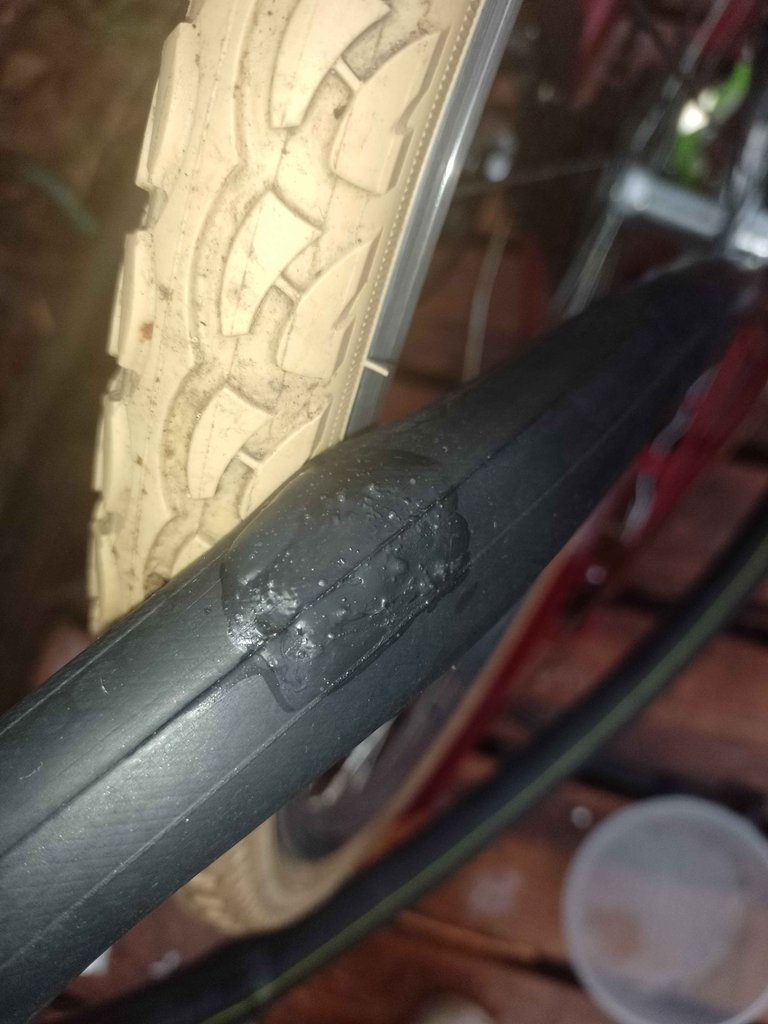
It looks messy because I mistakenly turned the patch the wrong way and had to reapply a new one to look like this. Also, I originally added an extra patch just to be certain, but when I corrected it, I used just the one sufficient patch.
Once it was tested and proven that there was only one hole in the tube, I carried out the crucial part of finding the foreign object that caused the puncture in the first place. I rubbed my fingers through the inside of the tyre, round and round in circles. However, this was limited since I was carrying out the puncture in this shortcut method of not removing the tyre. Needless to say, I failed to find the object, and I inserted the tube back into the tyre and pumped it to 60 psi. However, within a few minutes, there were bubbles at the side of the wheel hence; this 'idiot's guide."
Left feeling helpless, I walked to Halford's Bicycle Shop, where I purchased the bike. The shop attendants remembered me immediately, and I said, "Is my first puncture included in my bike purchase?" Yes! Replied the two guys.
I walked back home (45 minutes) for the bike, and handed it over to the expert.
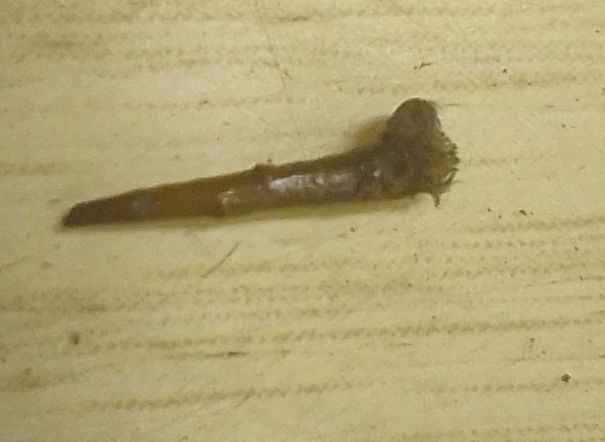
With the bike jacked up on a rack, the bike mechanic removed the wheel before I had the chance to blink, and he removed the old tube, and found this nail in a jiffy.
The repair was out before I activated my camera.
I've cleared the shed to avoid a repeat, and I examine my tyres daily before going for a spin.:)