Heeeyho Readers! Making a head badge for the monstercross.
Ladies and gentlemen... spoiler alert! Readers will notice that our long-awaited project has been assembled {wow}. For a while, actually. Photos for the episode finale have been taken as well. To be honest, this should be the full reveal post, but...
... I realized the monstercross didn't have a head badge. And a bicycle cannot be without a head badge. Right? Be it an ornamented badge like in vintage bicycles or a simple sticker, a true bicycle needs that small detail at the headtube. We can identify different brands by simply looking at the logo at the front.
Did you know that head badges only became popular in Europe from about 1896 onwards with the onset of industrial mass production of bicycles?
Because this project is far from the original and the original builder is no longer in business, I used some artistic freedom to create a unique badge for the monstercross. It starts with a piece of stainless steel, a handful of tools, printed stickers and creativity.
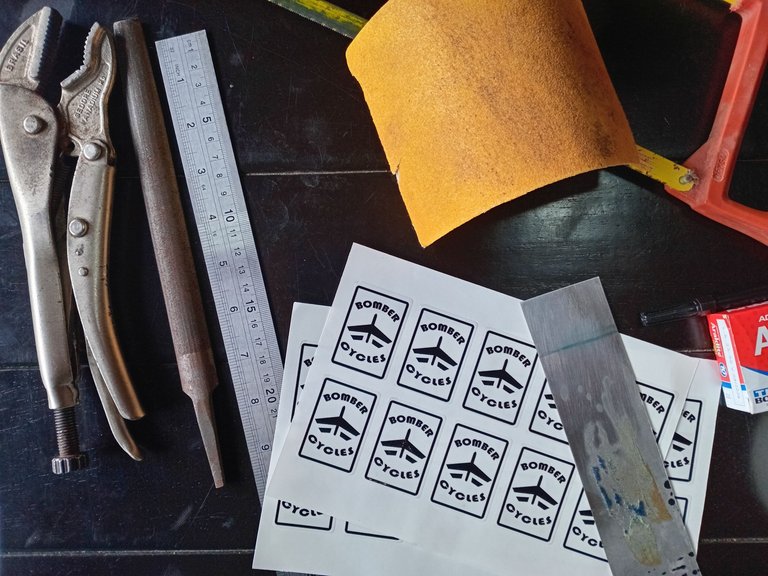
Upcycling is always the motto. Transforming odd stuff into raw material for new projects is a great way to exercise our creativity. This time, a small rectangular strip of stainless steel from a graduation party card served well. The idea consists of a simple squared badge, made of sanded steel to give the badge a rough texture.
Before that, a name and logo is needed. Don't ask me why, but I've got Bomber Cycles stuck into my head for ever. Not sure where it came from either; it just sounds cool. The little plane is an adaptation of several (badly) AI-generated logos. Makes me think that AI won't replace human creativity anytime soon. Hopefully.
I wanted to paint the logo and name onto the plate. The local printing company, however, suggested using their thin transparent vinyl instead. Easier than masking and weather-resistant, they say. I agree. They printed a whole bunch of stickers, which is noice. With the "shape" in hand, the rest is all about cutting, filing, sanding, bending, etc.
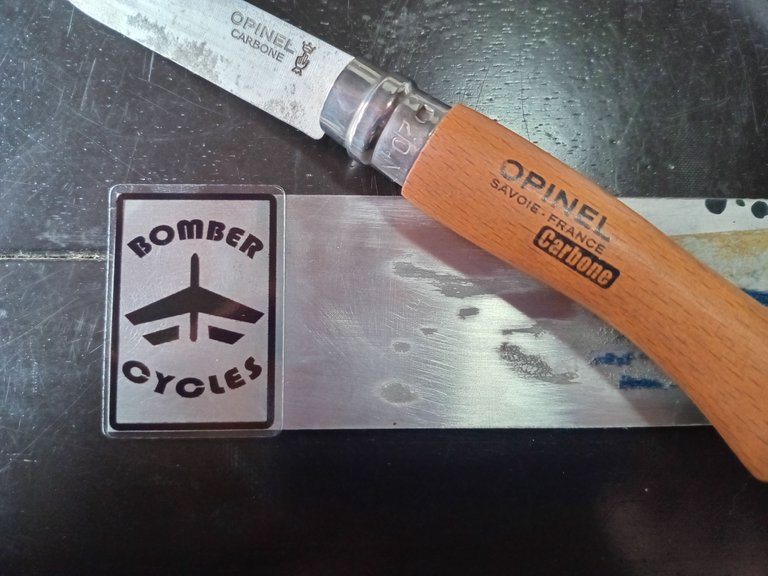
No, you swamp monster! I didn't use the ole sexy Opinel to cut a strip of steel; just to trim the vinyl edges.
A hacksaw did the cutting job. One thing I learned a long time ago: never cut precisely to dimension, but use finer methods to get there. I filed and sanded the edges down to the exact dimension (44x30mm) using one of the many stickers as a template,
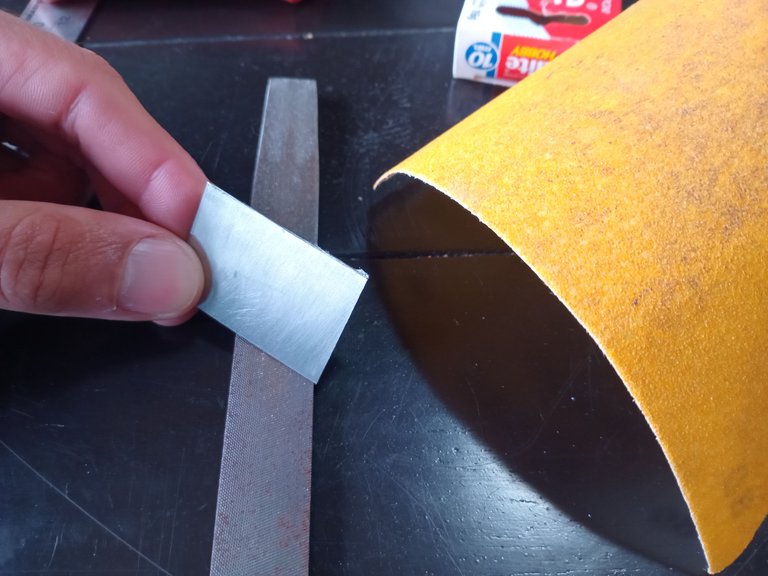
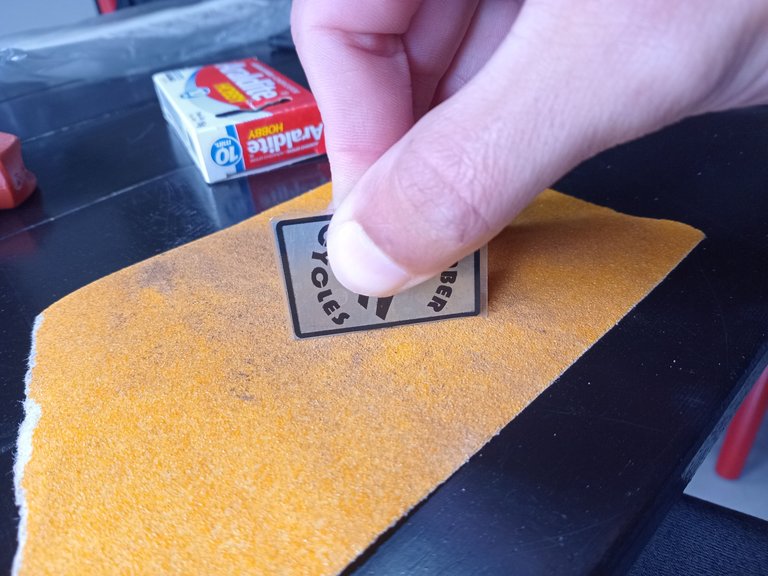
Only now do I think the rounded corners could've been larger, but... too late. Modification for the next bicycle? Transforming digital concepts into physical products rather rarely turns out as we thought in one go. {Excuses, excuses} Next time I may have someone laser cut/engrave the plates. Would be epic! For now, my handmade one will do it.
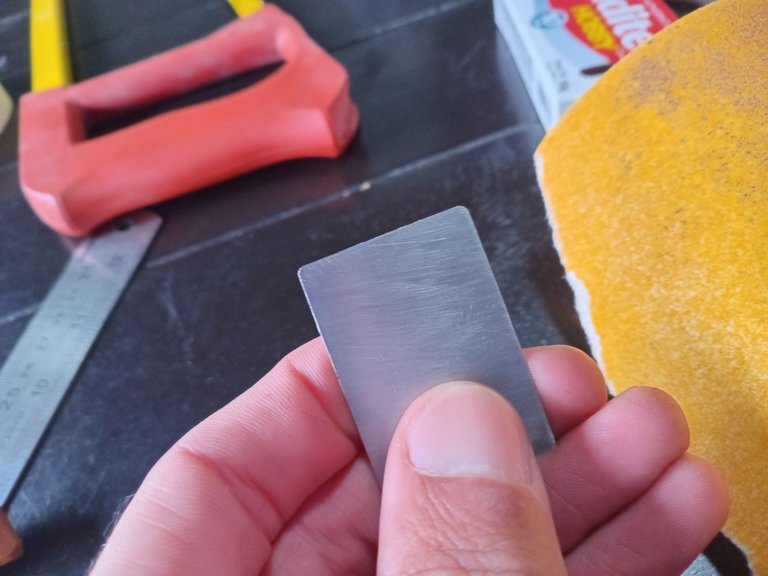
Shaping by hand is not my strongest, I admit. Metal shaping is one hell of an art. Always amazing to watch videos of smiths making intricate medieval armor by hand. Meanwhile, here I am... struggling to shape a tiny metal sheet. In the future I'll build a small metal roller for this kind of job.
I covered the plate in masking tape to protect the surface from clamp scratches. Didn't work. I proceeded anyways, using a round wooden pole to round the plate before test-fitting on the bicycle. I'd need to sand the plate again anyways.
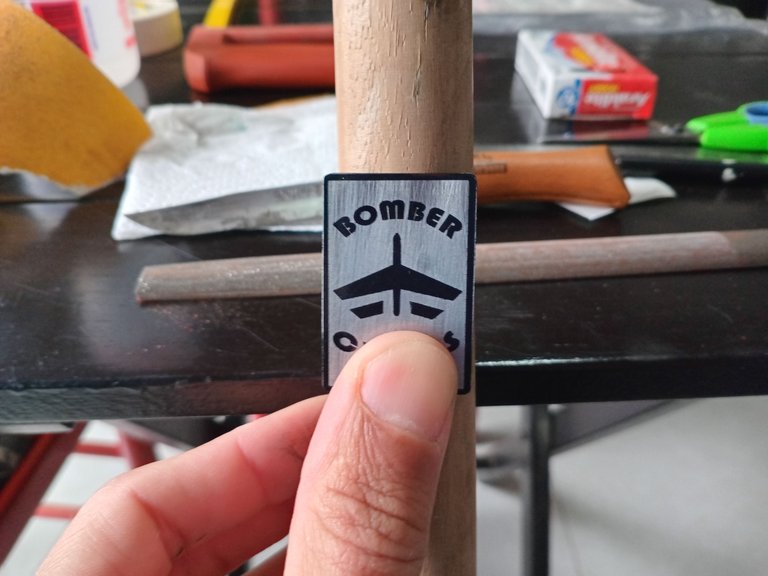
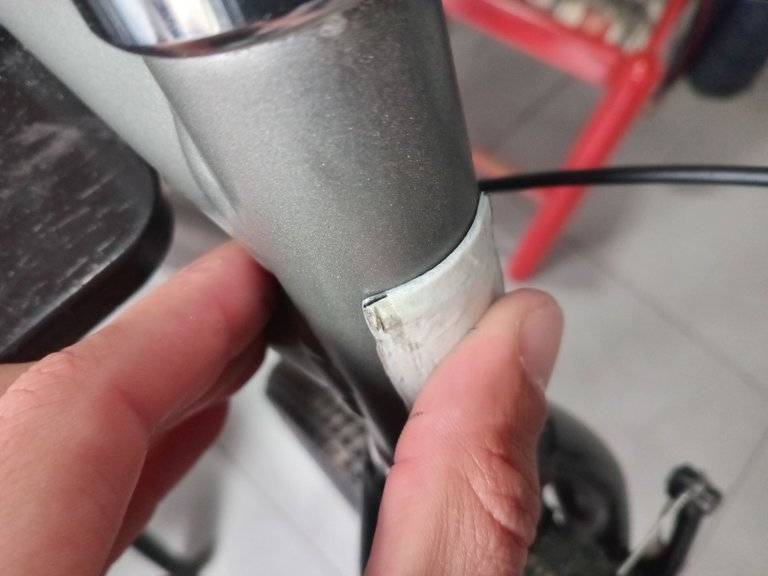
Bend, clamp, twist, clamp, bend. At some point it gets round and perfect(?!) Quite the exercise for anxious people, really, as seeing the badge quasi done waterfalls satisfaction hormones down the body.
Ba-da-bim Ba-da-bum
One day I heard youtuber Casey Neistat saying; "Never let perfect be the enemy of good enough". I carefully place the final sticker over the plate and call it done. Gluing the badge to the bicycle is another mission.
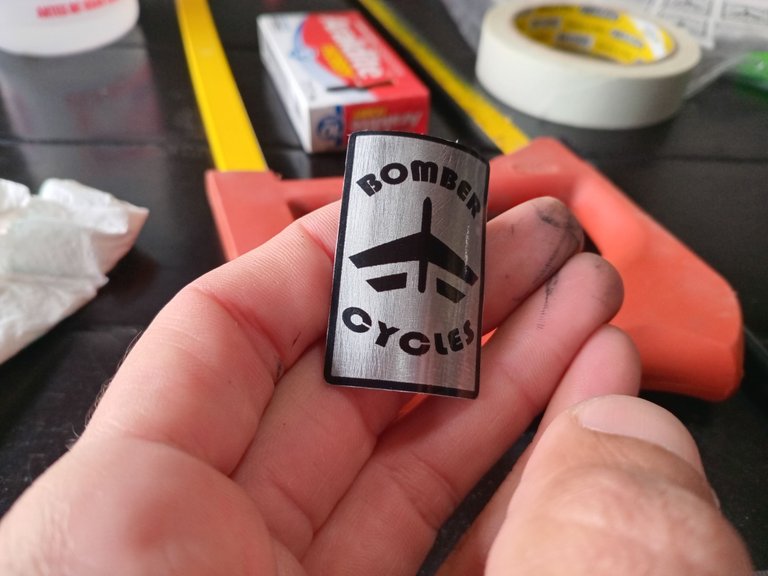
Finding the best glue proved quite the headache. Some suggested double-sided tape, though I couldn't find a really thin one — thick ones looked terrible. Super glue cracks over time. I remember knife makers glue handles with epoxy. Well... if that's good enough for knifes, it shall be good for a teeny metal plate. Time will tell.
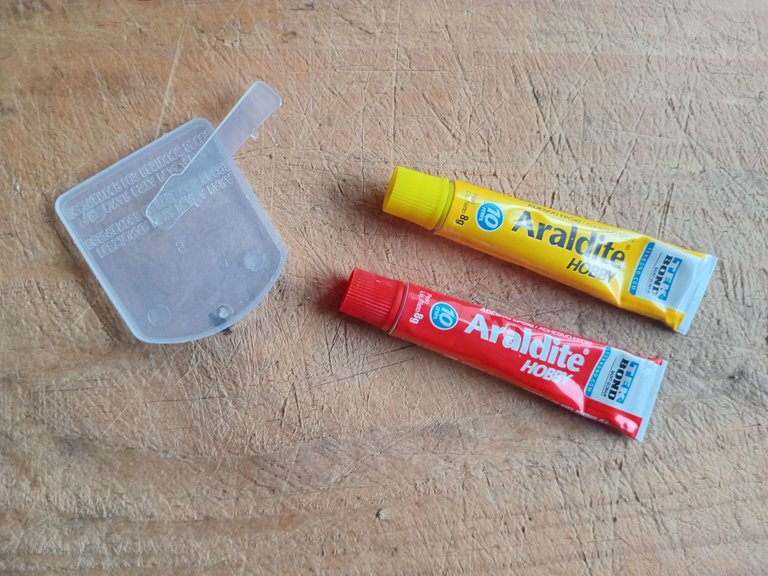
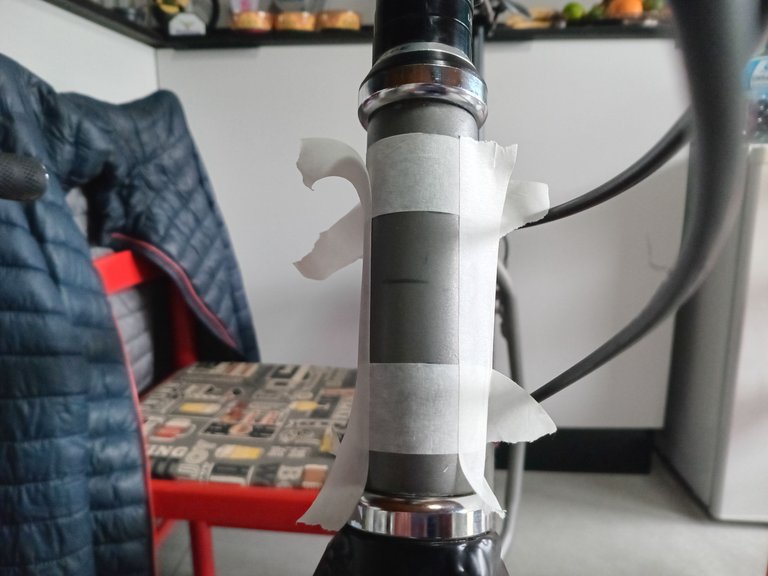
Lastly, the scariest part: gluing the badge centered. Have you ever pressed 1+1 on a calculator during a tough university test? Yup... that's me measuring with three different rulers to make sure it's centered.
After watching countless maker videos on YouTube, I finally learned to mask the surface before gluing anything. It avoids spillage, which can ruin our job if glue spills everywhere.
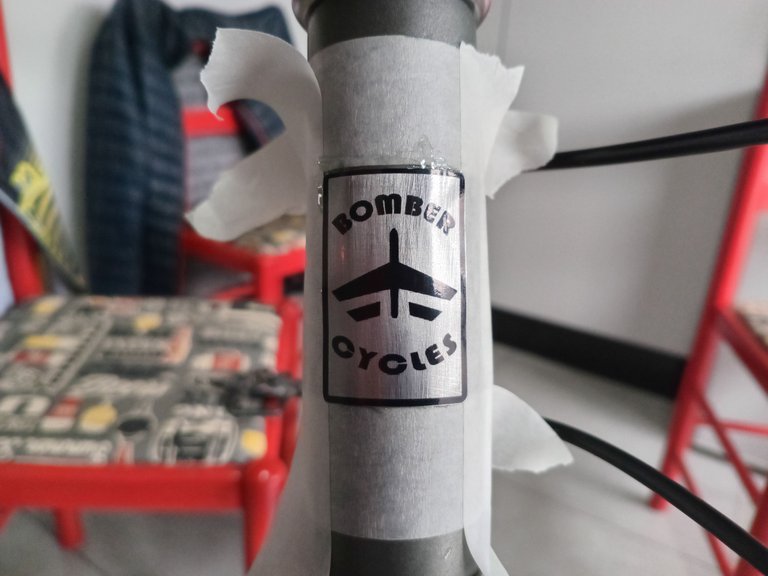
I head outside to snap some photos with the big camera before the rain comes pouring down again. How come such a tiny detail complete a bicycle so well. Makes it alive somehow.
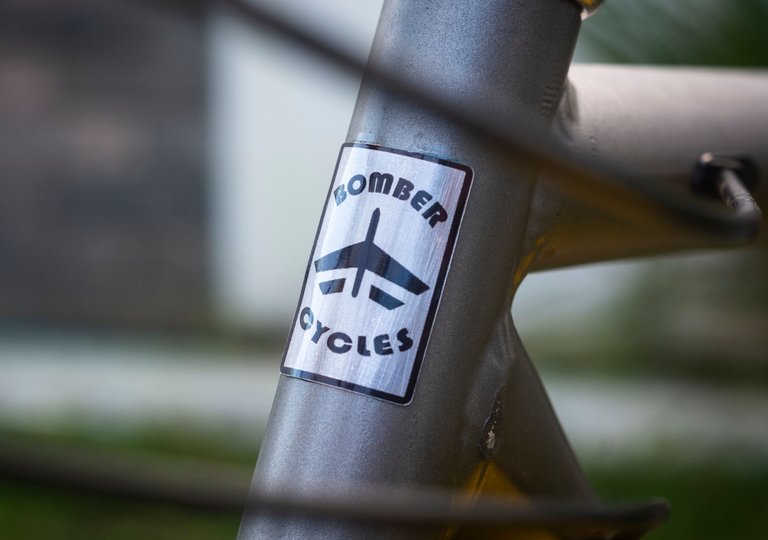
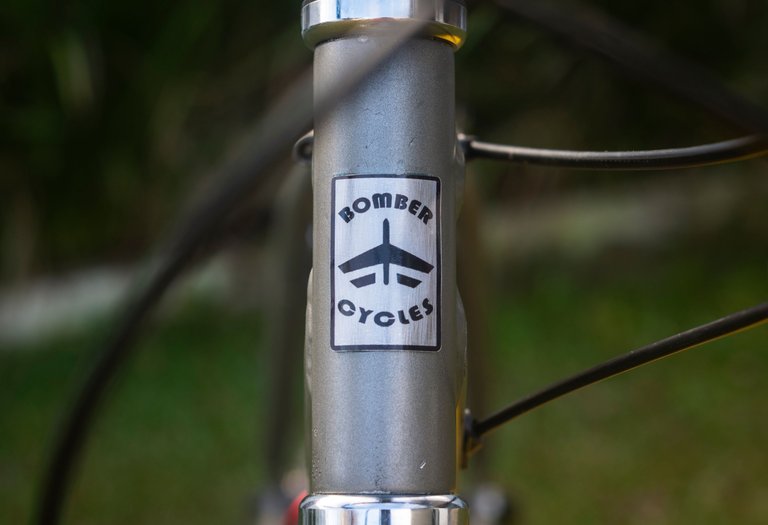
Project done.
It hurts to say that, but the next post will be the last of our saga to build the monstercross. The bicycle is tested approved. Photos for the post finale are ready. I may take new photos, since the previously taken ones don't sport our head badge, although that won't change the fact that the next post will be the end.
I hope you enjoy.
Peace.
If you enjoyed this post consider leaving your upvote for a hot coffee.
Find me on Twitter: https://twitter.com/mrprofessor_
~Love ya all,
Disclaimer: The author of this post is a convict broke backpacker, who has travelled more than 10.000 km hitchhiking and more than 5.000 km cycling. Following him may cause severe problems of wanderlust and inquietud. You've been warned.

I'm Arthur. I blog about Adventure Stories, Brazil, Travel, Camping, & Life Experiences.
Follow me to stay tuned for more craziness and tips.
am