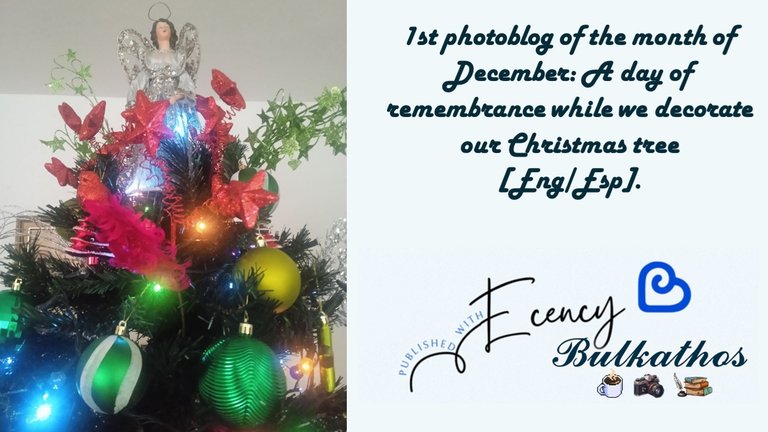

Greetings Daily Blog community! This is my first contribution to this interesting community that I found by pure chance and I am really excited to have stumbled upon it since ever since I discovered Hive I have been interested in turning it into a kind of diary to share my teaching and research activities at the university. And it has been in this community where I feel that I can share my memories and anecdotes in Hive, in this context I want to share my first photoblog of December with the whole process of putting up our Christmas tree and then decorating it, so let's get started!
 |  |
|---|
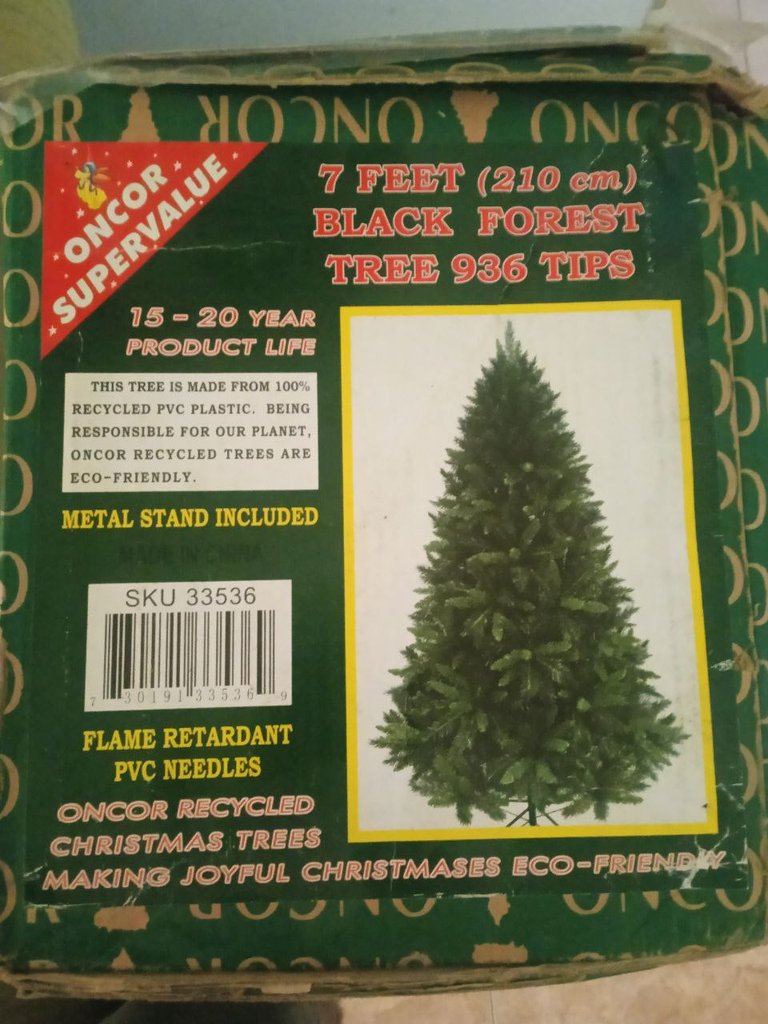
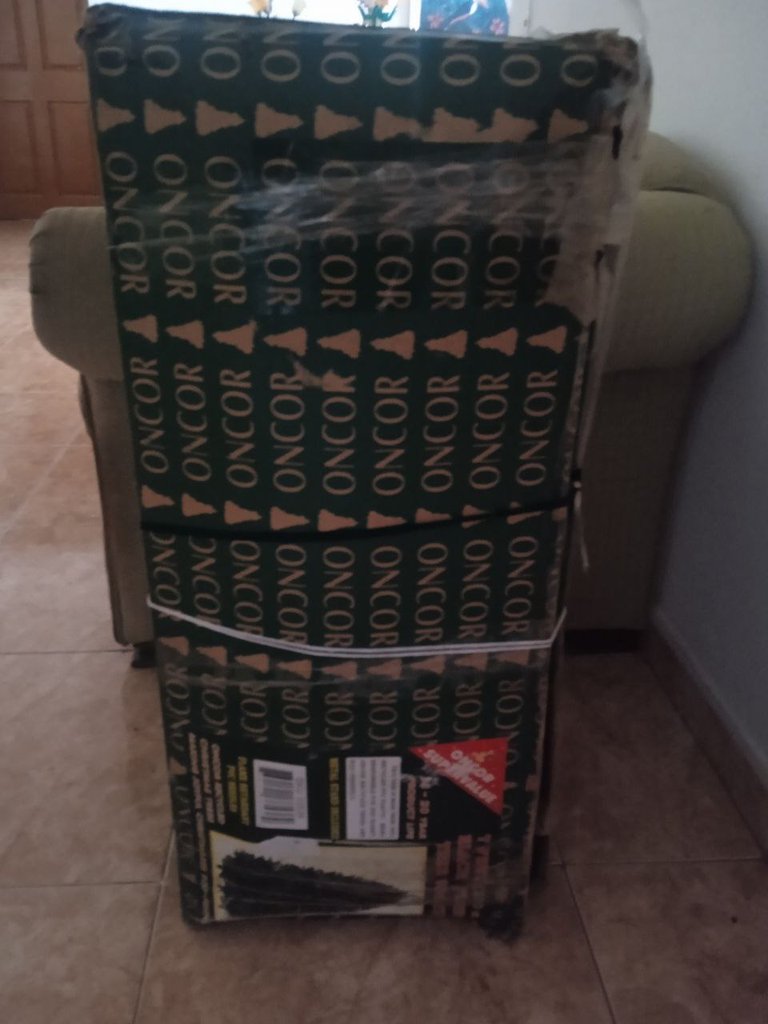
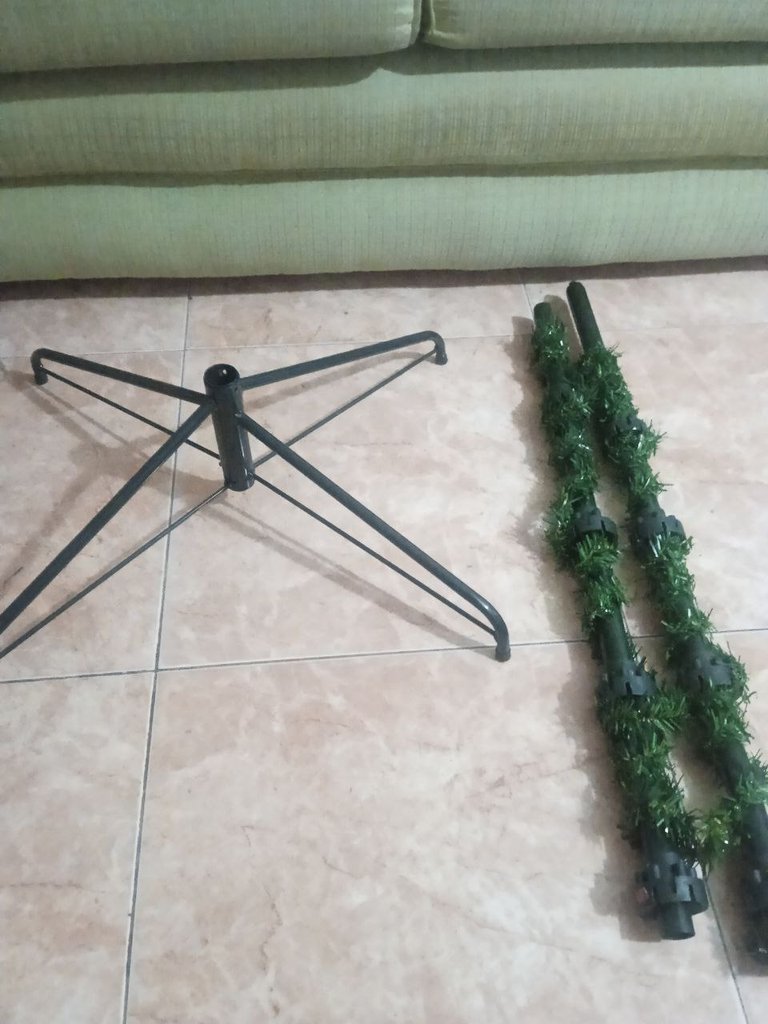
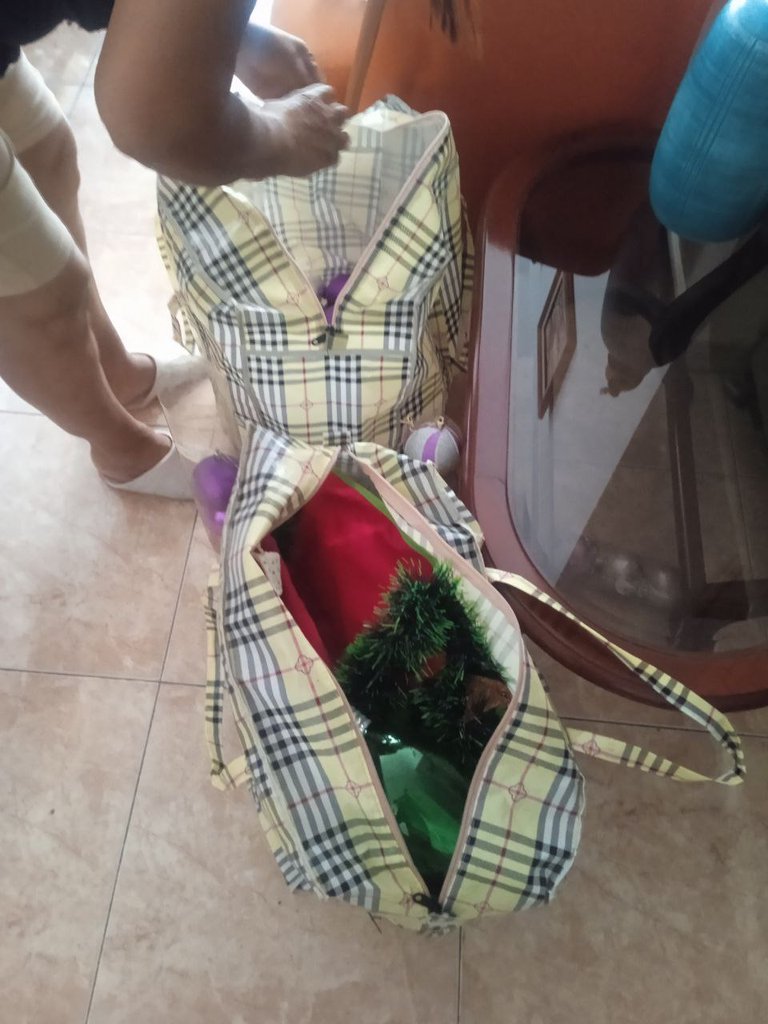
One of the words I used in the title of this post was remembrances, and this Christmas tree has been with us for 15 years now, so it is inevitable for me that every time I take this tree out in December, memories, fleeting moments that I treasure with great affection, immediately come flooding back. Opening the box and perceiving the smell is the sign that Christmas is already in our house. The first thing to do when assembling this tree is to start with the base and the vertical support.
 |  |
|---|

Putting up Our Christmas Tree
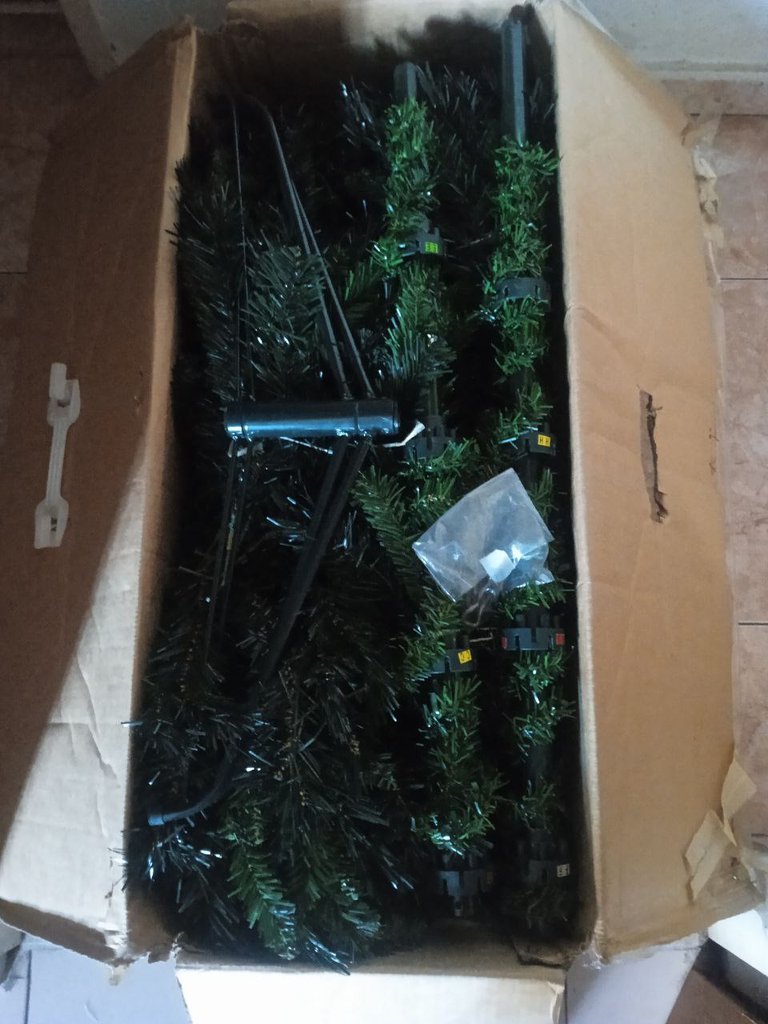
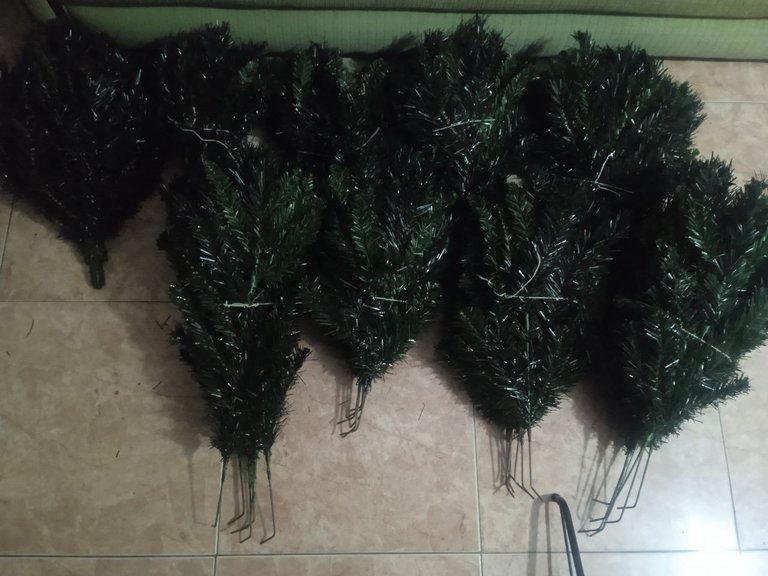
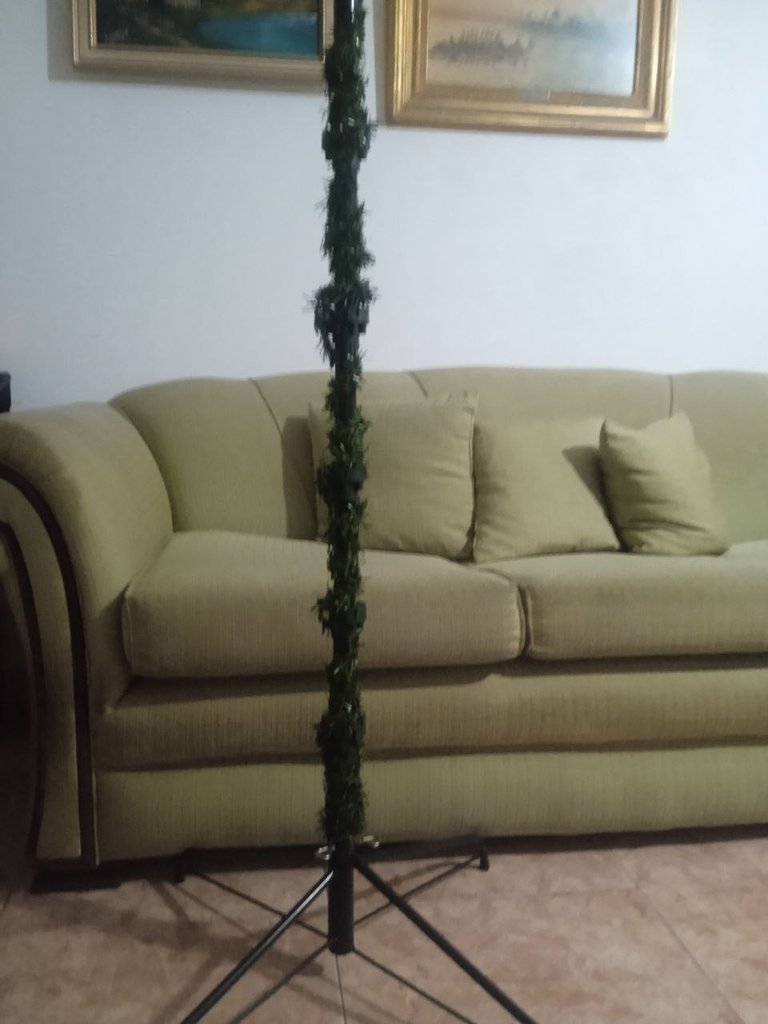
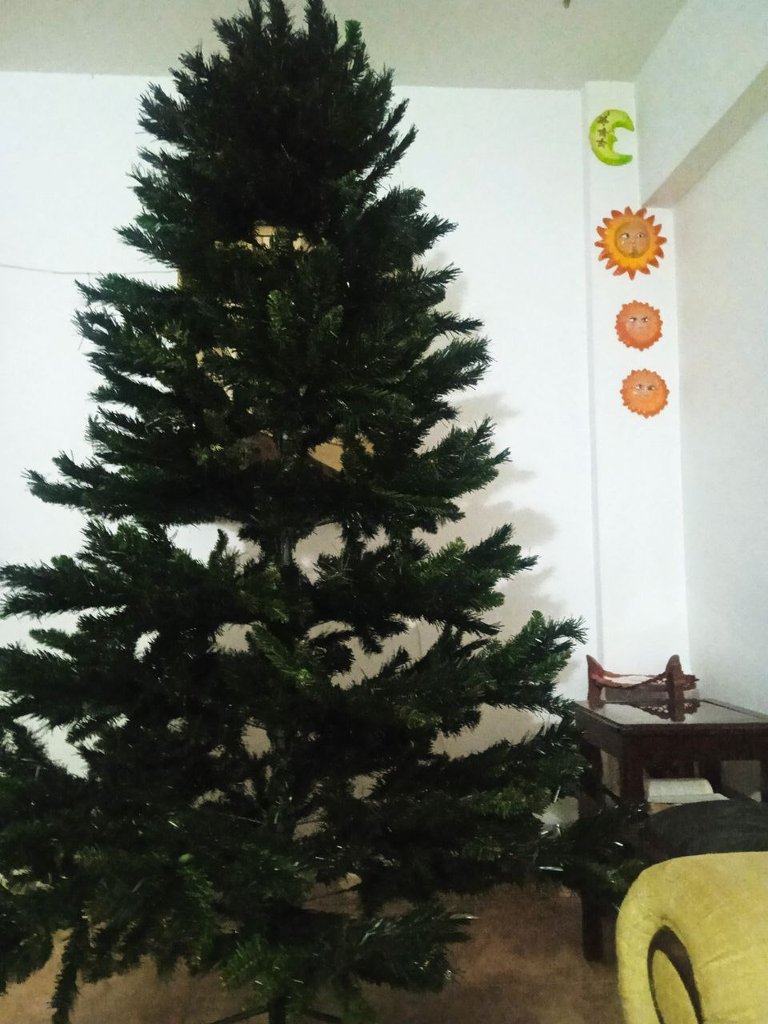
After removing the base and the vertical support from the tree we extract the branches grouped by their length, they go from the letter A to the letter I we can start from the shortest branches to the longest but from my own experience I always start with the longest branches at the base of the tree until I finish with the shortest branches at the top of the tree.
 |  |
|---|
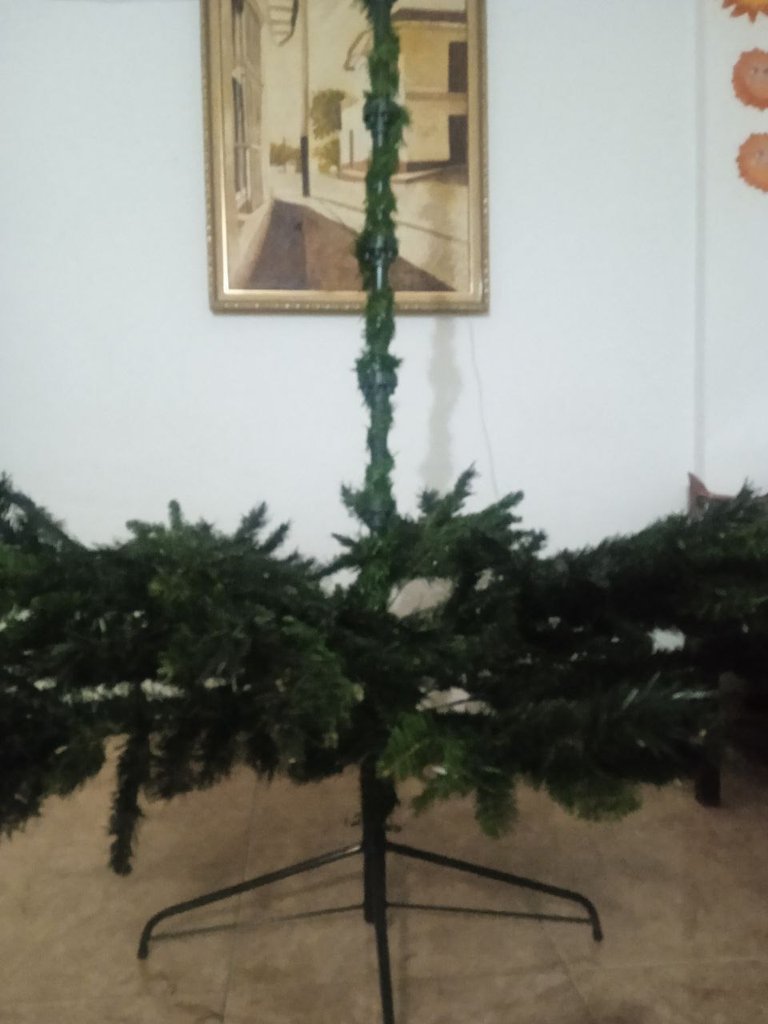
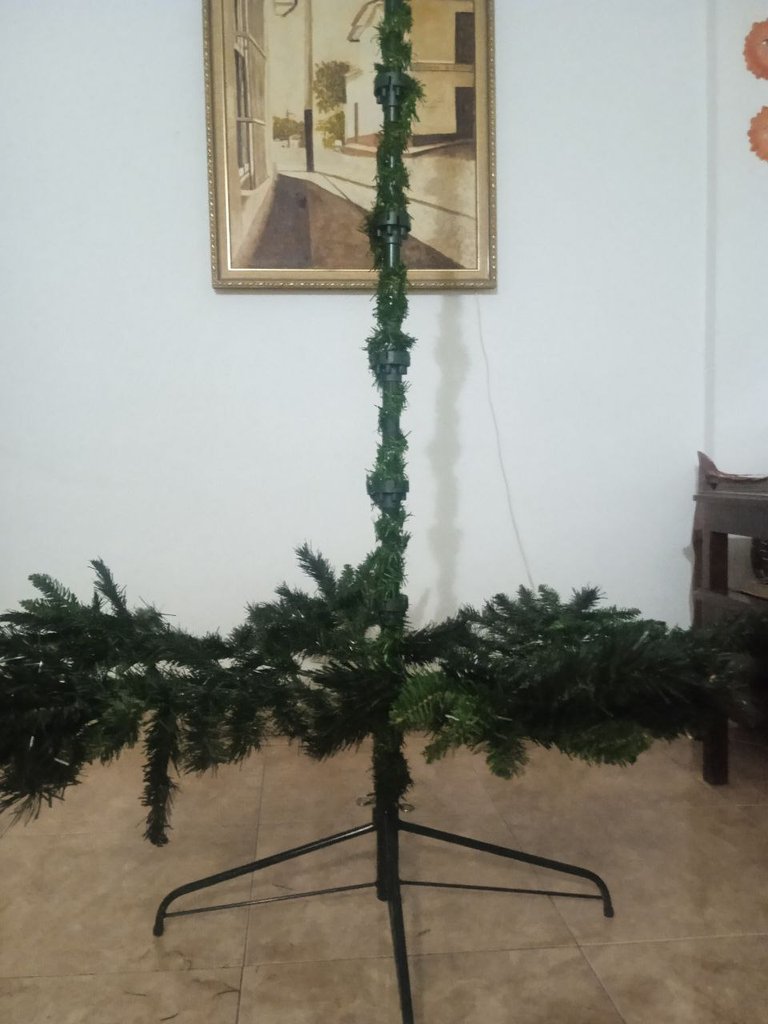
I decided to take a series of photos of how I started putting the tree together. One of the important things is to spread out the branches since they are compacted from being stored for so long, so I use thick gloves to open these branches since they cause itching when handling them. The base has rubber feet that allow it to stay firm but leaving it like that is quite unsightly so I plan to cover it with a rug that I will buy later and place the gifts there.

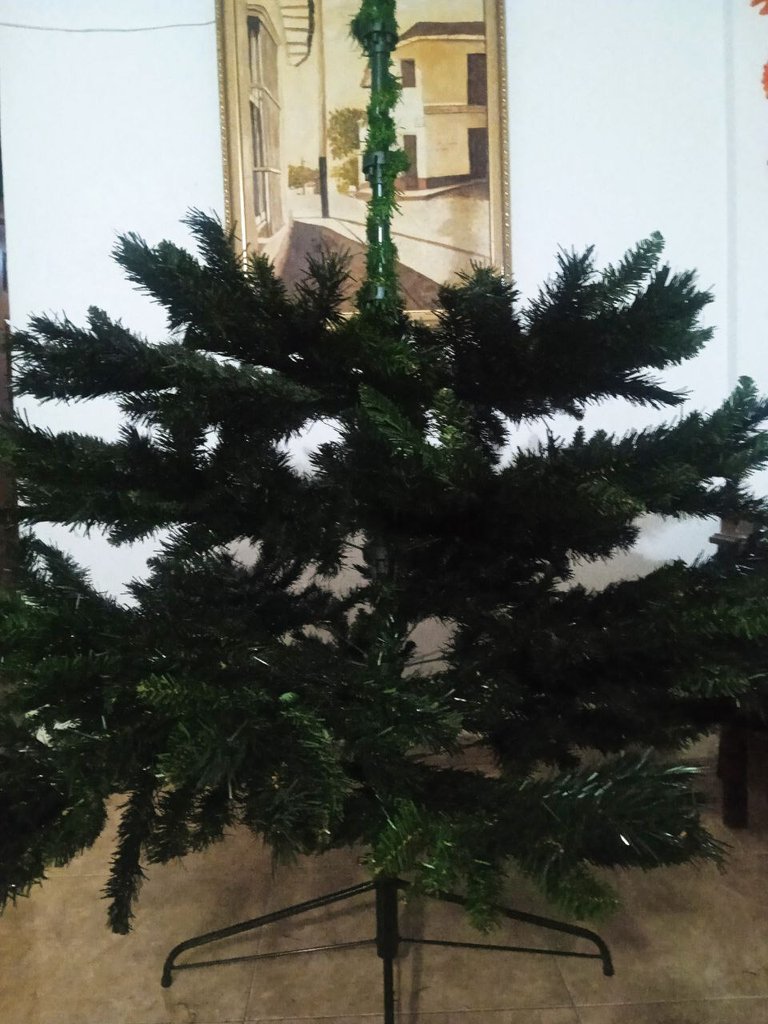
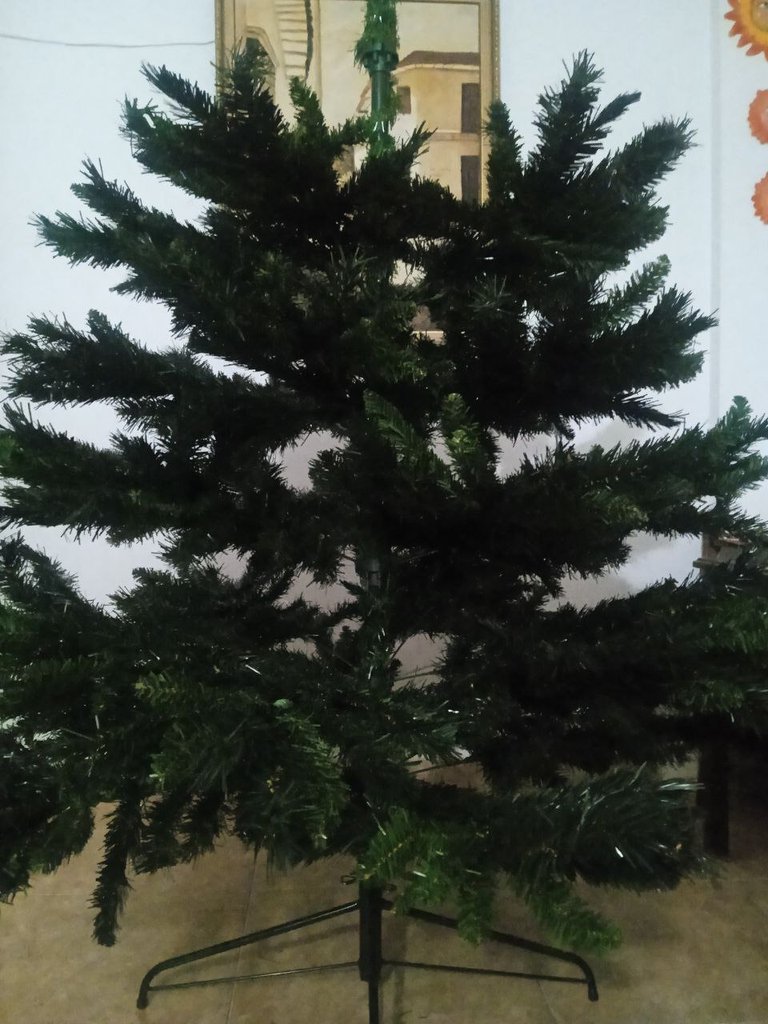
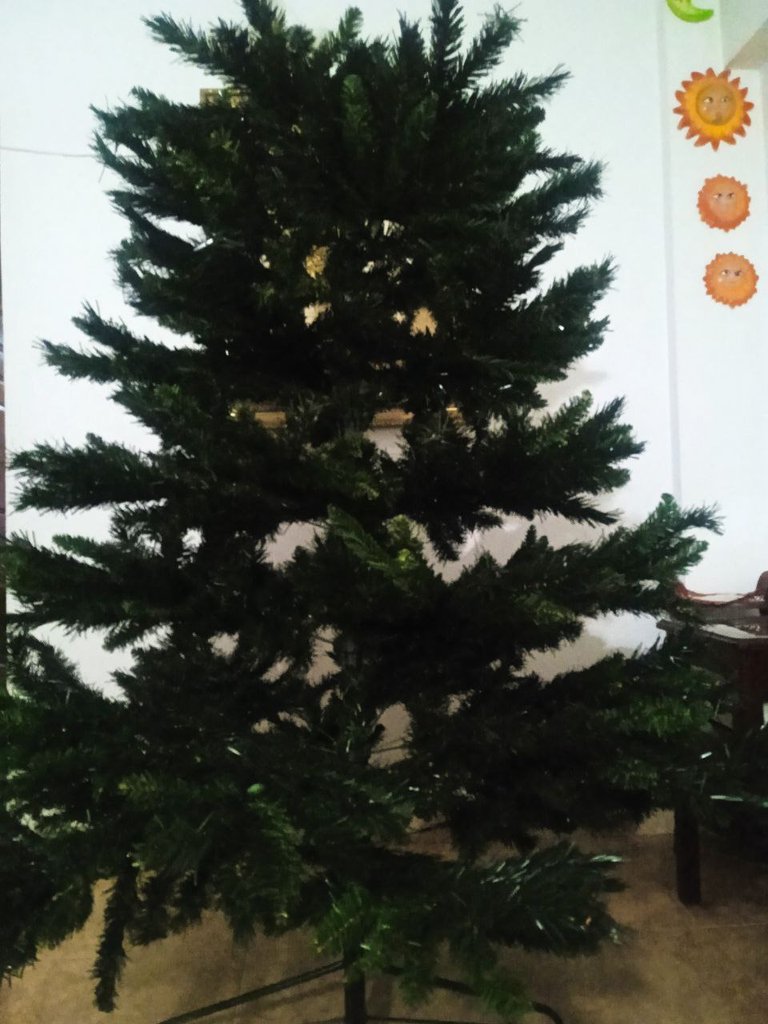

Putting up the lights!
After the work of spreading out each of the branches and placing them one by one on the vertical support we already have the tree up. Now we have to embellish it with lights and decorations. The first thing will be the lights, which are almost as old as our tree and I have been concerned about giving constant maintenance to each of the bulbs and although it is inevitable that some of them do not turn on, there are very few that are broken and the number of lights I have is 5 each with an extension of 4 and 5 meters.
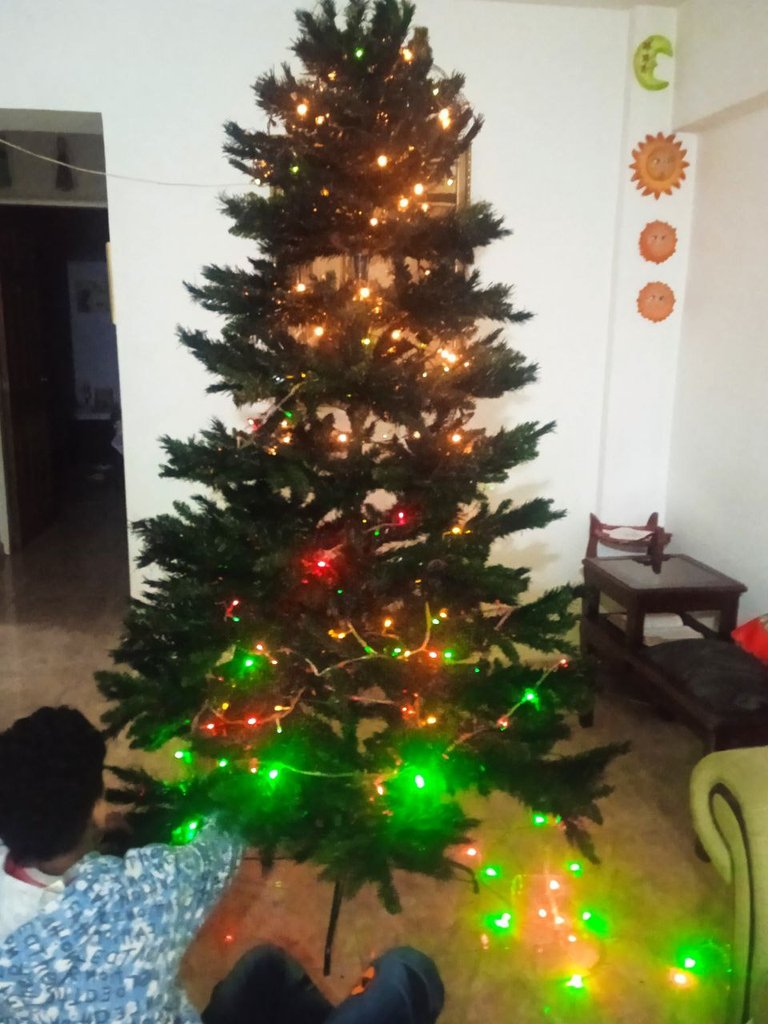
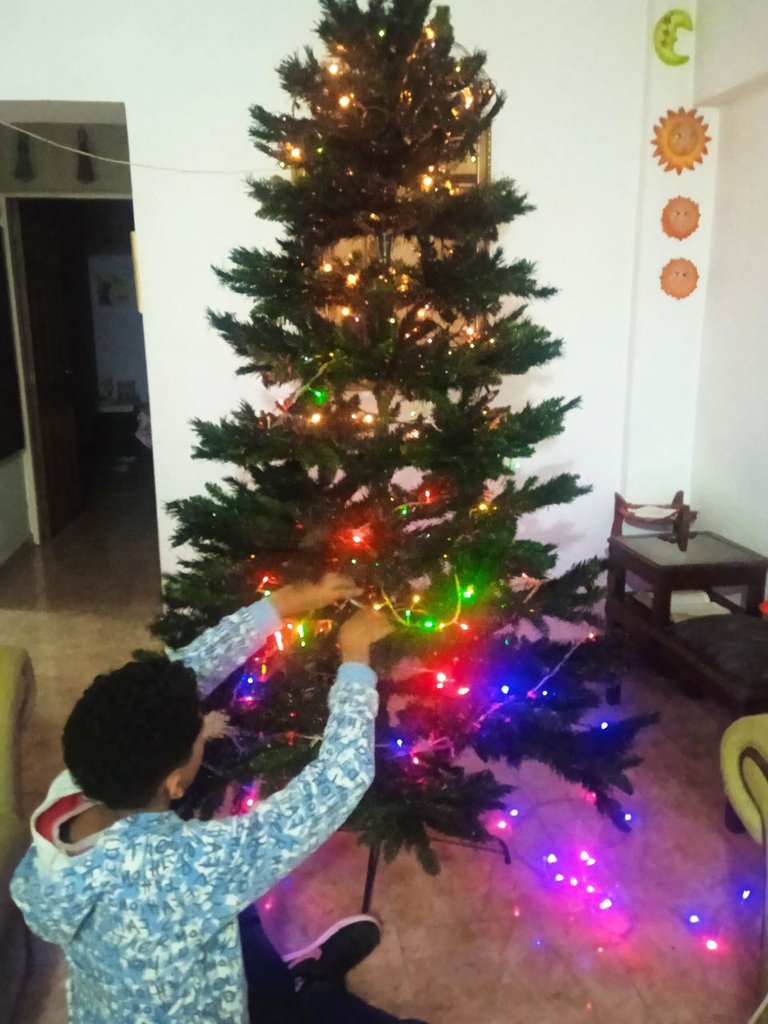
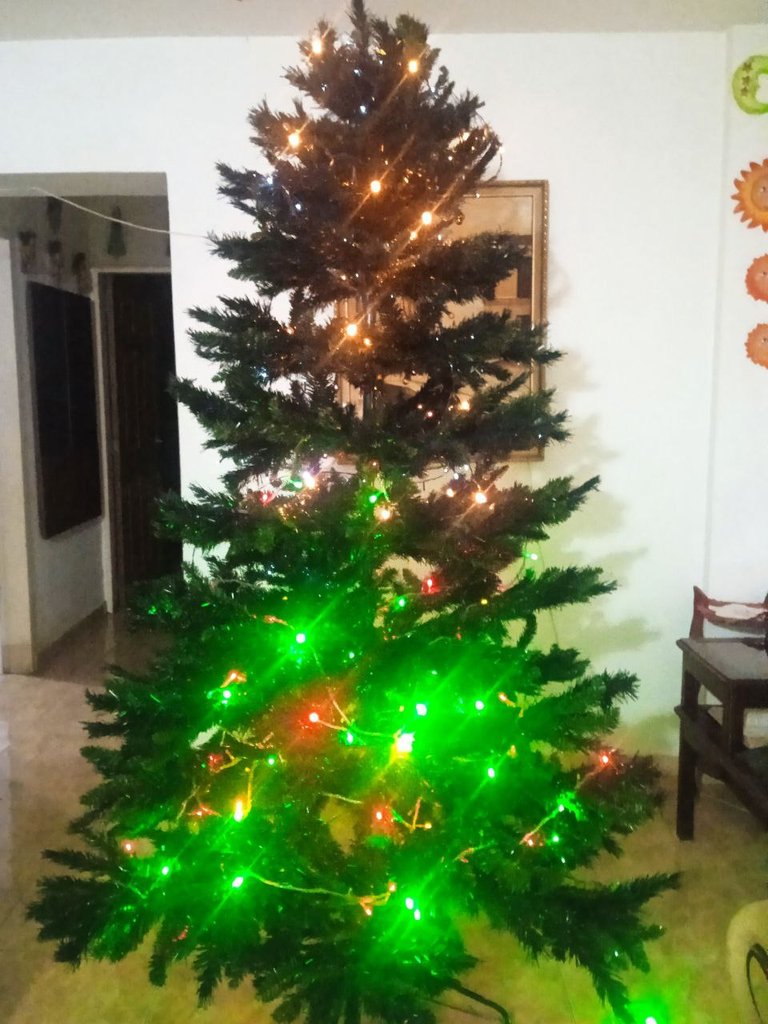
Although it may not seem like it, the lights are the most complicated part since some connectors do not make good contact and I also have to use a long 10-meter extension cord since where I am placing it is very far from the power outlet.

The last phase: Decorating the Christmas tree
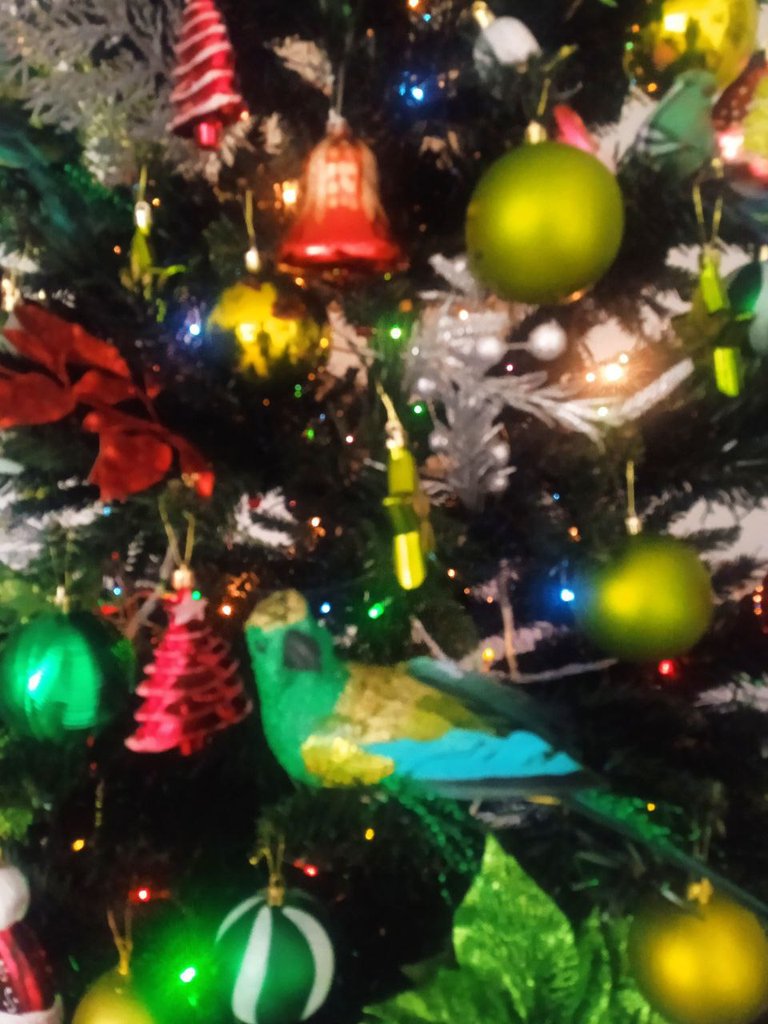
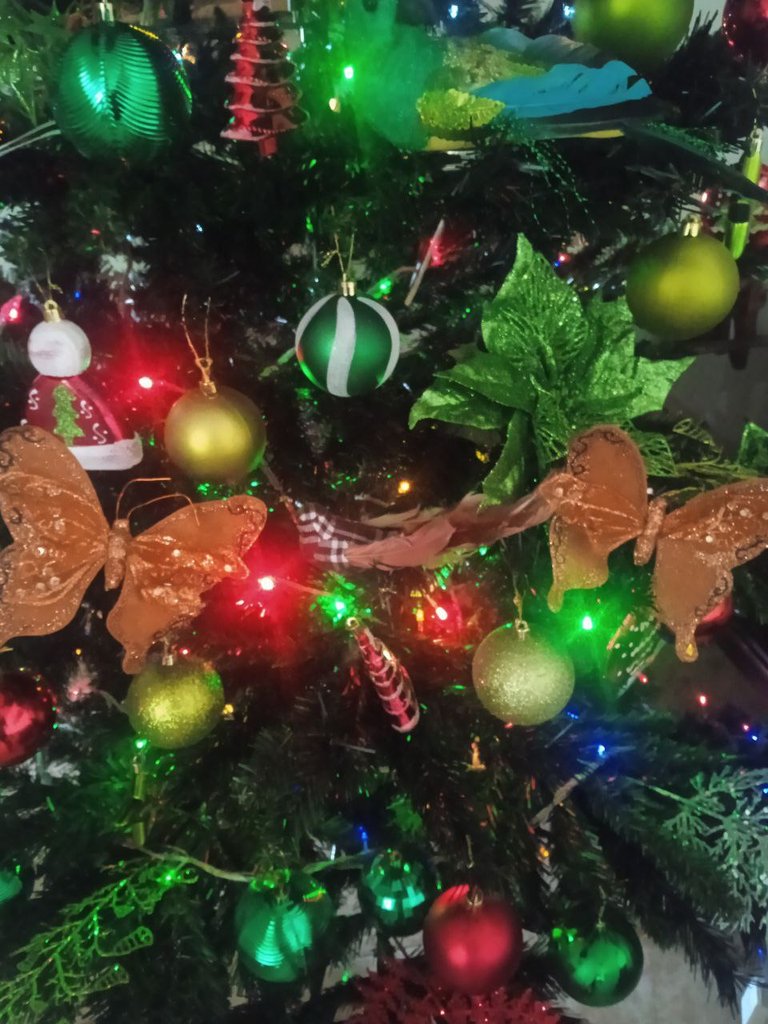
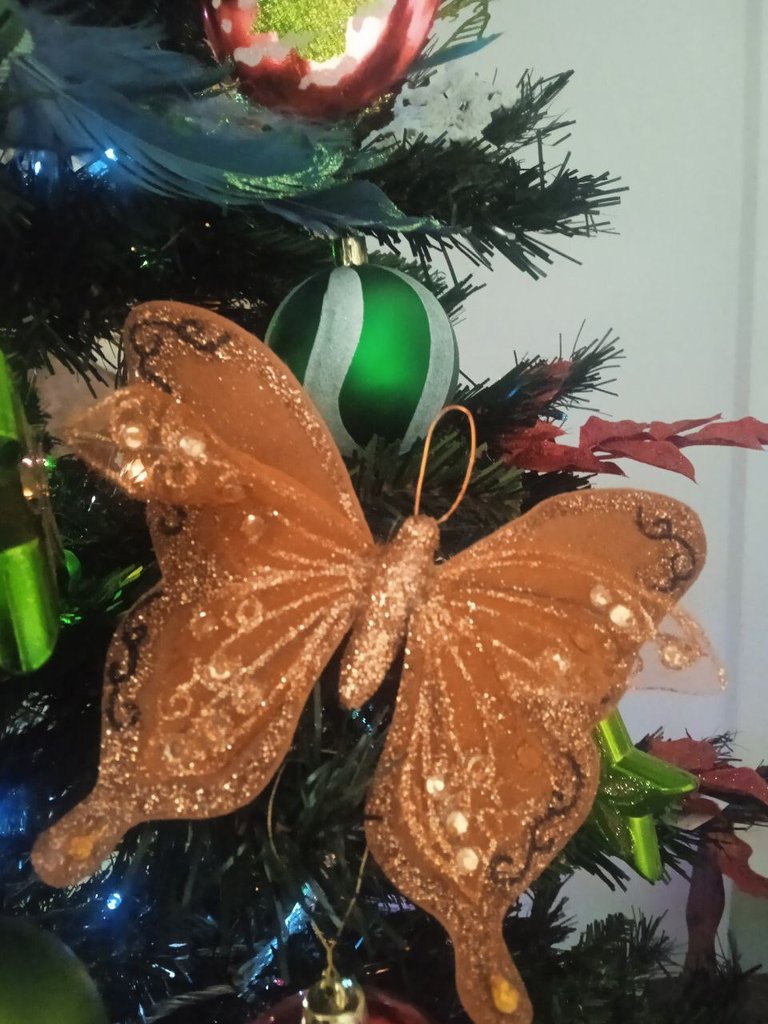
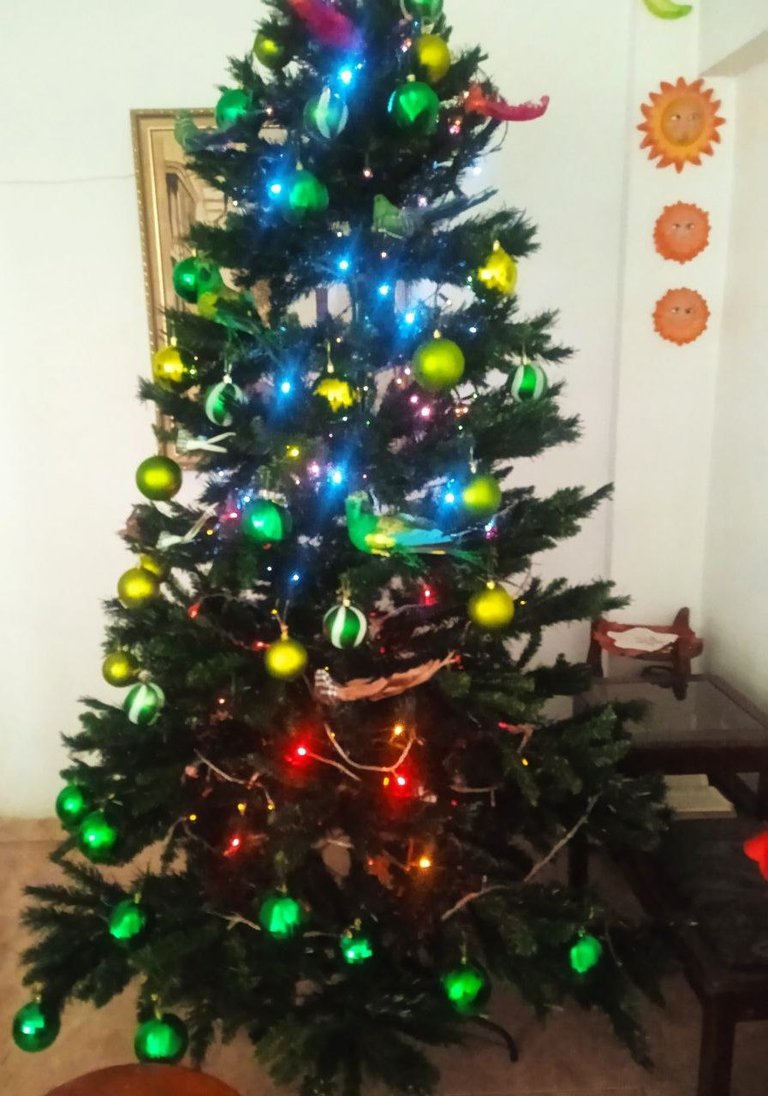
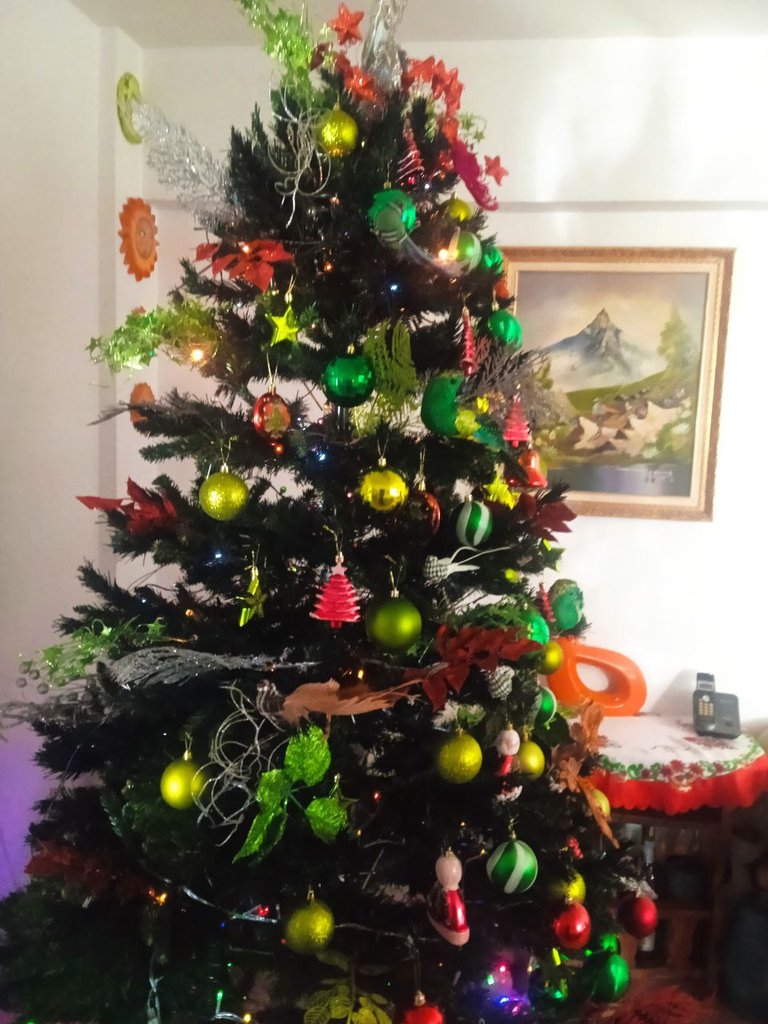
I must be honest with you, friends, this last phase does not depend exclusively on me, at this point it is my mother who is in charge of making the decision of what ornaments the tree will have and how they will be placed! Sometimes she decorates it only with parrots and the classic balls and bells, while other years she decorates it with branches and butterflies. On this occasion she decided to do a combination of the 2 things: parrots, butterflies with balls and colored branches.
 |  |
|---|
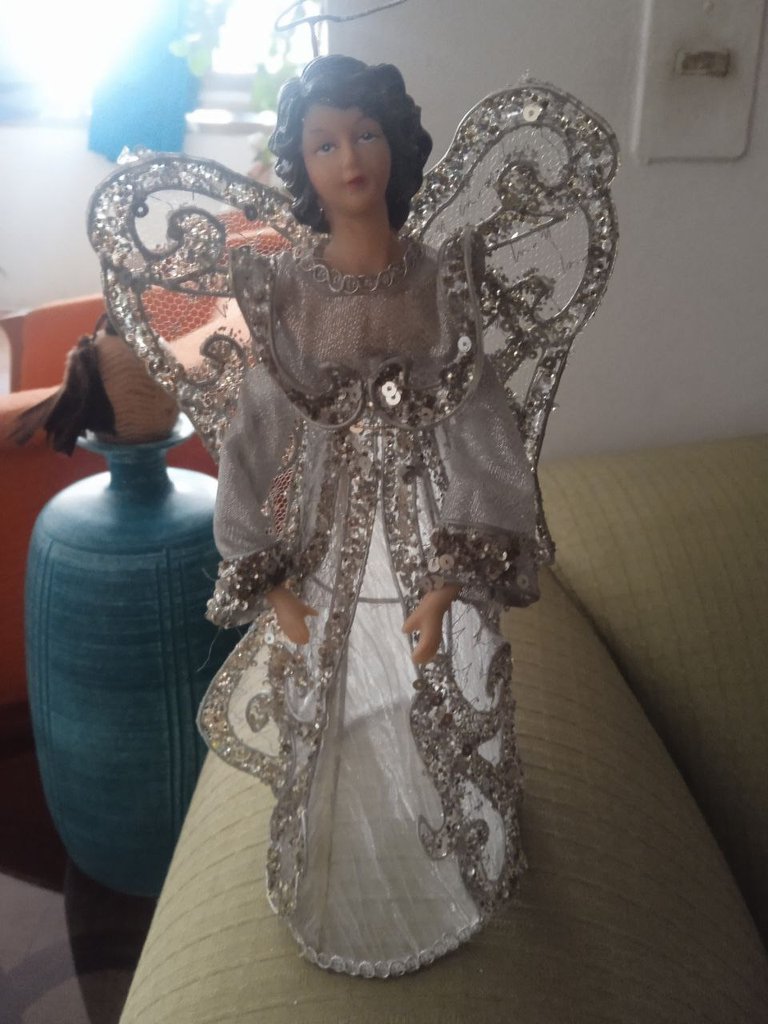
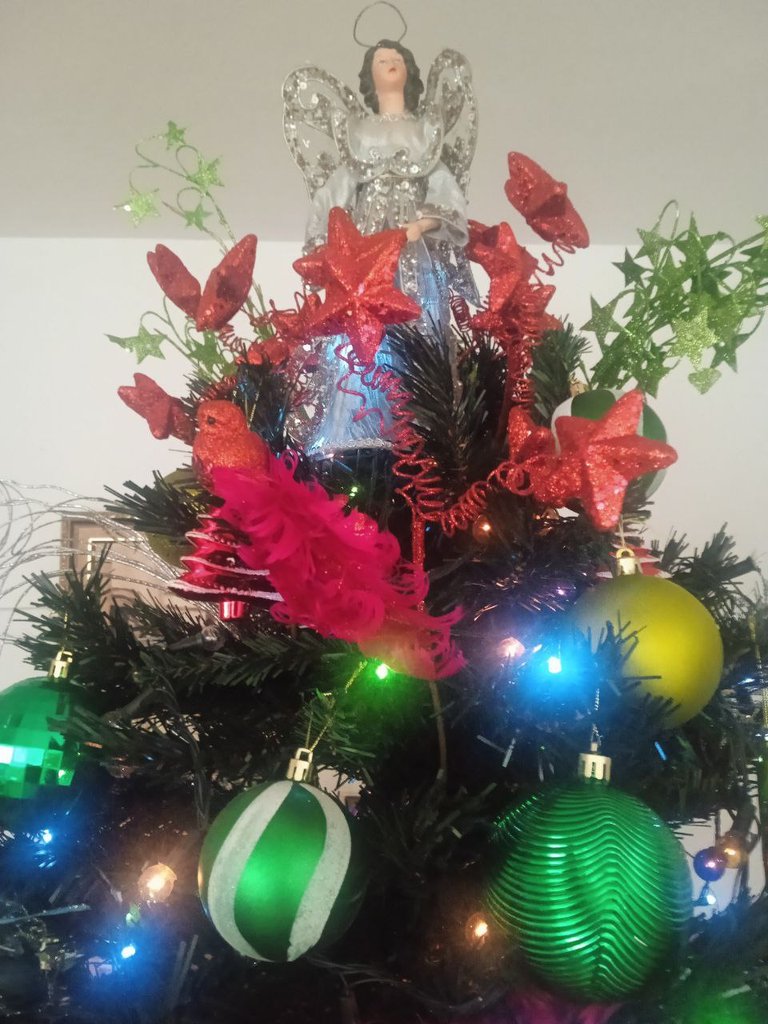
Finally, it was necessary to decide what we were going to place on top of the tree: a star or a Christmas Spirit, the decision was for the Christmas spirit that as you can see was perfect with the combined decoration for this occasion.
 |  |
|---|
Well friends, after spending a whole day putting up the tree, placing the lights and decorations, we now have the final shape of our Christmas tree for 2024. We were satisfied with how it turned out and the house already has a Christmas atmosphere and energy that it needed! I couldn't attend to this matter before because of my work at the university and I didn't want my mother to do all the work of putting up the tree either, so although it was late, in the end we managed to put Christmas in the house. With this I finish this first photoblog of December, I want to do several before the end of the year so I will be attentive to publish them in this space, see you in a next post friends. Cheers and happy Sunday!
Versión Español


Saludos comunidad de Daily Blog! Esta es mi primera contribución a esta interesante comunidad que conseguí por pura casualidad y de verdad que estoy muy entusiasmado de haberme topado con ella ya que desde que conocí Hive me ha interesado en convertirlo en una especie de diario para compartir mis actividades docentes y de investigación en la universidad. Y ha sido en esta comunidad donde siento que puedo compartir mis memorias y anécdotas en Hive, en este contexto quiero compartir mi primer fotoblog de diciembre con todo el proceso que fue levantar nuestro arbolito de navidad y posteriormente adornarlo, así que comencemos!
 |  |
|---|
Una de las palabras que utilicé en el título de este post fue remembranzas y es que este árbol de navidad ya tiene con nosotros 15 años así que es inevitable para mi cada vez que saco este árbol en diciembre que los recuerdos, momentos fugaces pero que atesoro con gran cariño afloren inmediatamente. Abrir la caja y percibir el olor es la señal de que la navidad ya esta en nuestra casa, lo primero para armar este árbol es comenzar por la base y el soporte vertical.
 |  |
|---|

Levantando nuestro árbol de navidad
Después de extraer la base y el soporte vertical del árbol extraímos las ramas agrupadas por su extensión, van desde la letra A hasta la letra I podemos comenzar desde las ramas más cortas hasta las más largas pero por experiencia propia siempre comienzo por las ramas más largas en la base del árbol hasta terminar con las ramas más cortas en la copa del árbol.

 |  |
|---|

Decidí entonces hacer una sucesión de fotografías de como inicié con el armado del árbol, una de las cosas importante es extender las ramas ya que se encuentran compactadas por estar tanto tiempo guardado, entonces utilizo unos guante gruesos para abrir estas ramas ya que causan comezón al manipularlas. La base tiene unas patas de goma que permiten mantenerlo firme pero dejarlo así es bastante antiestético así que tengo pensado cubrirlo con una alfombra que compraré más adelante y así ubicar alli los regalos.


Colocando las luces!
Luego del trabajo de extender cada una de las ramas e irlas colocando una por una en el soporte vertical ya tenemos el árbol levantado, nos queda entonces embellecerlo con luces y adornos, lo primero serán las luces, las cuales tienen casi el mismo tiempo que nuestro árbol y es que me he preocupado por darle un mantenimiento constante a cada uno de los bombillos y aunque es inevitable que algunos de ellos no enciendan, son muy pocos los averiados y la cantidad de luces que tengo con de 5 cada uno con una extensión de 4 y 5 metros.


Aunque no lo parece, son las luces la parte más complicada ya que algunos conectores no hacen buen contacto y además debo utilizar una larga extensión de 10 metros ya que donde lo estoy ubicando esta muy lejos del toma corriente.

La última Fase: Adornar el Árbol de Navidad
Debo ser honesto con ustedes amigos, esta última fase no depende exclusivamente de mi, en este punto es mi madre quien se encarga de tomar la decisión de que adornos llevará el árbol y como serán ubicados! A veces lo decora solo con Loros y las clásicas bolitas y campanas, mientras que otros años lo adorna con ramas y mariposas. En esta ocasión decidió hacer una combinación de las 2 cosas: loros, mariposas con bolitas y ramas de colores.

 |  |
|---|


Por último quedaba decidir que íbamos a ubicar en el tope del árbol: una estrella o un Espíritu de la Navidad, la decisión fue por el espíritu de la navidad que como pueden ver quedó perfecto con la decoración combinada para esta ocasión.
 |  |
|---|
Y bien amigos después de estar todo un día armando el árbol, colocando las luces y los adornos tenemos ya la forma definitiva de nuestro árbol de navidad para este 2024. Quedamos satisfecho por como quedó y ya la casa tiene un ambiente y energía navideña que ya le hacía falta! No pude atender este asunto antes por mis labores en la universidad y tampoco quería que mi madre hiciera todo el trabajo de montar el árbol, así que aunque tarde al final logramos poner la navidad en la casa. Con esto termino este primer fotoblog de diciembre, quiero hacer varios antes de terminar el año así que estaré atento de publicarlos en este espacio, nos vemos en una próxima publicación amigos. Salud y feliz domingo!
 |  |
|---|


The cover was made in Canva, the images were taken with my cell phone (Redmi 9c). The translation was done with the tool Deepl
La portada fue realizada en Canva, las imágenes fueron tomadas con mi celular (Redmi 9c). La traducción se realizó con la herramienta Deepl

Follow me on Ecency!/Sigueme en Ecency!




 )
)


