ENG
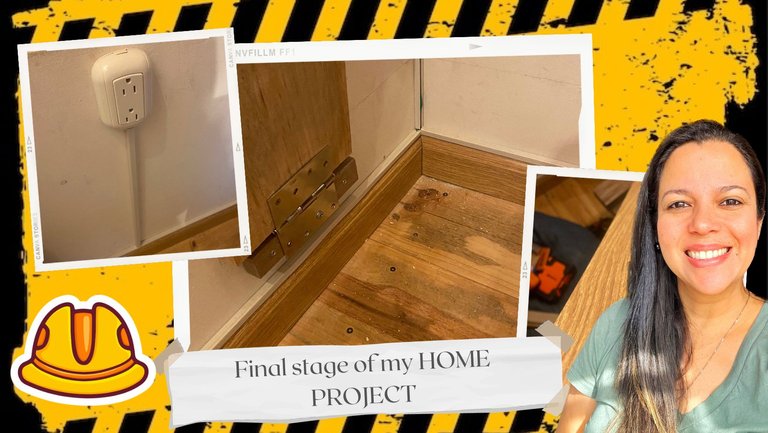
Hello to all my friends of Architecture+Design, I hope you are very well. To continue with my project, I could not miss of course, the finishing touches and the electricity upstairs.
ESP
Hola a todos mis amigos de Architecture+Design, espero estén muy bien. Para continuar con mi proyecto, no podía faltar por supuesto, los remates y la electricidad en la parte de arriba.
ENG
As some of you may know, I have several posts showing the whole process that I have done at home, step by step, and also any questions you can ask because I have done it little by little, but well, it gave me illusion, so no matter how long it has taken me, between work and personal commitments, I have been doing it as I organize myself and take time to try to finish it in the shortest time possible.
ESP
Cómo sabrán algunos, tengo varios post mostrando todo el proceso que he hecho en mi casa, paso a paso, y además cualquier duda pueden preguntarla porque lo he hecho yo poco a poco, pero bueno, me daba ilusión, así que no importa el tiempo que me he tardado, entre compromisos laborales y personales, lo he ido haciendo según me organice y sacar tiempo para tratar de terminarlo en el menor tiempo posible.
ENG
I finished the attic, I sanded it, painted it, put some other decorations, I put railings on the lower level and railings on the highest level, we also built a storage room to store the mess we have and some stairs to climb to it, and today I bring you the baseboards that we put and the plugs, because we could not have a super space without power, so with this, we only need a few things: put some vintage lights in a part of the attic, put light in the storage room and paint it, which I will show you when I finish it.
So for now, I will show you the progress and how I put these two things in my attic.
ESP
Ya el ático lo terminé, lo lijé, lo pinté, le coloqué alguna que otra decoración, le puse barandas en el nivel bajo y barandas en el nivel más alto, también le construimos un depósito para guardar el desorden que tenemos y unas escaleras para subir a él, y hoy les traigo los rodapiés que pusimos y los enchufes, porque no podíamos tener un súper espacio sin corriente, así que con esto, ya solo nos faltan pocas cosas: poner unas luces vintage en una parte del ático, poner luz en el depósito y pintarlo, que eso ya se los mostraré cuando lo termine.
Así que por los momentos, les mostraré el avance y cómo puse estas dos cosas en mi ático.
ENG
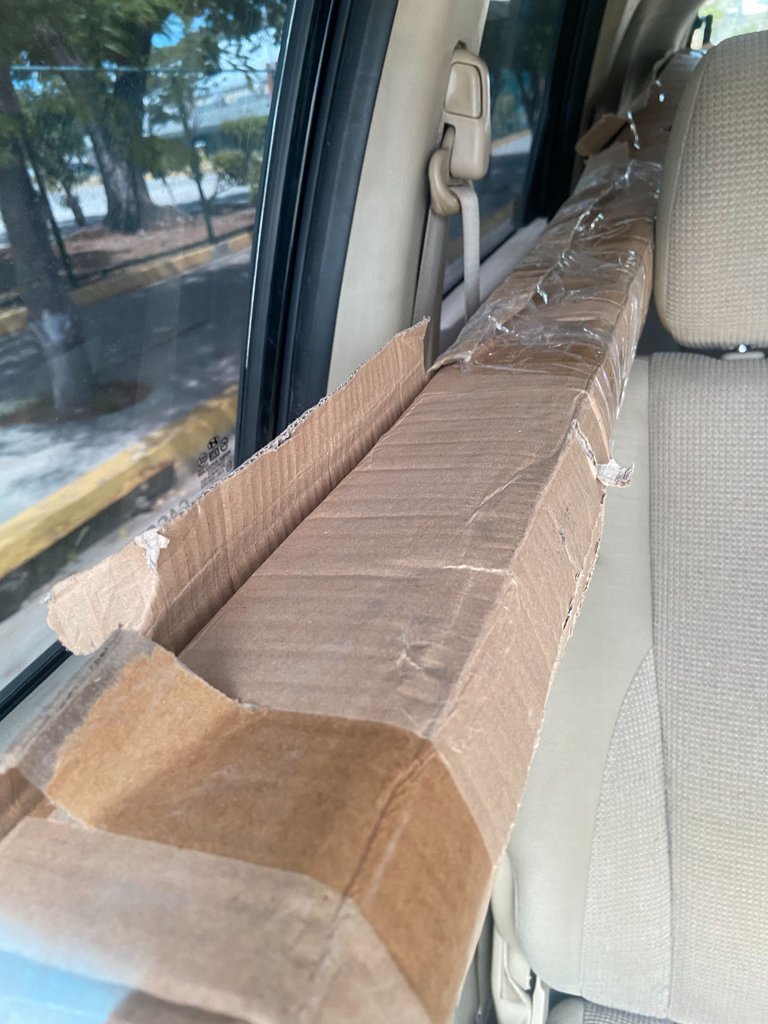
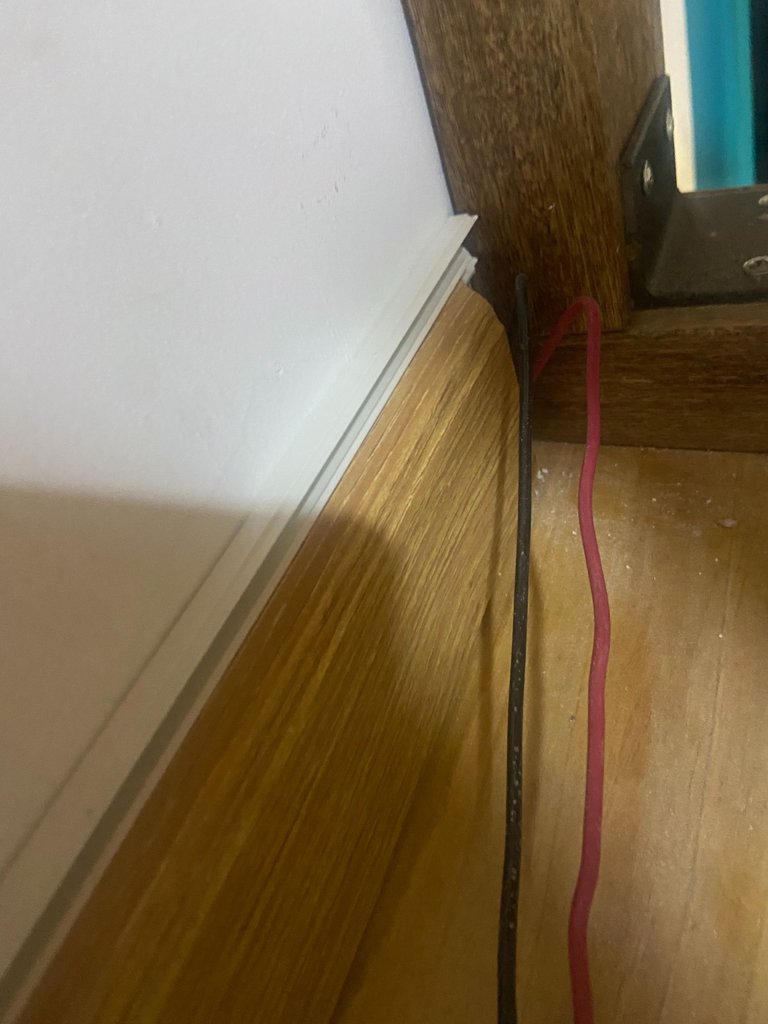
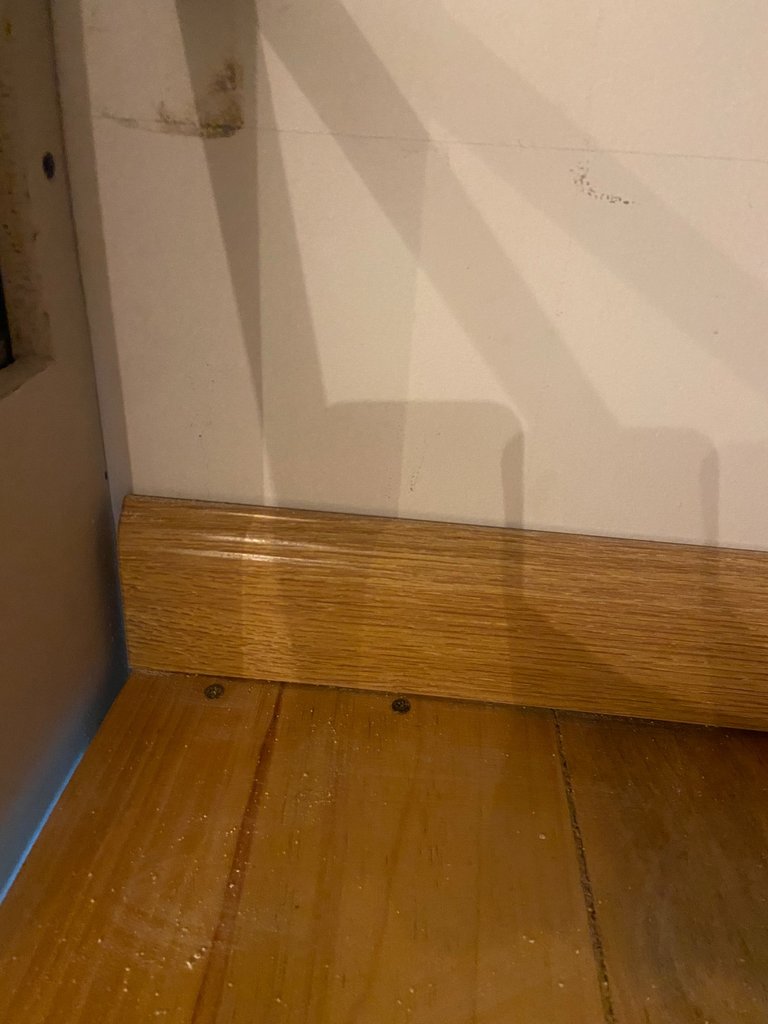
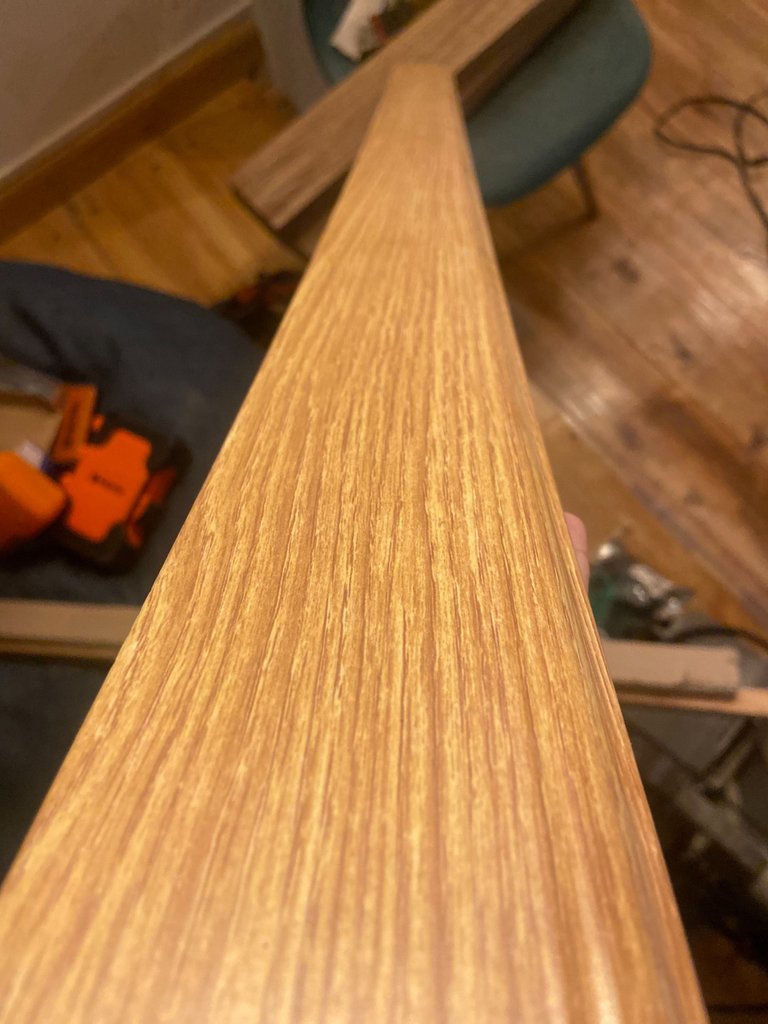
When I finished the attic, I had to put the baseboards, but I had to find some that were ready, since I don't have the necessary tools to give it the finish I wanted, so I searched and got some online, which although they were made of MDF, were coated with a protective paper type wood, and in the same way, they served me because I was not going to be wetting that floor, I just had to take the necessary care, and that would last me forever probably.
ESP
Cuando terminé el ático, tenía que poner los rodapiés, pero debía buscar unos que estuviesen listos, ya que no tengo las herramientas necesarias para darle el acabado que quería, así que busqué y conseguí unas por internet, que aunque eran de MDF, estaban revestidas con un papel protector tipo madera, y de igual forma, me servían porque tampoco iba a estar mojando ese piso, solo debía tener los cuidados necesarios, y eso me duraría para siempre probablemente.
ENG
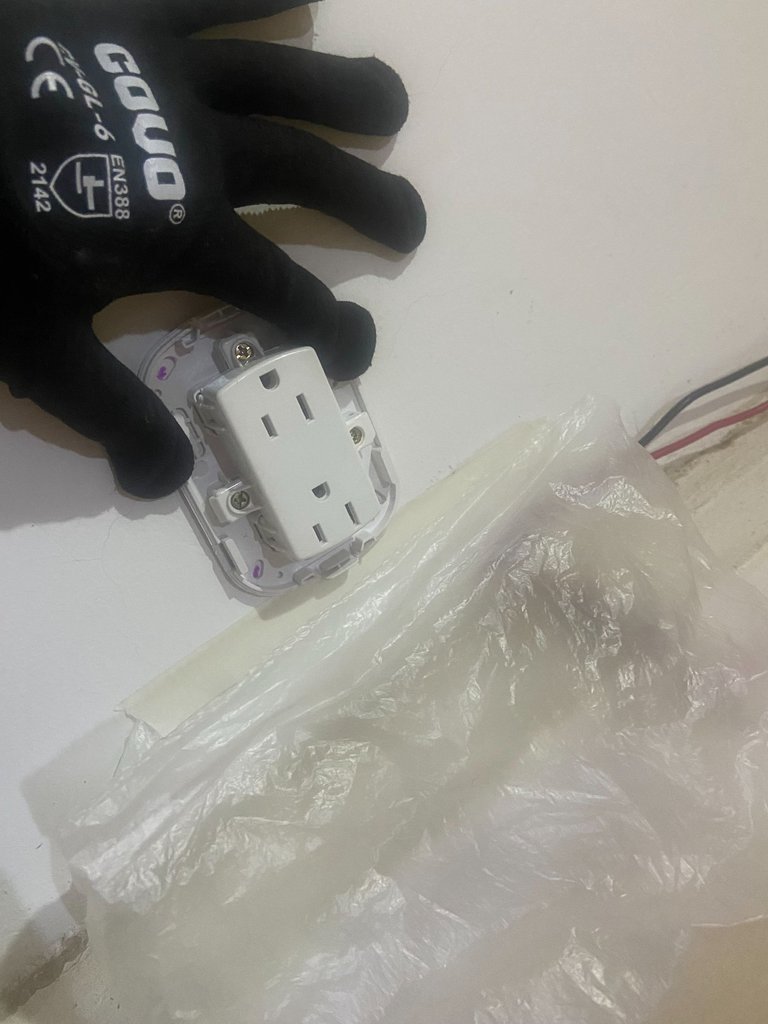
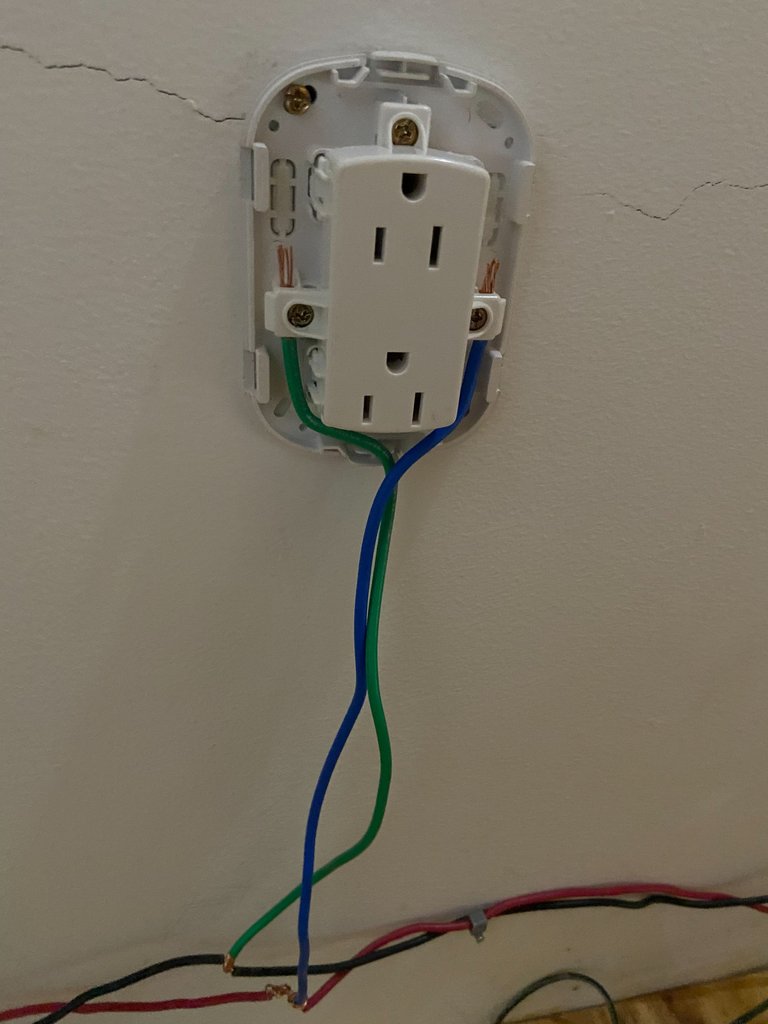
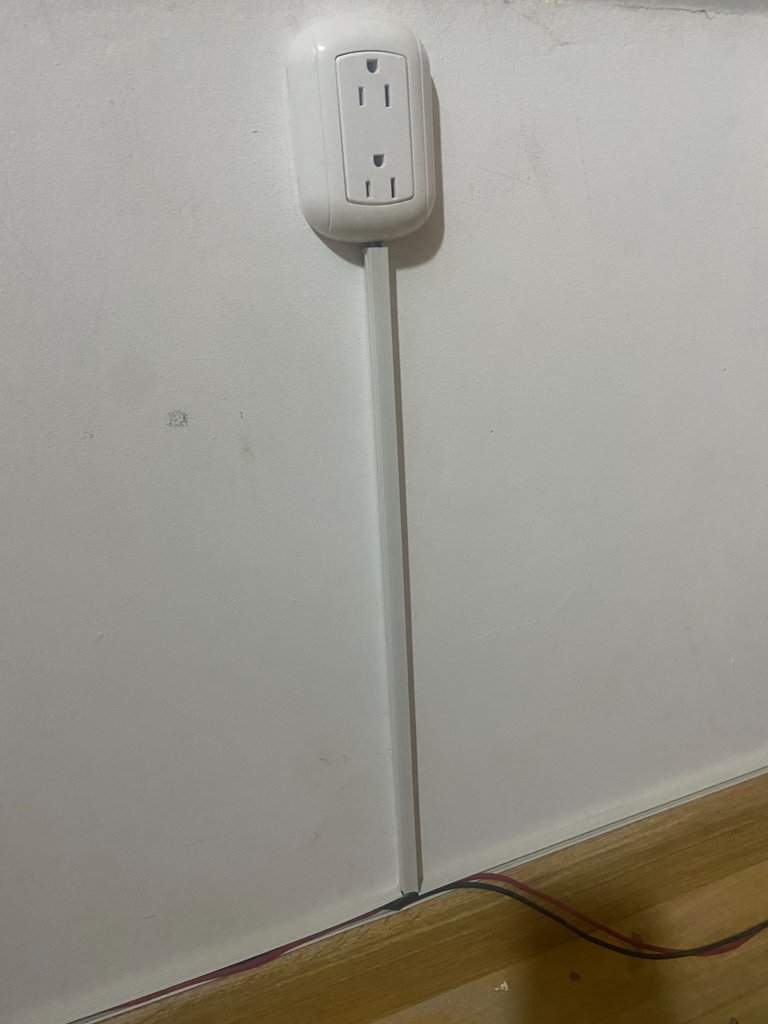
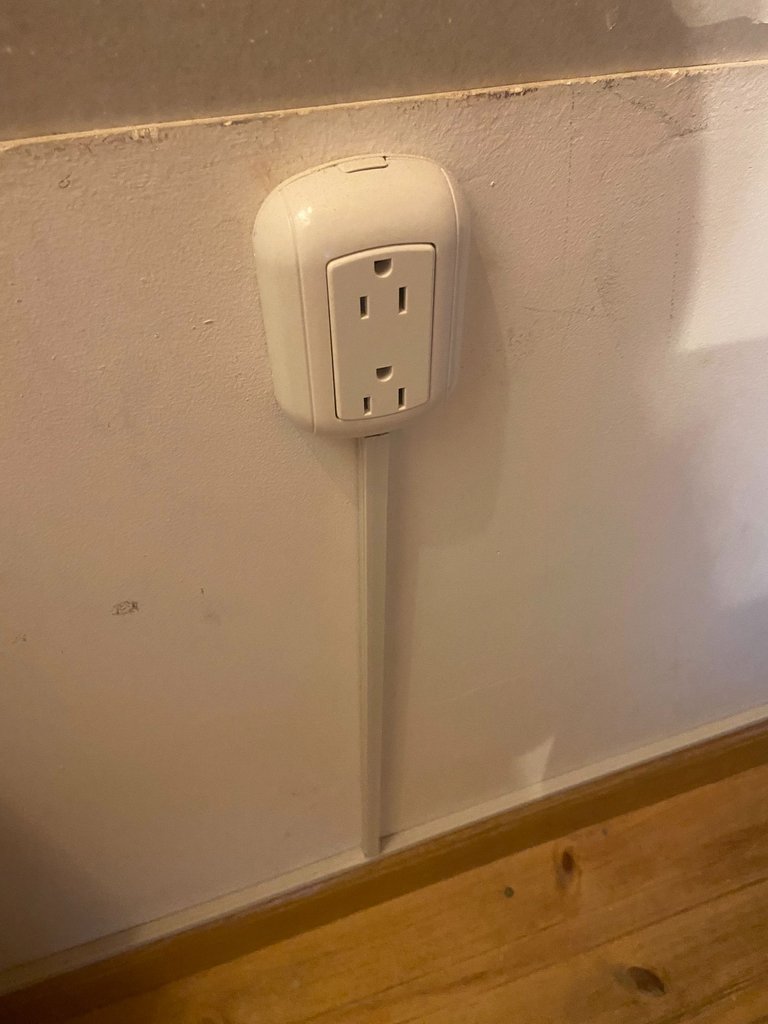
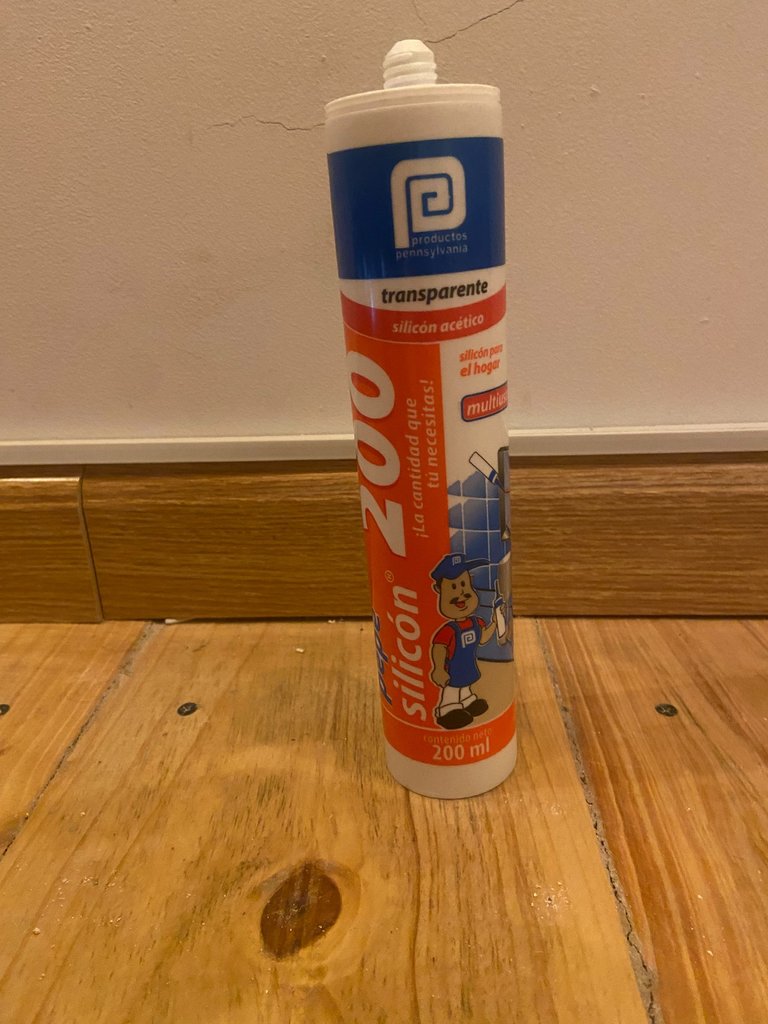
There were a total of 13 linear meters of baseboards, so I bought 6 strips in total, each 2.5 meters long. I bought silicone to glue them and then with my saw I would cut them to size according to the spaces, and in the corners at 45 degrees so that they would fit well. For the outlets, I bought shallow double sockets, as I didn't want to break walls, and to run the wiring I bought small channels in the same quantity. The wire I used was number 16, I wanted to buy white for the phase and black for the neutral but I couldn't, so I bought the one I found, which was red and black XD.
ESP
Eran en total 13 metros lineales de rodapiés, por lo que compré 6 tiras en total, cada una de 2,5 metros de largo. Compré silicón para pegarlas y ya con mi sierra las cortaría a medida según los espacios, y en las esquinas a 45 grados para que quedaran bien. Para los enchufes, compré tomacorrientes dobles superficiales, ya que no quería romper paredes, y para pasar la cablearía compré canaletas pequeñas en la misma cantidad. El cable que usé fue de número 16, quería comprar blanco para la fase y negro para el neutro pero no pude, así que compré el que encontré, que fue rojo y negro XD.
ENG
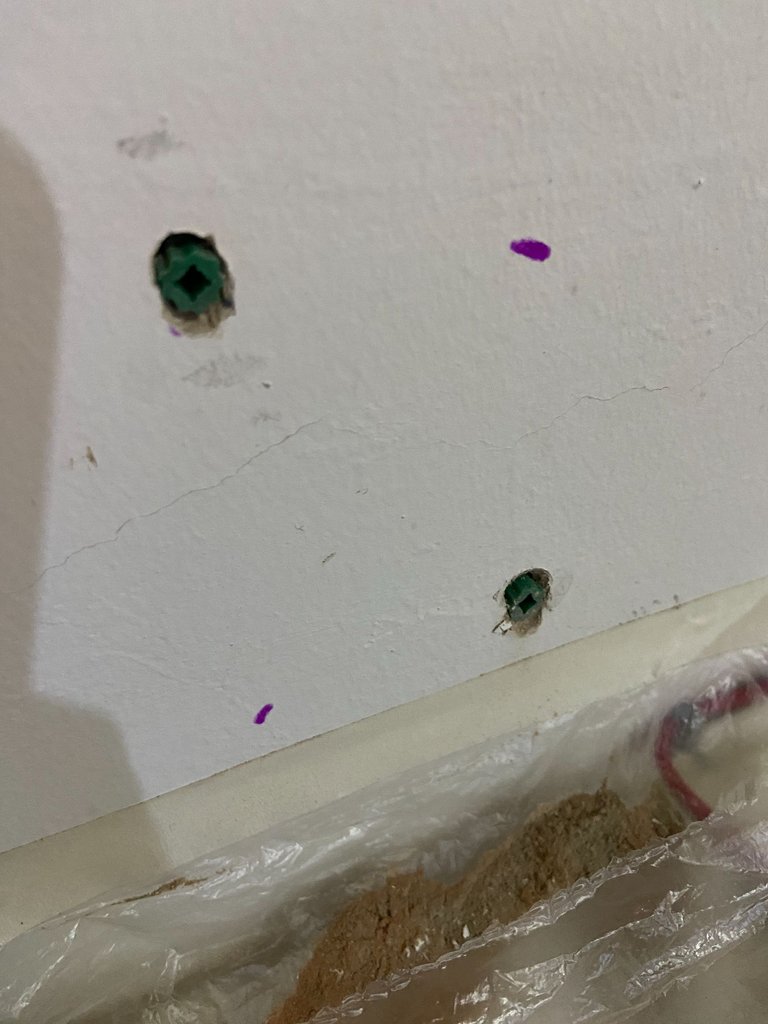
I took the power from an outlet I have downstairs, ran the wires along all the edges to the top and connected them to the plugs that I had previously placed with ramplug and screws to fix it well at 60 centimeters from the floor. And then I installed them as far as I wanted to have current. I placed a total of 3 double sockets, which seemed to me to be enough.
ESP
Tomé la corriente de un toma corriente que tengo en la parte de abajo, pasé los cables por todos los bordes hasta la parte de arriba y fui conectando a los enchufes que previamente había colocado con ramplug y tornillos para fijarlo bien a 60 centímetros del piso. Y luego los fui instalando hasta lo más lejos que quería tener corriente. Coloqué en total 3 tomas dobles lo que me pareció suficiente.
ENG
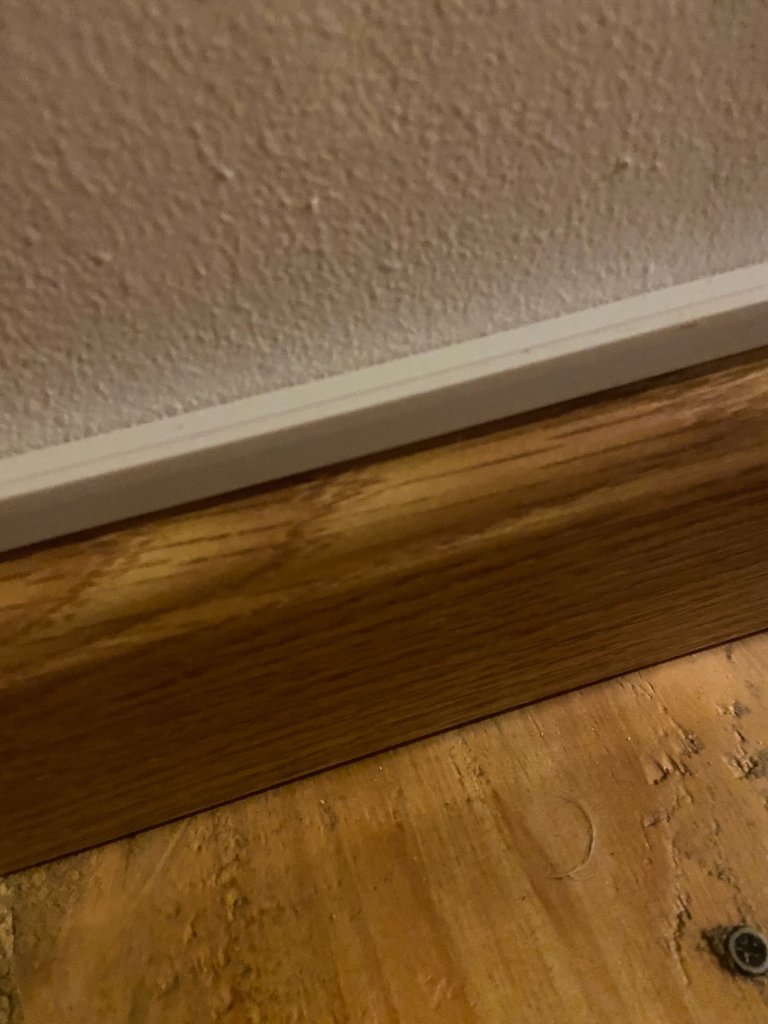
Before putting the gutters in, I had to attach the baseboards to run the gutters along the top edge to hide them as much as possible and make my space look as clean as possible. With a lot of effort, I put the wires in the channels and closed it, so with that I finished the electricity and the baseboards. Now I have to put silicone on the bottom to seal it completely and to prevent dirt from accumulating underneath when cleaning.
Little by little the house is taking shape, and I am finishing the details that were missing. So this story of my attic is about to end, at last XD.
ESP
I wish you a nice week and all the best to all of you.
Antes de poner las canaletas, tuve que fijar los rodapiés para pasar las canaletas por el borde superior y que se disimularan lo más posible, y así hacer que mi espacio se viera lo más limpio posible. Metí con mucho esfuerzo los cables en las canaletas y la cerré, así que con eso terminé la electricidad y los rodapiés. Ahora me queda ponerle silicón en la parte de abajo para sellar totalmente y que no se me acumule tierra por debajo al momento de limpiar.
Ya poco a poco va agarrando forma la casa, y voy terminando los detalles que me faltaban. Así que está historia de mi ático está por terminar, al fin XD.
Les deseo una bonita semana y que les vaya muy bien a todos.


