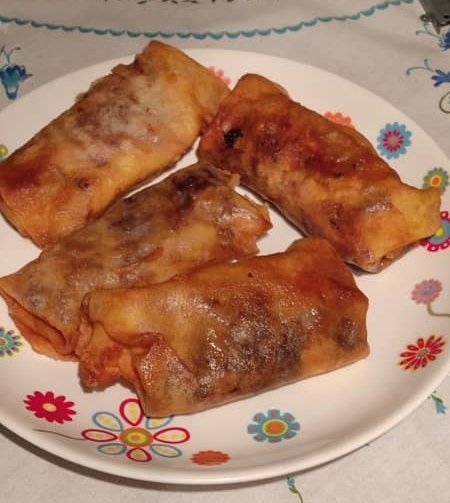
Hello everyone!!. Today I come to share my recipe for homemade lumpias. Very easy to make with few ingredients and it is also delicious.
Hola a todos. El día de hoy vengo a compartir mi receta de lumpias caseras. Muy fácil de hacer con pocos ingredientes y además queda deliciosa.
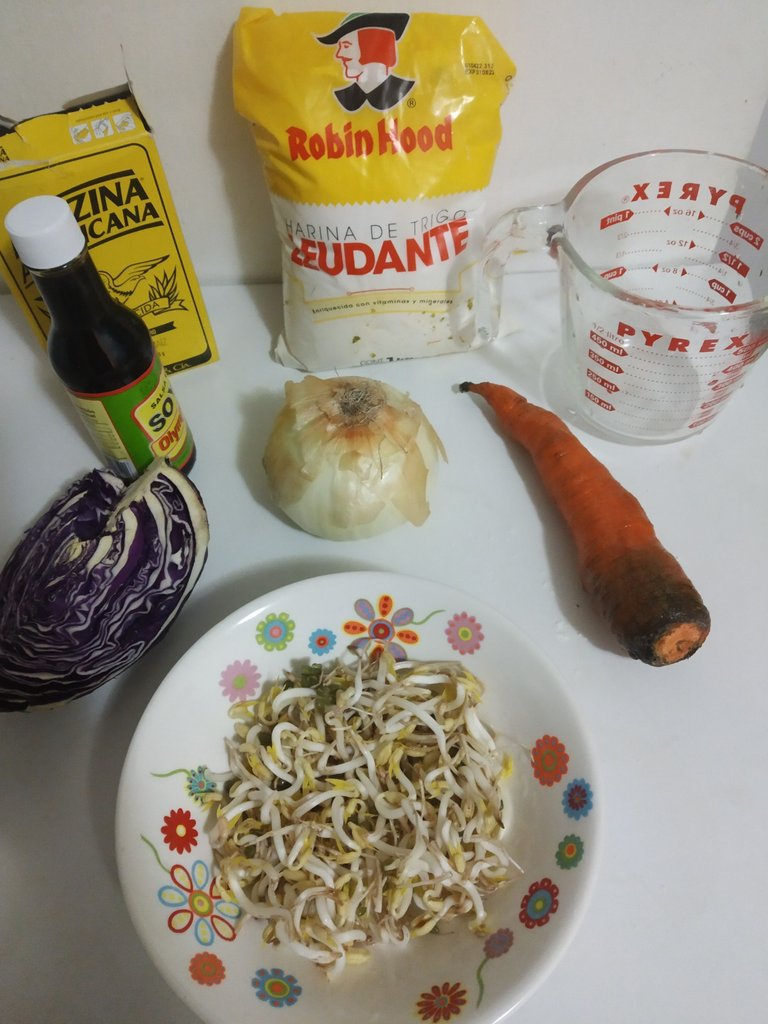
Ingredients || Ingredientes
Carrot
Onion
Cabbage
Ginger
Soy sauce
Salt
Zanahoria
Cebolla
Repollo
Jengibre
Salsa de soya
Sal
Water
Wheat flour
Cornstarch
Salt
Agua
Harina de trigo
Maizena
Sal
Preparation of the stuffing
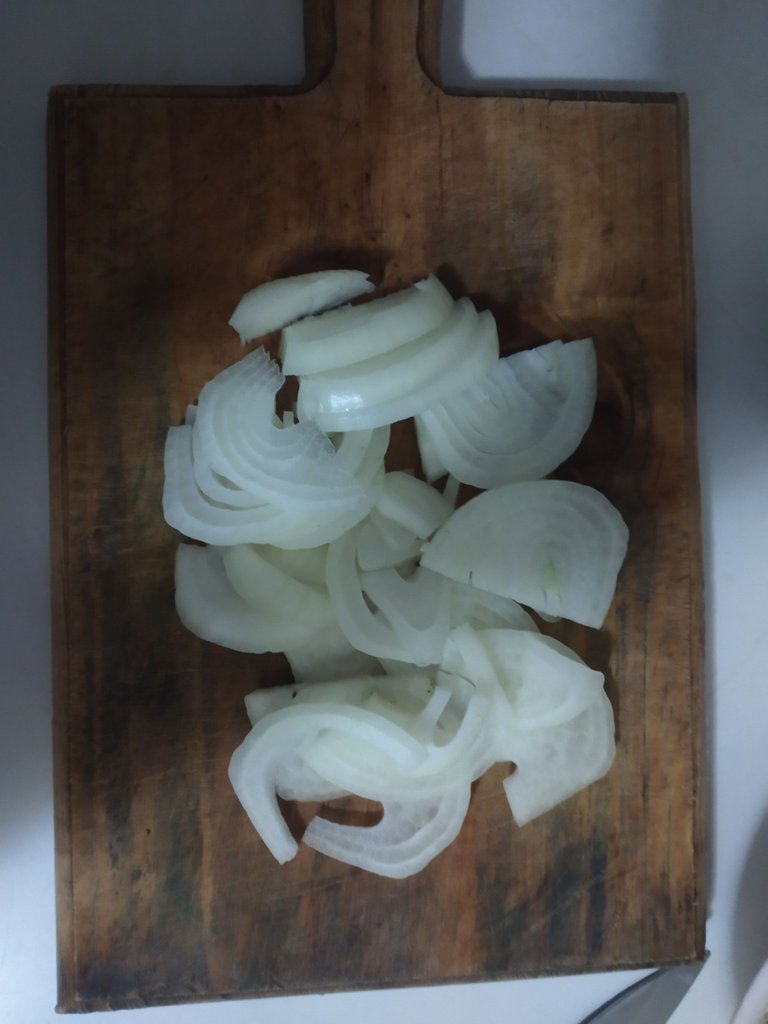
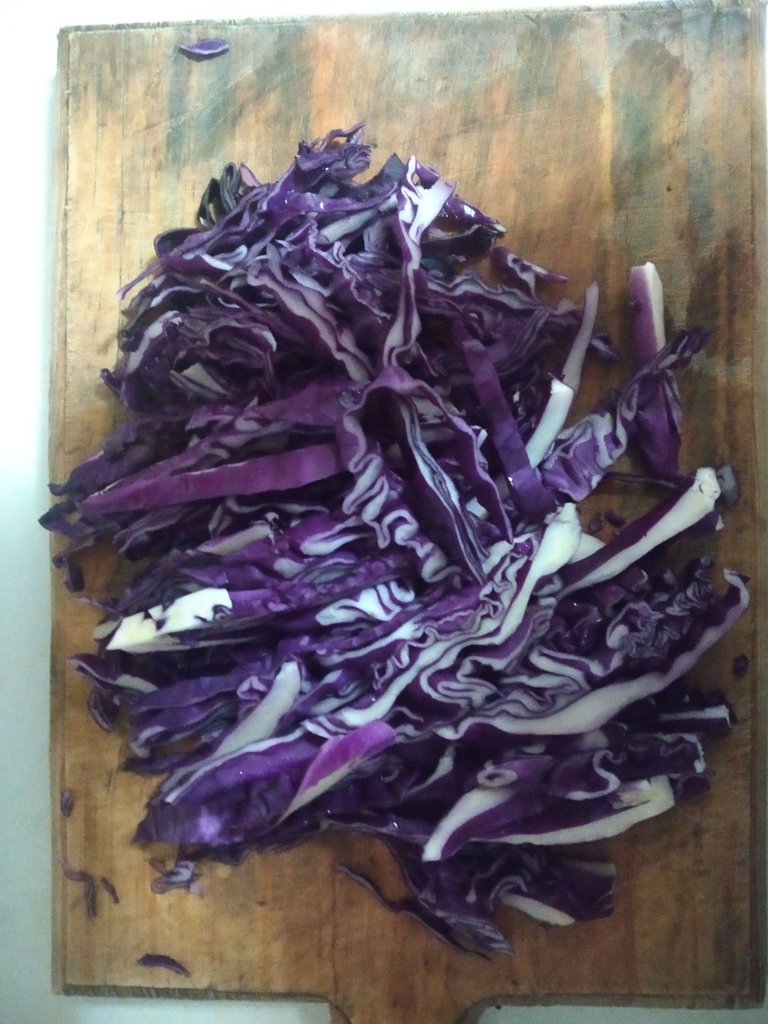
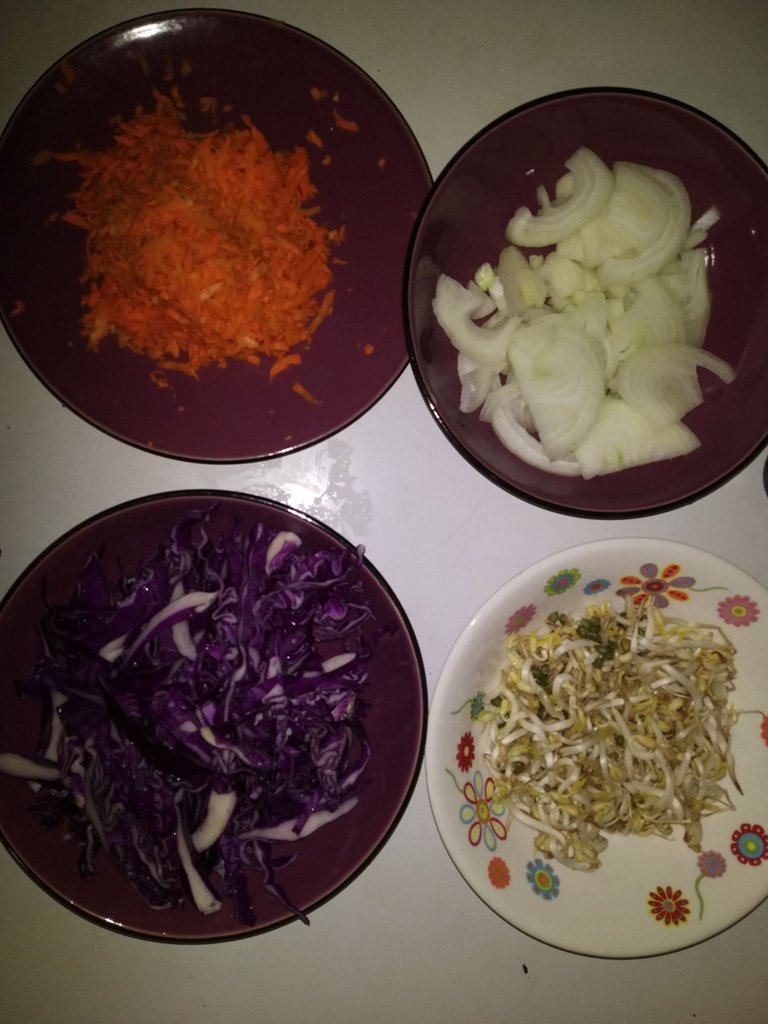
Let's start by chopping the onion and cabbage into strips.
Vamos a empezar picando la cebolla y el repollo en tiras.
Grate the carrot so that it is not too oesada inside the lumpia. The ginger is chopped into very small pieces. And the Chinese bean is simply washed for use.
La zanahoria la rallamos para que de esta forma no quedara muy oesada dentro de la lumpia. Y El jengibre lo picamos en trozos muy muy pequeños. Y el frijol chino simplemente lo lavamos para utilizarlo.
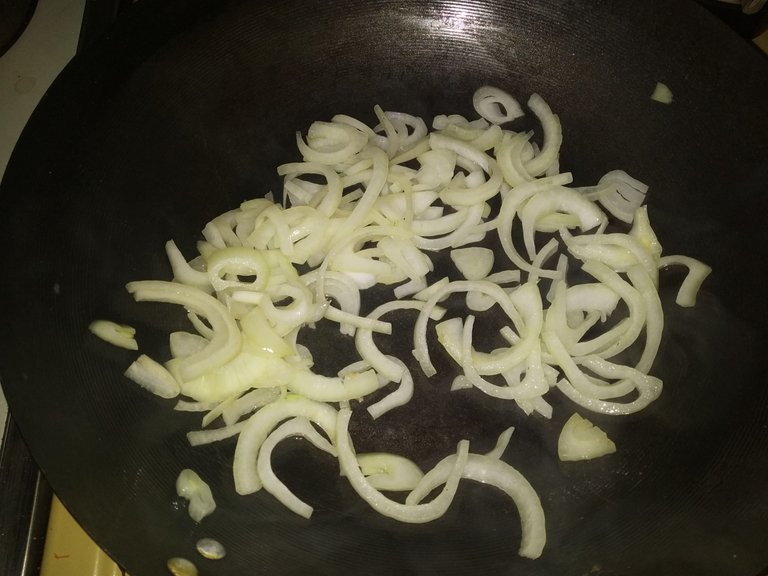
In a frying pan, we are going to throw the onion and wait for it to brown, then we add soy sauce.
En una sartén, vamos a echar la cebolla y esperar a que esta se dore, luego le agregamos salsa de soya.
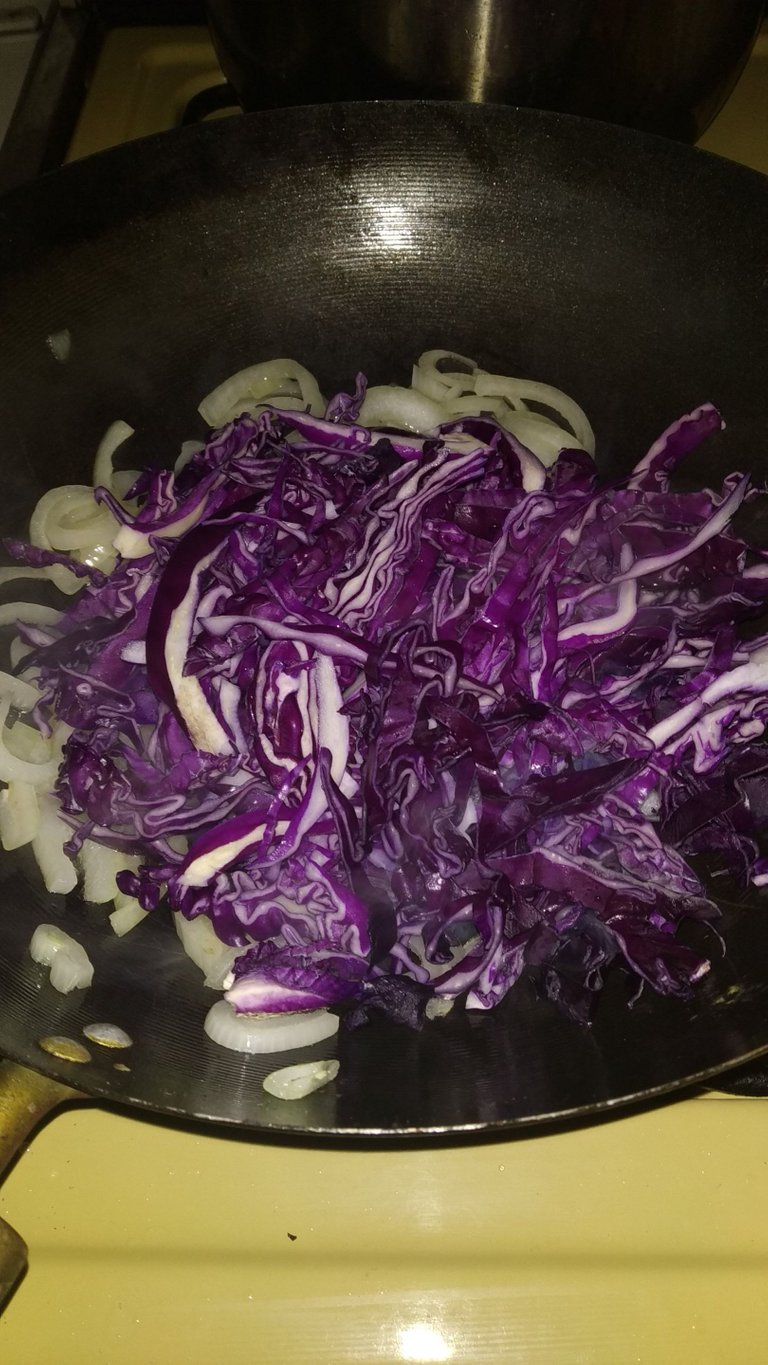
Add the cabbage, and again soy sauce.
Agregamos el repollo, y nuevamente soya
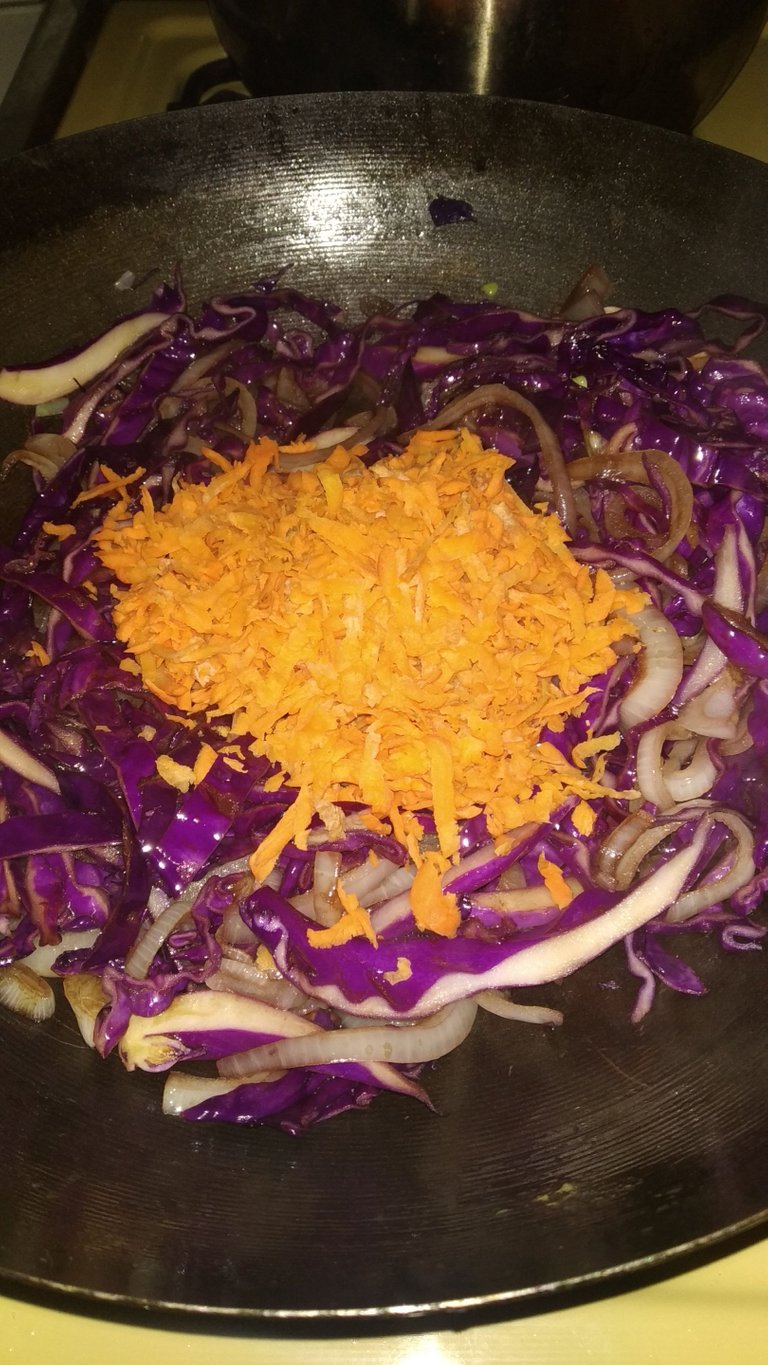
Grated carrot
Zanahoria rallada
And finally the ginger and the Chinese bean (this way it integrates with all the ingredients at the same time).
Y por último el jengibre y el frijol chino (de esta forma se integra con todos los ingredientes a la vez)
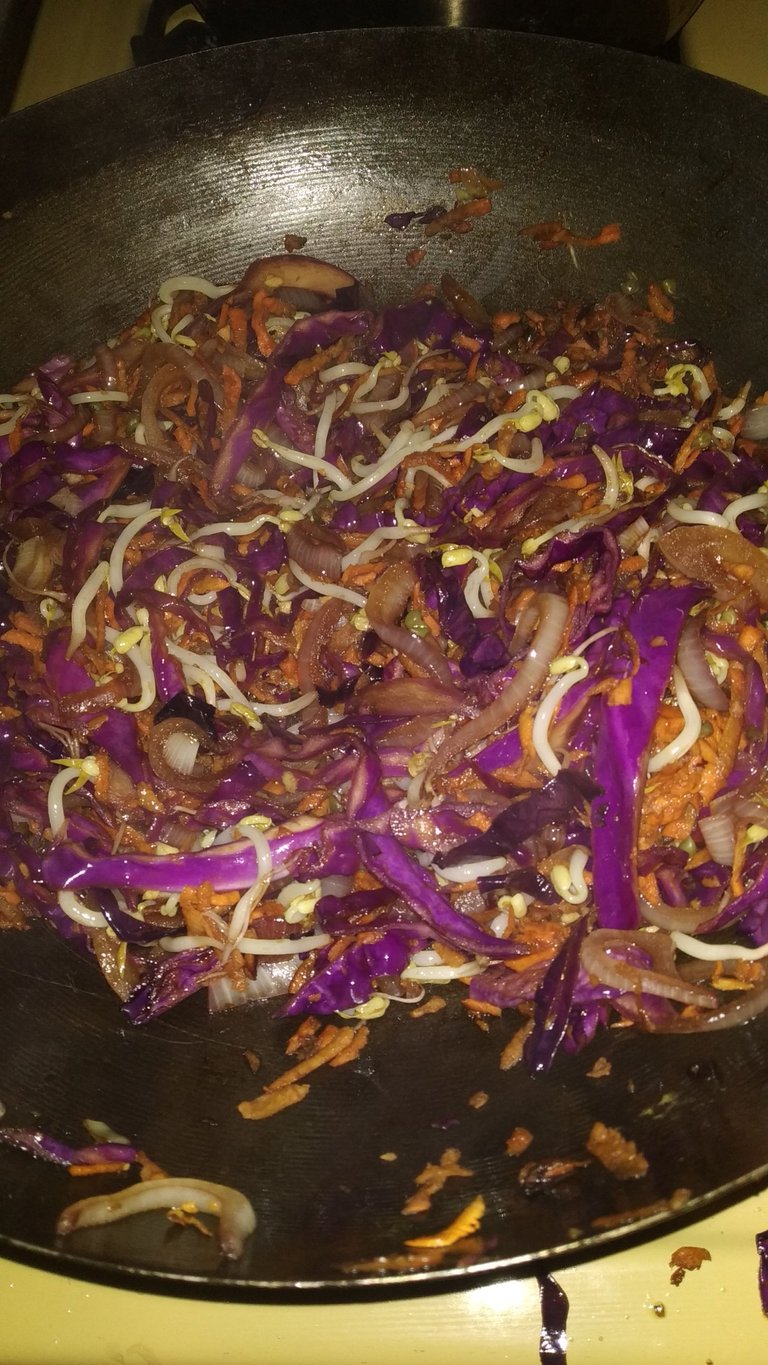
Mix all the ingredients well and let them cook on low heat for 5/7 minutes more.
And ready we will have ready the filling for our lumpias.
Mezclamos bien todos los ingredientes y los dejamos cocinar a fuego bajo por 5/7 minutos más.
Y listo tendremos listo el relleno ora nuestras lumpias.
Preparation of the dough
With the help of a blender we are going to mix 250ml of water, 1 cup of flour and three spoons of cornstarch.
Con ayuda de la licuadora vamos a mezclar 250ml de agua, 1 taza de harina y tres cucharas de Maizena.
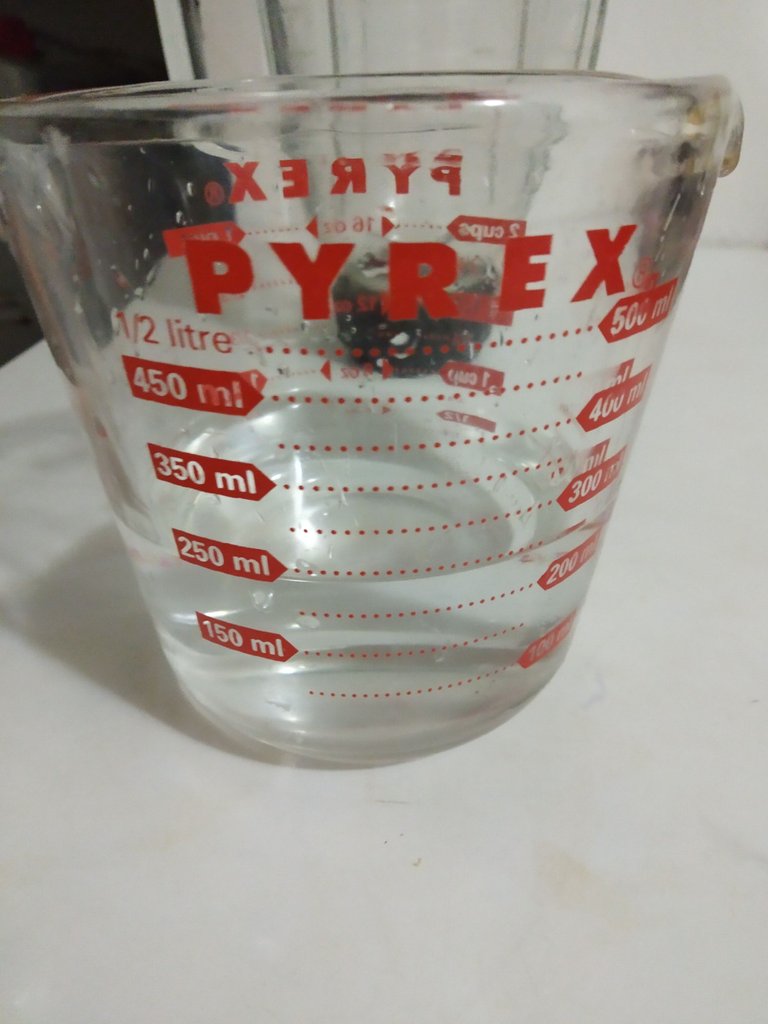
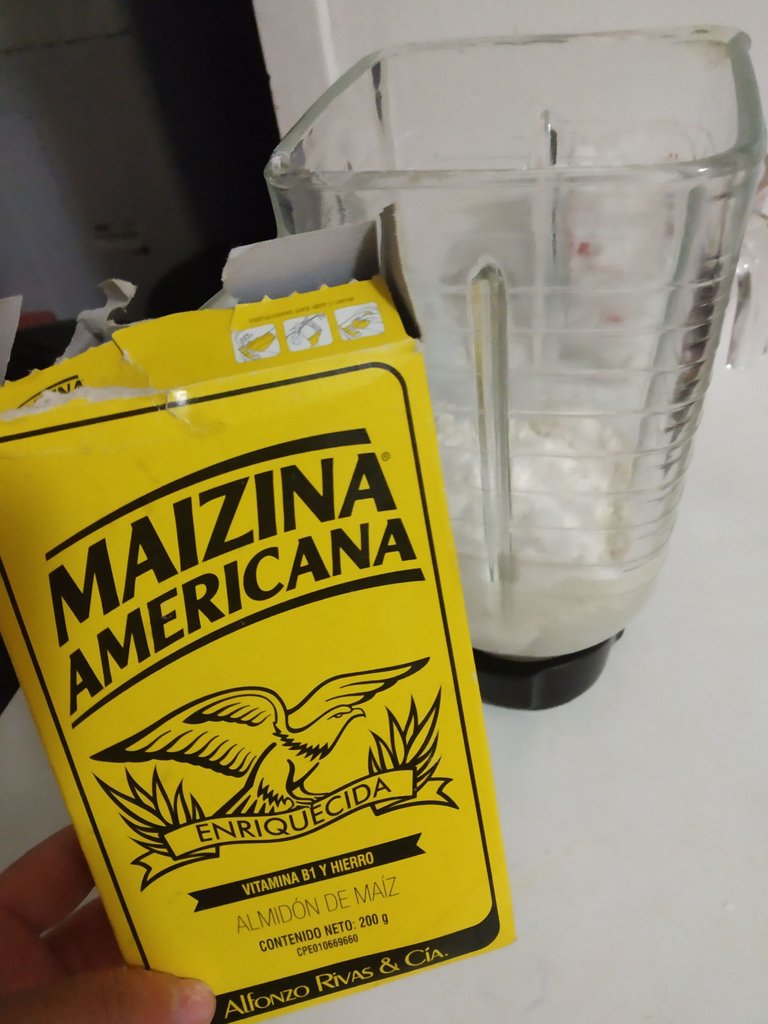
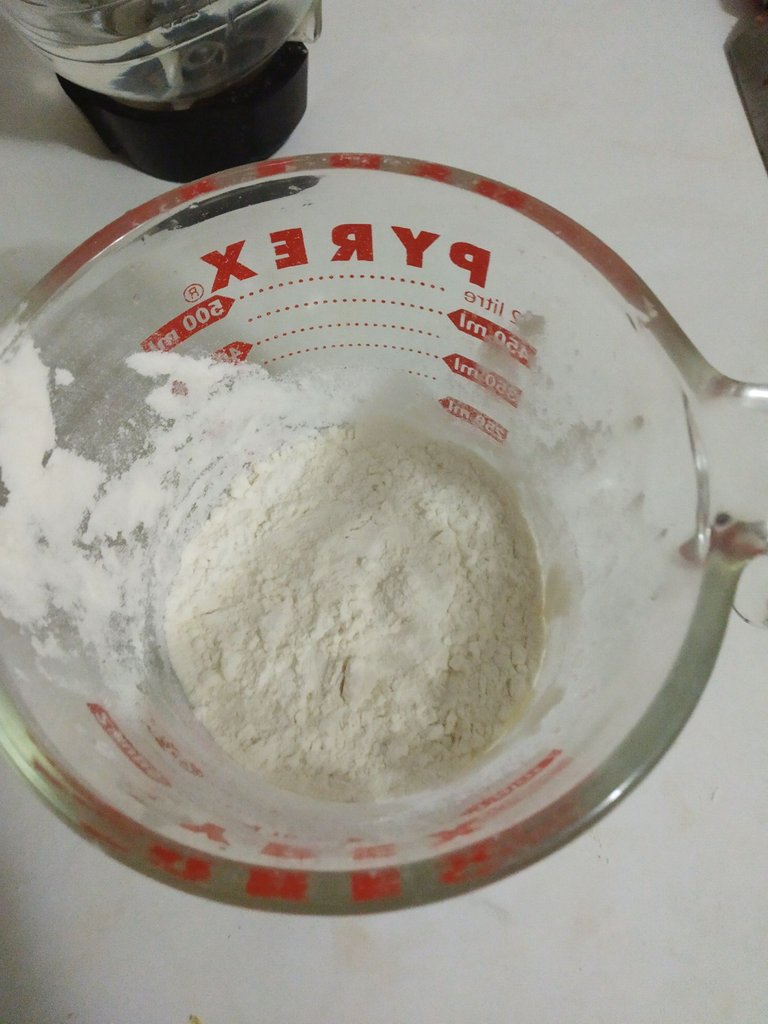
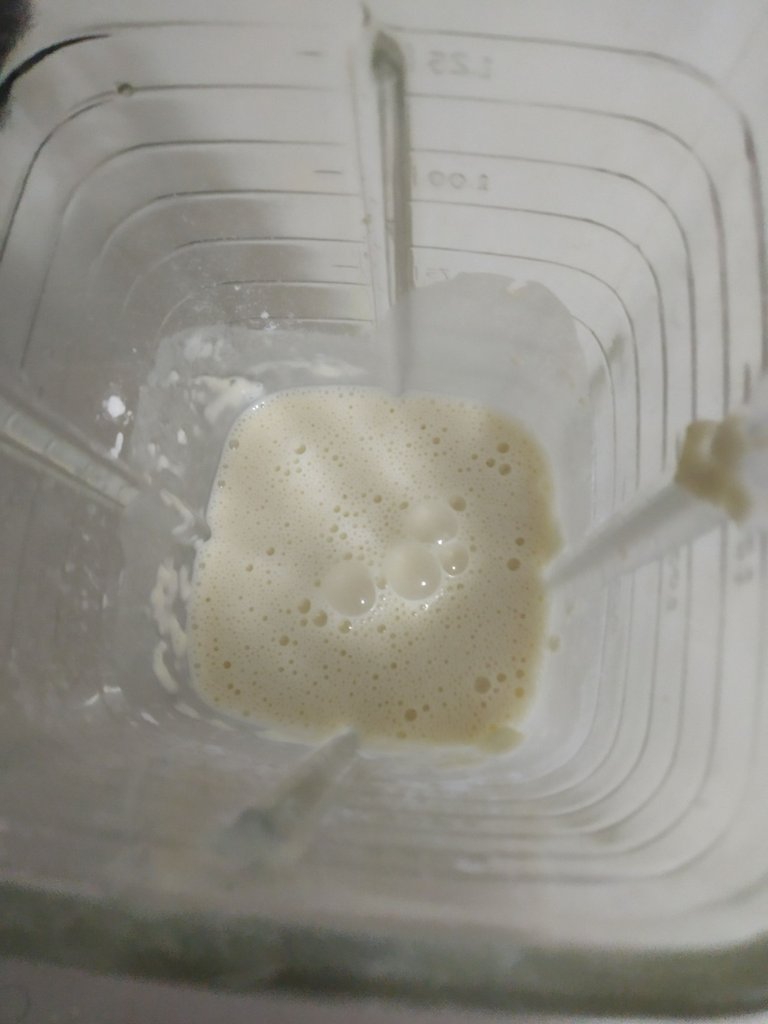
The dough will be quite liquid, and that is the idea, because the thicker it is, the more difficult it will be to handle it so that it is thin.
In a frying pan (preferably non-stick) with the help of a paddle or soft spatula, we are going to give small "brushstrokes" with the dough, leaving a very thin layer in the pan. This is cooked very quickly and we must not let them cook to a point where they are very crispy because otherwise they will break when it is time to fill them.
Quedará una masa bastante líquida, y esa es la idea,.porque mientras más espesa más difícil será manejarla para que quede delgada.
En una sartén (preferiblemente antiadherente) con ayuda de una paleta o espátula suave, vamos a dar pequeñas "pinceladas" con la masa, dejando una capa muy fina en el sartén. Esto se cocina muy rápido y no debemos dejar que se cocinen hasta un punto en el que queden muy crujiente porque sino a la hora de rellenar se van a quebrar.
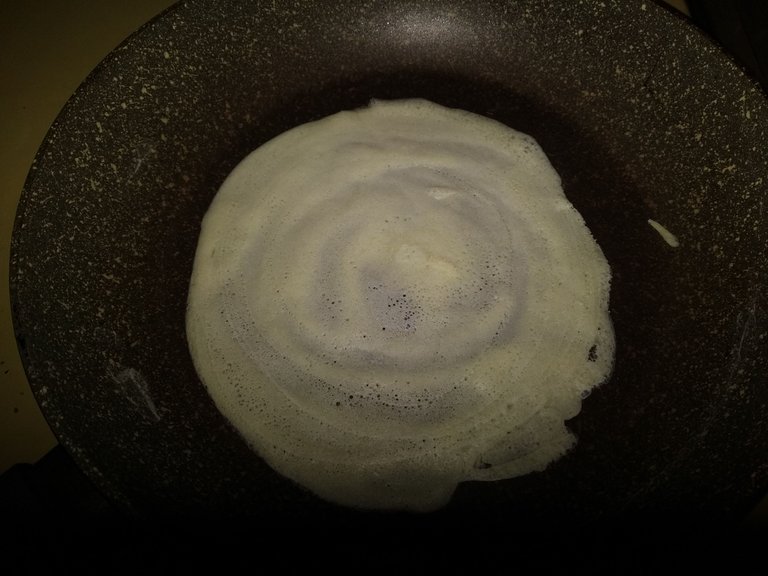
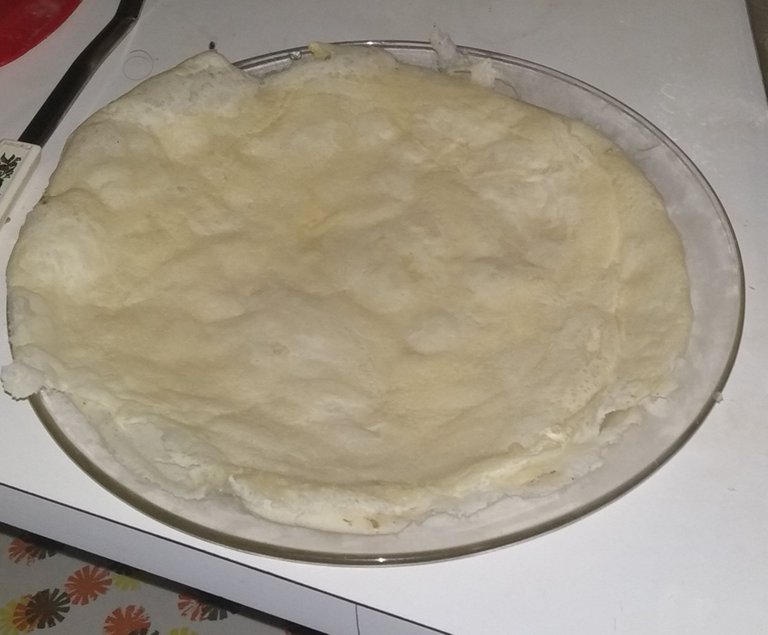
With 250ml of water I made enough dough for 8 lumpias.
When we have our little tortillas ready to wrap, we will start to assemble the lumpias.
It is very simple: put 1 or 2 tablespoons of filling, depending on the size of the tortilla.
Con 250ml de agua hice masa suficiente para 8 lumpias.
Cuando tengamos listas nuestras tortillitas para envolver, vamos a empezar a armar las lumpias.
Es muy sencillo: colocamos 1 o 2 cucharadas de relleno, dependiendo del tamaño de la tortilla.
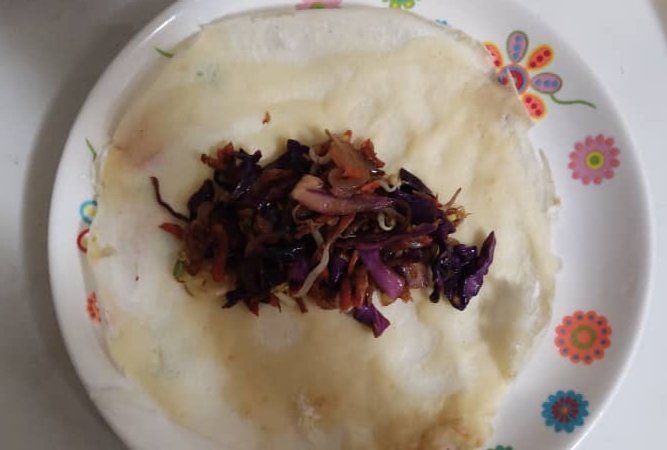
Fold the sides inwards.
Doblamos los lados hacia adentro.
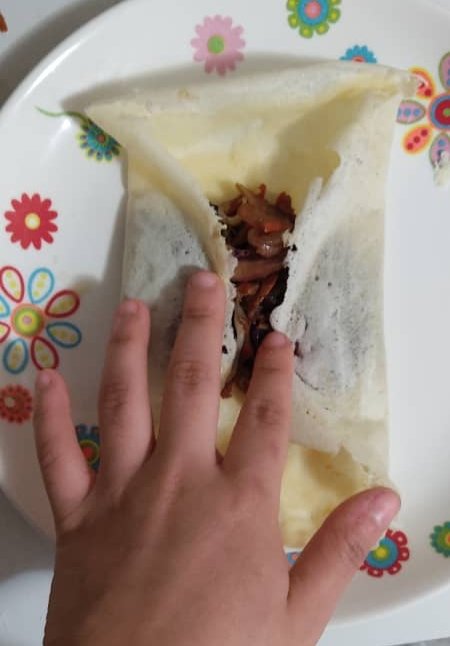
Then we fold the side from the bottom to the top, and roll it up. To seal it we can use a little water with a touch of cornstarch.
Luego doblamos la parte de abajo hacia arriba, y enrollamos. Para sellarlo podemos utilizar un poco de agua con un toque de Maizena.
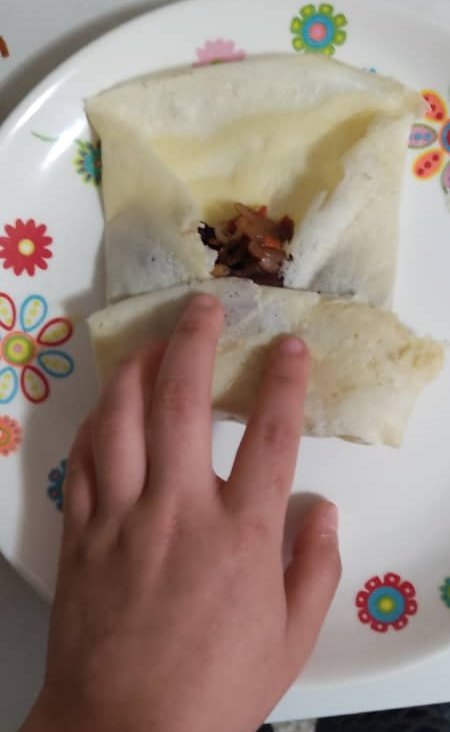
Then we take it to fry and that's it!
Luego lo llevamos a freír y listo !!!
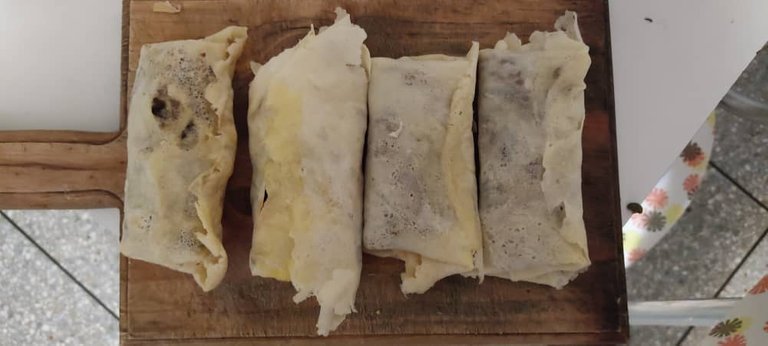

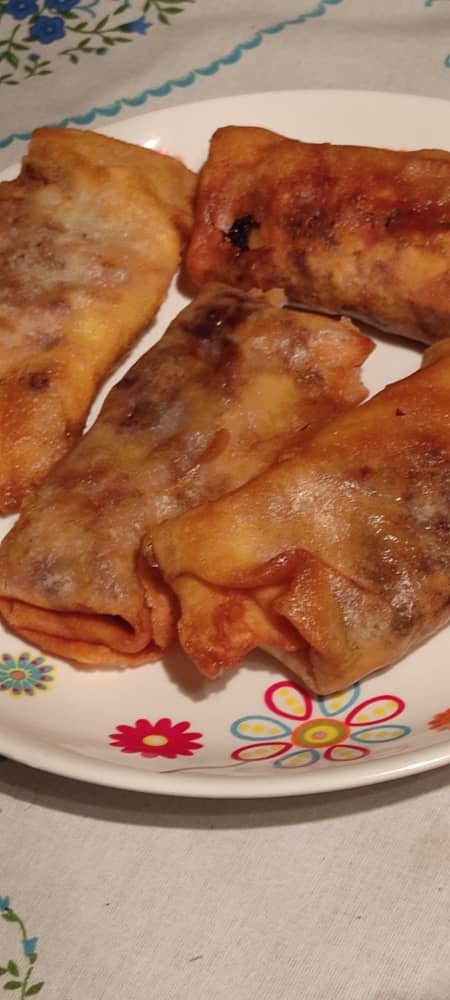

I hope you can try this recipe.
Quedan riquísimas espero que puedan probar esta receta.


Recursos: Canva - Pinterest - Ezgif|| Xiaomi Redmi S2
Traducido con Deepl.com
Todos los Derechos Reservados || © @
2021 -2022
💌 Discord: MyMelody#5297
_
Original content by the author.
Resources: Canva - Pinterest - Ezgif|| Xiaomi Redmi S2
Translation done with Deepl.com
All Rights Reserved || © @ 2021-2022
💌 Discord: MyMelody#5297

 You've been curated by