
Today I am knocking out one of the many tasks on my to-do list. I am replacing the original plastic head unit on my Speedybee Bee25 Cinewhoop with one that is made of aluminum. This task is not a huge priority, but my workbench is messy and it's the project that was sitting on the mat waiting to be finished. I am trying to get myself organized here as I talked about in yesterday's blog, lol.
The reason that I didn't finish when the piece came in was because I went at it last week, yes it has been sitting on the bench for a week, I started messing with it after my gummy kicked in and I just couldn't get it together, lol, and I couldn't find instructions in English online at the time, haha. But in my motivation of getting stuff done, it was the one project that kept staring me in the face that I could really get done pretty quick if I just looked at the instructions.
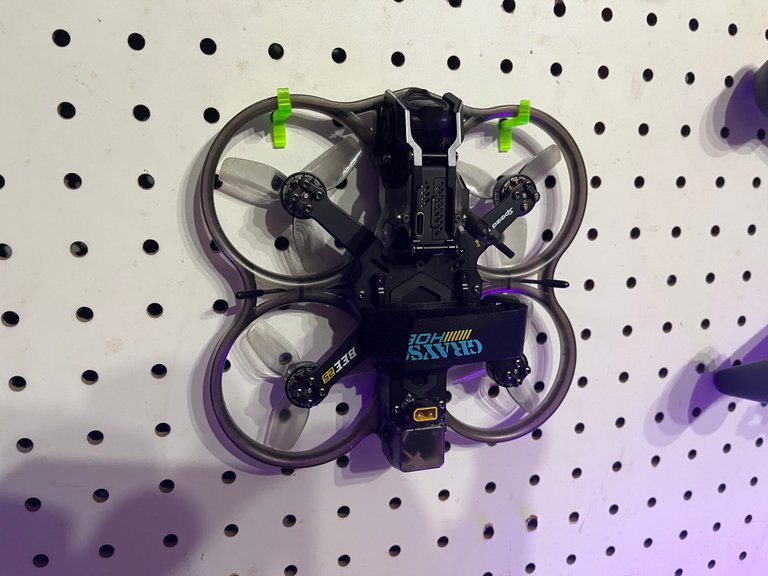
Replacing The Old Plastic Unit

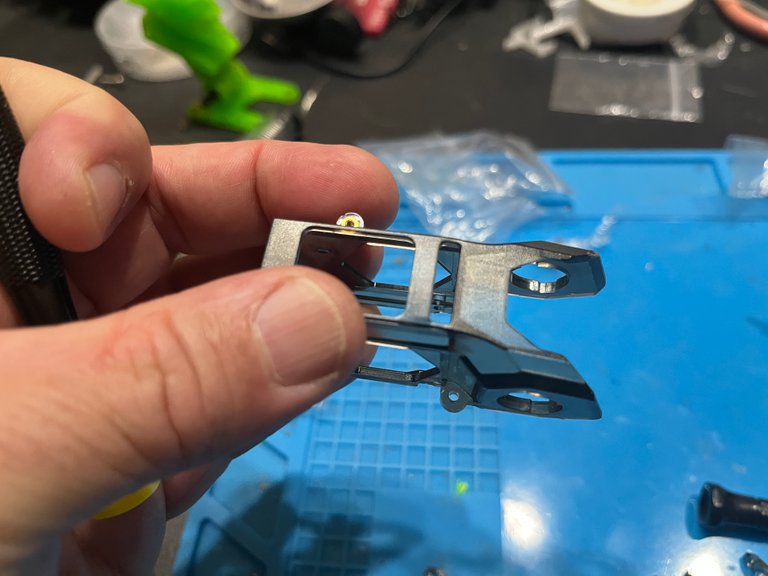
The head unit that came with the drone was an injected molded piece that was nice enough, but not meant for the kind of flying I do, or the places that I fly. I needed something more sturdy because after the first couple of crashes, I had already done a little damage.
New Aluminum Head Unit
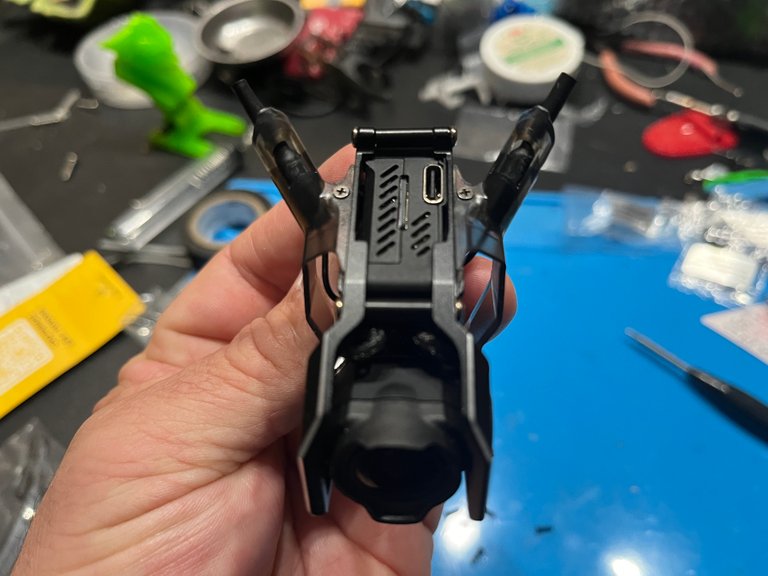
The new head unit is made of aluminum and attaches directly to the DJI VTX (video transmitter) unit and gives it some more heavy duty protection around both the VTX and the camera. The one big beef I have is that they didn't make aluminum antenna holders. Still the same old plastic. But, at least I got a new pair because I had already broken the body mount on one of them with the plastic head. So that is my biggest complaint about the whole thing is the plastic antenna holders at this point.
I didn't get any shots of my building it, because well, I didn't think to start taking pictures till it was already mostly together. And, I wasn't going to take it off just to take pictures for a blog post, haha, so here we are.
Mounting the Head Unit

Mounting the head unit was pretty straight forward. I just had to make sure that all the machined holes lined up then put the 4 little screws in to put it all together. But first, I had to reconnect the DJI O3 video unit back in with the drone.
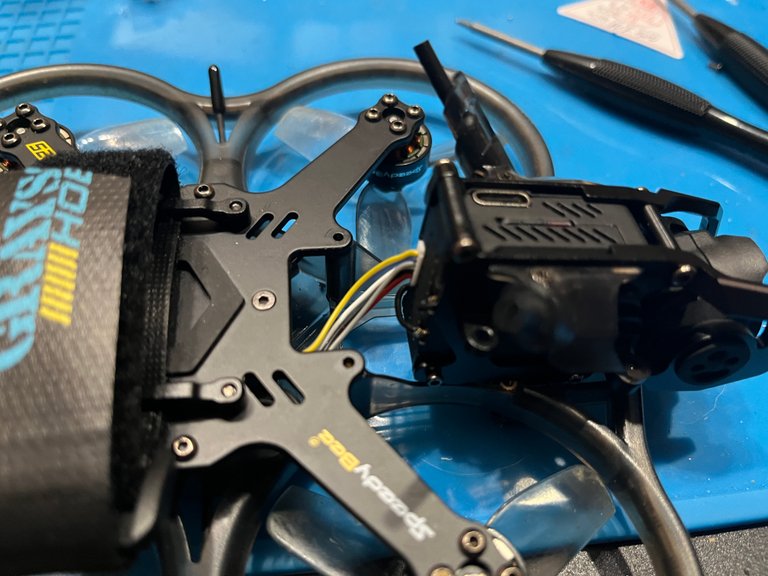
Once that is all plugged in, I seated the completed head unit and threw the remaining 4 screws in to get it all secured and mounted on the drone.
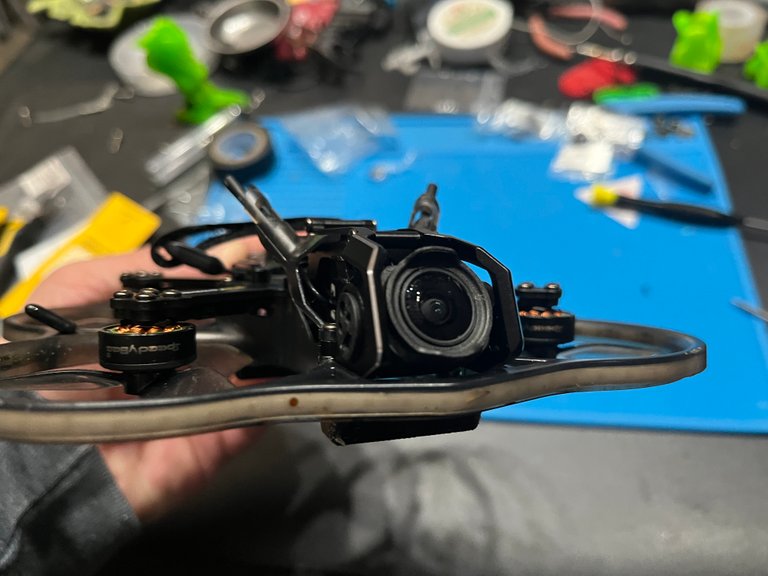
Now that it's all done, the Speedybee gets to go back to it's home on the drone wall and wait to be packed up for the next drone day, which happens to be tomorrow at my buddy's farm for his birthday!
So now to get all my batteries charged up for both the Bee25 and my Joker quad so that I can go rip some packs tomorrow!
Until next time...
Be cool, be real, and always abide with the skies my dudes!

Posted Using INLEO