Hello friends, I hope you are very well today.
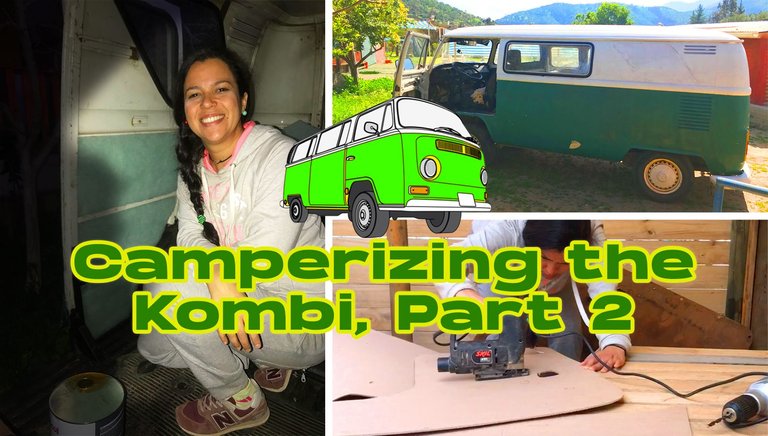
As I mentioned in my post So I would travel around the world - ENG/ESP, I've been camperizing a Kombi, those old cars that mostly travelers use to accommodate it so it's as close to a house as possible. I know that for many, this is a dream, as it is for me.
Hola amigos, espero estén muy bien el día de hoy.
Como mencioné en mi post So I would travel around the world - ENG/ESP, estuve camperizando una Kombi, esos autos viejos que usan más que todo los viajeros para poder acomodarla para que quede lo más cercano a una casa. Sé que para muchos, esto es un sueño, así como lo es para mí.
When I had my Kombi, I was so excited to make it my new home for traveling that I would get home from work at 6 pm and at that time I would start doing things, and even on my weekends I used to fix it up and do anything I needed to do to it.
Cuando tenía mi Kombi, mi emoción era tal para ponerla como mi nueva casita para viajar que llegaba del trabajo a las 6 pm y a esa hora me ponía a hacer cosas, y hasta mis fines de semana utilizaba para arreglarla y hacerle cualquier cosa que necesitaba.
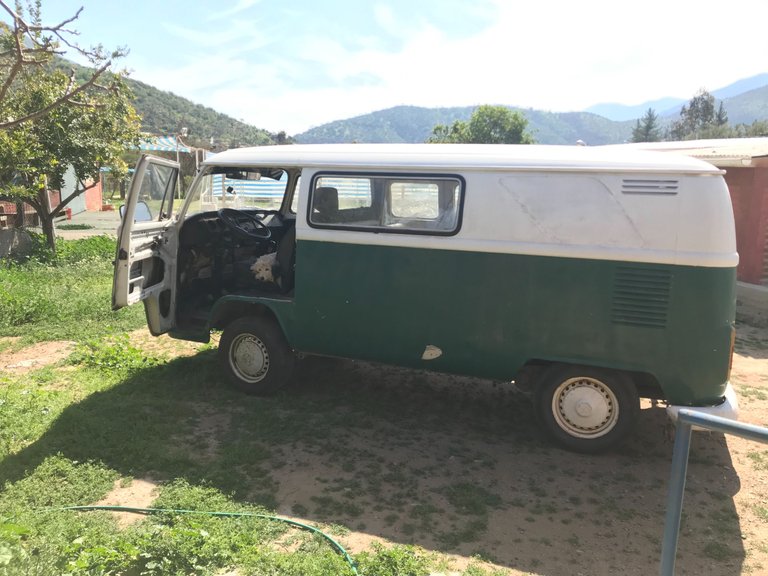
I did a lot of research to do it myself, I even had my "how would I do such and such" books, between the solar panels, the clean water tanks, the dirty water tanks, in short, everything. I came to think that it was a bit of an ambitious project, but over time I have realized that I like to do things well and complete, otherwise, I prefer not to do them.
Investigué mucho para hacerlo yo misma, hasta mis libros de “cómo haría tal cosa” tenía, entre los paneles solares, los depósitos de agua limpia, los depósitos de agua sucia, en fin, todo. Llegué a pensar que era un proyecto un poco ambicioso, pero a lo largo del tiempo me he dado cuenta que me gusta hacer las cosas bien y completas, sino, prefiero no hacerlas.
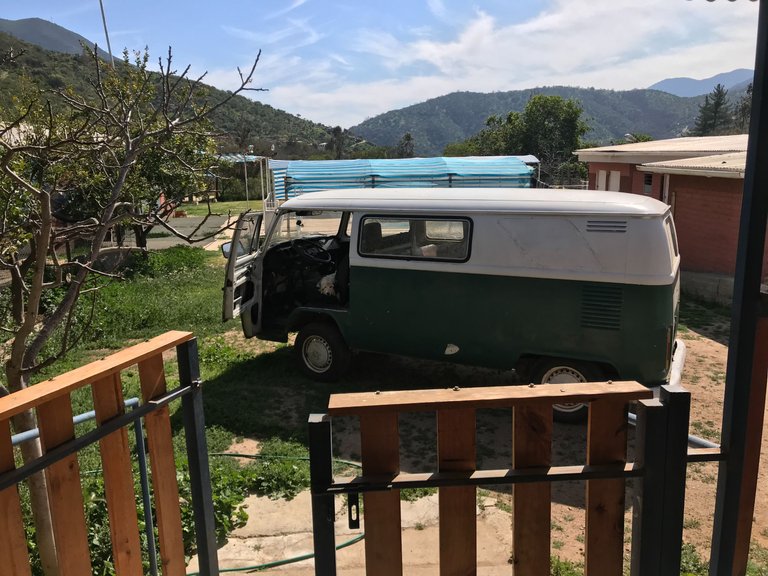
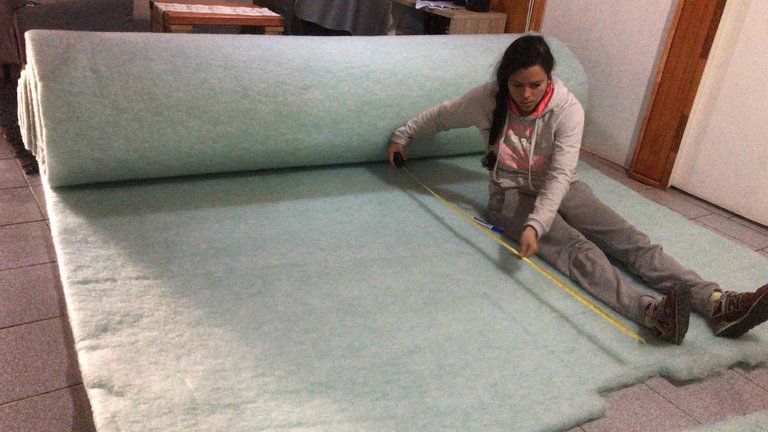
So this time, I will tell you how I did to fix and dress the doors of the Kombi, and in addition to that, thermally insulate the walls inside it. Obviously as a first step, after my great research, I got an insulating fabric from the cold and heat, and the best thing is that it was not flammable, which is very important because I never knew when an accident could happen or if the heat itself would cause it to ignite in flames. First and foremost safety.
Así que esta vez, les contaré cómo hice para arreglar y vestir las puertas de la Kombi, y además de eso, aislar térmicamente las paredes por dentro de la misma. Obviamente como primer paso, luego de mi gran investigación, conseguí una tela aislante del frío y del calor, y lo mejor es que no era inflamable, cosa que es muy importante porque nunca se Saba cuando pueda ocurrir algún accidente o si el mismo calor hiciera que se encendiera en llamas. Ante todo la seguridad.
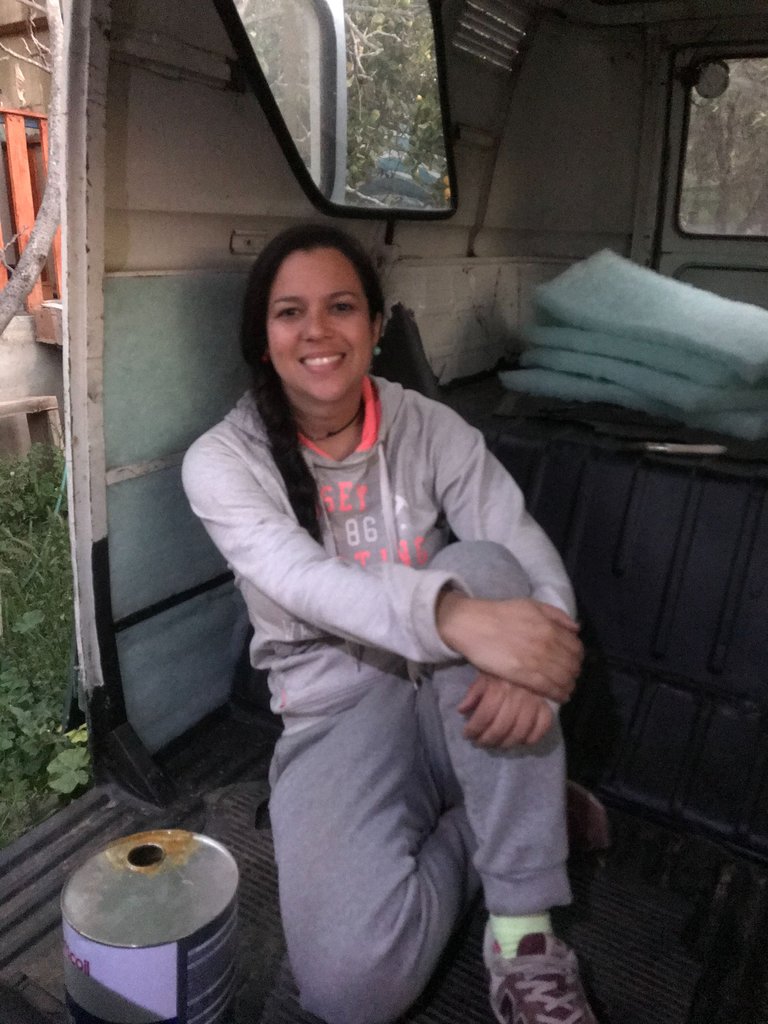
Then for the padding on the inside of the doors, I used foam, which was easy to cut. I lacked the fabric to line the inside, which I used leather and wood so that everything would be well fixed and strong. Once I had all these materials I started the mission of lining the doors and walls of the Kombi.
Luego para el acolchado de las puertas por dentro, le coloqué espuma, que esa sí fue fácil de cortar. Me faltaba la tela para forrar por dentro, que utilicé cuero y la madera para que todo quedara bien fijo y fuerte. AL tener todos estos materiales empezaba la misión de forrar las puertas y las paredes de la Kombi.
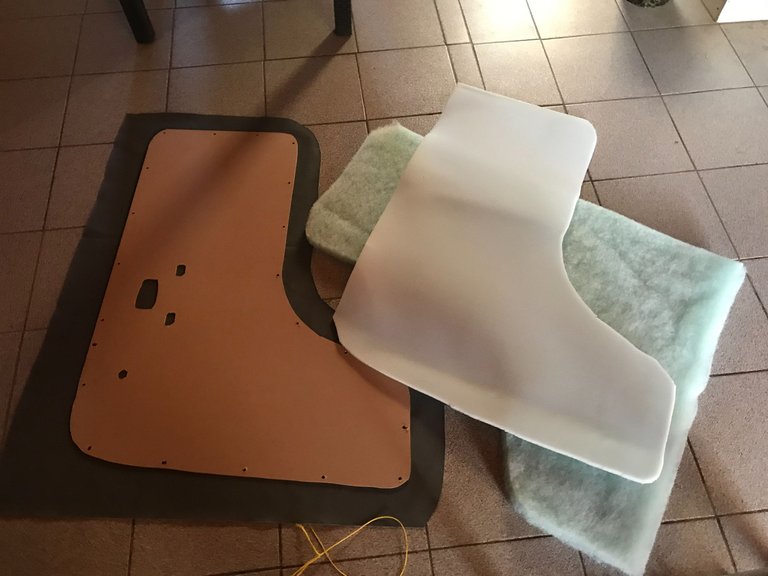
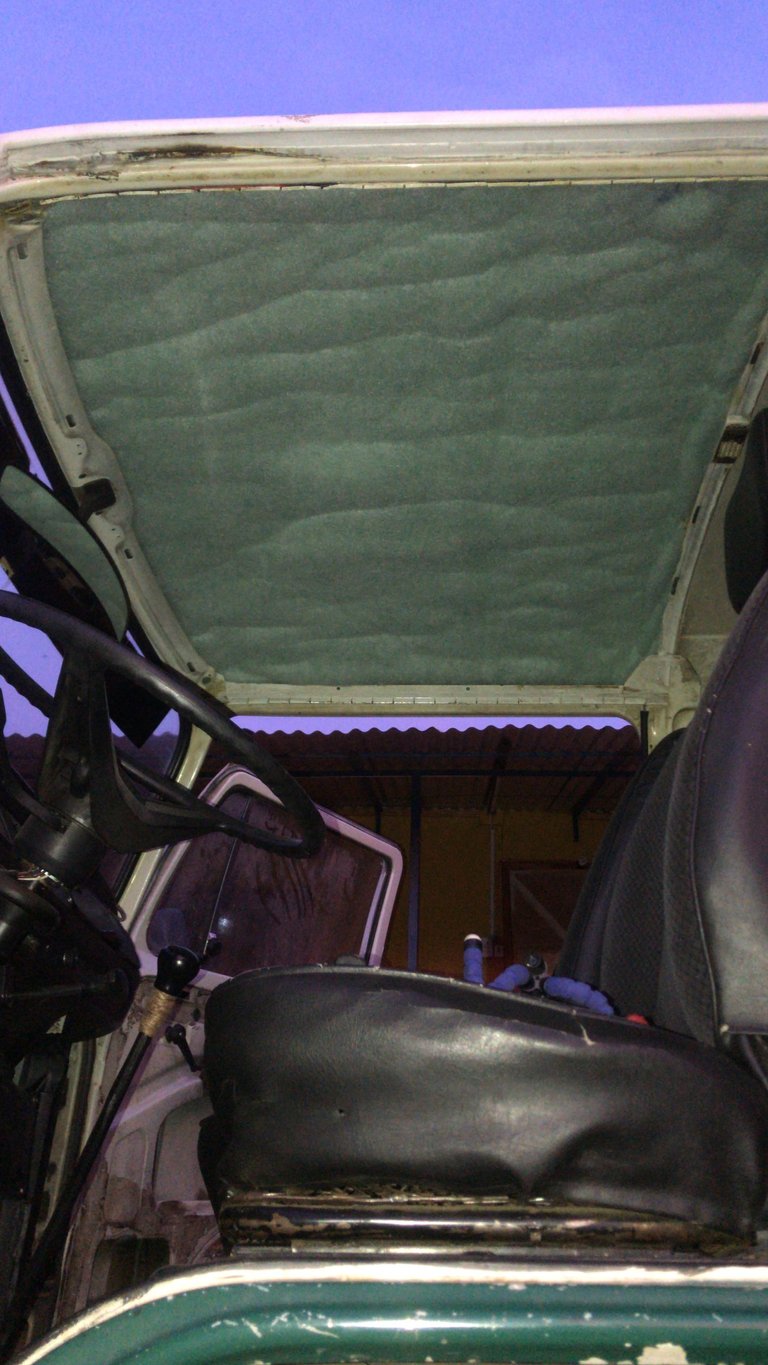
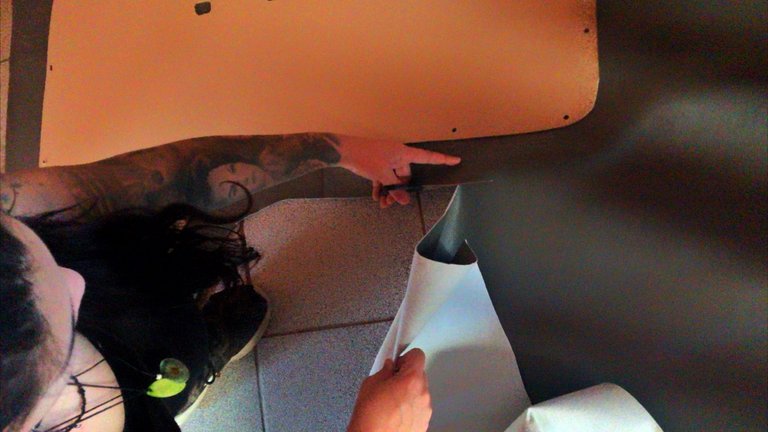
For the doors, what I did was to put little by little and pressure insulating fabrics, and little by little I did it with glue to cover the entire surface, I did the same with the walls of the entire car and I was sticking little by little with wood glue that served me very well and is fast to dry.
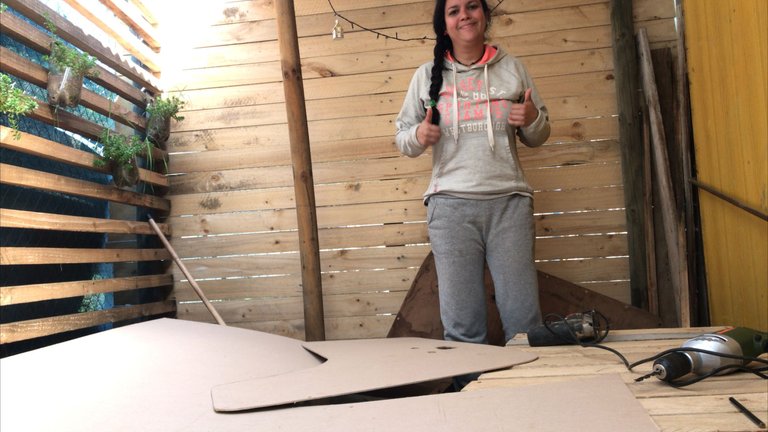
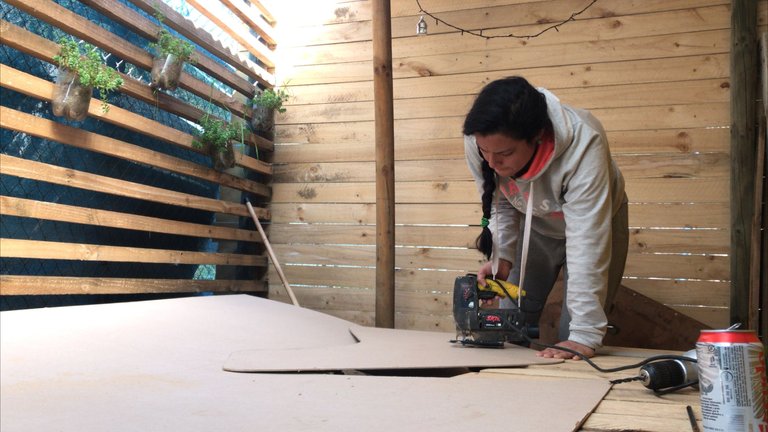
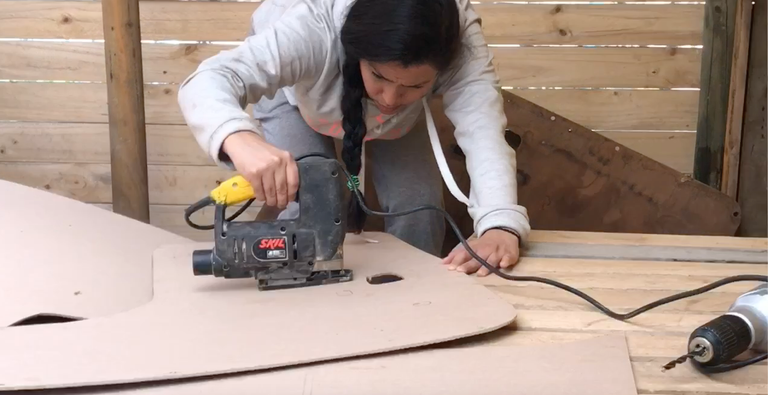
Now came the most fun part which was to make the inner covers of the doors, I only had to remove the handles of the windows, I took a paper pattern of the door and with that I cut the wood with a jigsaw that the neighbor lent me, and when I cut everything necessary to have the piece, what I did was to cut the foam and fabric a little bigger and then fix it with staples or upholstery brackets.
Para las puertas, lo que hice fue meter poco a poco y a presión las telas aislantes, y poco a poco lo hice con pegamento hasta cubrir toda la superficie, lo mismo hice con las paredes de todo el auto y lo fui pegando poco a poco con pegamento de madera que me servía muy bien y es rápido en secar.
Ya venía lo más divertido que era fabricar las tapas internas de las puertas, solo tuve que sacar las manillas de las ventanas, tomé con un papel el patrón de la puerta y con eso corté la madera con una caladora que el vecino me prestó, y al cortarle todo lo necesario para tener la pieza, lo que hice fue cortar la espuma y la tela un poco más grande para luego fijarla con grapas o corchetes de tapicería.
After that, I just had to sew them on the doors and the result is simply great, unfortunately I lost the photos of the final result, and the truth is that they were very good because I had the fabric sewn with the foam so that it would be with design. So if at some point I get it, I promise to upload it!
Ya luego de eso, quedaba simplemente clocarlas es las puertas y el resultado es sencillamente genial, lamentablemente extravié las fotos del resultado final, y la verdad quedaron muy bien porque mandé a coser la tela con la espuma para que quedara con diseño. Así que si en algún momento la consigo, prometo subirla!
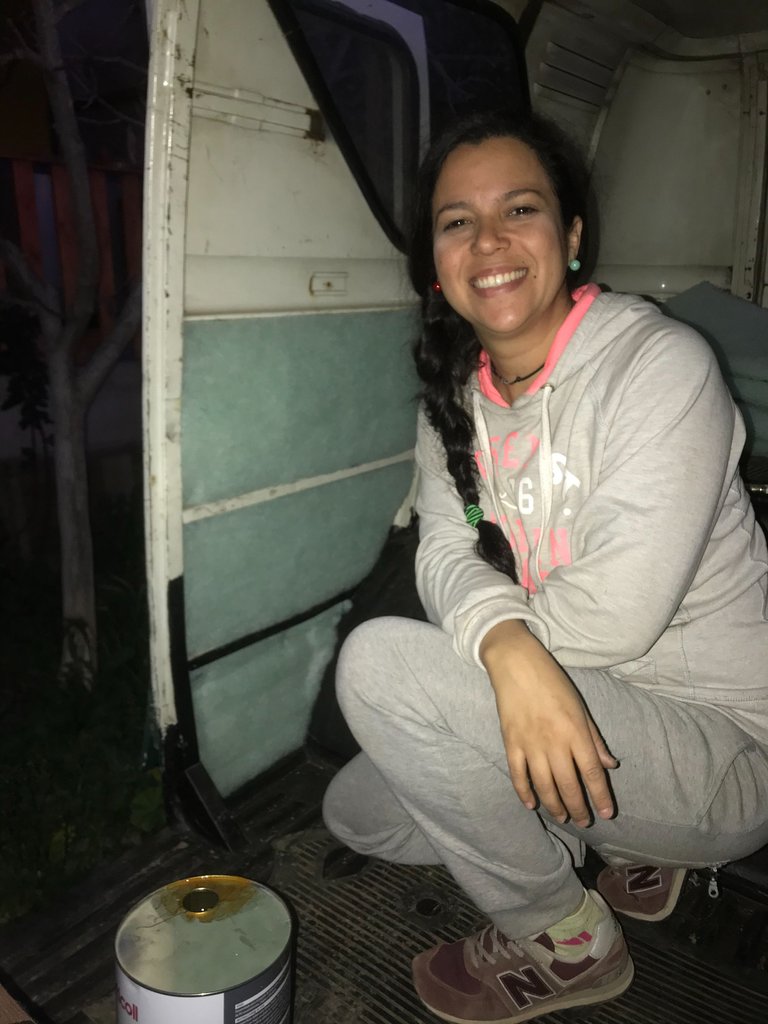
And well, I hope you liked today's post. If you have any project cheer up, the experience and satisfaction are priceless.
I send hugs to all of you!!!
Y bueno, espero les haya gustado el post de hoy. Si tienes algún proyecto anímate que la experiencia y la satisfacción no tienen precio.
Les mando muchos abrazos para todos!!!
All photos are of my authorship taken by my iPhone 11.
The translation was done at DeepL.
All the content was written by me.
Todas las fotos son de mi autoría tomadas por mi iPhone 11.
La traducción la realicé en DeepL.
Todos el contenido fue redactado por mí.
